
Upgrade caulking fast with these effortless, genius tips! From prep to perfect bead, you’ll learn simple techniques to achieve a professional finish in no time, ensuring a watertight seal that looks great.
Tired of that cracked, peeling, or just plain ugly caulk? You’re not alone! Replacing old caulk can seem like a messy, daunting task, but it doesn’t have to be. With the right know-how and a few clever tricks, you can upgrade your caulking quickly and easily. This guide is here to banish your caulking blues and empower you with simple, effective methods. Get ready to say goodbye to drafty gaps and hello to a fresh, sealed finish that protects your home and adds polish to your spaces. Let’s dive into the easy way to get it done!
Why Upgrade Your Caulk? More Than Just Looks!

Caulking is that unsung hero in your home’s maintenance routine. It’s the flexible seal that keeps water, drafts, and even pests out of your home. Over time, caulk can dry out, crack, shrink, or even grow mold. When this happens, it loses its effectiveness, leading to potential problems like:
Water Damage: Leaks can seep behind walls, causing costly rot and damage.
Energy Loss: Drafty gaps let heated or cooled air escape, driving up your energy bills.
Pest Infestations: Small openings are invitations for insects and rodents.
Unattractive Appearance: Old, grimy caulk makes even the cleanest rooms look shabby.
Upgrading your caulk isn’t just about aesthetics; it’s a crucial step in maintaining your home’s integrity and comfort.
Essential Tools for a Speedy Caulk Upgrade

Before we start, let’s gather our tools. Having everything ready makes the process smooth and fast.
The Must-Haves:
- Caulk Gun: Choose a good quality, dripless model.
- Utility Knife or Caulk Removal Tool: For cutting and scraping away old caulk.
- Putty Knife or Scraper: For stubborn old caulk.
- Rubbing Alcohol (Isopropyl Alcohol): For cleaning surfaces.
- Clean Rags or Paper Towels: Lots of them!
- Painter’s Tape: For creating clean lines.
- New Caulk: Choose the right type for your project (more on this later!).
- Caulk Finishing Tool or Wet Finger: For smoothing the bead.
Having these on hand will make your caulking project much more efficient.
Step-by-Step: Effortless Caulk Removal Techniques
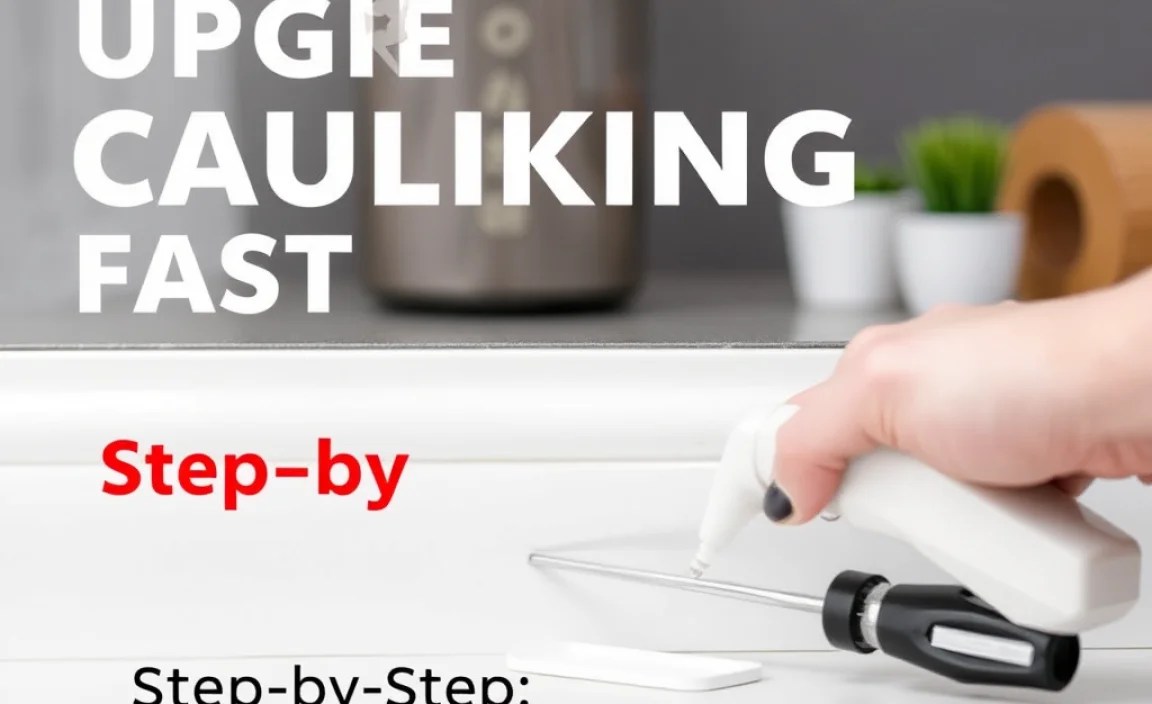
Removing old caulk is often the most time-consuming part, but we’ll make it as painless as possible.
1. Score and Pry
- Use a sharp utility knife or a specialized caulk removal tool.
- Carefully run the blade along the edge where the caulk meets the surface (e.g., the wall and the tub).
- Cut into the caulk, but be cautious not to cut into the surrounding material.
- Once scored, use a putty knife or caulk removal tool to gently pry up the caulk. Work in sections.
2. Scrape It Clean
- For any remaining stubborn bits, use a putty knife or a scraper.
- Apply firm pressure and scrape away the residual caulk.
- A wire brush can be helpful for tougher spots, but use it gently to avoid scratching surfaces.
3. The Rubbing Alcohol Trick
- Stubborn residue can often be softened with rubbing alcohol.
- Soak a rag or paper towel in rubbing alcohol and hold it against the remaining caulk for a few minutes.
- This can make it much easier to scrape or wipe away.
4. Final Wipe Down
- Once all visible caulk is removed, wipe down the entire area with a clean, damp rag.
- Then, use a rag dampened with rubbing alcohol to ensure the surface is perfectly clean and free of any oils or residue.
- This is crucial for the new caulk to adhere properly.
A clean surface is the secret to long-lasting, professional-looking caulk.
Pro Tip: For really tough caulk, consider a caulk softener product available at your local hardware store. Always follow product instructions carefully and ensure good ventilation.
Choosing the Right Caulk for the Job

Not all caulk is created equal! Selecting the right type ensures durability and performance.
Caulk Types at a Glance:
Here’s a quick rundown of common caulk types:
| Type | Best For | Pros | Cons |
|---|---|---|---|
| Acrylic Latex (with Silicone) | Interior trim, baseboards, windows, doors, painted surfaces. | Easy to apply and clean up (water-based), paintable, good flexibility. | Less durable in wet areas, may shrink slightly. |
| 100% Silicone | Bathrooms, kitchens, windows, doors, areas with high moisture. | Highly waterproof, flexible, durable, mold and mildew resistant. | Difficult to clean up (requires mineral spirits), not paintable, can be harder to apply smoothly. |
| Siliconized Caulk | Similar to acrylic latex but with some added silicone benefits. | Good flexibility, water-resistant, paintable, easier cleanup than 100% silicone. | Not as waterproof as 100% silicone, might not be as durable in extreme conditions. |
| Polyurethane Caulk | Exterior applications, decks, siding, windows, areas needing high durability. | Very durable, excellent adhesion, waterproof, paintable. | Can be difficult to clean up, may require specific application techniques. |
For most DIYers tackling interior updates, an acrylic latex caulk with silicone or a siliconized acrylic latex is often the easiest and most versatile choice. If you’re working in a wet area like a shower surround, look for one specifically labeled “kitchen & bath” with mold/mildew resistance.
For more in-depth information on materials science and proper sealing techniques, the U.S. General Services Administration (GSA) provides useful resources on building materials and standards, which can indirectly inform best practices for sealing applications: GSA Building Materials and Standards.
Mastering the Caulk Gun: Effortless Application Tips
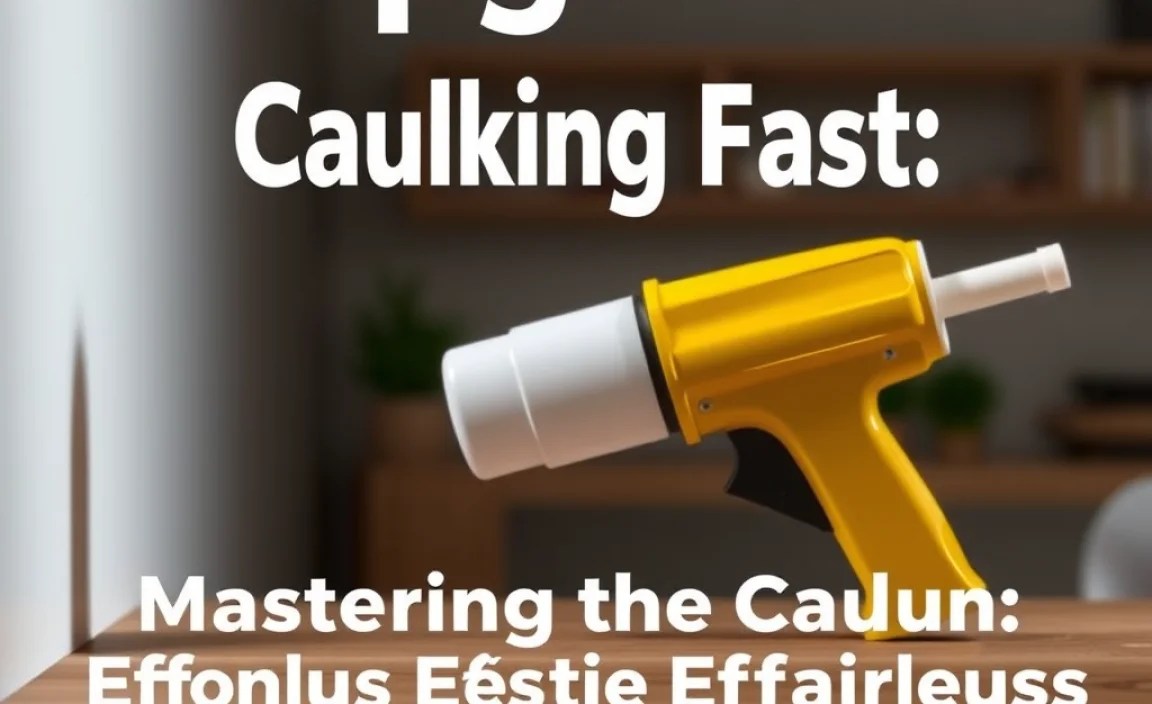
Now for the fun part! Applying caulk smoothly is an art, but these tips will make you a pro in no time.
Preparation is Key:
- Cut the Tip: Use an angled cut on the caulk tube nozzle. Start with a small opening – you can always cut more if needed. A 45-degree angle is a good starting point.
- Puncture the Seal: Most caulk tubes have an inner seal. Use the long rod on your caulk gun or a stiff piece of wire to puncture it.
- Load the Gun: Pull back the plunger rod, insert the tube (nozzle end first), and push the rod firmly against the back of the tube.
- Release Pressure: After each squeeze, flip the trigger lever on the back of the gun to release pressure. This stops caulk from oozing out.
Applying the Bead:
- Steady Hand: Hold the caulk gun at a consistent angle (usually the angle of your cut tip).
- Consistent Pressure: Squeeze the trigger with steady, even pressure. Move the gun forward at a constant speed.
- Work in Sections: Don’t try to caulk the entire length of a wall in one go. Work in manageable sections of about 2-3 feet.
- Aim for Coverage: Ensure the caulk fills the gap completely without excessive oozing.
- Clean Up As You Go: Wipe away any immediate drips or blobs with a damp rag.
Genius Tip: If you’re new to this, practice on a piece of cardboard first! Get a feel for the trigger pressure and the speed needed to create a consistent bead.
The Perfect Bead: Smoothing Techniques That Shine
A smooth, consistent bead is what separates good caulk from great caulk.
Using Painter’s Tape for Perfectly Straight Lines:
This is one of the most effective “genius” tips for beginners. Painter’s tape creates a barrier, ensuring your caulk goes exactly where you want it and leaves a crisp, clean line.
- Clean the Surface: Ensure the area to be caulked is completely clean and dry.
- Apply Tape: Place painter’s tape above and below the gap you want to fill. Space the tapes so the gap between them is slightly wider than the bead of caulk you want to apply. For example, if you want a 1/4-inch bead, place the tape about 1/4 inch away from each edge of the gap. Ensure the tape is pressed down firmly to prevent caulk from seeping underneath.
- Caulk: Apply your bead of caulk between the tapes, aiming to fill the gap.
- Smooth and Remove Tape: Immediately after applying the caulk and before it starts to skin over, use your chosen smoothing method (see below). Once smoothed, carefully and slowly peel off the painter’s tape. Pull the tape away at a 45-degree angle from the bead.
This method requires minimal skill for a professional-looking result. Make sure to use quality painter’s tape that adheres well but removes cleanly.
Smoothing Methods:
- Wet Finger: Dip your finger in water (or a water/dish soap solution for latex caulk). Run your finger smoothly along the bead, pressing it into the gap and removing excess.
- Caulk Tool: These plastic tools come with different shaped edges to create various bead profiles. They are excellent for achieving a consistent finish.
- Damp Rag: Similar to a wet finger, a damp cloth can be used to smooth the bead.
Important Note: For 100% silicone caulk, do not use water. Use a dry finger or a specific silicone tool, as water can interfere with its adhesion. A spritz of soapy water can help with acrylic latex caulk.
Speedy Cleanup: Making It Look Effortless
A clean job is a happy job! Quick cleanup makes the whole process feel complete.
Immediate Action is Key:
- Have your rags and water (or appropriate cleaner) ready before you start caulking.
- As soon as you finish a section, wipe away any excess caulk that squeezed out or got on the surrounding surfaces.
- For acrylic latex caulk, warm, soapy water is your best friend.
- For silicone caulk, mineral spirits or denatured alcohol will be needed. Check the caulk tube for specific cleaner recommendations.
Dealing with Mistakes:
- Don’t panic if you make a mistake!
- For wet caulk, it’s usually easy to wipe away with a damp rag.
- If the caulk has started to skin over, you might need to gently scrape it off with a putty knife or caulk removal tool.
- If the mistake is significant, or you’ve applied a lot of caulk incorrectly, it might be faster in the long run to remove it entirely and start that section again.
A little cleanup as you go prevents a much bigger cleanup job later.
Conclusion
You’ve done it! By following these simple, genius tips, you’ve successfully upgraded your caulking. We’ve covered how to remove that old, cracked caulk efficiently, choose the perfect new caulk for your needs, master the caulk gun for a smooth and consistent bead, and clean up like a pro. Remember, preparation and a steady hand are your best friends here.
Taking the time to caulk properly not only makes your home look fantastic but also provides essential protection against moisture and drafts. This DIY task is a rewarding one, and with these effortless techniques, you’ve proven that achieving a professional finish is well within your reach. Step back, admire your handiwork, and enjoy the comfo
