
Upgrade pipes cost varies widely, typically ranging from $1,500 to $15,000 or more, depending on material choice, home size, fixture count, and labor rates. Budgeting for this essential home improvement means understanding these factors and planning for potential surprises to ensure a successful, cost-effective pipe upgrade.
Is it Time to Upgrade Your Pipes? A Beginner’s Guide


Dealing with aging pipes can be a real headache. Leaks, low water pressure, and discolored water are frustrating signs that your home’s plumbing might be past its prime. The thought of a major pipe upgrade can sound daunting, especially when you’re thinking about the cost. But don’t worry! This guide is here to break down everything you need to know about upgrade pipes cost in simple terms. We’ll help you understand what influences the price, how to budget effectively, and what steps are involved, so you can confidently tackle this important home improvement project.
Why Upgrading Pipes is Important (and How it Affects Your Budget)

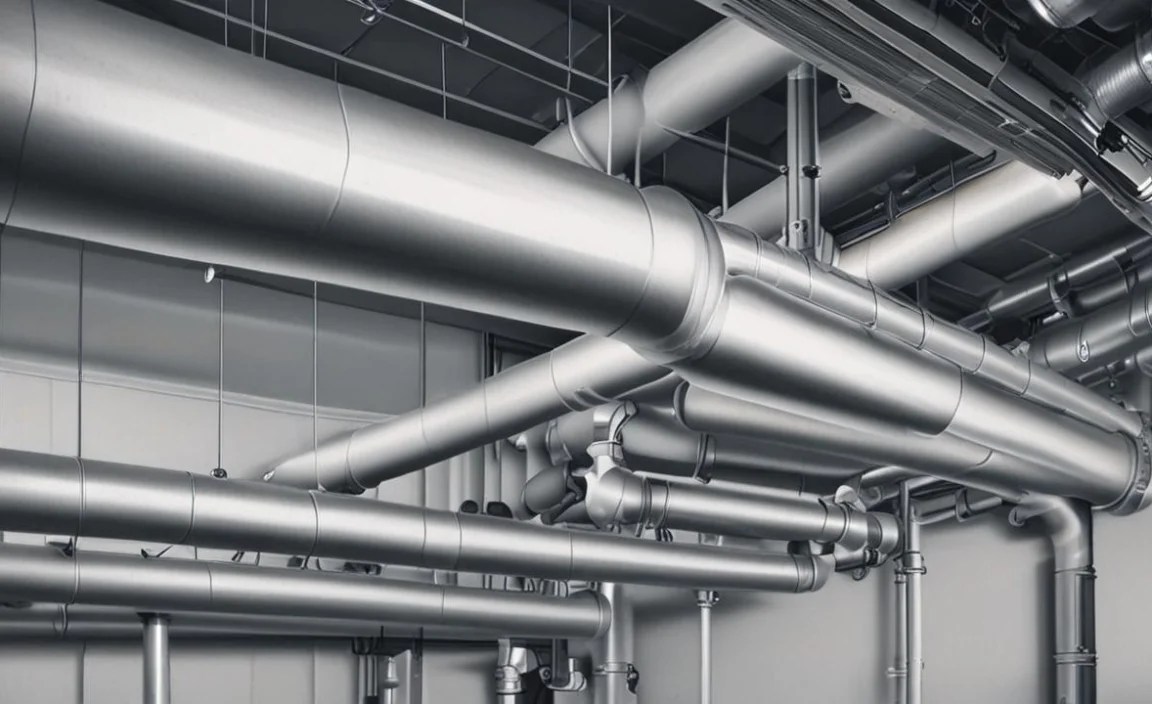
Upgrading your pipes isn’t just about fixing leaks; it’s about protecting your home and improving your daily life. Old pipes can corrode, leading to rust particles in your water, which affects taste and can stain fixtures. Insufficiently sized pipes or those with internal buildup can cause frustratingly low water pressure, making showers less enjoyable. Furthermore, aging materials like galvanized steel or lead are not as safe or efficient as modern plumbing options.
Deciding to upgrade often comes down to necessity, but it’s also a wise investment. A significant pipe replacement can prevent costly water damage from burst pipes and can even increase your home’s value. Understanding the “upgrade pipes cost” involves looking at several key factors that directly impact the final price tag.
Key Factors Influencing Upgrade Pipes Cost

The price you’ll pay for a pipe upgrade can differ significantly. Here are the main ingredients that go into that final number:
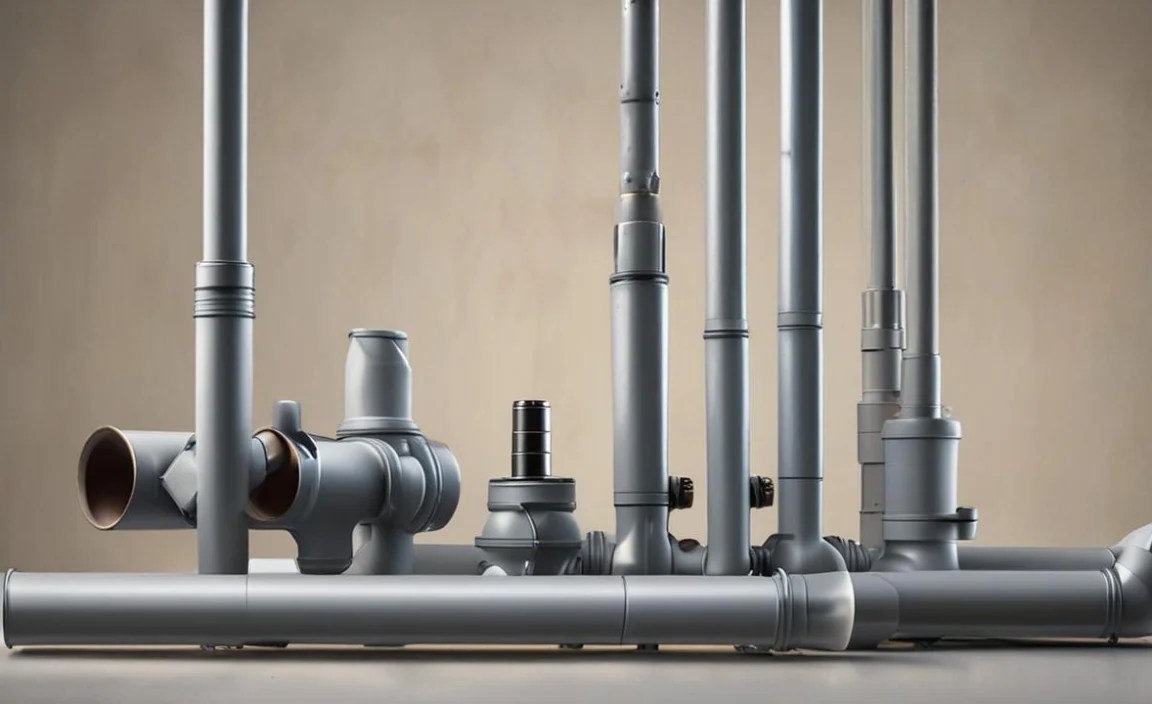
Material of New Pipes: This is a big one. Different pipe materials have different costs upfront and longevity.
Size and Scope of Your Home: A larger house means more piping to replace, increasing labor and material costs.
Number of Fixtures: Bathrooms, kitchens, laundry rooms – each fixture is a connection point that needs to be addressed, adding complexity.
Accessibility of Existing Pipes: If pipes are hidden behind finished walls, ceilings, or under floors, it takes more time and effort (and thus, more money) to access and replace them.
Labor Rates: Plumbers’ hourly rates vary by region and their experience level.
Permits and Inspections: Most plumbing work requires permits, and these have associated fees.
Unexpected Issues: Sometimes, during a repipe, plumbers might discover rot, mold, or other damage that needs addressing, adding to the overall cost.
Let’s dive into each of these a bit more.
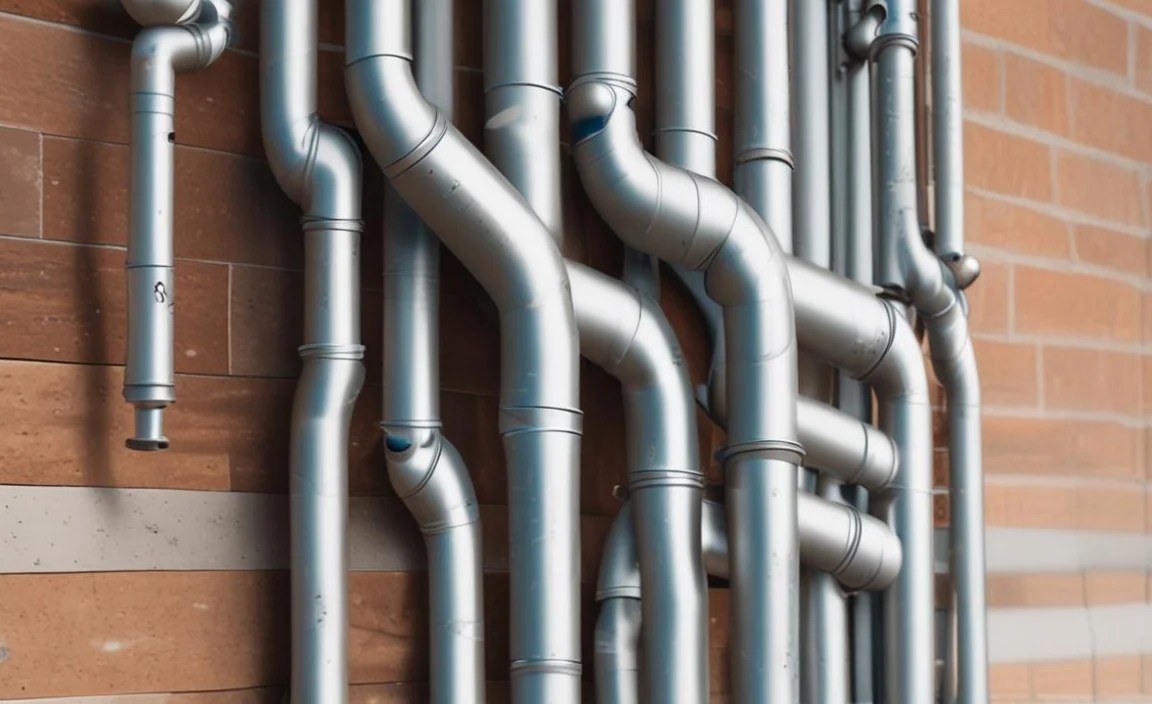
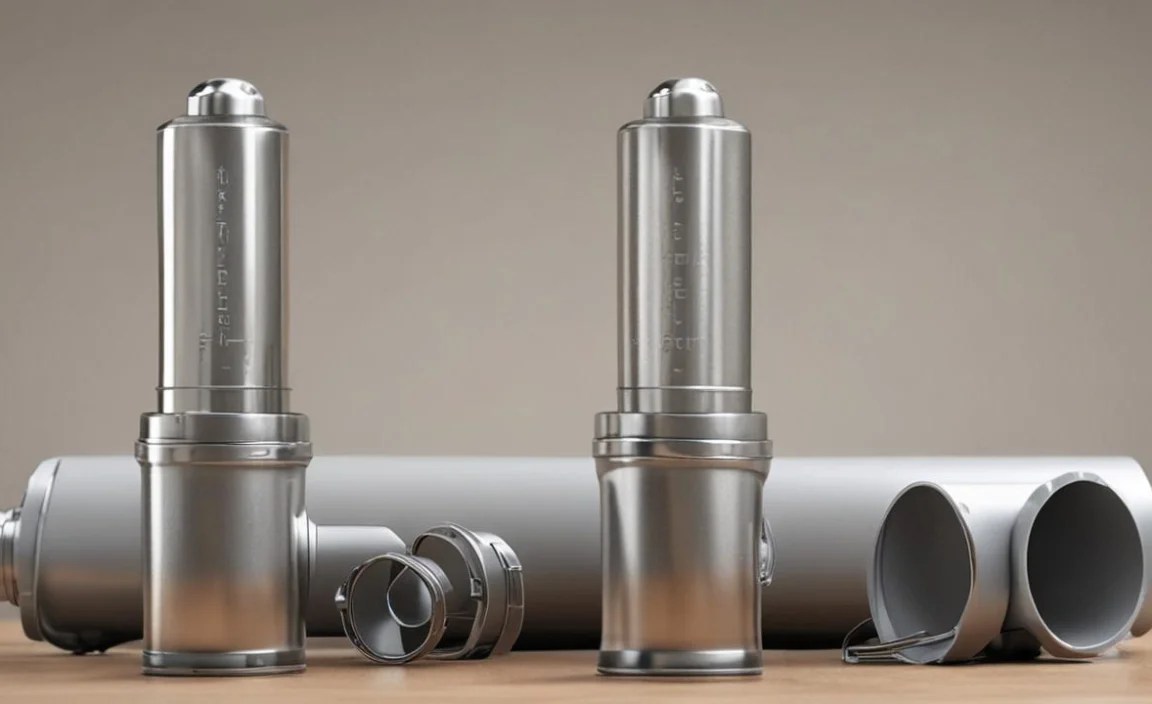
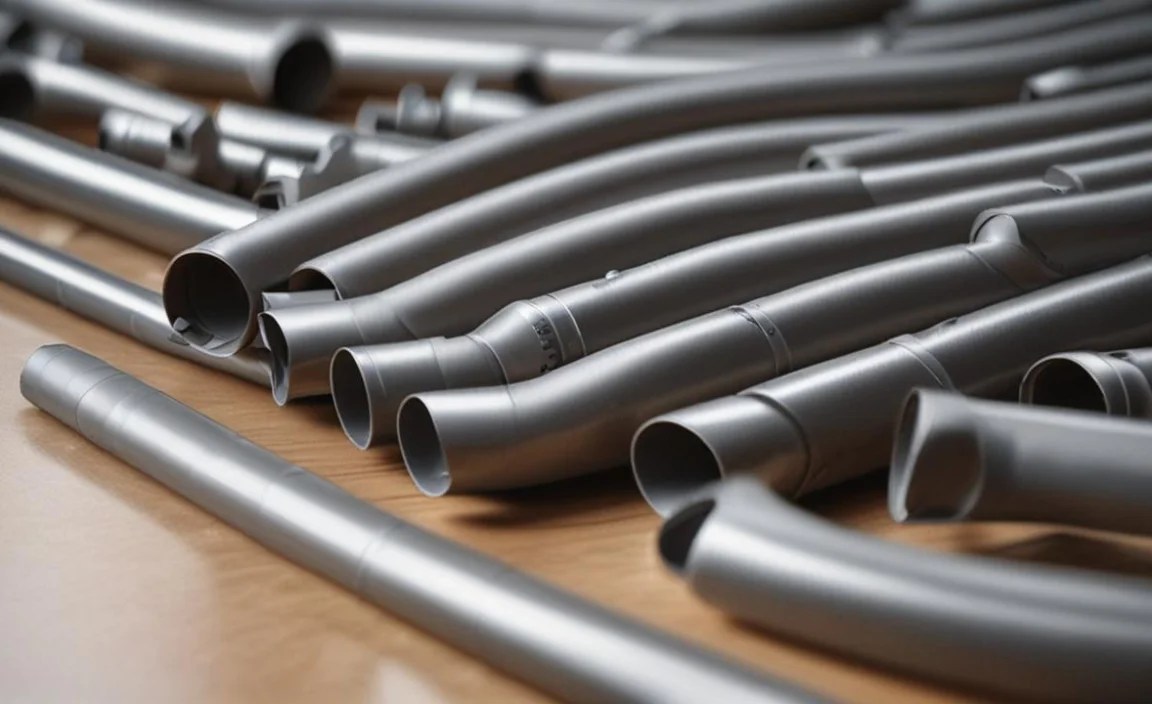
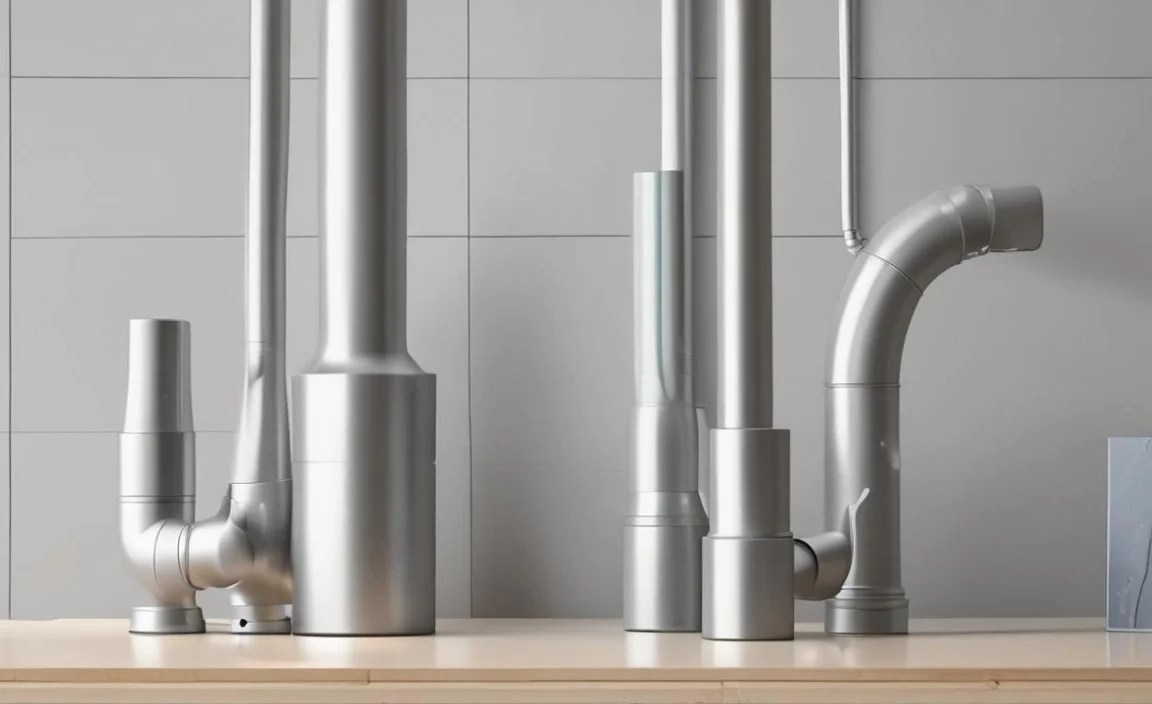
Pipe Material: The Foundation of Your Budget

The type of material you choose for your new pipes is one of the most significant drivers of upgrade pipes cost. Each has its own set of pros, cons, and price points.
Copper: A long-time standard, copper is durable, corrosion-resistant, and can last for decades.
Pros: Excellent durability, resistance to corrosion, longevity, doesn’t leach harmful chemicals.
Cons: More expensive than other options, can be prone to freezing and bursting in extreme cold if not insulated.
Typical Cost: Higher end, often $6-$12 per linear foot for materials alone.
PEX (Cross-linked Polyethylene): A flexible plastic tubing that has become very popular for its ease of installation and durability.
Pros: Flexible, easier and faster to install (reducing labor costs), resistant to freezing and bursting, quiet operation, more affordable than copper.
Cons: Not as long-lasting historically as copper, requires specific fittings, can be damaged by UV light or certain chemicals.
Typical Cost: Very budget-friendly, often $0.50-$3.50 per linear foot for materials.
CPVC (Chlorinated Polyvinyl Chloride): A rigid plastic pipe, similar to PVC but designed to handle hot water.
Pros: Relatively inexpensive, easy to install, resistant to corrosion.
Cons: Can become brittle over time, especially with prolonged exposure to hot water or UV light; some concerns about chemical leaching, though generally considered safe by regulatory bodies like the EPA for potable water.
Typical Cost: Budget-friendly, often $0.75-$4 per linear foot for materials.
Galvanized Steel: Older homes might have this material. While it was once common, it’s now considered outdated for supply lines due to corrosion issues.
Pros: Strong, fire-resistant.
Cons: Prone to rust and corrosion over time, which can lead to clogs, leaks, and discolored water; difficult to work with.
Original Cost: Moderate, but replacement is recommended.
Material Cost Comparison Table
| Pipe Material | Typical Material Cost per Linear Foot | Pros | Cons |
| Copper | $6 – $12 | Durable, long-lasting, corrosion-resistant, safe | Expensive, requires soldering, susceptible to freezing |
| PEX | $0.50 – $3.50 | Flexible, easy to install, freeze-resistant, affordable, quiet | Shorter lifespan than copper, requires specific fittings, UV sensitive |
| CPVC | $0.75 – $4 | Inexpensive, easy to install, corrosion-resistant | Can become brittle, potential chemical leaching concerns over very long term, UV sensitive |
| Galvanized Steel | (Not recommended for new installs) | Strong | Prone to rust and corrosion, lifespan issues, difficult to work with |
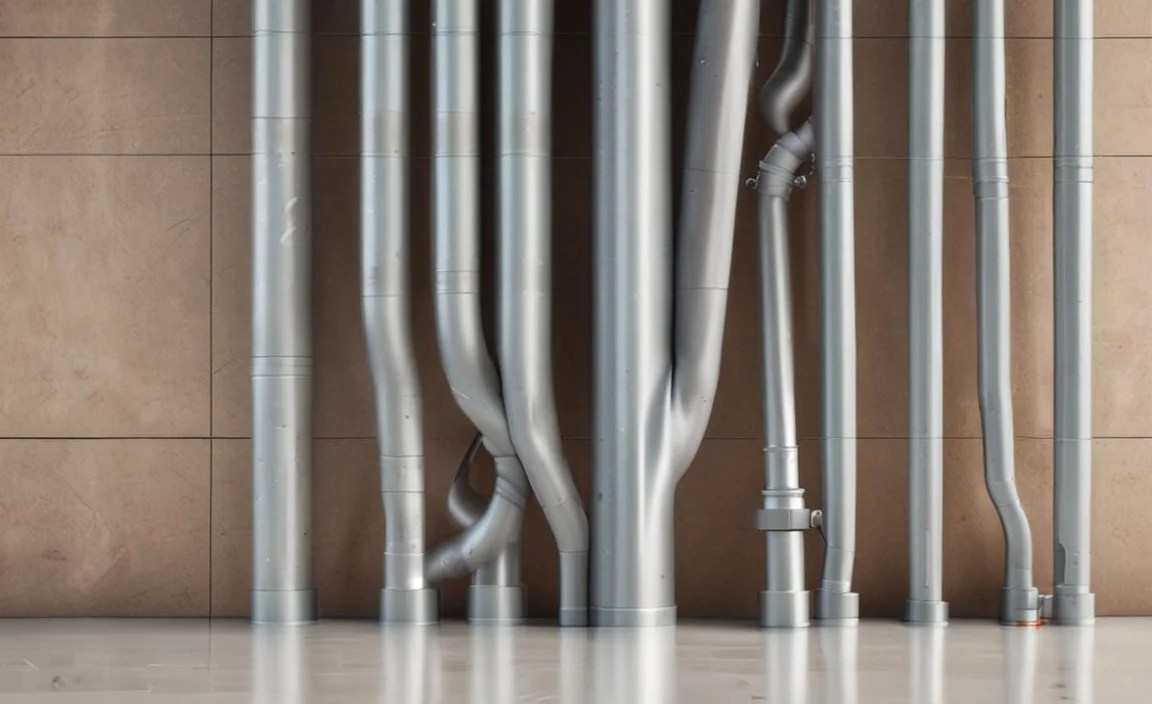
Home Size and Complexity: More Pipes, More Cost

It’s simple math: the bigger your house, the more plumbing lines you likely have. Replacing the main water supply line, or repiping the entire house, in a 3,000-square-foot home will naturally cost more than in a 1,000-square-foot apartment.
Consider these aspects related to home size:
Linear Footage of Piping: More square footage usually means more linear feet of pipe to replace.
Number of Bathrooms and Kitchens: Each of these areas has multiple hot and cold water lines, plus drain/vent lines, all of which might need attention.
Distance from Main Supply: The further pipes have to run from the main water shut-off to fixtures, the more material and labor are involved.
Number of Stories: Multi-story homes can be more complex to repipe, requiring careful planning for routing pipes through floors.
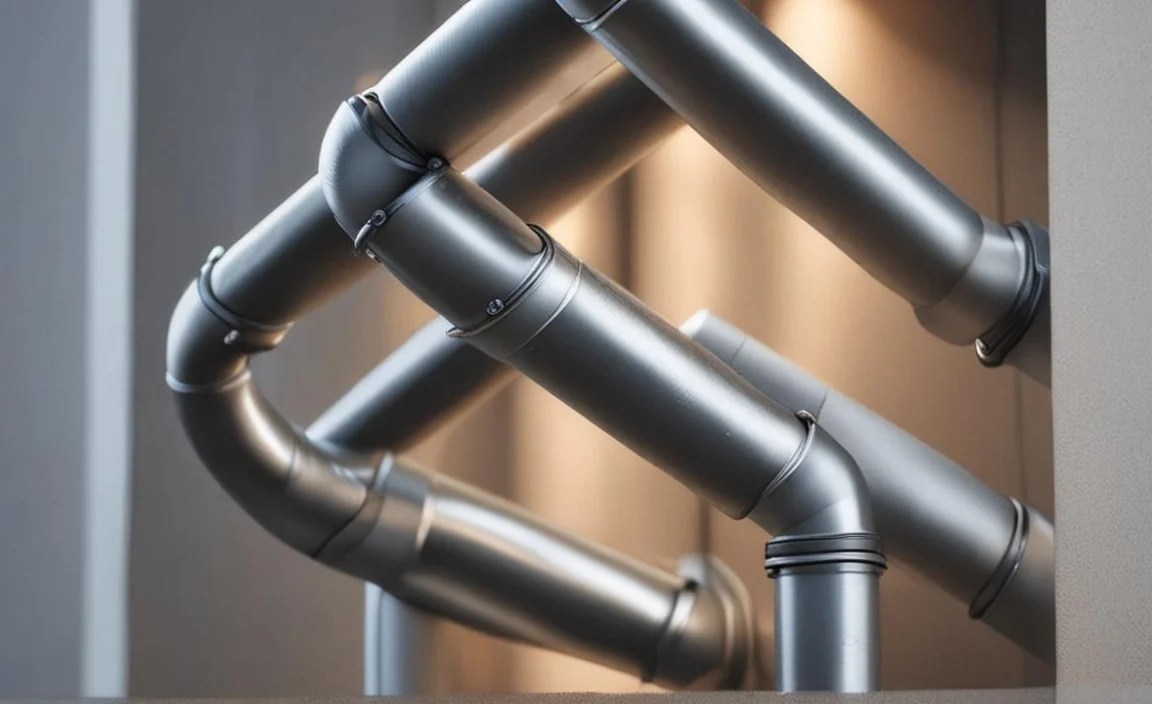
Accessibility: The Hidden Cost Factor
This is often where surprises can add to your upgrade pipes cost. If your plumbing runs through easily accessible areas like a basement or crawl space with plenty of headroom, the job will be quicker and less expensive.
However, if pipes are:
Behind drywall in finished ceilings or walls.
Under solid concrete slabs.
Buried underground and you’re replacing underground lines.
…then the cost will increase. The plumber will need to cut into walls, ceilings, or floors, reroute pipes, and then you’ll need to factor in the cost of repairing that damage (patching drywall, new flooring, painting, etc.). For slab leaks, the cost can escalate quickly due to the intensive demolition and repair needed to access and fix pipe issues under the foundation.
Labor: The Plumber’s Expertise
Labor often makes up a significant portion of the total project cost. Plumbers bring specialized knowledge and tools to ensure the job is done correctly and safely.
Here’s what influences labor costs:
Hourly Rate: This varies widely by geographic location and the plumber’s experience. Expect higher rates in major metropolitan areas.
Time to Complete: A straightforward repipe of easily accessible pipes will take less time than a complex job involving drywall demolition and repair. For a whole-house repipe, this can take several days.
Complexity of the Job: Rerouting pipes around existing electrical wiring, HVAC ducts, or structural elements adds time and requires more skill.
Emergency Services: If you have a burst pipe requiring immediate attention, emergency call-out fees will apply, significantly increasing the cost.
Permits and Inspections: Ensuring Compliance
Most municipalities require permits for significant plumbing work, especially for whole-house repipes or changes to the main water line.
Permit Fees: These fees vary by location and the estimated value of the work. They can range from under $100 to several hundred dollars.
Inspection Costs: The permit process typically involves inspections by a local building code official at various stages of the project. These ensure the work meets safety and code standards.
While these add to the upfront upgrade pipes cost, they are crucial for ensuring the work is done correctly and to code, preventing potential future issues and ensuring you can sell your home without problems.
Unexpected Issues: The “What Ifs”
Even with the best planning, plumbing can be unpredictable. During a repipe, a plumber might uncover:
Rotten wood: From long-term minor leaks.
Mold or mildew: Caused by persistent pipe moisture.
Structural damage: Where pipes once ran through joists.
Other hidden plumbing problems: Like faulty drain lines or vent pipes that weren’t originally scheduled for replacement.
Addressing these issues promptly is vital for the health of your home, but they will add to your total upgrade pipes cost. It’s wise to set aside a contingency fund of 10-20% of your estimated total for these potential surprises.
Estimating Your Upgrade Pipes Cost: A Practical Breakdown
It’s difficult to give a single number for “upgrade pipes cost” because of the many variables. However, we can provide a general range and a way to think about the components of the cost.
Average Costs for Different Scenarios
Here are some rough estimates for common repiping scenarios. These are estimates only and can vary greatly based on the factors discussed above.
Whole-House Repipe: This involves replacing all the water supply lines throughout your home.
Small Home (under 1,500 sq ft): $4,000 – $9,000
Medium Home (1,500 – 2,500 sq ft): $6,000 – $12,000
Large Home (over 2,500 sq ft): $8,000 – $15,000+ (can easily go higher for custom homes or multiple stories)
Partial Repipe: This might involve replacing pipes in a specific area, such as a bathroom or kitchen, or just the main feed line.
Single Bathroom/Kitchen: $1,500 – $4,000
Main Water Line Replacement (from meter to home): $2,000 – $5,000
Drain/Vent Pipe Replacement: If your drain lines are also old, corroded, or broken (often clay pipes in older homes), this is a separate cost.
Partial Drain Replacement: $1,000 – $3,000
Full Drain/Vent System: Can often be similar to or more than a whole-house water supply repipe, depending on complexity and accessibility.
Cost Breakdown Table (Example for a Medium Home Whole-House Repipe)
| Cost Component | Estimated Percentage of Total | Estimated Cost Range | Notes |
| Materials | 20-30% | $1,200 – $3,600 | PEX is on the lower end, Copper on the higher end. Includes pipes, fittings, valves. |
| Labor | 50-60% | $3,000 – $7,200 | Varies by plumber’s rate, complexity, and duration. Includes installation and basic cleanup. |
| Permits & Inspection| 5-10% | $300 – $1,200 | Depends on local municipality and project scope. |
| Drywall/Repair Work | 10-20% | $600 – $2,400 | If access requires cutting into walls/ceilings. May include patching materials but not final painting. |
| Contingency | 10% | $600 – $1,200 | Recommended for unforeseen issues like rotted wood or mold. |
| Total Estimated Cost| 100% | $6,000 – $15,600+| This is a broad estimate for a medium-sized home. |
Note: These figures are illustrative. Always get multiple quotes from qualified professionals for an accurate estimate for your specific home.
Step-by-Step: What to Expect During a Pipe Upgrade
Understanding the process can demystify upgrade pipes cost and the project itself. Here’s a general timeline:
Step 1: Assessment and Quoting
1. Initial Contact: You find a reputable plumber and schedule an in-home consultation.
2. Inspection: The plumber will inspect your current plumbing system, identifying problem areas and discussing your options (materials, scope).
3. Detailed Quote: You’ll receive a written estimate detailing materials, labor, timeline, and any potential additional costs. It’s crucial to get at least 3 quotes to compare.
Step 2: Planning and Permitting
1. Material Selection: You decide on the pipe material (PEX, copper, etc.) and the plumber confirms the quantity needed.
2. Scheduling: Agree on a start date and duration for the project.
3. Permit Application: The plumber (or you, depending on the local process) will apply for the necessary permits from your city or county.
Step 3: The Repiping Process

1. Water Shut-Off: The main water valve to your house will be shut off. You may have limited or no water for the duration of the project.
2. Accessing Pipes: Plumbers will carefully cut into walls, ceilings, or floors as needed to access the existing pipes. They aim to minimize damage.
3. Removing Old Pipes: The old plumbing pipes are disconnected and removed.
4. Installing New Pipes: The new pipes are run using the chosen material and connected to existing fixtures and the main water supply. This is where modern techniques with PEX can make the process faster.
5. Fixture Reconnection: All faucets, toilets, showerheads, and appliances are reconnected to the new plumbing lines.
6. Testing: Once installation is complete, the system is turned back on and thoroughly tested for leaks and proper water flow.
Step 4: Repair and Finishing
1. Drywall and Surface Repair: If walls or ceilings were cut, this is where they are patched.
2. Painting and Final Touches: Painting or other cosmetic finishes may be needed to restore the look of your walls and ceilings.
3. Final Inspection: A city inspector will come to approve the work based on the permit requirements.
Step 5: Project Completion
1. Final Walk-Through: You and the plumber will do a final check to ensure everything is to your satisfaction.
2. Payment and Warranty: Final payment is made, and you’ll receive any warranties on materials and labor.
Be sure to ask your plumber about their post-project cleanup policy. Some include it, while others may expect you to handle it.
DIY vs. Professional: Weighing the Cost and Risk

For a major undertaking like replacing all the plumbing in your home, hiring a professional is almost always the recommended route. While DIY projects can save money, a botched pipe job can lead to catastrophic water damage, mold growth, and costly repairs that far outweigh any initial savings.
When to Call a Professional:
Whole-house repipes: This involves complex systems and code compliance.
Underground pipe replacement: Requires specialized equipment and knowledge.
Slab leak repairs: Significant demolition and structural considerations.
Any job requiring permits and inspections: Professionals are familiar with the process.
If you lack experience with plumbing: Errors can be very expensive.
When DIY Might Be an Option (with extreme caution):
Replacing a single, easily accessible fixture’s supply lines: For example, swapping out a leaky faucet hose or toilet supply line. This is a very small scale.
Learning on small, low-risk projects: Practice on non-critical lines to gain experience.
Even for small DIY tasks, it’s wise to have a plumber’s number handy in case you run into trouble. For peace of mind and a guarantee of quality work, professional installation is key for comprehensive pipe upgrades.
Tips for Managing Your Upgrade Pipes Cost
Budgeting for a repipe can feel overwhelming, but these tips can help you keep costs in check:
Get Multiple Quotes: This is the single most important step. Compare not just price, but also the scope of work, materials offered, warranty, and reputation. Request quotes from at least three licensed and insured plumbers.
Choose Materials Wisely: PEX offers significant cost savings over copper due to both material price and faster installation labor. For most residential applications, PEX is a fantastic, durable.
