
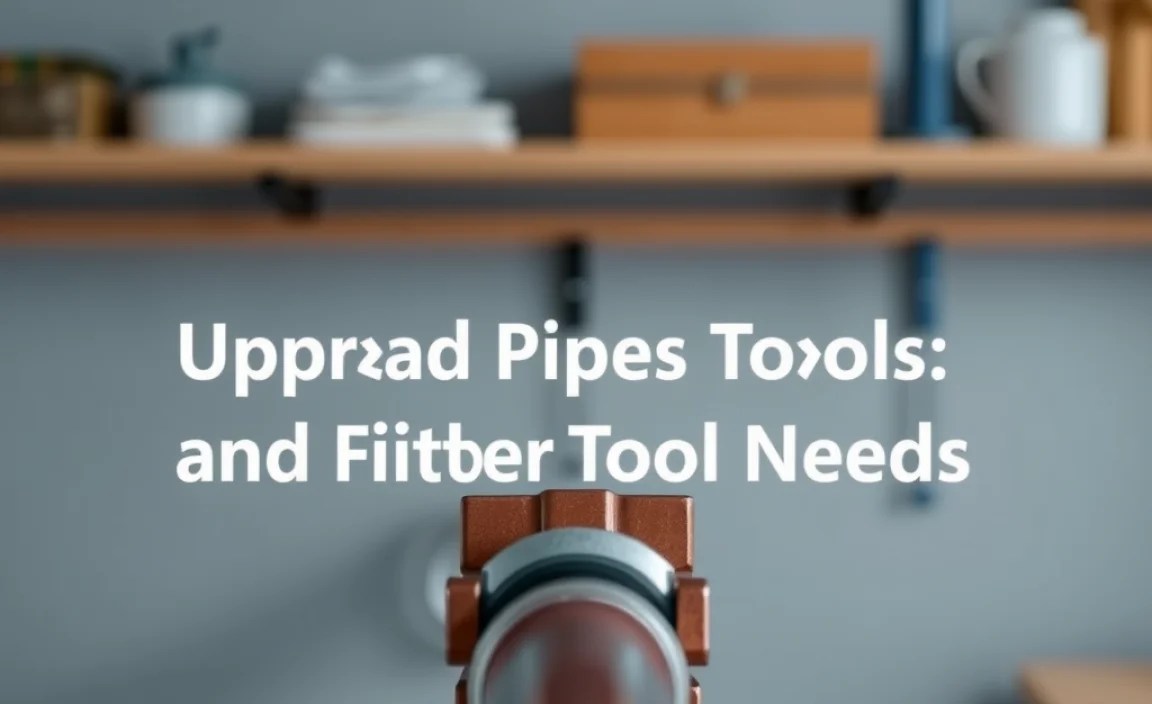
Upgrade your pipes tools for essential fixes by choosing the right wrenches, cutters, and sealants. Investing in quality tools makes plumbing repairs faster, safer, and more effective, empowering you to handle common issues with confidence.
Leaky pipes and clogged drains can be a real headache. You hear that drip, drip, drip, or see water pooling where it absolutely shouldn’t be. It’s enough to make anyone’s day a bit more stressful. But what if I told you that having the right tools can transform these frustrating problems into manageable DIY projects? You don’t need to be a master plumber to tackle many common pipe issues. With a few essential upgrades to your toolkit, you can save time, money, and a whole lot of hassle. This guide will walk you through the must-have tools and simple fixes, making you feel more confident around your home’s plumbing.
We’ll explore the basics of what makes a pipe tool essential, what to look for when upgrading, and how to use these tools for common fixes like leaks, minor clogs, and loose connections. Get ready to turn that plumbing panic into plumbing prowess!
Why Upgrading Pipe Tools Matters

Think of your plumbing tools like your trusty sidekicks for any home repair. If your sidekicks are old, worn out, or just plain wrong for the job, your mission (fixing that leak) becomes incredibly difficult, if not impossible. For a long time, I used whatever generic tools were lying around, and let me tell you, it made life harder than it needed to be. Burst pipes and flooded floors weren’t on my weekend to-do list!
Upgrading your pipe tools isn’t just about having shiny new gadgets; it’s about investing in safety, efficiency, and peace of mind. When you have the correct tools, you can:
- Prevent Further Damage: The right tool applies the right pressure without damaging the pipe or fitting. A wrong tool can strip a bolt or crack a joint, turning a small problem into a big one.
- Work Faster and Smarter: Good tools are designed to grip better, cut cleaner, and seal tighter. This means you spend less time struggling and more time enjoying your day.
- Ensure Reliable Repairs: Quality tools help you achieve professional-grade results, meaning your fixes are more likely to last.
- Improve Safety: Plumbing can involve pressurized water. Using tools that provide a secure grip reduces the risk of slips, water surprises, and potential injuries.
- Save Money: By fixing small issues yourself with the right equipment, you avoid expensive emergency plumber call-outs.
So, taking the time to choose and upgrade your pipe tools is a foundational step for any homeowner or DIY enthusiast who wants to keep their home running smoothly. It’s an investment that pays off quickly.
Essential Pipe Tools Every Homeowner Should Have

When you’re starting out, it’s easy to feel overwhelmed by the sheer number of tools available. For plumbing tasks, however, a core set of versatile and reliable tools will see you through most common issues. I’ve found that focusing on a few key categories and investing in quality within those categories is the best approach. Below are the absolute essentials that will make a significant difference in your DIY plumbing journey.
1. Pipe Wrenches: The Gripping Champions
Pipe wrenches are your go-to for gripping and turning pipes, especially when a regular wrench just won’t cut it. Their adjustable, toothed jaws are designed to bite into round surfaces. For most homes, having a couple of sizes is ideal.
- Adjustable Pipe Wrench: This is the workhorse. Look for one with a robust jaw mechanism and a comfortable, non-slip handle. Sizes like 10-inch and 14-inch are very versatile.
- Straight Pipe Wrench: Similar to the adjustable, but the handle is in line with the jaws.
- Offset Pipe Wrench: These have jaws angled differently, allowing you to work in tight spaces or around obstructions.
What to look for: Cast iron or high-strength steel construction for durability, a smooth adjustment mechanism, and sharp, well-defined teeth for a secure grip. Brands like Ridgid are often considered professional-grade, but many reputable brands offer excellent quality for home use.
2. Pipe Cutters: For a Clean Break
When you need to cut pipes, especially for replacement or when fitting new components, you need a clean, precise cut. Using a saw can leave rough edges that then require a lot of work to clean up, potentially leading to leaks.
- Tubing Cutter (Copper/Plastic): These are specifically designed for copper and plastic pipes. They work by tightening a wheel that cuts through the pipe as you rotate the tool. Look for models that offer smooth rotation and a clean-cutting wheel.
- Ratchet Pipe Cutter: For larger plastic pipes (like PVC or PEX), a ratchet-style cutter is often easier to use. You squeeze the handles, and it cuts through the pipe with a powerful ratchet action.
What to look for: Sharp, hardened steel cutting wheels are crucial. Ensure the cutter is appropriate for the type and size of pipe you’ll be working with. For copper pipes, a flare-nut type cutter can also be very useful. You can learn more about different types of plumbing pipe at HUD’s guide to plumbing.
3. Pliers: Versatile Gripping and Turning
While pipe wrenches handle the heavy-duty pipe turning, several types of pliers are invaluable for other plumbing tasks, from holding nuts to pulling small objects.
- Groove-Joint Pliers (Channel Locks): These are incredibly versatile, with multiple adjustment points allowing you to grip pipes, nuts, bolts, and other irregularly shaped objects. They are essential for a wide range of plumbing tasks beyond just pipes.
- Slip-Joint Pliers: A more basic plier, good for general gripping and bending.
- Needle-Nose Pliers: Handy for reaching into tight spots to grab small items or for delicate work.
What to look for: Strong, comfortable handles that offer good grip. For groove-joint pliers, a smooth and secure locking mechanism is important.
4. Pliers vs. Wrenches: When to Use Which
It’s important to know the difference and when to use each tool:
| Tool Type | Primary Use | Best For | Things to Note |
|---|---|---|---|
| Pipe Wrench | Gripping and turning round pipes and fittings. | Tightening/loosening pipe joints, holding pipes steady. | Can damage softer metal pipes if overtightened; uses teeth for grip. |
| Groove-Joint Pliers (Channel Locks) | Versatile gripping for various shapes and sizes. | Holding nuts, gripping irregular objects, light pipe turning. | Less aggressive grip than a pipe wrench; better for softer metals or when fine control is needed. |
| Adjustable Wrench (Open-End) | Grips flat or hexagonal surfaces (nuts, bolts). | Plumbing fixtures with exposed nuts (e.g., faucet connections). | Not suitable for gripping round pipes. |
5. Thread Sealant and Tape: For Watertight Connections
Even with tight fits, the threads on pipes need a little help to seal perfectly and prevent leaks. This is where thread sealants and tape come in.
- PTFE Tape (Teflon Tape): This white tape wraps around the external threads of a pipe. It acts as a lubricant to help tighten the joint and also fills any small gaps to prevent leaks under pressure.
- Pipe Dope (Thread Sealant Compound): This paste is applied to the threads. It serves a similar purpose to PTFE tape – lubricating for easier tightening and creating a seal. Some pipe dopes also have hardening properties for a more permanent seal on certain applications.
What to look for: Ensure you purchase tape or sealant that is rated for the type of piping you are using (e.g., gas, water, specific plastics). For water lines, standard white PTFE tape is usually sufficient. For more demanding applications, look for thicker, often pink or yellow, tapes designed for gas lines or certain industrial uses. Always check the product’s specifications for compatibility.
6. Basin Wrench: Reaching the Inaccessible
Ever tried to tighten or loosen the nuts holding your faucet in place? It’s often a frustrating job because the space is so cramped. A basin wrench is specifically designed for this!
- Basin Wrench: This tool has a long shaft with pivoting jaws at the end. The jaws can grip nuts from above or below, making it ideal for working in the tight space behind a sink or tub.
What to look for: A flexible or telescoping shaft can be very helpful for different sink depths and configurations. Strong, durable jaws are essential for a good grip. Though specialized, it’s a lifesaver for faucet and drain assembly/disassembly.
7. Plumber’s Putty: Sealing Fixtures
This is a soft, pliable compound used to create a watertight seal between plumbing fixtures and the surface they are mounted on, like under the base of a faucet or around a drain flange in a sink.
- Plumber’s Putty: It stays pliable and doesn’t harden, allowing for adjustments. It’s crucial for preventing water from seeping into the countertop or vanity.
What to look for: Ensure it’s specifically labeled as plumber’s putty. Avoid substituting with other types of putty, as they may not offer the same sealing properties or could react negatively with certain countertop materials. For granite or porous surfaces, a silicone sealant might be a better alternative as putty can stain.
Common Plumbing Fixes Made Easy with the Right Tools

Now that you’ve got a handle on the essential tools, let’s look at how they can help you tackle some of the most common plumbing annoyances. You’ll be surprised at how much you can accomplish with these basics!
Fixing a Leaky Faucet or Pipe Joint
A dripping faucet or a slow drip under a sink can waste a lot of water and be incredibly annoying. Often, the cause is a loose connection or worn-out washer, but sometimes it’s simply the threads not being sealed properly.
- Shut Off the Water: This is the MOST important first step. Locate the shut-off valves beneath the sink or, if those aren’t working, the main water shut-off for your house. Turn them clockwise until snug.
- Disassemble the Leaky Area: If it’s a faucet, you might need to remove the handle and spout. For a pipe joint that’s leaking, you’ll likely need to loosen the connection slightly. Use your pipe wrench or groove-joint pliers here, being careful not to overtighten or damage the pipe.
- Inspect and Clean: Check for worn-out washers, O-rings, or any visible damage to the pipe or fitting. Clean any mineral buildup or debris from the threads.
- Apply New Sealant: If you’re reassembling a threaded joint, clean the male threads thoroughly. Apply a few wraps of PTFE tape clockwise around the threads, or apply a thin, even layer of pipe dope. Important: Wrap tape or apply dope in the direction the fitting will be tightened.
- Reassemble and Tighten: Put everything back together. For threaded pipe joints, use your pipe wrench to tighten the connection firmly, but don’t overtighten. You want a snug, leak-proof seal.
- Turn Water Back On: Slowly turn the water supply back on and check for leaks. If it still drips, you may need to tighten slightly more, or investigate further for damaged parts.
The basin wrench is your secret weapon here if the leak is from the faucet mount itself, allowing you to secure the nuts that hold the faucet body to the sink.
Clearing Minor Clogs (Sink or Toilet)
While severe clogs might require a professional, many minor blockages can be cleared with simple tools.
- For Sink Drains:
- Plunger: A good rubber-rimmed plunger is essential. Ensure a tight seal around the drain opening. Fill the sink with a few inches of water (enough to submerge the plunger cup) to create suction. Plunge with a firm up-and-down motion. Repeat several times.
- Drain Snake (Auger): For clogs further down, a small manual drain snake can be very effective. Feed the snake into the drain, turn the handle to engage any blockage, and pull it back out. You can often find these at hardware stores.
- Check the U-trap: If the above doesn’t work, a clog might be in the U-shaped pipe under your sink (U-trap). Place a bucket underneath, loosen the slip nuts on either side of the U-trap with groove-joint pliers, and remove it. Clean out any debris. Reassemble, ensuring seals are tight.
- For Toilet Clogs:
- Toilet Plunger: Use a toilet plunger specifically designed for toilets, which has an extended flange. Again, ensure a good seal and plunge vigorously.
- Toilet Auger (Closet Auger): This is a specialized, short-necked auger designed to dislodge clogs in the toilet’s trap without scratching the porcelain.
Always start with the least invasive method. Harsh chemical drain cleaners can damage pipes and are not as effective or eco-friendly as mechanical methods using the right tools.
Tightening Loose Connections
Sometimes, a connection might just feel a little loose, leading to minor drips or even a slow seep. This is common in older homes or after some settling.
- Identify the Loose Connection: Carefully examine your pipes, especially around joints, valves, and fixtures. Feel for any movement or moisture.
- Use the Appropriate Wrench: For larger pipes, use a pipe wrench to hold one side of the fitting steady while using another pipe wrench to tighten the other side. For fixture connections (like under the sink), you might use groove-joint pliers or an adjustable wrench on nuts.
- Tighten Gradually: Turn the wrenches clockwise to tighten. Apply steady pressure. You don’t need to muscle it; usually, a firm snug is all that’s required. If you encounter significant resistance, stop and investigate for cross-threading or damage.
- Test for Leaks: Run water through the system or turn the supply back on to check if the tightness has resolved the issue.
Replacing a Worn Washer or Seal
Many leaks, especially in older faucets or outdoor hose bibs, are caused by a worn-out rubber washer or O-ring. Replacing these is a simple but often overlooked fix.
- Shut Off Water: As always, turn off the water supply to the fixture.
- Disassemble the Fixture: This will vary depending on the faucet. You might need to remove a handle, decorative cap, and then access the valve stem.
- Identify and Remove the Washer/Seal: The washer is usually held in place by a screw at the bottom of the valve stem. O-rings often sit in grooves on the stem or within the faucet body. A small flathead screwdriver or pick can help gently remove them.
- Take the Old Part to the Store: If possible, bring the old washer or O-ring to your local hardware store to find an exact replacement. They come in many sizes!
- Install the New Part: Fit the new washer or O-ring into place.
- Reassemble and Test: Put the faucet back together and turn the water on to check for leaks.
Understanding Pipe Materials and Their Tool Needs
The type of pipe material in your home significantly influences the tools and techniques you’ll need. Modern plumbing systems use a variety of materials, each with its own advantages and specific tool requirements.
Copper Pipes
Copper is a popular choice for its durability and resistance to corrosion. However, it requires specific tools for cutting and joining.
- Cutting: A dedicated copper tubing cutter provides a clean, burr-free cut essential for proper soldering or compression fitting. Using a hacksaw can create uneven edges that will leak if not meticulously reamed.
- Joining: Copper pipes are typically joined by soldering (sweating) or using compression fittings or press fittings.
- Soldering: Requires a torch, flux, solder, and pipe reamer/cleaner for preparation.
- Compression Fittings: These use nuts and ferrules that, when tightened with wrenches, create a watertight seal around the pipe. This is a tool-free (beyond wrenches) method.
