
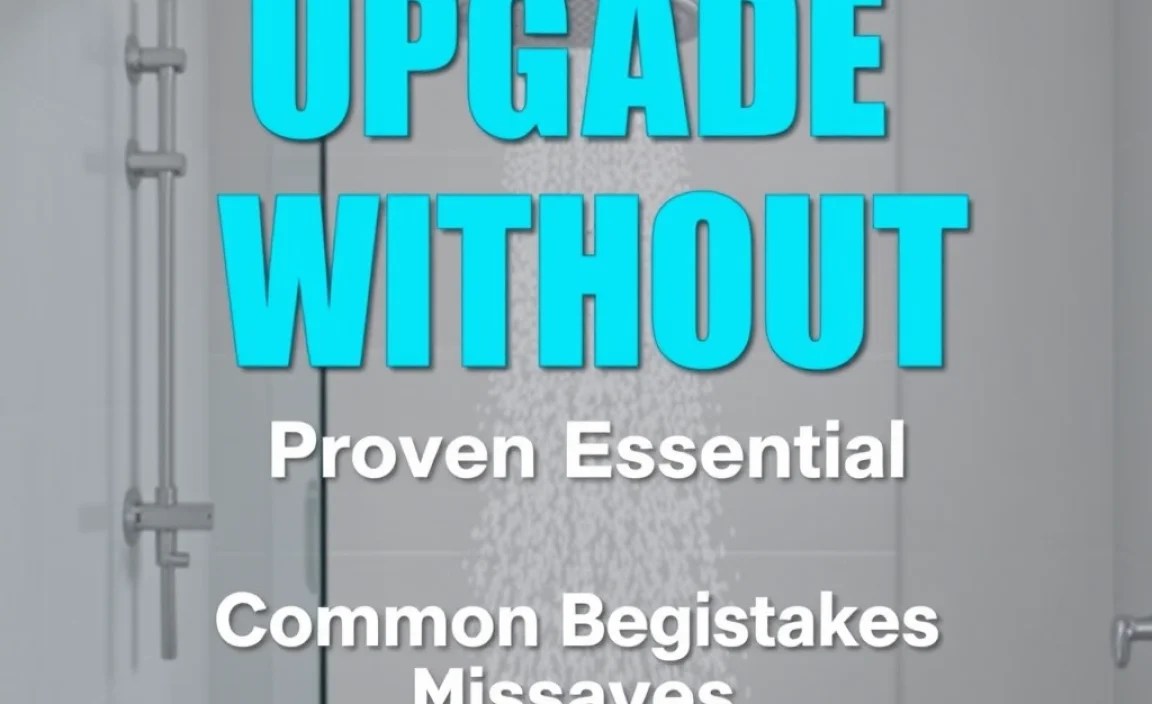
Yes, you can absolutely upgrade your shower without a plumber by choosing simple replacements like a new showerhead, handle, or even a liner. These DIY projects require minimal tools and offer a significant visual and functional improvement to your bathroom, saving you time and money.
Tired of that dull, outdated shower? Dreaming of a spa-like experience but worried about the cost and hassle of calling a professional? You’re not alone! Many homeowners think bathroom upgrades mean major renovations and expensive plumbers. But the truth is, you can give your shower a fantastic facelift without ever touching a pipe. We’re talking about simple, effective changes that make a huge difference.
This guide will walk you through the easiest and most impactful ways to upgrade your shower yourself. No fancy tools or plumbing degrees needed – just a little bit of courage and our clear, step-by-step instructions. Get ready to transform your morning routine and impress yourself with what you can achieve!
We’ll cover everything from picking the right showerhead to installing stylish new hardware, all while keeping safety and simplicity at the forefront. Let’s dive in!
Why Upgrade Your Shower Yourself?

The desire for a fresh, modern bathroom is universal. However, the idea of a plumbing project can be intimidating. Here’s why taking on shower upgrades yourself is a smart move:
- Cost Savings: Plumbers’ rates can add up quickly. By doing it yourself, you’re cutting out the labor costs, which often represent a large portion of a professional job.
- Personalization: You have complete control over the style, finish, and functionality of your new shower components. Want a rainfall showerhead? A sleek brushed nickel handle? You choose exactly what fits your taste and needs.
- Speed and Convenience: Instead of waiting for an appointment, you can tackle these projects on your own schedule, often completing them in just a few hours.
- Sense of Accomplishment: There’s a unique satisfaction in improving your home with your own hands. It builds confidence for future DIY endeavors!
- Environmental Benefits: Many new showerheads are designed for water conservation, which is good for your utility bills and the planet.
Essential Upgrades You Can Do Without a Plumber

You don’t need to be a master craftsperson to make significant improvements to your shower. Here are the upgrades that are perfectly suited for DIYers:
1. Swapping Out the Showerhead
This is the most popular and easiest shower upgrade. A new showerhead can change the entire feel of your shower, offering better pressure, different spray patterns, or even water-saving technology.
What You’ll Need:
- New showerhead
- Adjustable wrench or pliers
- Teflon tape (plumber’s tape)
- Old rag or cloth
Step-by-Step Guide:
- Turn off the water: While not strictly necessary for just the showerhead, it’s always good practice. Ensure the shower faucet is turned off at the handle.
- Remove the old showerhead: Place your rag around the shower arm (the pipe coming out of the wall) to protect the finish. Use your adjustable wrench or pliers to grip the old showerhead and twist it counter-clockwise. It should unscrew easily. If it’s stuck, a little gentle leverage should do the trick.
- Clean the shower arm threads: Once the old head is off, you’ll see threads on the end of the shower arm. Remove any old Teflon tape or residue with your rag.
- Apply new Teflon tape: Wrap new Teflon tape clockwise around the threads of the shower arm, typically 3-4 wraps. This creates a watertight seal.
- Install the new showerhead: Hand-tighten the new showerhead onto the shower arm by twisting it clockwise. Make sure it’s snug. Some showerheads come with a rubber washer; ensure it’s in place.
- Tighten with a wrench (gently!): Use your wrench or pliers to give the showerhead an additional quarter to half turn clockwise. Be careful not to overtighten, as this can damage the threads.
- Test for leaks: Turn on the water to test your new showerhead. Check around the connection point for any drips. If you see any, try tightening it a little more or reapply Teflon tape.
Benefits of a New Showerhead:
- Improved Water Pressure: Fixes low-volume issues.
- Multiple Spray Settings: From gentle mist to powerful massage.
- Water Efficiency: Modern heads can save gallons of water per minute. You can find resources on water efficiency from the EPA WaterSense program.
- Modern Aesthetics: Instantly updates your shower’s look.
2. Replacing the Shower Faucet Handle and Trim
The shower handle and trimplate are the “face” of your shower controls. When they look worn or don’t match your bathroom’s style, replacing them can make a dramatic difference.
What You’ll Need:
- New faucet handle and trim kit (ensure it’s compatible with your existing valve—this is crucial!)
- Screwdriver (Phillips and/or flathead, depending on your kit)
- Allen wrench (often included with the new kit or a standard set)
- Pliers or slip-joint pliers
- Putty knife or flathead screwdriver (for prying trims)
- Rag
Step-by-Step Guide:
- Identify your valve type: This is the most critical step for compatibility. Most DIY replacements involve updating the trim (handle, escutcheon plate) while keeping the internal valve cartridge the same. Look for manufacturer names on your current trim. If unsure, take photos of your existing handle and trim to a hardware store for assistance.
- Remove the old handle: Look for a small set screw, usually on the underside or side of the handle. It might be hidden by a decorative cap. Use the appropriate screwdriver or Allen wrench to loosen and remove this screw. Once loose, the handle should pull straight off the valve stem.
- Remove the old trim plate (escutcheon): The trim plate is the decorative plate behind the handle. It’s usually held in place by screws, or sometimes by a threaded sleeve. Unscrew any visible screws. If there are no screws, you might need to gently pry the plate away from the wall using a putty knife or flathead screwdriver, protecting the wall with a rag.
- Remove the old sleeve or adapter (if applicable): Some older trims have a decorative sleeve that slides over the valve body. This may need to be unscrewed or pried off.
- Clean the valve area: Wipe down the exposed valve body and the wall around it.
- Install the new trim: Follow the instructions provided with your new kit. Typically, this involves:
- Sliding on any new sleeves or adapters.
- Mounting the new escutcheon plate. Some plates screw directly into the wall, while others attach to the valve body itself, often with an included threaded adapter.
- Attaching the new handle. Slide it onto the valve stem and secure it with the new set screw.
- Test the controls: Turn on the water and test the handle to ensure it operates smoothly and controls hot/cold water correctly. Check for any leaks around the trim.
Pro Tip: When buying a new trim kit, it’s essential that it’s compatible with your existing shower valve cartridge. If you’re unsure, stick to replacing just the handle and escutcheon plate, and choose a kit from the same manufacturer as your current setup.
3. Installing a Shower Liner or Wall Panels
For a more significant visual upgrade, especially if your existing tile is damaged or outdated, a shower liner or wall panel system can be a game-changer. These systems are designed to fit over existing shower walls.
What You’ll Need:
- Shower liner or wall panel kit
- Caulking gun
- Mildew-resistant silicone caulk
- Utility knife
- Measuring tape
- Level
- Screwdriver and drill (may be needed for some panel systems)
- Adhesive (often included with kits, or an appropriate construction adhesive)
- Cleaning supplies (degreaser, cloths)
Step-by-Step Guide (General):
- Thoroughly clean the existing shower walls: This is crucial for proper adhesion. Remove all soap scum, mildew, and old caulk. A degreaser is highly recommended.
- Read the manufacturer’s instructions carefully: Each kit will have specific installation requirements.
- Measure and cut (if necessary): Some kits are pre-sized, while others require trimming to fit your shower dimensions.
- Apply adhesive: Follow the kit’s instructions for applying adhesive to the back of the liner or panels, or directly to the shower wall.
- Position and press: Carefully place the liner or panels onto the wall, starting from the top or a corner. Press firmly to ensure good contact and remove any air bubbles. Use a level to ensure straightness.
- Caulk all seams and edges: Once the panels are in place, apply a generous bead of mildew-resistant silicone caulk around all edges, corners, and where two panels meet. This prevents water from getting behind the new surface. Smooth the caulk with your finger or a caulk tool.
- Allow to cure: Let the adhesive and caulk cure for the time recommended by the manufacturer before using the shower.
External Resource: For more detailed guidance on proper bathroom tiling and waterproofing, you can consult resources from organizations like the Tile Council of North America (TCNA Technical Data), which offers comprehensive installation standards.
4. Upgrading the Shower Drain Cover
This is a very minor upgrade, but can subtly enhance the aesthetic of your shower floor. Replacing the drain cover is usually a simple screw-off, screw-on job.
What You’ll Need:
- New drain cover
- Screwdriver (often flathead or Phillips)
- Pliers (sometimes needed to lift the old drain)
Step-by-Step Guide:
- Remove the old drain cover: Most drain covers are held in place by one or two screws. Unscrew them. If there are no visible screws, the cover might have a type of pop-up mechanism or simply lift out. You may need to gently pry it up with a flathead screwdriver or pliers.
- Clean the drain area: Wipe away any debris or gunk.
- Install the new drain cover: Align the new cover and secure it with the provided screws.
5. Installing a Shower Curtain Rod and Shower Curtain
While simple, a stylish shower curtain rod and a new curtain can completely change the look of your shower area. Some rods can be installed without drilling.
What You’ll Need:
- Tension shower curtain rod or a fixed rod with mounting hardware
- Drill and drill bits (if installing a fixed rod)
- Level
- Screwdriver
- New shower curtain and liner
- Shower curtain rings
Step-by-Step Guide (Tension Rod):
- Clean the wall where the rod will be placed.
- Twist the rod to extend it slightly beyond the width of your shower opening.
- Position the rod at the desired height.
- Twist the rod to create tension between the two walls. Ensure it’s secure by gently pulling down on it.
- Hang your new curtain rings and shower curtain/liner.
Step-by-Step Guide (Fixed Rod – requires drilling):
- Determine mounting height using a level.
- Mark screw hole positions on the wall.
- Drill pilot holes and insert wall anchors if needed.
- Screw the rod brackets securely to the wall.
- Attach the rod and hang your curtain.
DIY Tip: For a more luxurious feel, consider a decorative curtain rod and a fabric shower curtain with a waterproof liner.
Tools Every DIYer Should Have for Shower Upgrades

You don’t need a professional toolbox, but a few essential tools will make these upgrades go much smoother and safer.
| Tool | Purpose | Beginner-Friendly Uses |
|---|---|---|
| Adjustable Wrench | Tightening and loosening various nuts and bolts. | Removing/installing showerheads, working on faucet connections. |
| Pliers (Slip-Joint) | Gripping, bending, and cutting. | Holding shower arms steady, removing stubborn parts. |
| Screwdriver Set (Phillips & Flathead) | Driving and removing screws. | Removing faucet handles, trim plates, drain covers. |
| Teflon Tape (Plumber’s Tape) | Creating watertight seals on threaded pipes. | Essential for showerhead installation. |
| Caulking Gun | Applying sealant smoothly and evenly. | Sealing shower liners, wall panels, and around fixtures. |
| Utility Knife | Cutting various materials. | Trimming shower liners or caulk. |
| Level | Ensuring horizontal or vertical alignment. | Installing straight shower curtain rods or wall panels. |
| Measuring Tape | Accurate measurements. | Checking dimensions for shower liners/panels, rod placement. |
Safety First! Important Considerations

Even though these are DIY-friendly projects, safety is paramount. Always remember:
- Water Shut-Off: For any job beyond just the showerhead or curtain, it’s wise to shut off the main water supply to your home. This prevents unexpected leaks and water damage. If you’re unsure how to do this, consult your water utility company or a professional for guidance.
- Electricity: Be mindful of any electrical outlets or fixtures near your work area. Keep tools and materials away from them.
- Eye Protection: Wear safety glasses to protect your eyes from falling debris or splashing water.
- Protective Gear: Gloves can protect your hands from sharp edges or chemicals.
- Read Instructions: Always read the manufacturer’s instructions for any new product you’re installing.
- Don’t Force It: If something feels stuck or requires excessive force, stop. You might be missing a step or using the wrong tool. Forcing parts can lead to breakage and more costly repairs.
Common Beginner Mistakes to Avoid
We all make mistakes when learning! Being aware of these common pitfalls can help you avoid them:
- Wrong Part Compatibility: Forgetting to check if a shower trim kit matches your existing valve cartridge is a frequent error. This can lead to leaks or the inability to install the new parts at all.
- Overtightening: Especially with showerheads, overtightening can strip threads or crack fittings, leading to leaks. Snug is usually sufficient.
- Insufficient Cleaning: For adhesive-backed items like shower liners or panels, failing to clean and degrease the walls thoroughly will result in peeling or a failed installation.
- Improper Sealing: Not using enough caulk or using the wrong type of caulk (non-waterproof, non-mildew-resistant) can lead to water damage behind your new surfaces.
- Skipping Teflon Tape: Failing to use plumber’s tape on threaded connections like showerheads is a guaranteed way to get drips.
- Not Testing: Rushing through the installation without testing for leaks can lead to water damage that’s much harder to fix than a simple drip.
Frequently Asked Questions (FAQ)
Q1: How long does it typically take to upgrade a showerhead?
A1: Replacing a showerhead is usually a quick job, often taking about 15-30 minutes from start to finish, including cleanup.
Q2: Do I need to turn off my water to change the showerhead?
A2: For just the showerhead, it’s generally not strictly necessary as the valve controls the water flow to the shower.
