
Wall-mounted towel racks offer a fantastic return on investment (ROI) by instantly upgrading bathroom functionality, organization, and style with minimal effort and cost. They’re a smart DIY project that maximizes space and adds practicality, making them a genius upgrade for any home.
Tired of towels cluttering your bathroom floor or struggling to find a clean, dry spot for multiple towels? You’re not alone! A messy bathroom can feel stressful, but the solution can be surprisingly simple and affordable. Wall-mounted towel racks are a game-changer, turning chaos into calm with a few easy steps. They’re a DIY project that even beginners can master, bringing a touch of professional polish and much-needed order to your space. Get ready to discover how these simple upgrades boost your home’s functionality and look.
Understanding the ROI of Wall-Mounted Towel Racks

When we talk about “ROI” or Return on Investment, it usually means getting your money’s worth back, often financially. For home upgrades, ROI can also mean improvements in convenience, aesthetics, and functionality. Wall-mounted towel racks, while a small investment, deliver an incredibly high ROI in these areas. They aren’t just places to hang towels; they are smart additions that enhance your daily living.
Why Are They a Genius Upgrade?
Space Maximization: Bathrooms, especially smaller ones, often lack adequate storage. Towel racks utilize vertical wall space, freeing up valuable floor and counter space. This makes your bathroom feel larger and more organized.
Improved Hygiene & Drying: Proper air circulation from hanging towels on racks helps them dry faster, reducing the growth of mildew and bacteria. This means fresher towels for you and your family.
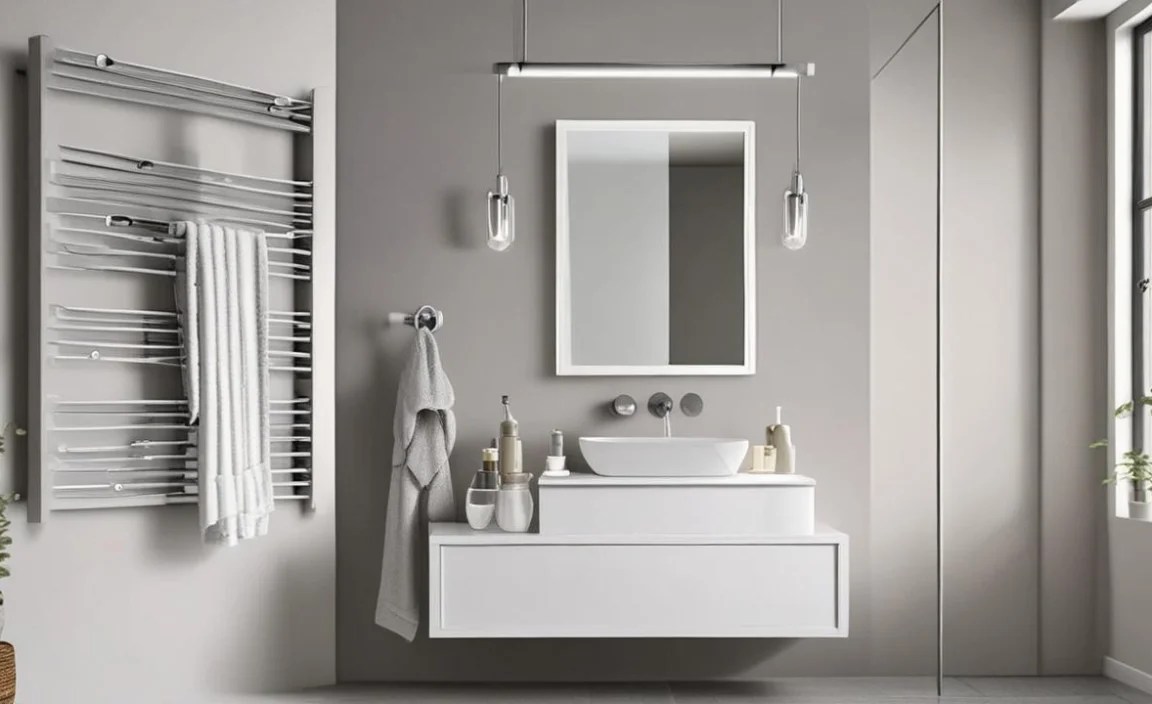
Enhanced Aesthetics: A stylish towel rack can significantly elevate the look of your bathroom, much like a piece of art. They come in various designs, materials, and finishes to match any décor.
Organization & Convenience: Having dedicated spots for towels means no more searching or stepping over damp fabric. Everyone knows where to hang their towel, keeping the space tidy.
Cost-Effectiveness: Compared to major renovations, installing towel racks is a very low-cost upgrade that delivers immediate benefits. The improvement in daily life far outweighs the purchase and installation price.
Types of Wall-Mounted Towel Racks for Your Home

Choosing the right towel rack depends on your needs, style, and the layout of your bathroom. Here’s a look at common types:
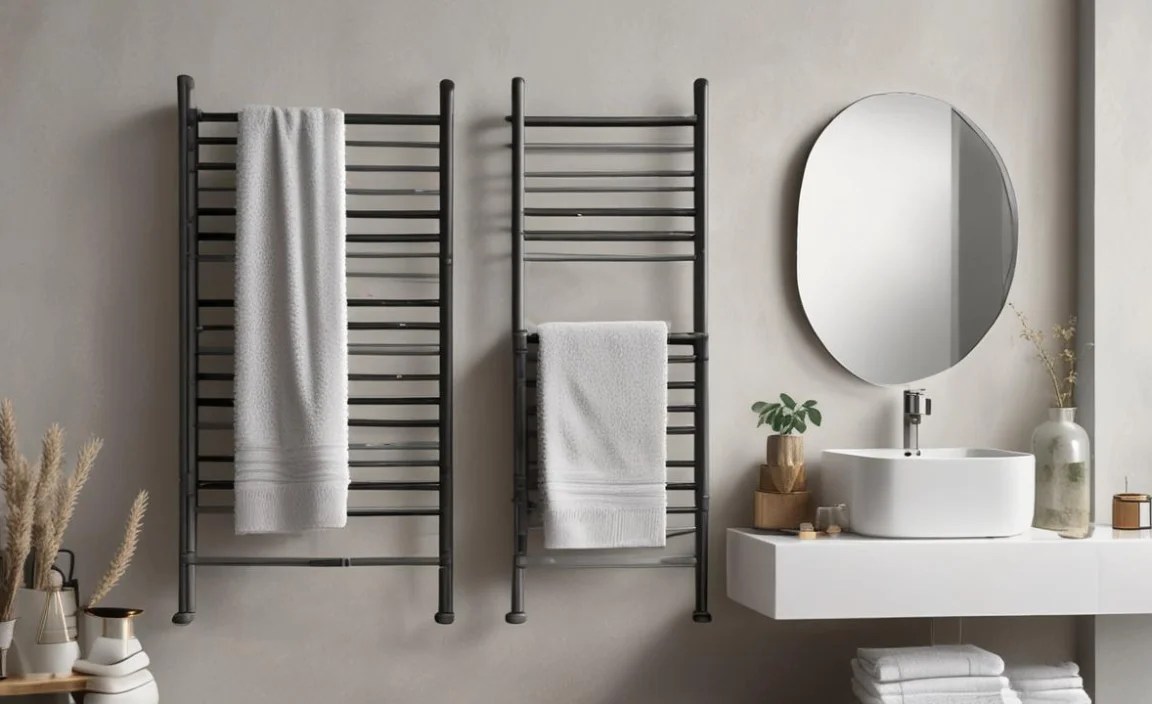
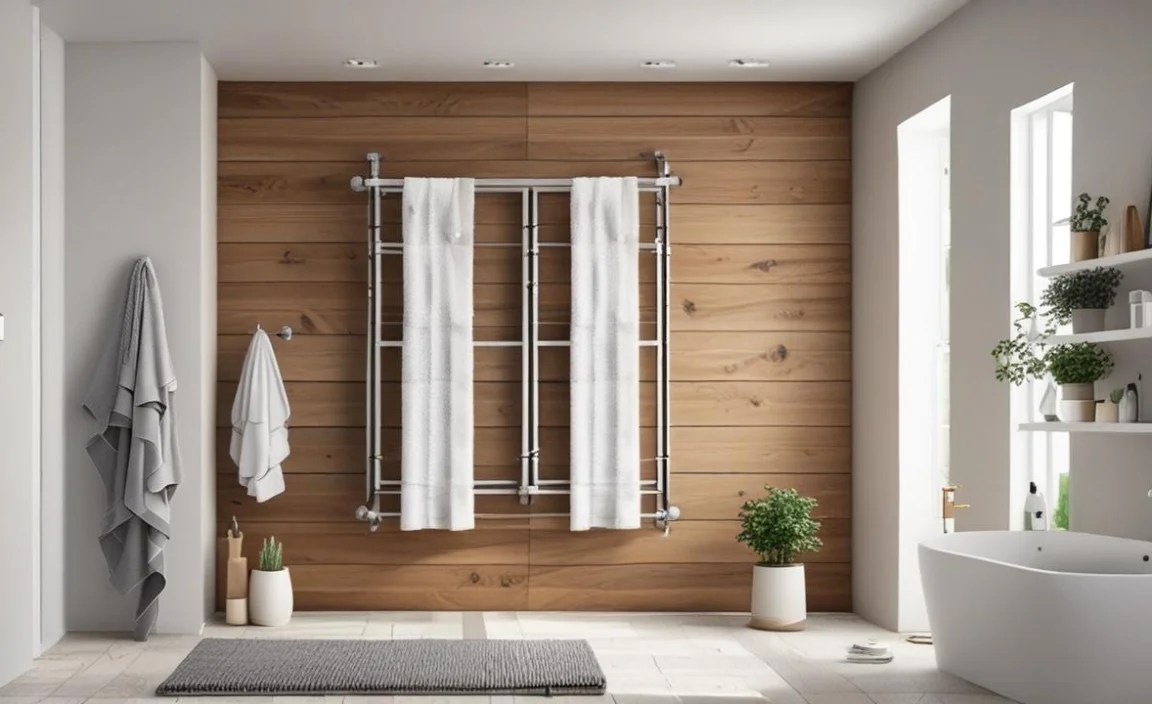
Towel Bars: These are the most traditional type, featuring one or more horizontal bars to hang towels. They can range from single bars for a guest towel to double or even triple bars for larger households.
Best for: Drying multiple towels, easy access.
Considerations: Needs wall space for the bar itself.
Towel Rings: These are circular racks, ideal for a single hand towel or a small bath towel. They offer a compact and often decorative solution.
Best for: Hand towels near sinks, small spaces.
Considerations: Not ideal for larger bath towels to dry thoroughly.
Towel Hooks: Simple and versatile, hooks can hold one towel each. They are great for a mix-and-match approach, allowing different family members to have their own hook.
Best for: Individual towels, children’s towels, robes.
Considerations: Can look cluttered if too many are used for bath towels.
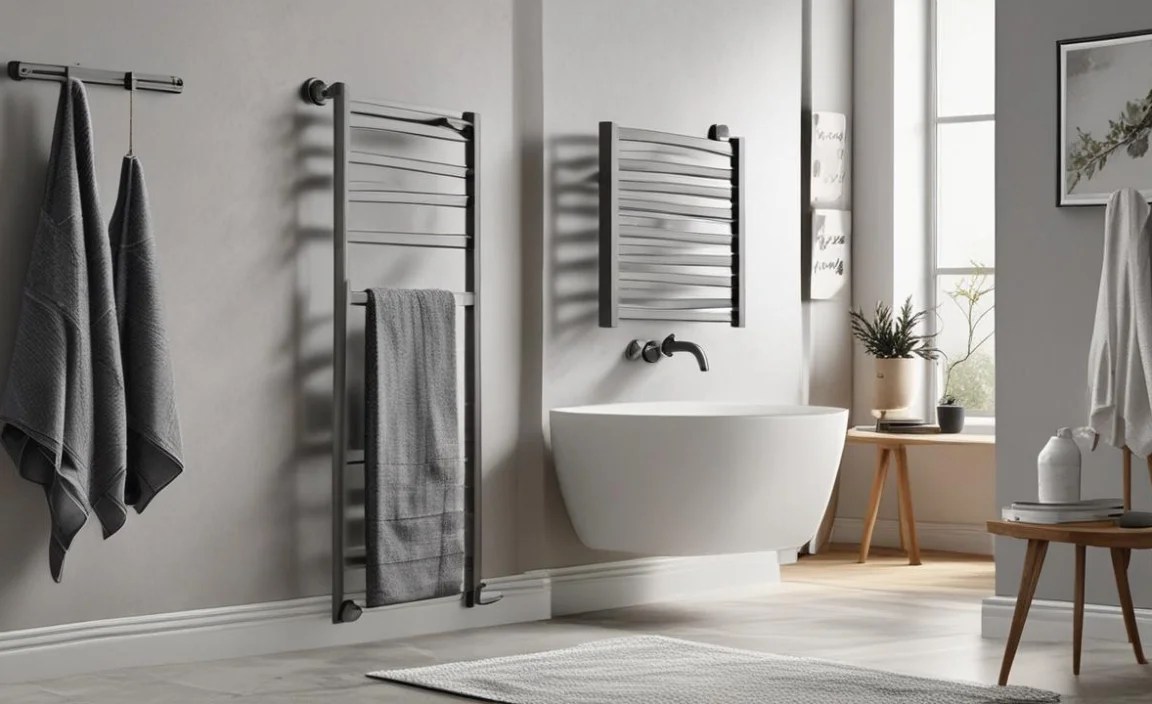
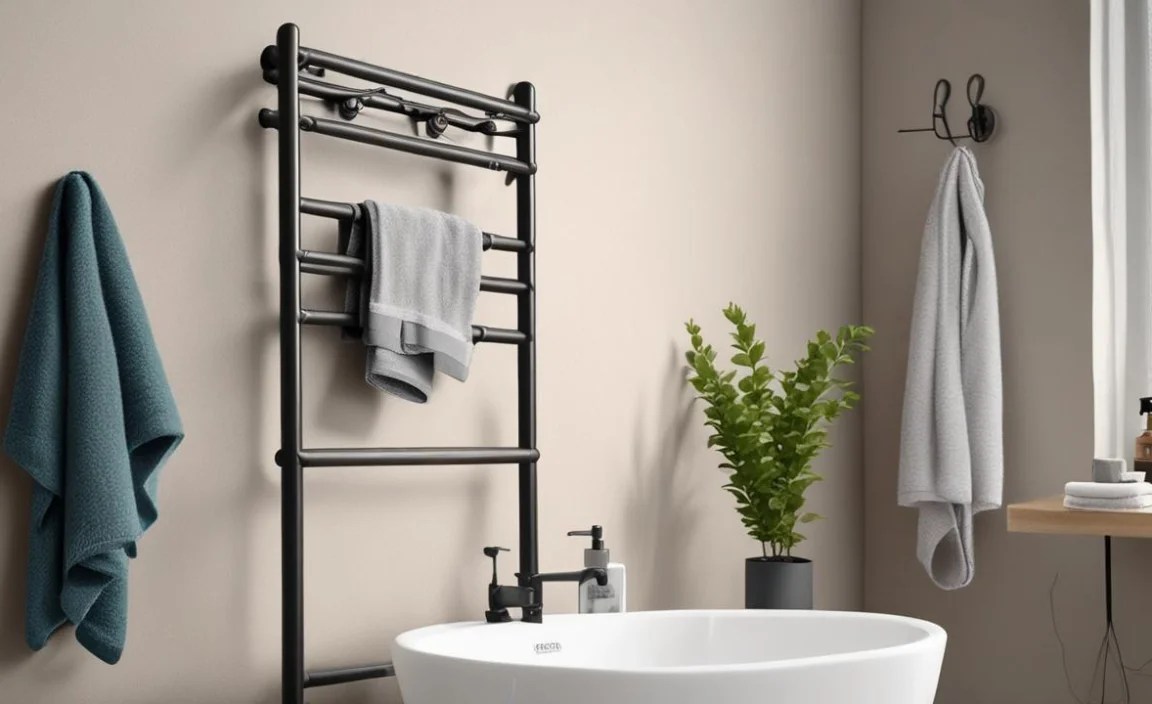
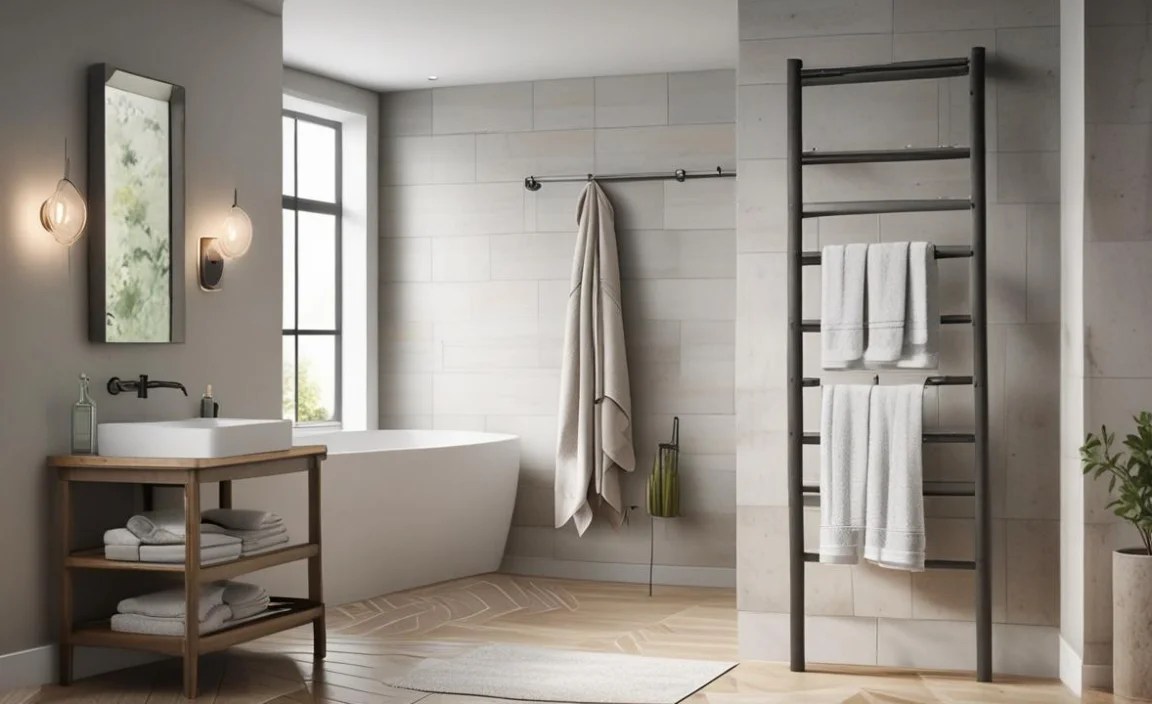
Towel Ladders (Wall-Mounted): While often freestanding, wall-mounted versions lean against the wall and are secured at the top. They offer multiple rungs for towels and a modern look.
Best for: Maximizing towel-hanging capacity in a stylish way.
Considerations: Might require more significant wall anchoring.
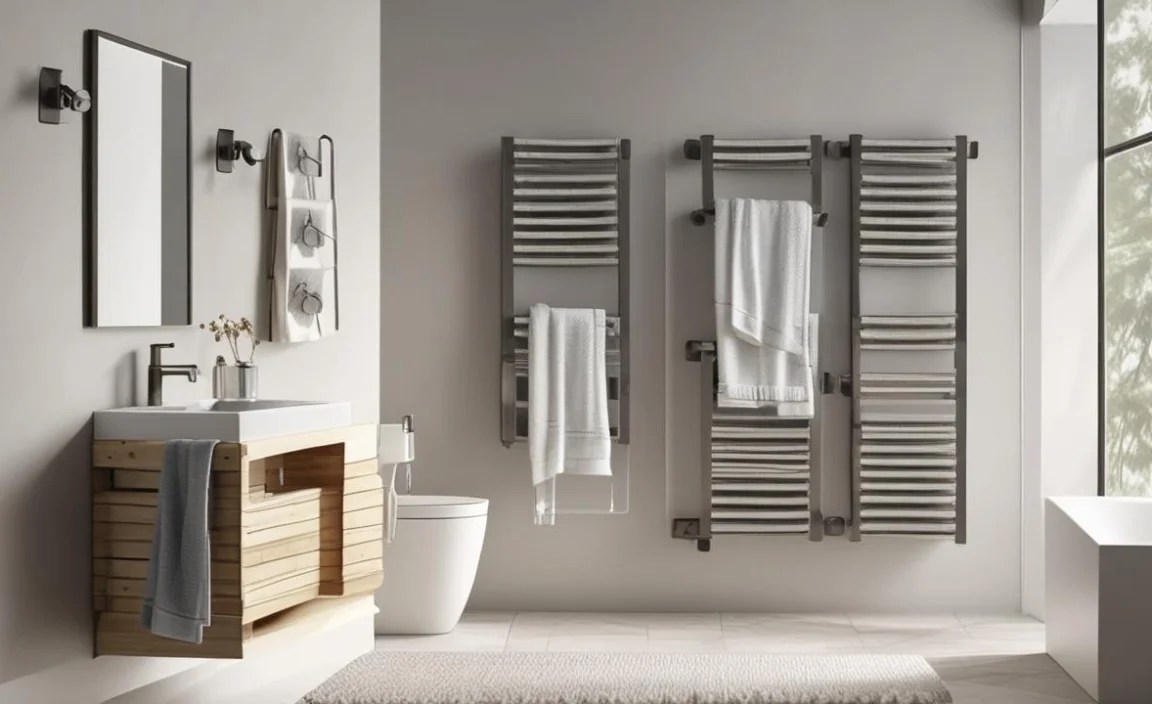
Heated Towel Racks: These are a luxury upgrade that not only keeps towels organized but also warms them. They offer a spa-like experience and aid in faster drying.
Best for: Enhanced comfort, faster drying, luxury feel.
Considerations: Higher initial cost and requires electrical connection; consult a professional if unsure.
DIY Installation: Your Step-by-Step Guide
Installing a wall-mounted towel rack is a straightforward DIY project that can be completed in an hour or two. Safety and precision are key to a sturdy, attractive finish.
Tools You’ll Need:
Before you start, gather these essential tools. Having everything at hand makes the process smooth and efficient.
| Tool | Description |
|---|---|
| Stud Finder | Locates wall studs, which provide the strongest mounting points. Essential for secure installation. |
| Drill with Drill Bits | For creating pilot holes and larger holes if using anchors. |
| Level | Ensures your rack is perfectly straight and professional-looking. |
| Measuring Tape | For accurate placement and spacing. |
| Screwdriver (Phillips or Flathead) | To drive screws into the wall or anchors tight. |
| Pencil | To mark drilling points. |
| Wall Anchors (if not mounting into studs) | Plastic or metal devices that expand in the wall cavity to hold screws securely. Recommended for drywall. Visit Fine Homebuilding’s guide to drywall anchors for more on choosing the right ones. |
| Safety Glasses | Protect your eyes from dust and debris. |
| Towel Rack Mounting Hardware | Usually included with the rack (screws, sometimes anchors). |
Installation Steps:
1. Choose the Location:
Height: Typically, towel bars are mounted about 48 inches (122 cm) from the floor. For hand towel rings near a sink, position them at a comfortable height for reach, usually around 30-36 inches (76-91 cm).
Clearance: Ensure there’s enough space for towels to hang freely without touching the wall, sink, or toilet. About 18-24 inches (45-60 cm) of horizontal space is often needed for a bath towel bar.
Wall Studs: Use your stud finder to locate wall studs in your chosen area. Mounting directly into studs provides the most secure hold. If studs aren’t in the ideal spot, you’ll need to use appropriate wall anchors.
2. Mark the Mounting Points:
Hold the towel rack (or its mounting bracket if separate) against the wall at your desired height.
Use your level to ensure it’s perfectly straight.
With your pencil, mark the precise spots where the screws will go. If your rack has a separate bracket, mark the bracket’s screw holes.
3. Drill Pilot Holes (or Anchor Holes):
Into Studs: Drill pilot holes slightly smaller than your screws at the marked points. This makes driving the screws easier and prevents wood from splitting.
Into Drywall (No Stud): If you’re not hitting a stud, you’ll need to install wall anchors. Drill holes large enough for your chosen anchors according to their manufacturer’s instructions. Gently tap the anchors into the holes with a hammer until flush with the wall.
4. Attach the Mounting Hardware/Bracket:
Align the rack’s bracket or the first part of the rack with the pilot holes or anchors.
Insert the screws and tighten them with your screwdriver until snug. Be careful not to overtighten, which can strip the screws or damage the wall/anchors.
5. Mount the Towel Rack:
Many racks have a two-part system: a mounting bracket screwed to the wall, and the bar itself that slides or clips onto it.
Follow the manufacturer’s instructions to attach the actual towel rack to the secured bracket. This might involve sliding it on and then tightening a small set screw on the underside.
For simpler, one-piece racks that screw directly into the wall, ensure the screws go through the rack’s mounting holes into your pilot holes or anchors.
6. Test for Stability:
Gently tug on the installed rack to ensure it’s secure. It shouldn’t wobble or feel loose.
Hang a towel on it to test its weight-bearing capacity.
Beyond the Basics: Smart Towel Rack Features and Considerations
When upgrading your bathroom, think about how the towel rack can work harder for you.
Materials and Finishes:
The material and finish of your towel rack greatly impact its durability, style, and compatibility with your bathroom’s existing fixtures.
Chrome: Durable, corrosion-resistant, and offers a bright, modern look. It’s a popular choice that complements most bathroom styles.
Brushed Nickel: Offers a softer, warmer look than chrome, with good resistance to water spots and fingerprints. It’s excellent for a slightly more traditional or transitional style.
Matte Black: trendy and striking, matte black offers a bold statement. It pairs well with modern, industrial, or minimalist designs. Ensure it’s a good quality coating to prevent chipping.
Stainless Steel: Highly durable and resistant to rust and corrosion, making it ideal for humid bathroom environments. It often has a brushed finish.
Bronze/Oil-Rubbed Bronze: Provides a richer, darker, and often antique look. It’s great for more traditional or vintage-inspired bathrooms.
Brass (Polished or Aged): Adds a touch of classic elegance. Polished brass is bright and luxurious, while aged brass offers a more subdued, antique feel.
Consider matching your towel rack finish to your faucet, showerhead, and other hardware for a cohesive look.
Weight Limits and Durability:
Always check the manufacturer’s specifications for weight limits. While most standard towel racks are designed for bath towels, some might have lower limits. If you plan to hang multiple heavy, wet towels or even robes, opt for a rack designed for higher capacity and ensure it’s mounted into sturdy wall studs.
Matching Your Décor:

Modern Bathrooms: Sleek, clean lines rule. Think single bars, minimalist hooks, or geometric designs in chrome, matte black, or brushed nickel.
Traditional Bathrooms: Look for decorative elements, curves, and finishes like bronze or aged brass. Double or triple bars can fit well.
Farmhouse/Rustic Bathrooms: Wrought iron, wood accents, or weathered finishes can add character. A simple, sturdy bar or a set of robust hooks would work.
Coastal Bathrooms: Lighter finishes like brushed nickel or polished chrome, perhaps with a touch of weathered wood, can enhance a breezy feel.
Cost vs. Benefit: A Closer Look at Your Investment

Let’s break down the financial and practical benefits.
| Feature | Cost Range (DIY Installation) | Benefits Gained |
| Basic Towel Bar | $20 – $75 | Essential function, organization, space-saving, improved drying. |
| Towel Ring/Hooks | $15 – $50 | Compact, designated spots, easy access, decorative potential for hand towels. |
| Multi-Bar Rack | $40 – $150 | Maximize towel drying capacity, ideal for families, enhanced organization. |
| Heated Towel Rack| $200 – $1000+ (plus install) | Luxurious experience, ultra-fast drying, excellent for humid climates, adds significant home resale value. |
Even the most basic towel bar, costing around $20, provides daily convenience and keeps your bathroom tidy. Over years of use, the value it adds to your home’s functionality and your daily comfort is immense. Compare this to the cost of more involved renovations, and the ROI is clear: wall-mounted towel racks are one of the most accessible and impactful upgrades you can make. For more on managing home improvement budgets, resources like HUD’s information on residential improvements can offer valuable context.
Troubleshooting Common Installation Issues
Even with clear instructions, you might encounter minor hiccups. Here’s how to handle them:
Screws Won’t Tighten:
Problem: If the screw spins freely and doesn’t tighten, you likely missed the stud and the anchor isn’t gripping.
Solution: Back out the screw. If using anchors, ensure they are fully seated and appropriate for your drywall thickness. You might need to remove the anchor, enlarge the hole slightly, and install a larger or different type of anchor. If you are near a stud, try shifting the mounting point slightly to catch it.
Rack is Crooked:
Problem: The level wasn’t used, or it slipped during marking.
Solution: Loosen the screws on one side of the rack just enough to adjust it. Use your level again, then retighten the screws. If it’s significantly off, you might need to remove the rack, fill the old holes (using drywall compound if necessary), let it dry, sand it smooth, priming and painting over it before re-marking and drilling for a straight installation.
Stripped Screw Head:
Problem: The screwdriver slipped, damaging the screw head, making it impossible to remove or tighten.
Solution: You can try using a rubber band between the screwdriver and the screw head for better grip. For stubborn stripped screws, specialized screw extractor tools are available at hardware stores.
Drill Bit Stuck:
Problem: The drill bit binds in the wall.
Solution:* Remove the drill bit slowly, possibly by reversing the drill’s direction. Ensure you are using the correct size drill bit for pilot holes or anchors.
Conclusion: Elevate Your Bathroom with Smart Towel Rack Upgrades
Upgrading your bathroom with wall-mounted towel racks is a brilliant move that offers immense practical benefits and boosts your home’s comfort and organization. It’s a small DIY project with a profound impact, proving that you don’t need major renovations to achieve significant improvements. From maximizing space and improving hygiene to adding a touch of style, these racks are true ROI gems.
By understanding the different types available, gathering the right tools, and following our straightforward installation guide, you can confidently tackle this upgrade. Remember to choose a rack that suits your needs and complements your bathroom’s style, and always prioritize secure mounting for lasting satisfaction. Enjoy the renewed sense of order and functionality in your refreshed.
Frequently Asked Questions (FAQ)
Here are some common questions beginner DIYers have about installing and using wall-mounted towel racks:
Q1: How high should I hang a towel rack in my bathroom?
A1: For bath towels, a common height is about 48 inches from the floor to the bottom of the rack. For hand towels near a sink, aim for around 30-36 inches. Always ensure there’s enough clearance for the towel to hang freely.
Q2: Can I install a towel rack on tile or a tiled wall?
A2: Yes, you can. You’ll need a drill with a masonry bit designed for tile. Before drilling, mark your spot and use tape (like painter’s tape) over the spot to prevent the bit from slipping. Drill slowly and steadily. You will likely need to use specialized anchors designed for tile or masonry, as screws won’t hold directly in tile.
Q3: What’s the difference between mounting into a stud and using drywall anchors?
A3: Mounting into a stud is the strongest method, as the screw goes directly into solid wood. Drywall anchors are used when there isn’t a stud behind the desired location. They expand
