
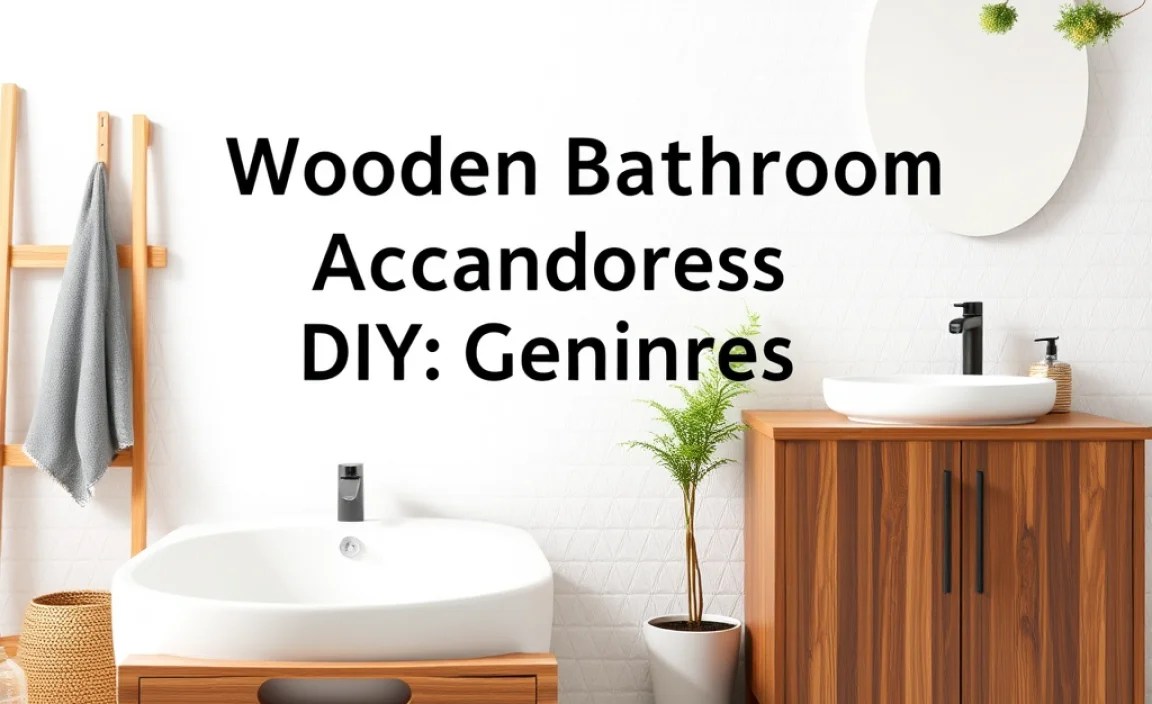
Transform your bathroom with stylish, easy-to-make wooden accessories! This guide offers a beginner-friendly approach to creating beautiful and functional wooden bathroom elements, adding warmth and a personal touch to your space without complex skills or tools.
Are you looking to add a touch of natural elegance to your bathroom? Maybe you’ve seen those gorgeous wooden accents in magazines and wondered if you could create something similar yourself. Sometimes adding a bit of warmth and texture to a bathroom can feel like a daunting task, especially if you’re new to DIY projects.
But don’t worry, making your own wooden bathroom accessories is much easier than you think! With a few simple tools and some basic guidance, you can craft beautiful pieces that will make your bathroom a cozy retreat. Get ready to discover how simple and rewarding it can be to bring the beauty of wood into your personal space.
Why Choose Wooden Bathroom Accessories DIY?

Adding wooden elements to your bathroom is more than just a design choice; it’s about inviting nature indoors and creating a serene atmosphere. Wood brings a sense of warmth and coziness that materials like tile or plastic often lack. It can soften the often sterile feel of bathrooms, making them feel more like a spa or a tranquil escape.
Here’s why diving into wooden bathroom accessories DIY is a brilliant idea:
Cost-Effective: Often, materials for DIY wooden projects are more affordable than purchasing pre-made designer accessories. You buy exactly what you need, and the satisfaction of making it yourself is priceless.
Customization: You can tailor the size, shape, color, and finish of your wooden accessories to perfectly match your existing bathroom decor or your personal style. No more settling for “almost right.”
Durability and Sustainability: With the right wood and finish, DIY wooden accessories can be incredibly durable. Plus, wood is a renewable resource, making it a more sustainable choice than many synthetic materials, especially if you opt for reclaimed or sustainably sourced lumber.
Skill Building: Each project is a chance to learn new skills, from basic cutting and sanding to more advanced joinery if you choose. It’s a fantastic way to build confidence in your DIY abilities.
Unique Style: Mass-produced items lack the character and story that handmade pieces possess. Your DIY wooden bathroom accessories will be one-of-a-kind, reflecting your personal touch and creativity.
Getting Started: Essential Tools and Materials
Before you start cutting wood, let’s make sure you have the right gear. For most beginner-friendly wooden bathroom accessory projects, you won’t need a workshop full of expensive machinery. Here’s a breakdown of what you’ll likely need:
Essential Tools:
Measuring Tape: For accurate measurements. Always double-check!
Pencil: For marking your cuts.
Saw: A hand saw is perfectly adequate for many projects. If you want to invest a bit more, a miter saw or circular saw can make cuts faster and more precise. For very fine work, a jigsaw can also be useful.
Sandpaper: Various grits are crucial for a smooth finish. Start with a coarser grit (like 80 or 100) for shaping and move to finer grits (like 150, 220, or even 320) for smoothing. Sanding blocks help achieve an even surface.
Drill/Driver: For making pilot holes (which prevent wood from splitting) and driving screws. A cordless drill is incredibly convenient.
Clamps: Essential for holding pieces together while glue dries or while you’re fastening them.
Safety Glasses: Non-negotiable! Protect your eyes from sawdust and flying debris.
Dust Mask: To avoid inhaling wood dust.
Work Gloves: To protect your hands.
Common Materials:
Wood: The type of wood you choose will depend on your project and budget.
Pine: Widely available, affordable, and easy to work with. It’s a great choice for beginners. However, it can be prone to dents.
Poplar: Another good, affordable hardwood that takes paint and stain well.
Cedar: Naturally resistant to moisture and rot, making it excellent for bathrooms. It also has a lovely scent.
Oak, Walnut, Maple: Hardwoods that are more durable and have beautiful grain patterns, but they are also more expensive and harder to work with.
Plywood: Can be a cost-effective option, especially for backing or larger surfaces. Look for furniture-grade plywood for a better finish.
Wood Glue: A good quality PVA wood glue is essential for strong joints.
Screws or Nails: Wood screws are generally preferred for durability. Stainless steel or coated screws are best for bathroom environments to prevent rust.
Wood Finish: Crucial for protecting the wood in a humid environment.
Polyurethane (Water-based or Oil-based): Offers excellent protection against moisture and wear. Water-based is easier to clean up and has less odor.
Varnish: Similar to polyurethane, providing a durable, protective coating.
Linseed Oil or Tung Oil: Natural oils that penetrate the wood, offering a matte finish and good water resistance, though they may require more frequent reapplication.
Paint/Stain: If you prefer a colored finish, ensure it’s suitable for wood and your desired look.
Rags or Brushes: For applying finishes.
Understanding Wood Types for Bathrooms
Choosing the right wood is important to combat the humidity and potential water splashes in a bathroom. Here’s a quick look at some popular options:
| Wood Type | Pros | Cons | Best For |
| Pine | Inexpensive, lightweight, easy to cut and sand, widely available. | Softer, prone to dents and scratches, may absorb moisture if not sealed well. | Shelving, decorative boxes, simple frames where moisture is controlled. |
| Cedar | Naturally resistant to moisture, rot, and insects; pleasant aroma. | Can be more expensive than pine, softer wood, distinct scent may not suit all. | Small shelves, caddies, or decorative elements that will be near water. |
| Teak | Extremely durable, naturally water-resistant and rot-resistant. | Very expensive, can be heavy. | High-end projects, pieces that will be in direct contact with water often. |
| Poplar | Good balance of hardness and workability, affordable, takes paint well. | Not as naturally water-resistant as cedar or teak; needs good sealing. | Painted accessories, shelves, custom cabinet fronts. |
| Bamboo | Sustainable, strong, naturally moisture-resistant. | Best purchased pre-made as it’s difficult to work with raw bamboo. | Ready-made accessories or for adding bamboo veneer details. |
It’s crucial to remember that while some woods are naturally more resistant, proper sealing with a waterproof finish is vital for any wood in a bathroom environment.
DIY Wooden Bathroom Accessories: Project Ideas & Steps

Let’s get our hands dirty! Here are a few beginner-friendly project ideas.
Project 1: Simple Wooden Shelf
A floating shelf or a simple wall-mounted shelf can add storage and style.
Materials Needed:
Wood board (e.g., 1×6 or 1×8 pine, poplar, or cedar)
Wood screws
Wood glue (optional, for added strength at joints if you build a more complex shelf)
Sandpaper (medium and fine grit)
Wood finish (polyurethane, varnish, or oil)
Mounting hardware (screws and anchors appropriate for your wall type) or shelf brackets.
Tools Needed:
Measuring tape, pencil
Saw (hand saw or power saw)
Drill/driver with drill bits
Level
Stud finder (if mounting directly to studs)
Steps:
1. Measure and Cut: Decide on the length and depth of your shelf. Measure your wood board and mark the cut line with a pencil. Carefully cut the board to your desired size using your saw. For a basic shelf, you just need one piece cut to length and depth. If you’re building a shelf with sides or a back, cut those pieces to size according to your plan.
2. Sand: This is where you achieve that smooth, professional finish. Start with a medium-grit sandpaper to remove any rough edges or saw marks. Then, switch to a fine-grit sandpaper and sand the entire piece until it feels silky smooth to the touch. Pay extra attention to the edges.
3. Apply Finish: Wipe away all dust with a clean, dry cloth. Apply your chosen wood finish according to the product’s instructions. For polyurethane or varnish, apply thin, even coats, allowing them to dry completely between applications and lightly sanding with very fine grit sandpaper (e.g., 320) between coats for an ultra-smooth finish. For oils, apply generously, let it soak in, and wipe off the excess. Ensure you apply at least 2-3 coats for good protection.
4. Mount the Shelf:
Using Brackets: If you’re using shelf brackets, decide where you want your shelf and mark their positions on the wall using a level. Ensure the marks are level with each other. Use a stud finder to locate wall studs for the most secure mounting. If studs aren’t available at your desired locations, use appropriate wall anchors for drywall. Screw the brackets to the wall. Then, place your finished shelf on the brackets and secure it by screwing up from underneath into the shelf board.
Floating Shelf (more advanced): This usually involves a bracket system that attaches to the wall, and then the shelf slides over it. Follow the manufacturer’s instructions for the specific floating shelf hardware you purchase.
Project 2: Wooden Soap Dish
A simple yet functional item that adds a natural touch to your sink area.
Materials Needed:
Small block of wood (cedar or pine works well)
Sandpaper (medium and fine grit)
Wood finish (waterproof is best, like marine varnish or a good polyurethane)
Optional: A drill bit and a small saw for creating drainage grooves.
Tools Needed:
Measuring tape, pencil
Saw
Drill (optional, for drainage)
Clamps (optional)
Safety glasses, dust mask
Steps:
1. Cut the Wood Block: Cut a piece of wood to your desired soap dish size (e.g., 4×3 inches, about 1 inch thick).
2. Shape (Optional): You can round the edges with sandpaper or even a rasp for a softer look.
3. Create Drainage: This is key for a soap dish. You can:
Drill Holes: Using a drill bit (1/4 to 1/2 inch), drill several holes through the bottom of the dish. This allows water to drain away.
Cut Grooves: With a small saw or a router (if you have one), cut shallow grooves on the top surface that lead to the edges, allowing water to run off.
4. Sand: Sand thoroughly with medium and then fine-grit sandpaper until smooth.
5. Apply Finish: Apply several coats of a waterproof finish, ensuring all surfaces, especially inside the drainage grooves, are well-coated. Let it cure completely according to the product instructions.
Project 3: Wooden Toilet Paper Holder
This can be as simple as a wall-mounted dowel or a small, freestanding unit.
Project 3a: Wall-Mounted Dowel Holder
Materials Needed:
Wooden dowel rod (about 1-1.5 inches in diameter, 7-9 inches long)
Small wood pieces for mounting to the wall (e.g., 3×3 inches, 1/2 inch thick)
Screws (for mounting brackets to the wall and for attaching dowel mechanism if needed)
Wood glue
Sandpaper
Wood finish
Tools Needed:
Measuring tape, pencil
Saw
Drill/driver with drill bits
Level
Stud finder
Steps:
1. Prepare the Holder Base: Cut two small square or circular pieces of wood to serve as wall mounting plates. Drill a hole in the center of each plate, just large enough for the dowel to pass through loosely. You might also want to recess the hole slightly so the screw heads disappear.
2. Cut the Dowel: Cut your dowel rod to the desired length, typically 7-9 inches. Sand it smooth. Sand the mounting plates smooth as well.
3. Drill Mounting Holes: In the center of each mounting plate, drill a pilot hole through the back for attaching to the wall. You may need to decide if the dowel will be fixed or removable. If fixed, drill a straight hole through the center of the dowel for a screw to pass through both mounting plates. If removable, you might create a simple slot on one side where the dowel rests.
4. Apply Finish: Sand everything smooth and apply your chosen wood finish. Ensure it’s durable and water-resistant.
5. Assemble and Mount:
If the dowel is fixed, once the finish is dry, place the dowel through the holes in the mounting plates. Apply wood glue to the dowel where it meets the mounting plates. Secure by driving screws from the back of the mounting plates into the dowel (if you drilled pilot holes).
Mount the plates to the wall. Use a level to ensure they are perfectly horizontal and spaced correctly for the dowel. Locate studs or use heavy-duty wall anchors. Screw the mounting plates securely to the wall.
If using a removable dowel system, mount one plate to the wall and the other might have a simple L-bracket or cleat that the dowel slots into and swivels.
Project 3b: Freestanding Holder (Can be more complex)
For a freestanding holder, you’ll typically build a small box or stand with a hole or rod setup to hold the toilet paper roll. This offers more design flexibility but involves more cuts and assembly.
Project 4: Wooden Toothbrush Holder/Caddy
Keep your toothbrushes organized and stylishly displayed.
Materials Needed:
A solid block of wood (e.g., 4×4 inches, 6 inches tall)
Sandpaper
Wood finish
Optional: Drill and various-sized drill bits.
Tools Needed:
Measuring tape, pencil
Drill/driver
Safety glasses, dust mask
Steps:
1. Cut the Wood Block: If you don’t have a ready block, cut your wood to size. A 4×4 inch base and 6 inches tall is a good starting point.
2. Drill Holes for Toothbrushes: Decide how many toothbrushes you need to store. Using a drill bit that is slightly larger than the handle diameter of your toothbrushes (e.g., 3/8 to 1/2 inch), drill holes into the top surface of the wood block. Space them out evenly. Drill deep enough so the toothbrushes are held securely, but not so deep that they hit the bottom of the block. For a cleaner look, you can drill partway with a larger bit, then finish with a smaller bit to create a rim.
3. Sand: Sand all surfaces and the inside of the holes thoroughly.
4. Apply Finish: Apply a moisture-resistant wood finish to the entire piece.
Project 5: Wooden Bath Caddy/Tray
This is a popular project that adds a spa-like feel. You can make it simple to rest across your tub, or more elaborate with compartments.
Materials Needed:
Wood boards (e.g., 1×4 or 1×6 pine, cedar, or a hardwood for better durability)
Wood glue
Screws (optional, for extra strength)
Sandpaper
Waterproof wood finish
Tools Needed:
Measuring tape, pencil
Saw
Drill/driver (if using screws)
Clamps
Level
Safety glasses, dust mask
Steps:
1. Plan Your Design: Measure the width of your bathtub at the narrowest point where the caddy will rest. Decide on the desired length and width of your caddy. Consider if you want any features like a wine glass holder, phone slot, or compartments.
2. Cut the Wood: Cut the boards for the base of your caddy to your desired length. If you’re making a caddy with sides, cut those pieces as well. For example, a simple caddy might have two long base pieces and several shorter cross pieces to support them.
3. Assemble the Frame:
Lay out your base pieces.
Position the cross pieces perpendicular to the base pieces.
Apply wood glue to the edges where the pieces will meet.
Clamp the pieces together firmly.
If adding screws for extra strength, pre-drill pilot holes and drive screws to secure the joints. Ensure screws are countersunk so they sit flush or below the surface.
For a caddy that spans the tub, connect two longer side pieces with several shorter support pieces underneath.
4. Sand: Once the glue is dry, sand all surfaces and edges smooth. Orbital sanders can speed up this process significantly.
5. Apply Finish: Apply multiple coats of a high-quality waterproof finish. Allow ample drying time between coats.
Sealing Your Wooden Bathroom Accessories: The Key to Longevity

This bears repeating: humidity and water are the biggest enemies of wood in a bathroom.
