
Quick Summary: A cistern in plumbing is essentially a water storage tank, usually found in toilets, that holds a specific amount of water for flushing. Understanding its basics helps you troubleshoot common toilet problems, perform simple maintenance, and ensure your toilet works efficiently. This guide breaks down everything you need to know in simple terms.
Ever wondered why your toilet tank makes those gurgling sounds or why flushing sometimes feels weak? The secret often lies within a component called the cistern. This might sound technical, but in reality, it’s a pretty straightforward part of your toilet system. Think of it as the toilet’s water supply manager, holding just the right amount of water needed for a powerful flush. When you know the basics of how it works, you can tackle minor issues yourself and keep your bathroom running smoothly. We’ll demystify the cistern, explain its parts, and show you why understanding it is a handy skill for any homeowner.
What is a Cistern in Plumbing? Your Toilet’s Water Reservoir

At its heart, a cistern in plumbing is simply a water storage tank. For most homes, this primarily refers to the part of your toilet that holds the water ready for flushing. It’s the tank you see behind the toilet bowl, usually made of ceramic or sometimes plastic. Its main job is to store a measured amount of water. When you press the flush lever or button, the cistern releases this stored water into the toilet bowl, creating the siphoning action that clears waste. Without a functioning cistern, your toilet wouldn’t be able to perform its most basic, and essential, function. It’s a clever design that ensures a consistent and effective flush every time.
Why Understanding Your Cistern Matters
Knowing the basics of your toilet cistern isn’t just for plumbing enthusiasts; it’s practical knowledge for every homeowner. Why? Because many common toilet issues, like a running toilet, a weak flush, or a constantly refilling tank, are directly related to the cistern and its components. When you can identify what’s happening inside this tank, you can often fix simple problems yourself, saving you time and money on costly plumber visits. Think of it as basic car maintenance – knowing what the oil light means can prevent a major breakdown. Similarly, understanding your cistern means you can spot early warning signs and act before a minor drip becomes a big leak.
The Role of the Cistern in a Flushing System
The cistern plays a crucial, albeit brief, role in the overall flushing cycle of a toilet. It acts as a temporary reservoir, holding between 1.6 to 3 gallons (or 6 to 11 liters) of water, depending on local regulations and the toilet’s design. When you initiate a flush, a mechanism inside the cistern opens a valve (the flush valve) at the bottom. This allows the stored water to rush out through a large opening into the toilet bowl.
As the water leaves the cistern, it also triggers a syphon effect in the toilet bowl, which rapidly pulls the contents of the bowl down the drain. Almost immediately after, a refill mechanism (the fill valve) starts replenishing the cistern with fresh water, and a float stops the water flow once the correct level is reached. This system ensures that each flush is powerful enough to clear the bowl effectively.
Anatomy of a Cistern: Key Components Explained

To truly understand the basics of cisterns, it’s helpful to know the main parts inside. These components work together in a coordinated sequence to store water and then release it for flushing. Even though they might look a bit mysterious at first, they’re quite logical once broken down. We’ll cover the most common parts you’ll find.
1. The Cistern Body (The Tank Itself)
This is the main tank, usually made of vitreous china (a type of porcelain) for durability and ease of cleaning, or sometimes durable plastic. Its primary job is to hold the water. Toilets come in various designs, including close-coupled cisterns (where the tank is mounted directly behind the bowl) and low-level or high-level cisterns (where the tank is mounted higher on the wall, common in older homes, which uses gravity to create a more powerful flush). The size and shape of the cistern body are designed to hold the optimal amount of water for an efficient flush, typically regulated by building codes to conserve water.
2. The Flush Valve (The Outlet)
Located at the bottom of the cistern, the flush valve is the gateway for water to escape into the toilet bowl. When you press the flush lever, it lifts a seal, allowing the water from the cistern to flow out. Modern cisterns often use a flapper or a dome-shaped seal that drops back down to seal the valve once the water level drops. Older systems might use a “U-bend” or “syphon” system that initiates a siphoning action and empties the tank completely. The flush valve is critical for a good flush; if it leaks, water can continuously drain into the bowl, causing that annoying running toilet sound and wasting water. A common external resource for understanding plumbing valve types is the Engineering Toolbox, which details various valve functionalities.
3. The Fill Valve (The Inlet)
Also known as the ballcock, the fill valve is responsible for refilling the cistern after each flush and shutting off the water supply when the tank is full. It’s a more complex mechanism, typically featuring a float that rises with the water level. As the water rises, the float lifts an arm connected to the valve, eventually closing it off to prevent overfilling. There are several types of fill valves, including the older, larger ball-and-arm type and the more modern, compact float-cup or hydrostatic valves. The fill valve’s proper function is essential for water conservation and correct cistern operation.
4. The Flush Lever or Button (The Actuator)
This is the part you interact with. It can be a lever on the side of the cistern or, in more modern designs, buttons on the top. When you push the lever down or press a button, it pulls a chain or connects to a mechanism that lifts the flush valve seal (directly or indirectly), initiating the flush. These actuators are designed to be easy to use, but their internal linkages can sometimes become worn or misaligned, leading to flushing issues.
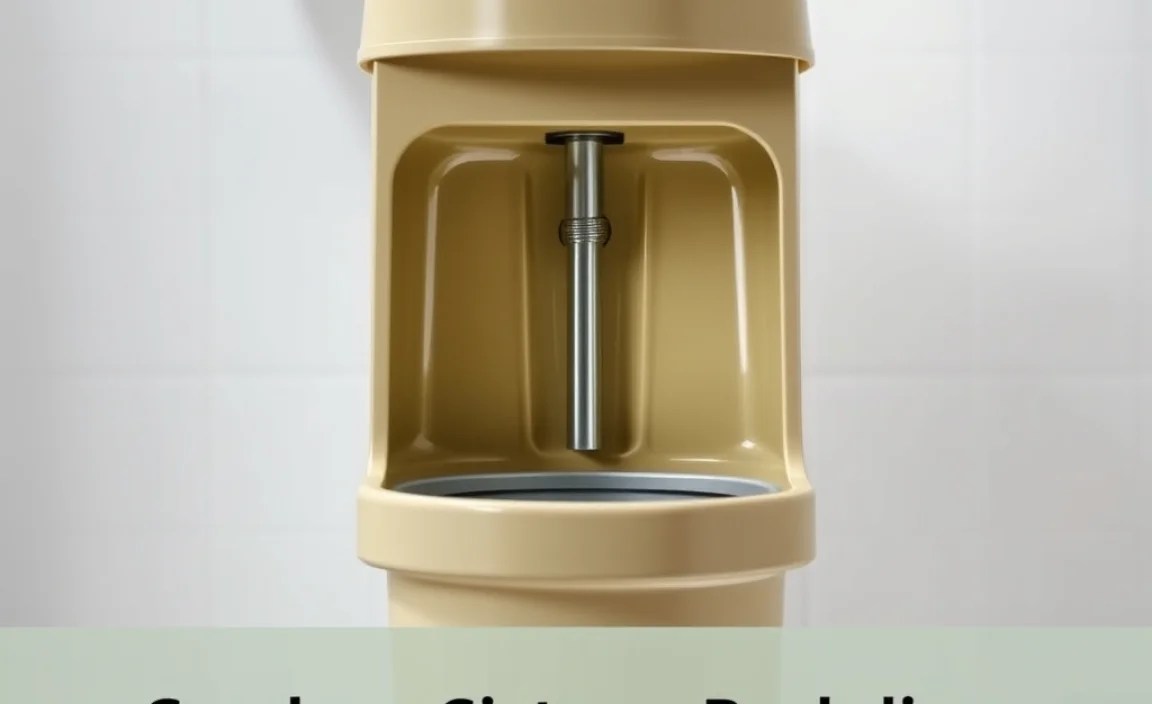
5. The Overflow Pipe
This is a crucial safety feature. The overflow pipe is a vertical pipe located inside the cistern. If the fill valve fails to shut off the water supply properly, the excess water flows directly into this pipe and down into the toilet bowl and drain, preventing the cistern from overflowing onto your bathroom floor. While it prevents water damage, a constantly active overflow pipe indicates a problem with your fill valve that needs to be addressed.
How a Cistern Works: The Flushing Cycle Unpacked

Understanding the sequence of events during a flush can demystify the cistern. It’s a simple, elegant process driven by gravity and mechanics.
- Initiating the Flush: You push the flush lever or button. This action is mechanically linked to the flush valve.
- Opening the Flush Valve: The lever or button mechanism lifts the seal of the flush valve at the bottom of the cistern.
- Water Rushes Out: The water stored in the cistern is released through the open flush valve into the toilet bowl attached below.
- Siphon Action: The rapid rush of water into the bowl creates a siphoning effect, pulling the contents of the bowl down the drainpipe.
- Tank Empties: The flushing mechanism is designed to empty the cistern (or a significant portion of its usable water).
- Flush Valve Closes: As the water level in the cistern drops, the flush valve seal (e.g., flapper) falls back into place, sealing the outlet.
- Fill Valve Activates: The drop in water level lowers the fill valve’s float, opening the valve and allowing fresh water to enter the cistern.
- Water Level Rises: The cistern begins to refill.
- Fill Valve Shuts Off: As the water level rises, the float also rises, eventually reaching a pre-set level and closing the fill valve, stopping the water flow.
- Ready for Next Flush: The cistern is now full and ready for the next flush.
This cycle, from flush initiation to the cistern being ready again, usually takes about 30 to 60 seconds. The efficiency and speed depend on the design of the cistern and its components.
Types of Cisterns and Their Syphons

While the basic function is the same, cisterns have evolved, and the mechanisms for flushing can vary. Here’s a look at common types and their mechanisms.
Close-Coupled Cisterns
These are the most common type in modern homes. The cistern is mounted directly on the back of the toilet bowl, with a short, wide flush pipe connecting them. This design is compact and relatively easy to install and maintain. The flush valve is typically a flapper style.
Low-Level Cisterns
Found in older homes, these cisterns are mounted higher than the toilet bowl but lower than high-level cisterns. They use a relatively short flush pipe, and a lever mechanism typically operates a plunger or a syphon. They offer a good balance of flush power and accessibility.
High-Level Cisterns
This is the traditional style, with the cistern mounted high on the wall. A long flush pipe connects it to the bowl. The height difference creates significant water pressure, resulting in a very powerful flush. They are operated by a pull chain connected to a syphon mechanism. While effective, they are less common in new installations due to space constraints and maintenance requirements.
Types of Flushing Mechanisms within Cisterns
The way water is released can also differ:
- Syphon Flush: In older or high-level systems, a syphon tube is submerged in the water. Pulling the lever or chain lifts a rubber cup or plug from the bottom of the syphon tube, allowing water to rush in and create a siphoning action that empties the cistern. Once the cistern is empty, air enters the tube, breaking the siphon.
- Flapper Flush: This is the most common type in modern close-coupled cisterns. A rubber or plastic flapper sits over the flush valve opening. When the flush lever is activated, it lifts the flapper, allowing water to flow. As the water level drops, the flapper reseals the flush valve.
- Dual-Flush Systems: These cisterns offer two flush options – a reduced flush for liquid waste and a full flush for solid waste. They typically use a different type of flushing mechanism, often a tower or wand system, that can be partially or fully activated by the buttons. This technology is excellent for water conservation. External resources on water-saving plumbing fixtures, like those from the EPA’s WaterSense program, highlight the benefits of such systems.
Common Cistern Problems and Simple Fixes
Even the best-designed cisterns can develop issues. Fortunately, many common problems are DIY-friendly. Here’s a quick guide to troubleshooting:
1. Toilet Runs Constantly
Cause: A leaky flush valve or an improperly set fill valve.
Fixes:
- Check the Flapper: The rubber flapper might be worn out, warped, or have debris preventing a good seal. Try cleaning it. If it’s still leaking, replace it.
- Check the Flush Valve Seat: Debris can get lodged under the flush valve. You can try cleaning it. Sometimes, the seat itself might be damaged, requiring replacement of the entire flush valve assembly.
- Fill Valve Too High: If the water level is consistently too high, it will flow over the overflow pipe. Adjust the float on the fill valve to lower the water level.
2. Weak Flush
Cause: Not enough water in the cistern, a partially blocked flush valve, or incorrect water level.
Fixes:
- Check Water Level: Ensure the water fills the cistern to the marked line (or about an inch below the overflow pipe). Adjust the fill valve float if necessary.
- Check Flush Valve Opening: Make sure the flapper is lifting fully and the flush valve opening is clear.
- Check Cistern Size: Older toilets might have smaller cisterns that are less efficient. If your toilet is very old, consider an upgrade to a more water-efficient model.
3. Cistern Fills Slowly
Cause: The fill valve might be clogged or faulty, or the main water supply to the house has low pressure.
Fixes:
- Clean the Fill Valve: Follow the manufacturer’s instructions to clean the fill valve, which often involves disassembling parts to remove mineral deposits or debris.
- Check Water Supply: Ensure outdoor taps or other water fixtures are fully open and that there are no apparent issues with your main water supply.
4. Water Leaking from Cistern (Not to the Bowl)
Cause: A cracked cistern body or loose connections between the cistern and the toilet bowl.
Fixes:
- Check Connections: Inspect the bolts and seals where the cistern connects to the base of the toilet bowl. Tighten them gently if loose. If the seals are worn, they may need replacing.
- Inspect Cistern Body: Look for visible cracks in the ceramic or plastic. A cracked cistern usually requires replacement of the entire unit or at least the cistern itself. Minor cracks might be repairable with epoxy, but this is often a temporary fix. Consult a professional if you suspect a significant crack.
5. Handle is Loose or Not Working
Cause: The linkage from the handle to the flush valve is broken, loose, or misaligned.
Fixes:
- Tighten Linkage: Open the cistern lid and check the chain or rod connecting the handle to the flush valve. Tighten any loose connections or reattach a detached chain.
- Adjust Length: Ensure the chain has the correct tension – it should be taut enough to lift the flapper but not so tight that it holds it slightly open.
- Replace Handle Assembly: If the handle itself is broken or the internal mechanism is damaged, you’ll likely need to replace the entire flush handle assembly.
Maintenance Tips for a Healthy Cistern
Regular, simple maintenance can prevent most common cistern problems. Here are a few things you can do:
- Regular Cleaning: Clean the inside of the cistern every few months using a toilet brush and mild cleaning solutions. Avoid abrasive cleaners or harsh chemicals like bleach, as they can damage the rubber seals and plastic components over time.
- Check for Leaks: Periodically place a few drops of food coloring into the cistern water (without flushing). Wait 10-15 minutes. If color appears in the toilet bowl, you have a leak, likely from the flush valve.
- Inspect Components Visually: When you have the lid off for cleaning, take a look at the fill valve, float, and flush valve. Check for any signs of wear, corrosion, or damage.
- Listen for Unusual Noises: Constant refilling sounds indicate a likely leak or a fill valve issue.
- Be Gentle: Avoid slamming the flush lever or using excessive force. This can damage internal mechanisms.
Water Efficiency and Your Cistern
Water conservation is a significant concern, and cisterns play a key role. Modern cisterns are designed to meet stringent water efficiency standards. For example, in many regions, the standard flush volume is regulated to 1.6 gallons (6 liters) per flush, a significant reduction from older toilets that could use up to 7 gallons (26 liters) per flush. Dual-flush systems offer even greater potential for savings, allowing users to choose between a partial flush for liquid waste and a full flush for solid waste.
Here’s a look at typical water usage:
| Toilet Type/Flush Type | Average Water Usage per Flush | Typical Gallons Per Minute (GPM) |
|---|---|---|
| Older Toilets (Pre-1994) | 3.5 – 7 Gallons (13 – 26 Liters) | ~3.5 – 7 GPM |
| Standard Modern Toilets (Low-Flow) | 1.6 Gallons (6 Liters) | ~1.9 GPM |
| High-Efficiency Toilets (HETs) | 1.28 Gallons or less (4.8 Liters or less) | ~1.6 GPM |
| Dual-Flush Toilets (Partial Flush) | 0.8 – 1.1 Gallons (3 – 4 Liters) | ~1.0 – 1.2 GPM |
| Dual-Flush Toilets (Full Flush) | 1 |
