
A flush valve in your toilet is the part that lets water from the tank into the bowl to flush waste. Understanding its components and common issues can help you fix leaks, weak flushes, or running toilets yourself, saving time and money. This guide breaks it down for you.
A running or weak-flushing toilet can be frustrating, often pointing to a problem with the flush valve, a key component in your plumbing system. Don’t worry if you’ve never heard of it before; this guide is designed to make it simple. We’ll explore what a flush valve is, how it works, and the common issues that can arise. By the end, you’ll feel more confident knowing how this crucial part functions and what to do if it acts up. Let’s get your toilet back to its best!
Understanding Your Toilet’s Flush Valve: A Beginner’s Guide

As homeowners, we often don’t think much about our plumbing until something goes wrong. A toilet, in particular, has several parts working together to do one job: flush away waste. The flush valve is a star player in this operation. It’s the gatekeeper between your toilet tank and the toilet bowl, controlling the flow of water.
When you press that flush lever, you’re initiating a sequence that relies heavily on the flush valve doing its job correctly. If it’s not working right, you might notice water constantly running into the bowl, a flush that doesn’t clear the bowl, or a tank that takes forever to refill. These are common signals that your flush valve might need a closer look.
What is a Flush Valve?
Think of the flush valve as the toilet’s drain stopper. It’s located at the bottom of the toilet tank, right over an opening that leads into the toilet bowl. Its primary job is to seal this opening when the tank is full of water, preventing water from leaking into the bowl. When you activate the flush handle, it lifts this seal, allowing all the stored water in the tank to rush down into the bowl, creating the powerful flush we need.
Why is the Flush Valve Important?
Without a functioning flush valve, your toilet simply wouldn’t work. It’s central to the entire flushing mechanism. A good flush valve ensures that:
- Water stays in the tank until you decide to flush.
- When flushed, the entire tank’s worth of water is released quickly and effectively.
- The tank can then refill properly for the next use.
If you’re experiencing issues like a constantly running toilet or a weak flush, the flush valve assembly is usually the first place to start troubleshooting.
Anatomy of a Flush Valve: What Are the Parts?

A flush valve isn’t just one piece; it’s a system of components that work in harmony. While designs can vary slightly between older and newer toilets, and between different manufacturers, most modern flush valves share common parts. Understanding these parts will make it easier to diagnose problems and replace worn-out components.
The Flapper
This is arguably the most recognizable part of the flush valve assembly, especially in older toilets. The flapper is a rubber or plastic seal that sits over the flush valve opening. When you flush, a chain or a linked arm lifts the flapper, allowing water to flow. Once the water drains from the tank, the flapper drops back down, sealing the opening. They are often shaped like a rounded rectangle or a dome.
The Flush Valve Seat
This is the rim or surface that the flapper seats against to create a watertight seal. It’s typically part of the larger flush valve body. Over time, the seat can become corroded, clogged with mineral deposits, or scratched, preventing the flapper from sealing properly. This is a common reason for a running toilet.
The Flush Valve Body
This is the main structure that holds the flush valve seat and guides the flapper. In many modern toilets, the flush valve body is a single unit, often called a “flush valve tower” or “flush valve assembly,” that replaces the old-style overflow tube and flapper system. This tower typically contains a seal that lifts and reseals with the push of a button or lever.
The Overflow Tube
This is a vertical pipe, usually made of plastic, that stands in the middle of the tank. Its purpose is to prevent the tank from overflowing onto the floor. If the water level rises above the top of the overflow tube, any excess water drains down the tube and into the toilet bowl. In older systems, the flapper attaches to an arm that is connected to this tube. In newer “tower” flush valves, the overflow function is often integrated into the main valve body and covered by a cap.
The Chain/Linkage
In flapper-style flush valves, a chain or linkage connects the flush lever to the flapper. When you press the lever, it pulls the chain, lifting the flapper. The length and tension of this chain are important; too long and it might get caught under the flapper, and too short and it won’t lift the flapper enough.
The Seal (for Tower Valves)
In modern “tower” flush valve systems, there isn’t a separate flapper. Instead, a rubber seal is attached to the bottom of the tower mechanism. This seal lifts and reseals against a seat or drain opening within the flush valve body when you activate the flush button. The entire tower unit often operates as a single replaceable part.
How the Flush Valve Actually Works: Step-by-Step
Understanding the process can demystify the operation. Here’s a look at what happens when you push that button or lift that handle:
- Initiation: You press the flush button or lift the flush handle.
- Lifting the Seal: This action pulls a chain (in older models) or actuates a mechanism (in newer models) that lifts the flapper or the seal on the flush valve assembly.
- Water Release: As the seal lifts, water stored in the tank begins to flow rapidly through the opening into the toilet bowl. This rush of water creates the siphon effect that pulls waste from the bowl down the drain.
- Flapper/Seal Re-engagement: As the water level in the tank drops, the flapper or seal, often aided by gravity and its own weight, falls back into place, resealing the opening at the bottom of the tank.
- Refill: Once the tank is nearly empty, the fill valve (which is a separate component not part of the flush valve) engages to refill the tank with fresh water. The flapper/seal remains in place, holding the water until the next flush.
Common Flush Valve Problems and How to Fix Them
Flush valve issues are among the most frequent toilet repairs. Fortunately, many are simple fixes any DIYer can tackle. Here are the most common scenarios:
Problem 1: Toilet Constantly Running
This is the most common symptom of a faulty flush valve. You hear water running into the bowl, and the tank never seems to stop filling.
How to Identify the Cause:
- Check the Flapper: Lift the tank lid. Does the flapper look worn, warped, or brittle? Is it sealing correctly against the valve seat? Sometimes, debris can get lodged under the flapper, preventing a good seal.
- Check the Chain: Is the chain too long and getting caught under the flapper? Is it too short, and not lifting the flapper enough for a complete flush?
- Check the Valve Seat: Is the area where the flapper seals clean and smooth? Feel for any nicks, corrosion, or buildup.
- Check the Flush Valve Seal (Tower Valves): In tower systems, the seal at the bottom can wear out or become contaminated with mineral deposits, preventing a proper seal.
The Fix:
- Clean the Flapper and Seat: Turn off the water supply valve (usually located on the wall behind the toilet). Flush the toilet to empty the tank. Clean the flapper and the valve seat with a soft cloth and maybe some vinegar if there are mineral deposits. Ensure no debris is present.
- Adjust the Chain: If the chain is the issue, adjust its length so it has just a little slack when the flapper is closed.
- Replace the Flapper: If the flapper is worn or damaged, replace it. Flappers are inexpensive and easy to swap out. Make sure to get one compatible with your toilet model. Universal flappers are widely available. For instructions on replacing a flapper, check this helpful guide from This Old House.
- Replace the Flush Valve Assembly (Tower Valves): If you have a tower-style flush valve and cleaning the seal doesn’t work, the entire assembly might need replacing. This is a more involved, but still manageable, DIY task.
Problem 2: Weak Flush (Doesn’t Clear the Bowl)
When you flush, only some of the waste is removed, or you need to flush multiple times.
How to Identify the Cause:
- Flapper Not Lifting High Enough: The chain might be too short, or the mechanism isn’t fully lifting the flapper.
- Flapper Closing Too Soon: In some designs, the flapper is designed to lift for a certain amount of time. If it’s closing before the tank empties, the flush will be weak. This can happen if the float ball mechanism isn’t allowing the flapper to stay up long enough.
- Clogged Rim Jets or Siphon Jet: While not directly a flush valve issue, these can impede the flush. These are small holes under the rim of the bowl and at the bottom of the bowl that direct water.
- Low Water Level in Tank: If the tank isn’t filling to its proper level, there isn’t enough water pressure for a strong flush. This is usually a fill valve issue, but also affects the flush valve’s performance.
The Fix:
- Adjust Chain Length: Ensure the chain has a little slack.
- Check Flapper Type: Some flappers are designed to stay open longer. If yours is closing too quickly, you may need a specific type of flapper. Consult your toilet’s manual or a plumbing supply store.
- Clean Rim Jets: Use a mirror and a small wire or paperclip to clear any clogs in the rim jets. For the siphon jet (at the bottom of the bowl), you may need a wire or a more specialized tool.
- Adjust Water Level: If the tank water level is too low, adjust the fill valve’s float mechanism to raise it to the overflow tube’s lip.
Problem 3: Toilet Fills Slowly or Not at All
This is primarily a fill valve problem, but it directly impacts the flush valve’s ability to function because the tank needs to fill with water to provide a powerful flush.
How to Identify the Cause:
- Water Supply Valve Partially Closed: The valve behind the toilet might not be fully open, restricting water flow.
- Clogged Fill Valve: The fill valve itself can get clogged with sediment.
- Faulty Fill Valve: The internal mechanism of the fill valve may have failed.
The Fix:
- Open Water Supply Valve: Ensure it’s fully open.
- Clean or Replace Fill Valve: Turn off the water supply. You might be able to clean the fill valve by removing its cap and flushing it briefly, or you may need to replace the entire fill valve assembly. Replacement kits are readily available at hardware stores. For a comprehensive guide, visit American Standard’s excellent repair video section.
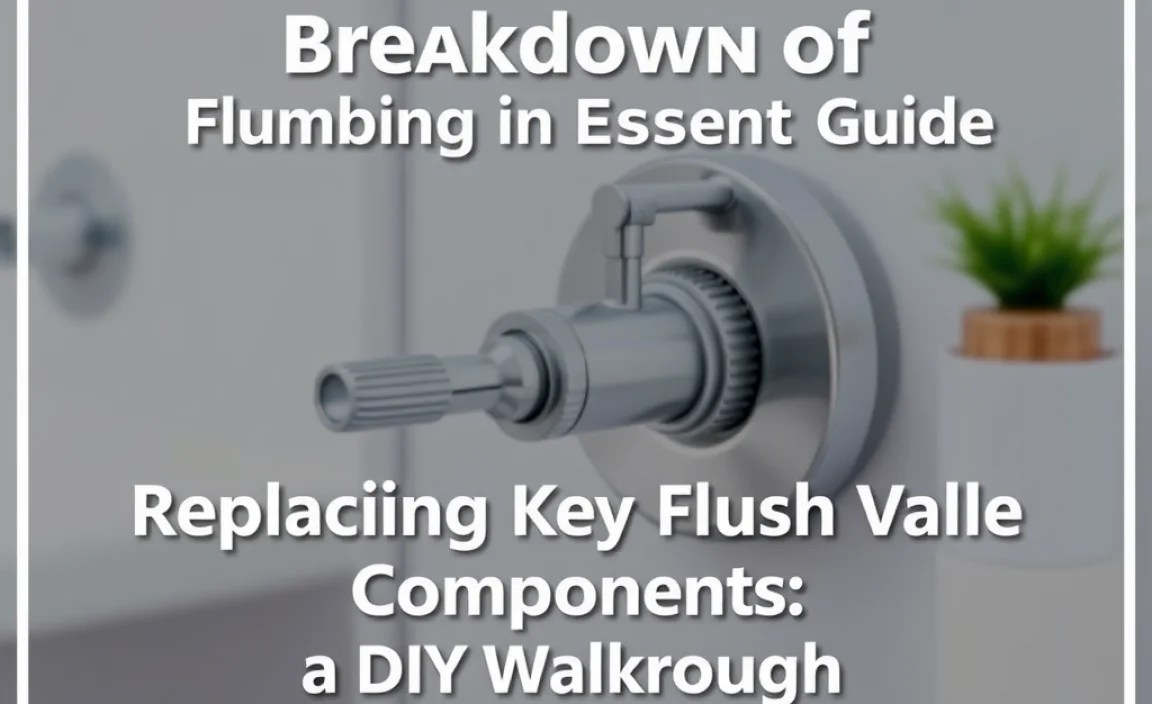
Replacing Key Flush Valve Components: A DIY Walkthrough
Let’s walk through replacing a common part: the flapper. This is one of the easiest toilet repairs.
Tools You’ll Need:
- New flapper (ensure it’s compatible with your toilet model)
- Pliers (optional, for stubborn chains)
- Gloves (optional)
- Rag or sponge
- Mild cleaner (like vinegar)
Step-by-Step Flapper Replacement:
- Turn Off Water: Locate the water supply valve behind the toilet and turn it clockwise until it stops.
- Empty the Tank: Flush the toilet to drain most of the water from the tank. Use a rag or sponge to soak up any remaining water at the bottom.
- Disconnect the Old Flapper: Most chains have a clip or hook attaching them to the flush lever arm. Release this. Then, detach the flapper from the overflow tube. It usually either slides off an arm or has two ears that hook onto posts on the flush valve seat.
- Clean the Valve Seat: While the tank is empty, use a rag and mild cleaner to wipe down the flush valve seat. This is where the new flapper will seal. Ensure it’s smooth and free of debris or mineral buildup.
- Attach the New Flapper: Connect the new flapper to the flush valve seat, usually by hooking its ears onto posts or sliding them into place, depending on the design.
- Connect the Chain: Attach the chain of the new flapper to the flush lever arm, adjusting the length so there’s only a little slack when the flapper is closed. Too much slack means the flapper won’t lift enough; too little means it might not close completely.
- Turn Water Back On: Slowly turn the water supply valve counter-clockwise to restore water flow.
- Test the Flush: Once the tank has refilled, flush the toilet. Check that the flapper seals properly and that the toilet doesn’t run continuously.
For tower flush valve assemblies, the replacement process involves removing the entire unit. This typically means disconnecting the water supply line to the tank, unbolting the assembly from under the tank, and installing the new one according to its specific instructions. It’s a bit more involved but still achievable for most DIYers.
Flush Valve Types: What’s the Difference?
Toilets have evolved, and so have their flush valve mechanisms. Knowing the type you have can help with repairs and upgrades.
Classic Flapper Valve
This is the traditional system. It consists of a separate overflow tube, a chain connected to a lever, and a rubber flapper that seals the drain hole. They are common in older toilets and are generally easy to understand and repair.
Modern Tower/Canister Flush Valve
These are newer designs that combine the flush valve seat, seal, and overflow functionality into a single, self-contained unit, often called a “tower” or “canister.” The flapper is replaced by a rubber seal at the base of the tower. They are designed for efficiency and are often easier to replace as a single unit. Brands like Korky and Champion use variations of this design. For more information on toilet efficiency, the EPA’s WaterSense program offers excellent insights.
Dual-Flush Valve Systems
Some modern toilets use dual-flush systems. These valves offer two flushing options: a partial flush for liquid waste and a full flush for solid waste, significantly conserving water. The valve mechanism is more complex, often involving a button on top of the tank with different buttons or levers for each function.
Flush Valve Maintenance Tips for Longevity
Regular, simple maintenance can help your flush valve last longer and prevent common problems.
- Regular Cleaning: Occasionally, turn off the water and clean the inside of the tank. Use a soft brush or rag to wipe down the flush valve seat and the flapper (if you have one). This removes mineral deposits and debris that can cause leaks.
- Check Water Level: Ensure the water level in the tank is set correctly. It should fill to just below the top of the overflow tube for optimal flushing power. Adjust the fill valve float if necessary.
- Inspect for Wear: Periodically check the flapper for signs of wear, brittleness, or damage. If it feels stiff or doesn’t seal well, it’s time for a replacement.
- Avoid Harsh Chemicals: Never use in-tank toilet bowl cleaners that sit in the tank. These often contain harsh chemicals that can degrade rubber parts like flappers and seals prematurely, leading to leaks and the need for replacement.
When to Call a Professional Plumber
While many flush valve issues are DIY-friendly, there are times when it’s best to call in the experts:
- Persistent Leaks: If you’ve tried replacing parts and still have a running toilet or leaks, there might be a more complex issue with the tank or the toilet base.
- Cracked Tank or Bowl: Visible cracks in the porcelain of your tank or bowl require immediate attention from a professional.
- Lack of Confidence: If you’re uncomfortable with any step of the repair process.
