
Learn how to easily install caulk for a watertight and finished look. This guide breaks down the process into simple steps, so anyone can achieve professional results for a durable, sealed home.
Leaky bathrooms, drafty windows, or gaps around your sink can be more than just annoying; they can lead to bigger problems like water damage and higher energy bills. Many homeowners feel hesitant to tackle caulk installation, thinking it’s a messy or complicated job. But here’s the good news: with a little know-how and the right tools, you can create a clean, waterproof seal that looks great and protects your home. We’re going to walk through everything you need to know, from picking the right caulk to achieving a smooth, professional finish. Get ready to confidently seal those gaps!
Your Go-To Caulking Installation: The Genius Essential Guide

Caulking is one of those handy home maintenance tasks that makes a big difference. It seals gaps and cracks, preventing water, air, and even pests from getting where they don’t belong. Whether you’re sealing around a bathtub, a window, or a kitchen backsplash, mastering caulking installation is a skill worth having. It’s not just about aesthetics; it’s about protecting your home from moisture damage and improving energy efficiency. Think of it as giving your home a snug, protective hug!
Why Caulking Matters (More Than You Think!)
Those small gaps seem insignificant, right? Wrong! They are entry points for moisture, which can lead to mold, mildew, and rot. They also let in drafts, making your heating and cooling systems work harder and costing you money. Properly installed caulk acts as a barrier. It keeps your home dry, your energy bills down, and your living space comfortable and healthy. For instance, sealing the gaps around your windows can significantly reduce heat loss in the winter, as highlighted by the U.S. Department of Energy’s advice on home energy efficiency.
Choosing the Right Caulk: It’s Not One-Size-Fits-All
The first crucial step in caulking installation is selecting the correct type of caulk. Different areas of your home require different caulk formulations. Using the wrong type can lead to premature cracking, peeling, or it might not adhere properly. Let’s break down the most common types:
- Latex (Acrylic Latex): This is your everyday, go-to caulk. It’s water-based, easy to use, cleans up with water, and dries relatively quickly. It’s perfect for interior projects like trim, baseboards, and window frames where moisture isn’t a constant issue. It’s also paintable, which is a big plus for matching your décor.
- Silicone Caulk: Highly waterproof and flexible, silicone is ideal for areas with high moisture, such as bathrooms and kitchens, around tubs, showers, sinks, and backsplashes. However, it can be a bit trickier to work with, doesn’t adhere well if painted directly over, and cleanup requires mineral spirits.
- Siliconized Acrylic Latex: This is a hybrid that offers some of the best of both worlds. It’s water-based for easier cleanup and paintability like latex, but with added silicone for better flexibility and water resistance. It’s a great all-around choice for many indoor applications.
- Polyurethane Caulk: This is a heavy-duty option, extremely durable and waterproof. It’s excellent for exterior applications like siding, trim, and concrete, as well as in high-traffic interior areas. It’s less flexible than silicone but offers superior adhesion and weather resistance. However, it usually requires solvent cleanup.
Understanding Caulk Tubes and Applicators
Caulk typically comes in a plastic tube designed to fit a caulk gun. Caulk guns come in various designs, from basic manual trigger models to dripless and electric versions. For beginners, a standard manual gun is perfectly adequate. Look for one with a smooth trigger action.
When you grab a tube of caulk, you’ll notice a nozzle. This nozzle needs to be trimmed to create an opening that matches the size of the gap you’re filling. A good rule of thumb is to cut the tip at a 45-degree angle. Start small; you can always make the opening larger if needed. Some caulk guns have a small metal tab or a needle for puncturing the inner seal of the caulk tube, which is essential before you start.
Tools and Materials You’ll Need for Caulking Installation
Before you dive into the actual caulking installation, gather your supplies. Having everything ready will make the process much smoother and less frustrating. Here’s a checklist:
- Caulk (choose the right type for your project)
- Caulk gun (manual, dripless, or electric)
- Utility knife or caulk cutting tool
- Painter’s tape (optional, but highly recommended for beginners)
- Bucket of warm water
- Clean rags or paper towels
- Caulk removal tool or putty knife (for removing old caulk)
- Rubbing alcohol or mineral spirits (for silicone caulk cleanup)
- Gloves (optional, but recommended for keeping hands clean)
- Dust mask (especially if removing old caulk or working with certain types)
- Old newspapers or drop cloth to protect surfaces
Step-by-Step Caulking Installation Guide
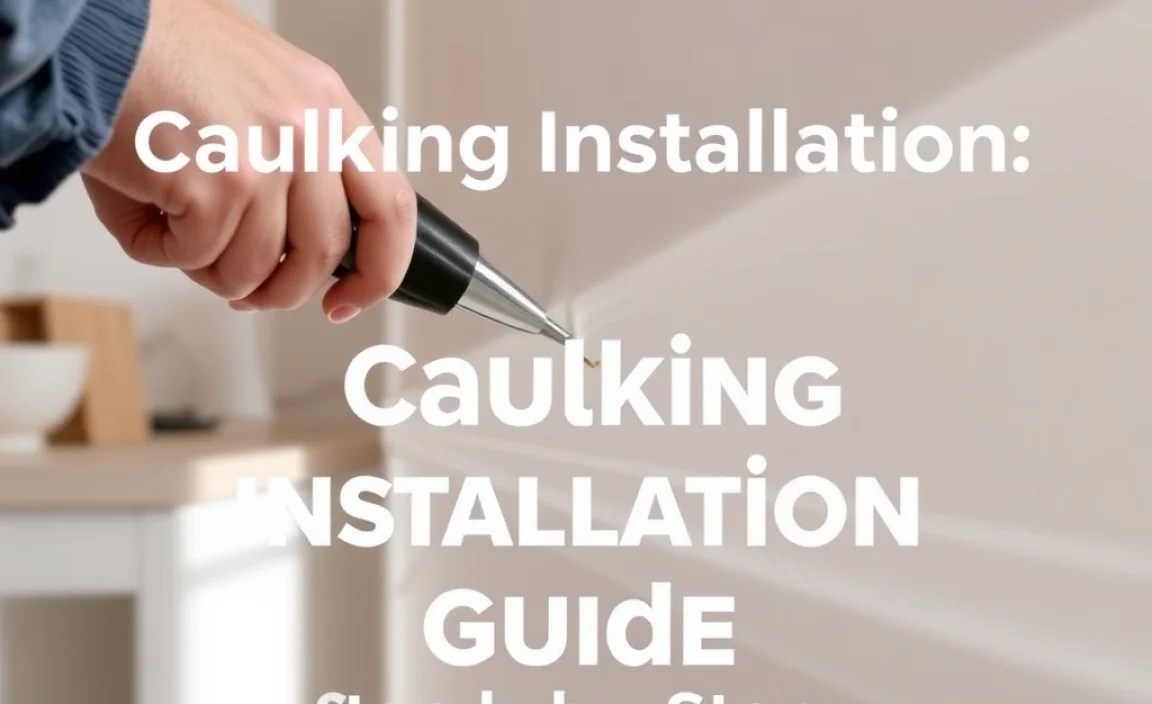
Now, let’s get down to business. Following these steps will help you achieve a clean, professional-looking caulk line, even if it’s your first time.
Step 1: Prepare the Area – Cleanliness is Key
This is arguably the most important step for a successful caulk job. Any dirt, dust, soap scum, grease, or old caulk will prevent the new caulk from adhering properly. This can lead to peeling or cracking down the line.
- Remove Old Caulk: If you’re replacing old caulk, use a caulk removal tool or a sharp putty knife to carefully scrape it away. Be gentle so you don’t damage the surrounding surfaces (like wood trim or tile).
- Clean Thoroughly: Wash the area with warm, soapy water. For greasy kitchen areas or bathrooms with mildew, you might need a stronger cleaner. For silicone caulk, you might need to wipe down with rubbing alcohol to ensure a clean surface for the new caulk.
- Dry Completely: Make sure the area is completely dry before you apply any caulk. Moisture trapped underneath can cause problems later.
- Protect Surfaces (Optional but Recommended): For perfectly straight lines, apply painter’s tape along the edges of the gap, leaving only the gap itself exposed. This acts as a guide and makes cleanup much easier. Ensure the tape is pressed down firmly.
Step 2: Prepare the Caulk Tube and Gun
This is where the nozzle cutting comes in. A proper cut ensures the right amount of caulk flow.
- Cut the Nozzle: Using your utility knife or caulk cutting tool, carefully cut the tip of the caulk tube at a 45-degree angle. Start with a small opening – about the size of the gap you want to fill. You can always cut it larger if you need more caulk.
- Puncture the Inner Seal: Most caulk guns have a long nail or rod that you can extend to puncture the inner seal of the caulk tube. Insert this into the nozzle and depress it. Alternatively, use a long nail or screw.
- Load the Caulk Gun: Pull back the plunger rod of the caulk gun. Insert the caulk tube, tip first, into the cradle. Push the plunger rod firmly against the back end of the caulk tube.
- Release Pressure: After each application, press the small lever on the caulk gun (usually near the trigger) to release the pressure. This stops the caulk from continuing to flow out of the tube.
Step 3: Apply the Caulk – The Art of the Bead
This is the part people worry about the most, but it’s simpler than you think!
- Position the Gun: Hold the caulk gun at a 45-degree angle to the gap. The angled tip of the nozzle should be in contact with both surfaces you are sealing.
- Squeeze and Move: Gently squeeze the trigger of the caulk gun. Move the gun smoothly and steadily along the gap. Aim for a consistent bead of caulk. You don’t need to press too hard; let the gun do the work.
- Maintain Consistency: Try to apply a continuous bead. If you stop, remember to release the pressure on the caulk gun to prevent dripping. For longer gaps, you might plan your stops.
- Fill the Gap: Ensure the caulk is filling the entire gap and making contact with both surfaces.
Step 4: Smooth the Caulk Bead
This is where you turn a messy bead into a clean, professional-looking seal.
- Timing is Key: You generally have about 5-10 minutes to smooth the caulk before it starts to skin over, depending on the type of caulk and humidity.
- Use Your Finger (Carefully!): For latex or siliconized acrylics, you can often use a damp finger. Dip your finger in water (or a little soap and water solution for latex/siliconized), and gently run it along the bead to smooth it and press it into the gap. Wipe excess caulk from your finger onto a rag frequently.
- Tool for the Job: Alternatively, use a caulk smoothing tool, a damp cloth, or even the back of a plastic spoon. These tools are designed to create a consistent concave finish.
- Work in Sections: If you have a long area to caulk, it’s often best to apply and smooth in smaller sections.
- Clean Up Excess: Wipe away any excess caulk that smooshes out onto the painter’s tape or surrounding surfaces immediately.
Step 5: Remove Painter’s Tape and Final Cleanup
This is the grand finale that reveals your hard work!
- Remove Tape Promptly: If you used painter’s tape, carefully and slowly pull it away while the caulk is still wet. Pull at an angle away from the caulk bead. This prevents the caulk from pulling up with the tape.
- Wipe Away Smudges: Use a damp rag or paper towel to clean up any stray caulk marks or smudges on nearby surfaces.
- Final Inspection: Look over your work. If you missed a spot or the bead isn’t perfect, you can sometimes add a little more caulk. For significant issues, you might need to remove the caulk and start again on that section. For latex caulk, you can usually apply a new bead over a slightly imperfect, wet bead.
Step 6: Curing Time
This is crucial for durability. Caulk needs time to dry and cure properly before it’s exposed to water or heavy use.
- Check the Label: Always refer to the caulk manufacturer’s instructions for specific drying and curing times.
- Drying vs. Curing: “Drying” means it’s no longer wet to the touch. “Curing” is the full hardening process that makes it waterproof and durable.
- Allow Adequate Time: For most latex and siliconized acrylics, the surface may be dry to the touch in an hour or two, but it can take 24-72 hours to fully cure. Silicone and polyurethane can take even longer. Avoid exposing the caulked area to water or significant stress until it is fully cured.
Tips for a Pro-Level Finish Every Time
Even with the best instructions, a few insider tips can elevate your caulking installation from good to fantastic. These small details make a big difference in the final appearance and longevity of your caulk lines.
1. Practice Makes Perfect
If you’re nervous, grab a scrap piece of wood or cardboard and practice applying and smoothing a bead. Get a feel for the caulk gun pressure and the movement needed for a smooth line. This is a low-stakes way to build confidence.
2. Control the Flow
Don’t be afraid to stop and restart. Release the pressure on the caulk gun every time you pause, even for a second. This prevents blobs and drips. Master finding that comfortable, steady pace.
3. Clean Your Tools Immediately
Caulk dries hard and is very difficult to remove from tools once cured. Clean your caulk gun, smoothing tools, and anything else that got caulk on it right away with water (for latex/siliconized) or the recommended solvent (for silicone/polyurethane).
4. Don’t Overtighten Your Caulk Gun
Sometimes, people squeeze the trigger too hard, which can make the caulk flow too quickly and inconsistently. A gentle, steady pressure is all you need.
5. Consider a Dripless Caulk Gun
If you plan to do a lot of caulking, investing in a “dripless” caulk gun can be worthwhile. These automatically release pressure, preventing that annoying dribble after you release the trigger.
6. For Corners, Aim for a Single Pass
When caulking inside corners (like where a wall meets a ceiling or two walls meet), try to apply a single, smooth bead. Trying to caulk both sides independently often results in an uneven fill. A good sanding sponge or a dedicated corner smoothing tool can help here.
7. Match Paint and Caulk Types
If you plan to paint over the caulk, make SURE you use a paintable caulk (most latex and siliconized acrylics are). Also, ensure the paint you use is compatible with the caulk. Using the wrong combinations can lead to peeling or cracking.
Common Caulking Installation Pitfalls and How to Avoid Them

Even with the best intentions and detailed guides, DIYers sometimes run into issues. Knowing these common problems beforehand can help you sidestep them entirely.
Pitfall: Messy, Uneven Beads
Cause: Inconsistent gun pressure, uneven nozzle cut, trying to go too fast, or not releasing gun pressure.
Solution: Practice on scrap material. Cut the nozzle to match the gap size precisely. Use steady, even pressure on the caulk gun and remember to release the pressure between application bursts.
Pitfall: Caulk Shrinking or Cracking
Cause: The gap is too large for the caulk to fill without shrinking. Using interior caulk in exterior applications. Applying caulk over a dirty or wet surface.
Solution: For large gaps, consider using a backer rod before caulking or using a specialized caulk designed for larger gaps. Always use exterior-grade caulk for outdoor use. Ensure the surface is scrupulously clean and dry.
Pitfall: Caulk Not Sticking or Peeling Off
Cause: Poor surface preparation is the main culprit. Not removing old caulk, grease, soap scum, or dust. Applying caulk to a wet surface.
Solution: Meticulously clean and dry the surface. If you’re caulking silicone over silicone, it might not adhere well; cleaning with alcohol is key, and sometimes removing all old silicone is the only fix. Check for any loose paint or material that the new caulk might stick to instead of the substrate.
Pitfall: Caulk Won’t Smooth Properly
Cause: Letting the caulk skin over before smoothing. Using too much water on latex caulk (which can make it difficult to smooth). Not enough caulk in the bead to begin with.
Solution: Work in small, manageable sections so you can smooth within the working time. Use just enough water to dampen your finger or tool, not soak it, for latex. Ensure you are applying a sufficient bead to fill the gap.
Pitfall: Caulk Turning Yellow or Mildewing
Cause: Using a cheap, interior-only caulk in a high-moisture area, or using a caulk that isn’t specifically formulated to resist mold and mildew.
Solution: Always use bathroom- or kitchen-grade caulk that is labeled as mold and mildew resistant for these areas. Even then, regular cleaning will help prevent build-up.
When to Call a Professional

While caulking installation is a very achievable DIY task, there are times when calling a professional might be the wiser choice. If you’re dealing with very large gaps, structural issues, or extensive areas that require specialty sealants (like on a commercial building’s exterior), it might be beyond a beginner’s scope. Also, if you’ve tried multiple times and are still struggling to get a satisfactory result, a professional has the experience and specialized tools to get the job done right, saving you potential headaches and future repairs. However, for most common household needs, this guide should empower you to handle it confidently.
| Caulk Type | Best Use Cases | Cleanup | Paintable | Pros | Cons |
|---|---|---|---|---|---|
| Latex (Acrylic Latex) | Interior trim, baseboards, window frames, doors | Water |
