
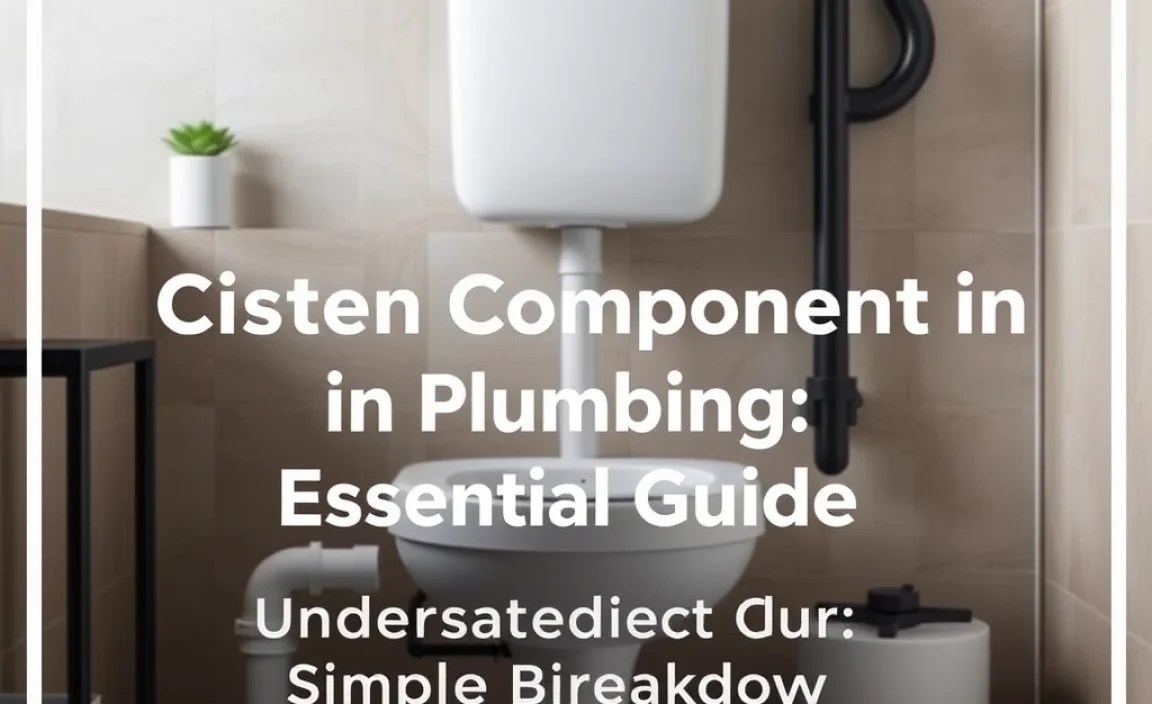
Cistern components in plumbing are the vital parts that work together to store and release water for flushing toilets. Understanding these parts empowers you to troubleshoot common issues and perform simple maintenance, saving you time and money. This guide breaks down each component, making your plumbing maintenance more approachable and effective.
Ever found yourself staring at your toilet’s cistern, wondering what’s going on inside? It’s a common mystery for many homeowners, but plumbing doesn’t have to be intimidating. Your toilet cistern, that back tank above the bowl, is a clever system of parts designed to deliver a powerful flush every time. If it’s not working quite right – maybe it’s running constantly, not filling up, or leaking – knowing the names and jobs of its components is the first step to fixing it. We’re here to demystify these parts, transforming that confusing tank into a clear, manageable system. Let’s dive in and learn what makes your cistern tick!
Understanding Your Cistern: A Simple Breakdown
Your toilet cistern is essentially a water storage tank that relies on a few key components to work together seamlessly. When you press the flush lever, a chain reaction occurs, releasing a precise amount of water into the toilet bowl. After the flush, the cistern refills itself, ready for the next use. It’s a continuous cycle, and each part plays a crucial role in its efficiency and reliability.
Think of it like a small, automated water delivery system. The water is held under gravity, and when triggered, it’s released in a controlled manner. Understanding these parts means you can better diagnose problems like leaks or faulty flushes, making home maintenance a bit less daunting. We’ll walk through each essential component, explaining its function in plain English.
The Main Cistern Components Explained
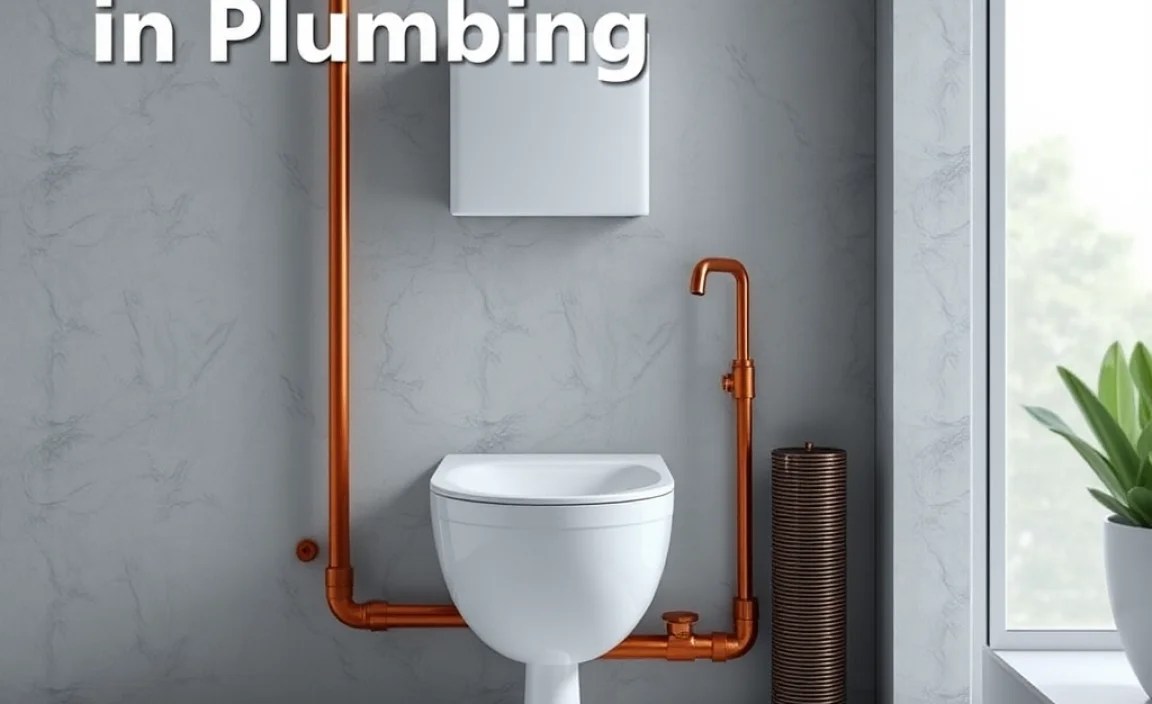
A modern toilet cistern is a marvel of simple engineering. While designs vary slightly, most share a core set of components that perform the same essential functions. We’ll cover these one by one, so you can easily identify them in your own toilet.
1. The Cistern Body (The Tank Itself)
This is the outer shell of the cistern, the ceramic or plastic box you see at the back of your toilet. Its primary job is to hold the water needed for flushing. The cistern body also houses all the internal working parts and connects to the toilet bowl below.
Modern cisterns are often made from durable ceramic, which is easy to clean and resistant to stains. Older models or some budget options might use plastic. Regardless of the material, the cistern body must be watertight to prevent leaks. Cracks or damage to the cistern body can lead to significant water loss and potential damage to your bathroom floor, so it’s important to keep an eye on its condition.
2. The Fill Valve (Ballcock)
The fill valve is one of the most important components, responsible for refilling the cistern after each flush. It controls the flow of water from your home’s main supply into the tank. Most fill valves use a float mechanism to determine when the water level has reached the desired height.
When the cistern empties after a flush, the float drops, signaling the fill valve to open and let water in. As the water level rises, the float also rises, eventually pushing a lever or mechanism that shuts off the water supply. This ensures the cistern doesn’t overfill.
There are two main types of fill valves:
- Float-based Fill Valves: These are the traditional type, using a buoyant ball or plastic float connected to an arm. As the water level rises, the float rises with it, shutting off the valve.
- Fluidmaster-style Fill Valves: These are more modern and compact. They use a sealed fluid-filled cylinder that rises with the water level. They are often easier to adjust and replace. According to EngineeringToolbox.com, proper functioning of the fill valve is crucial for water efficiency.
3. The Float
The float is the part of the fill valve system that detects the water level. As mentioned, it can be a traditional ball float attached to an arm, or a more modern cylindrical float that moves up and down on a central post. Its job is straightforward: to tell the fill valve when to stop letting water into the cistern. If the float is set too low, your cistern might not fill enough for a good flush. If it’s set too high, water could overflow into the overflow pipe.
4. The Flush Valve Assembly (Outlet Valve)
This is the component that sits at the bottom of the cistern and is responsible for releasing the water into the toilet bowl when you activate the flush. When you press the flush lever or button, it lifts this valve, allowing the stored water to gush out. Once the water has been released, the flush valve reseals itself to hold new water for the next flush.
The flush valve assembly typically consists of several parts:
- The Valve Seat: This is the rim at the bottom of the cistern onto which the flapper or diaphragm seals.
- The Flapper (or Diaphragm): This is a rubber or plastic seal that sits on top of the valve seat. When you flush, it lifts. It needs to create a watertight seal when closed to prevent leaks.
- The Overflow Pipe: This is a vertical pipe, usually integrated into the flush valve assembly. Its purpose is to safely guide excess water from the cistern into the toilet bowl if the fill valve fails and the cistern overfills, preventing water from spilling onto your bathroom floor.
A common issue is a worn-out flapper, which can cause the toilet to run constantly because it’s not creating a proper seal.
5. The Flush Lever (or Button)
The flush lever is the external part you interact with to initiate a flush. When you push it, it pulls on a chain or rod connected to the flush valve assembly, lifting the flapper. In modern dual-flush systems, you’ll find buttons instead of levers, often with two options: one for liquid waste (a smaller flush) and one for solid waste (a larger flush). These buttons are usually connected to a different mechanism that operates the flush valve.
6. The Flush Pipe
This is the connection between the cistern and the toilet bowl. When the flush valve opens, water travels through this pipe into the bowl, creating the siphonic action that clears the bowl contents. The flush pipe connects the bottom of the cistern to the top of the toilet bowl.
7. The Syphon
In many older cisterns, a syphon mechanism is used instead of a flapper and valve seat. The syphon consists of a pipe with a seal at the bottom. When activated, it draws water from the cistern and pushes it through the flush pipe. Once the water level drops below a certain point, the syphon breaks, and water stops flowing, allowing the cistern to refill. The syphon also typically incorporates the overflow pipe.
Syphons are generally robust but can become less efficient over time or affected by limescale buildup. Replacing a syphon is a common DIY task for those with older toilet models.
8. The Cisterm-to-Bowl Seal (Spud Washer)
This is a crucial rubber gasket that creates a watertight seal between the cistern and the toilet bowl. It’s usually located where the cistern bolts to the bowl. Over time, these seals can degrade, leading to leaks between the two components, which might appear as water on the bathroom floor or a constantly running toilet. Replacing this seal is a critical step in fixing such leaks.
Table: Key Cistern Components and Their Functions
Here’s a quick reference table to help you identify and understand the purpose of each major part within your cistern.
| Component Name | Primary Function | Common Issues |
|---|---|---|
| Cistern Body | Holds water; houses internal parts. | Cracks, damage, leaks. |
| Fill Valve (Ballcock) | Regulates water entering the cistern; stops flow when full. | Doesn’t shut off (toilet runs); slow filling; noisy operation. |
| Float | Detects water level to signal the fill valve. | Stuck, misaligned, or incorrectly set height. |
| Flush Valve Assembly (Outlet Valve) | Releases stored water into the bowl during flush. | Leaking (running toilet), worn flapper, faulty seal. |
| Flapper/Diaphragm | Seals the flush valve opening when closed. | Worn out, cracked, doesn’t create a seal. |
| Overflow Pipe | Safely directs excess water into the bowl. | Blocked (rarely causes major issue unless disconnected). |
| Flush Lever/Button | Initiates the flushing mechanism. | Stiff, broken chain/rod, button mechanism faulty. |
| Flush Pipe | Connects cistern to bowl for water transfer. | Leaks at connections, damage (rare). |
| Syphon (older systems) | Releases water and then breaks suction to stop flow. | Worn seal, limescale buildup, inefficient operation. |
| Cistern-to-Bowl Seal | Ensures a watertight connection between cistern and bowl. | Degraded, cracked, causing leaks between cistern and bowl. |
Common Cistern Problems and How to Identify Them
Now that you know the parts, let’s talk about what can go wrong. Recognizing the symptoms can help you pinpoint the faulty component quickly.
- Toilet Runs Constantly: This is often the most common sign of trouble. If you hear water trickling into the bowl even when the toilet hasn’t been flushed, it’s usually a sign that the flush valve (specifically the flapper or seal) isn’t closing properly. It could also be that the fill valve is allowing the cistern to overfill, and the excess water is going down the overflow pipe, which is designed to do.
- Toilet Won’t Refill or Fills Slowly: If your cistern takes a long time to fill after a flush, or doesn’t fill completely, the issue is likely with the fill valve or the float. The fill valve might be clogged, or the float might be set too low, preventing it from opening fully or for long enough.
- Cistern Leaks Water onto the Floor: Leaks can occur from several points. The worst-case scenario is a crack in the cistern body itself. More commonly, leaks come from the seals. Check around the base of the cistern where it meets the tank bolts, and where the cistern meets the toilet bowl. A worn cistern-to-bowl seal is a frequent culprit here.
- Weak Flush or Incomplete Bowl Clearance: A weak flush can be caused by several factors. The cistern might not be filling to its optimal water level (check the float setting and fill valve). The flush valve might not be opening fully, or the flush pipe could be partially blocked. For dual-flush systems, using the wrong button for the type of waste can also contribute.
- Water Constantly Trickling into the Bowl: Similar to a constantly running toilet, this indicates a leak. The flush valve seal (flapper) is the most common cause as it fails to create a tight seal.
DIY Maintenance and Repair Tips

Many common cistern problems are well within the reach of a DIY enthusiast. Armed with the right tools and knowledge, you can tackle these issues yourself and save on plumber call-out fees.
Tools You Might Need:
- Adjustable wrench
- Screwdriver set (Phillips and flathead)
- Pliers
- Bucket
- Sponge
- Towels
- Replacement parts (flapper, fill valve kit, seal kit)
- Thread seal tape (plumber’s tape)
Step-by-Step Guide: Replacing a Flapper
This is one of the most common and rewarding DIY repairs.
- Turn off the water supply: Locate the shut-off valve for the toilet, usually on the wall behind the toilet, and turn it clockwise until it’s firmly shut.
- Empty the cistern: Flush the toilet to drain most of the water from the cistern. You can use a sponge to soak up any remaining water at the bottom.
- Remove the old flapper: Most flappers are attached to the flush valve outlet via two small ears or hooks that slide onto posts on either side of the valve. Simply detach these. Some may be attached with a chain to the flush lever mechanism – disconnect this too.
- Install the new flapper: Attach the new flapper to the flush valve posts. Ensure it sits flat. If it has a chain, connect it to the flush lever mechanism, ensuring there’s just a little slack but not so much that it doesn’t lift fully when flushed.
- Turn on the water supply: Slowly turn the shut-off valve counter-clockwise to restore water flow.
- Test the flush: Let the cistern fill. Flush the toilet several times to ensure the new flapper creates a good seal and the toilet doesn’t run constantly. Check for leaks.
Step-by-Step Guide: Replacing a Fill Valve
This is slightly more involved but still manageable.
- Turn off water and drain cistern: As with replacing the flapper, shut off the water supply valve and empty the cistern.
- Disconnect water supply line: Use an adjustable wrench to unscrew the flexible water supply line from the bottom of the fill valve. Have a towel ready for any residual water.
- Remove the old fill valve: Most fill valves are secured from the inside of the cistern by a large plastic nut. Unscrew this nut and lift the old fill valve out from the top.
- Install the new fill valve: Insert the new fill valve into the hole in the bottom of the cistern. Ensure it’s oriented correctly according to the manufacturer’s instructions. Secure it from the outside with the large plastic nut.
- Reconnect the water supply line: Screw the water supply line back onto the new fill valve. You may want to use thread seal tape on the threads for a better seal.
- Adjust the float: Turn the water supply back on slowly. Let the cistern fill. Adjust the float mechanism on the new fill valve so that the water level is about 1-2 cm below the top of the overflow pipe. This is crucial for efficient flushing. Reference the Bureau of Reclamation’s water conservation guidance for context on efficient water use at home.
- Test the flush: Flush several times to ensure everything works smoothly, the cistern refills correctly, and there are no leaks.
When to Call a Professional Plumber
While DIY is great for many cistern issues, there are times when professional help is essential. If you encounter any of the following, it’s best to contact a qualified plumber:
- You’re unsure about any step of the repair process.
- You suspect a crack in the ceramic cistern body.
- You’ve tried to fix a leak, but it persists.
- The problem seems to involve the main water supply line or the pipework connecting to the cistern in a way you don’t understand.
- You own an older or more complex plumbing system.
- You’ve replaced parts, and the problem is still not resolved.
A professional plumber has the experience and specialized tools to diagnose complex issues safely and efficiently, preventing further damage and ensuring your plumbing system is reliable.
Understanding Water Efficiency in Cisterns
Modern cisterns are designed with water conservation in mind. Older toilets, especially those from before the 1990s, can use as much as 13 liters per flush! Regulations have driven significant improvements, with most modern toilets using between 6 and 9 liters per flush.
Dual-flush systems are a key innovation. They offer:
- Reduced Flush (Lighter Flush): Typically uses about 3 to 4.5 liters for liquid waste.
- Full Flush (Heavier Flush): Uses about 6 to 9 liters for solid waste.
This distinction allows for significant water savings over time. A properly functioning fill valve and a well-sealed flush valve are paramount to achieving these water-saving efficiencies.
The EPA’s WaterSense program promotes water-efficient products, including toilets. Choosing WaterSense-labeled toilets and ensuring your current system is working correctly contributes to both environmental responsibility and lower water bills. A malfunctioning cistern that constantly runs can waste hundreds or even thousands of liters of water per month!
