
Fixing caulk is easier than you think with these simple steps! This guide offers effortless solutions for replacing old, cracked, or moldy caulk, giving your bathrooms and kitchens a fresh, professional look. You’ll learn the right tools, techniques, and tips to achieve a clean, watertight seal without a fuss.
That messy, moldy, or cracked caulk around your sink, tub, or shower is more than just an eyesore. It’s a weak spot that can lead to bigger problems like water damage and mold growth. Seeing that old, peeling caulk can make you feel like calling a professional, but what if I told you that you can fix it yourself? You can! With a few simple tools and a little know-how, you can easily achieve a smooth, waterproof seal that looks fantastic. Let’s get your home looking its best, one tidy caulk line at a time.
Why is Fixing Caulk So Important?
Caulking is your home’s first line of defense against water. Think of it as a flexible, waterproof sealant that fills the gaps between different surfaces, like where your countertop meets your backsplash, or where your bathtub meets the tile wall. When caulk is in good condition, it prevents water from seeping into tiny cracks and crevices.
However, caulk doesn’t last forever. Over time, it can dry out, crack, shrink, become discolored from soap scum and mildew, or even peel away from surfaces. This is not just a cosmetic issue. Damaged caulk allows moisture to get behind tiles and into the wall structure, leading to:
- Mold and Mildew Growth: Damp, dark spaces are breeding grounds for mold, which can affect air quality and be harmful to your health.
- Water Damage: Water that gets behind the caulk can rot wood, damage drywall, and even affect electrical wiring.
- Pests: Small gaps can become entry points for insects and other small pests.
- Poor Insulation: Cracks in caulk around windows and doors can let drafts in, increasing your energy bills.
Fortunately, replacing old caulk and applying new caulk is a straightforward DIY project that most homeowners can tackle with confidence. It’s a rewarding task that instantly refreshes the look of your kitchen and bathroom and protects your home from costly water damage.
Tools You’ll Need to Fix Caulk

Gathering the right tools before you start makes the job much smoother and more efficient. You don’t need a lot of fancy equipment; most of these items are staples in any DIYer’s toolbox.
Essential Tools for Removing Old Caulk:
- Utility Knife or Caulk Removal Tool: A sharp utility knife is great for scoring and cutting caulk. A dedicated caulk removal tool is designed with specific blades and edges to scrape away caulk efficiently.
- Putty Knife or Scraper: A stiff metal putty knife or scraper can help pry away stubborn bits of caulk.
- Pliers: Needle-nose pliers can be helpful for gripping and pulling away small, loose pieces of caulk.
- Vacuum Cleaner with Crevice Tool: Essential for removing all the dust and debris after scraping.
- Gloves: To protect your hands from sharp tools and any residue.
- Safety Glasses: To protect your eyes from flying debris.
Tools for Applying New Caulk:
- Caulk Gun: This tool dispenses the caulk from the tube in a controlled manner. There are basic models and more advanced ones with features like drip control. For most DIYers, a good quality basic gun is sufficient.
- Caulk Tube: Choose a caulk specifically designed for kitchens and bathrooms, as these are formulated to be waterproof and mildew-resistant. Silicone caulk offers excellent water resistance but can be trickier to work with and paint over. Acrylic latex caulk is easier to apply and paint, but may not be as durable in very wet areas.
- Bucket of Water: For cleaning your tools and smoothing the caulk bead.
- Clean Cloths or Rags: For wiping away excess caulk and cleaning up.
- Painter’s Tape (Optional but Recommended): For creating crisp, straight caulk lines.
- Caulk Finishing Tool or Your Finger (with a wet finger!): To smooth the caulk bead.
Step-by-Step Guide: Effortless Caulk Removal
The key to a beautiful new caulk job is thorough removal of the old stuff. Don’t rush this part! Taking your time now will save you headaches later.
Step 1: Prepare Your Workspace
Before you start cutting into the old caulk, protect the surrounding areas. Lay down painter’s tape along the edges of the surfaces where you want a clean line. This isn’t strictly necessary if you’re a confident caulk applicator, but for beginners, it’s a lifesaver for achieving professional-looking results.
Open any windows or turn on an exhaust fan to ensure good ventilation, especially if you’re using a caulk remover product. Wear your gloves and safety glasses.
Step 2: Cut and Score the Old Caulk
Using your utility knife or caulk removal tool, carefully cut along the top and bottom edges of the caulk bead. You want to score the caulk where it meets the two surfaces you want to separate. For silicone caulk, many find using a sharp utility knife works best to slice through it.
If you have a specialized caulk removal tool, it often has different ends designed for different tasks. One end might be a small blade for cutting, and another might be a flat edge for scraping.
Step 3: Pry and Scrape Away the Old Caulk
Once you’ve scored the caulk, use the putty knife, scraper, or the caulk removal tool to get underneath the edge of the caulk and start prying it away. Work in sections, gently pulling or scraping the caulk from the seam. Be patient; some caulk will come off easily, while other parts might be stubborn.
If large sections are still stuck, you might need to gently re-score them with your utility knife. Be careful not to scratch the surface of your tile, countertop, or fixture. Pliers can be handy for getting a good grip on smaller, loose pieces to pull them out.
Step 4: Clean Up Debris Thoroughly
After you’ve removed as much of the old caulk as possible by scraping, use your vacuum cleaner with the crevice tool to suck up all the loose caulk bits, dust, and debris from the seam and surrounding area. This is crucial. Any remaining bits of old caulk can prevent the new caulk from adhering properly.
Step 5: Final Cleaning of the Seam
Wipe down the seam with a clean cloth dampened with rubbing alcohol or a diluted bleach solution (if you suspect mold residue). Rubbing alcohol is great for removing any residual oils or soap scum that might prevent the new caulk from sticking. Allow the area to dry completely. A clean, dry surface is essential for good adhesion.
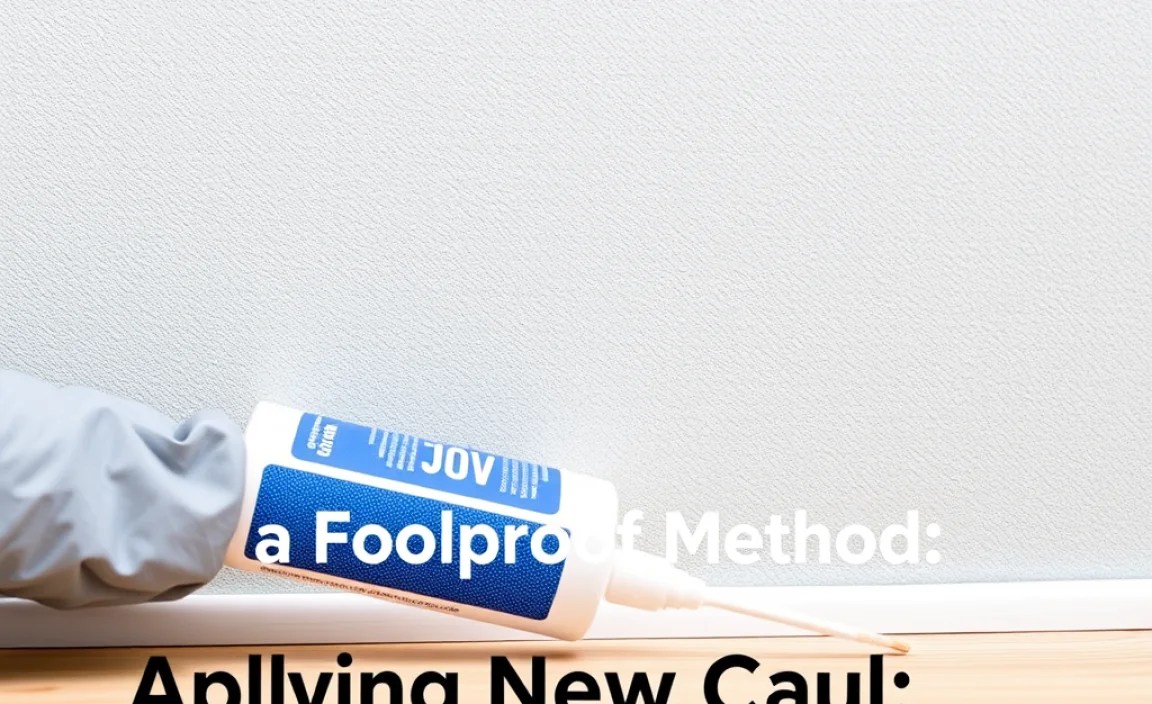
Applying New Caulk: A Foolproof Method
Now for the satisfying part! With the old caulk gone and the surface clean, you’re ready to apply a fresh, watertight seal.
Step 1: Prepare the Caulk Tube and Gun
Most caulk tubes have a large nozzle that needs to be cut to create an opening for the caulk to flow. Use your utility knife to cut the tip of the nozzle at a 45-degree angle. Start with a small opening; you can always cut more if needed. A smaller opening gives you more control, especially for beginners.
To pierce the inner seal of the caulk tube, use the small metal rod that usually extends from the back of a caulk gun, or you can use a long screw or nail. Insert it into the nozzle opening and push it in to puncture the seal.
Load the caulk tube into the caulk gun by pulling back the plunger rod, inserting the tube nozzle-first, and then pressing the release trigger on the gun to engage the plunger with the back of the tube.
Step 2: (Optional) Apply Painter’s Tape
For perfectly straight lines, apply painter’s tape along both edges of the seam you’re about to caulk. Place the tape so that the gap you want to fill is exactly in the middle. This creates a guide and catches any excess caulk, ensuring a clean finish.
Step 3: The First Bead – Practice Makes Perfect
Hold the caulk gun at a 45-degree angle to the seam, with the cut tip of the nozzle pointing into the gap. Gently but firmly squeeze the trigger of the caulk gun. You want a steady, consistent bead of caulk. Start in a corner or at one end of the seam and move the gun slowly and deliberately along the joint.
Aim to apply a continuous bead. If you need to stop, release the trigger and then push the small tab on the caulk gun (usually at the back) to disengage the plunger and stop the flow. Don’t hold the trigger down when you’re not moving, or you’ll get too much caulk.
Step 4: Smooth the Bead for a Professional Finish
This is where you get that smooth, concave finish. You have a few options:
- Your Finger: Dip your finger in water (or a solution of 50% water and 50% dish soap for less sticking) and run it gently along the caulk bead. This pushes the caulk into the gap and smooths the surface. Keep a damp rag handy to wipe excess caulk from your finger frequently.
- Caulk Finishing Tool: These plastic tools have various shaped edges designed to create different caulk profiles. Simply run the desired edge along the bead.
- A Wet Rag: A damp, clean rag can also be used to smooth the bead with gentle pressure.
The goal is to push the caulk into the gap and create a smooth transition between the two surfaces. Don’t over-smooth, as this can pull caulk out of the joint and leave an uneven finish.
Step 5: Remove Tape and Clean Up
If you used painter’s tape, remove it immediately after smoothing the caulk bead, while the caulk is still wet. Pull the tape away slowly and at an angle away from the fresh caulk line. This is crucial for getting clean lines.
Use a damp cloth to wipe away any excess caulk that may have squeezed out, or any smudges. Be careful not to disturb the smooth bead you just created.
Step 6: Allow Caulk to Cure
Let the caulk cure completely according to the manufacturer’s instructions on the tube. This usually takes at least 24 hours, but can vary. During this time, avoid getting the caulk wet or disturbing it. Once cured, your new caulk bead will be waterproof and ready to protect your home.
Choosing the Right Caulk: A Quick Guide

Not all caulk is created equal. For kitchen and bathroom applications, you’ll want caulk that’s waterproof and resistant to mold and mildew. Here’s a look at the most common types:
| Caulk Type | Pros | Cons | Best Use Cases |
|---|---|---|---|
| 100% Silicone Caulk | Excellent waterproof properties, very durable, flexible, resistant to mold and mildew. Great for high-moisture areas. | Difficult to work with, messy for beginners, doesn’t adhere well to all surfaces, cannot be painted over. | Bathtub edges, shower enclosures, around sinks in very wet areas. |
| Acrylic Latex Caulk (with Silicone) | Easy to apply and tool, cleans up with water, can be painted over. Good water resistance and mildew resistance. | Less durable than 100% silicone, may shrink slightly over time, not ideal for extremely wet areas without silicone content. | Around windows, doors, trim, countertops, backsplashes, and less exposed areas of tubs/showers. |
| Pure Acrylic Latex Caulk | Easiest to apply and clean up. Paintable. Good for general-purpose sealing. | Least durable, not very waterproof, prone to cracking and shrinking, poor mildew resistance. | Non-wet areas like baseboards, trim, or for surfaces that will be painted immediately. Not recommended for bathrooms/kitchens. |
Pro Tip: Look for caulk specifically labeled “Kitchen & Bath” or “Mildew Resistant.” These have additives to help them withstand damp environments and prevent staining.
Troubleshooting Common Caulk Problems
Even with the best intentions, you might run into a few snags. Here’s how to fix them:
Problem 1: The Caulk Bead is Uneven or Lumpy
- Solution: If the caulk is still wet, you can try smoothing it again with a wet finger or caulk tool. If it’s already dried, you’ll have to remove it and start over. For future applications, focus on maintaining a consistent speed and pressure with the caulk gun. Practice on a piece of cardboard first!
Problem 2: Caulk Won’t Stick Properly (Peeling or Cracking)
- Solution: This usually means the surface wasn’t properly cleaned and dried, or there’s old caulk or residue left behind. You’ll likely need to remove the faulty caulk and thoroughly clean the surface again. Ensure it’s bone dry before applying new caulk.
Problem 3: Caulk is Too Messy (Excess on Surfaces)
- Solution: If you didn’t use painter’s tape, this is a common issue. For wet caulk, use a damp cloth to carefully wipe away excess. If it’s already dried, you’ll need to carefully use a utility knife or scraper to remove the excess, being careful not to damage the surface. Using tape is the best preventative measure for beginners.
Problem 4: Mold is Growing on the Caulk
This is a sign the caulk is old, compromised, or not suitable for a wet environment. You’ll need to remove and replace it with a mildew-resistant caulk, as described in the removal steps. For persistent mold issues, ensure adequate ventilation in the bathroom.
Maintaining Your New Caulk Job
Once you’ve applied your beautiful new caulk, a little regular maintenance will keep it looking great and performing its best for years to come.
- Wipe Down Regularly: After showers or baths, quickly wipe down the caulk lines with a towel. This removes soap scum and moisture, which can lead to mold and mildew.
- Use Mild Cleaning Products: Avoid abrasive cleaners or harsh chemicals, as these can break down caulk over time. A solution of mild soap and water or a diluted vinegar spray is usually sufficient for cleaning.
- Ensure Ventilation: Always use your bathroom fan during and after showers to reduce humidity. Open windows when possible. Proper ventilation is key to preventing mold.
- Address Small Issues Promptly: If you notice a small crack or discoloration, it’s easier to repair then than when it becomes a larger problem.
When to Call a Professional
While this guide empowers you to fix most caulking issues, there are times when professional help is advisable. If you encounter extensive water damage behind tiles, suspect structural issues, or are dealing with very difficult-to-reach areas, it’s best to consult a qualified contractor. They have specialized tools and expertise to handle complex problems safely and effectively.
For more on home maintenance and DIY best practices, resources like This Old House provide excellent, reliable information:
This Old House – Bathroom Layout and Plumbing Tips
The Environmental Protection Agency (EPA) also offers valuable insights into
