
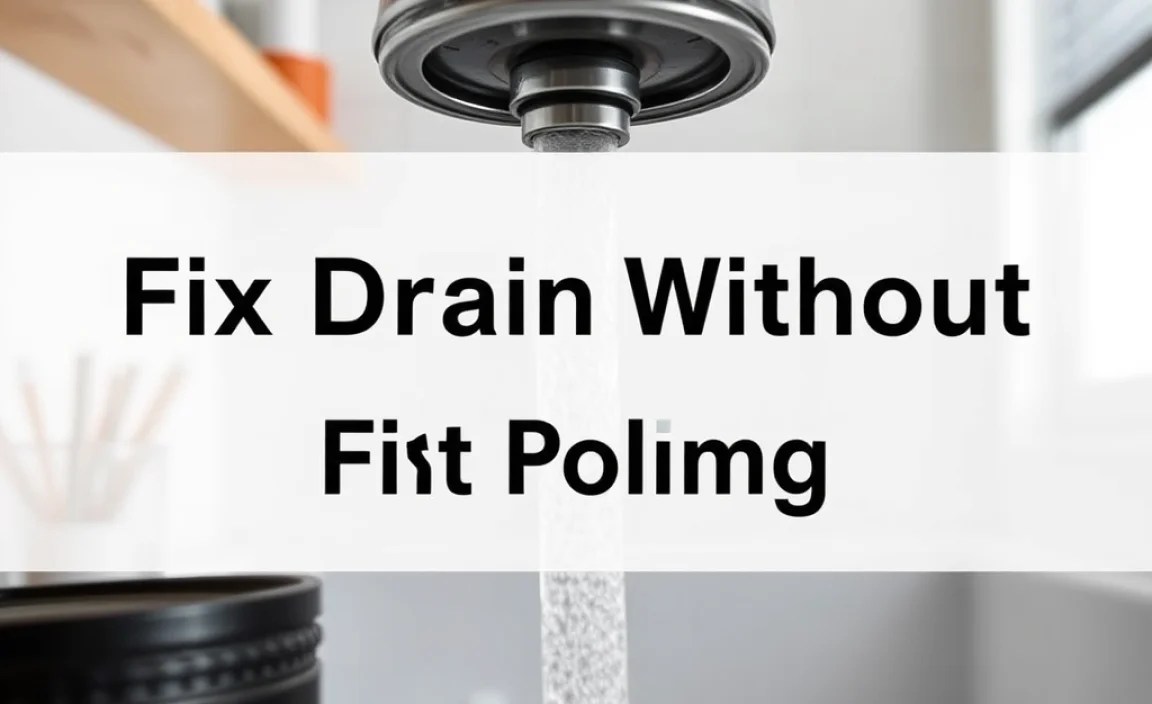
Quick Summary: You can fix a clogged drain yourself with simple tools and techniques. This guide provides easy, safe DIY steps to clear most common drain blockages, saving you time and money. Learn how to diagnose the issue and apply the right solution, avoiding the need for a plumber.
Is your sink draining slower than a sleepy snail? A clogged drain is a common household headache that can quickly disrupt your day. The gurgling sounds, standing water, and unpleasant odors are more than just annoying; they can signal a bigger problem if left unchecked. But don’t reach for the phone just yet! Many common drain clogs are surprisingly simple to fix yourself. With a few basic tools and a little know-how, you can tackle this problem and restore smooth flow to your pipes. This guide will walk you through easy, step-by-step solutions, empowering you to become your own drain-fixing hero.
When to Tackle a Drain Fix Yourself
Before we get our hands dirty, it’s good to know when a DIY approach is your best bet. Most minor clogs are caused by everyday build-up like hair, soap scum, food particles, or grease. These are usually accessible and manageable with simple tools. However, if you have a persistent, recurring clog, or if multiple drains in your house are backed up at once, this could indicate a more serious issue deeper in your plumbing system, like a blocked main sewer line. In such cases, it’s best to call a professional plumber. But for those single, slow-draining sinks, tubs, or toilets, you’ve got this!
Common Culprits Behind Clogged Drains

Understanding what causes a drain to clog is the first step toward fixing it. The type of clog often dictates the best method for removal. Here are the usual suspects:
- Hair: Especially common in bathroom sinks and shower drains. Hair strands tangle together, forming a mat that traps other debris.
- Soap Scum: The residue left behind from bar soap mixes with minerals in the water and hair, creating a sticky, tough blockage.
- Food Scraps: In kitchen sinks, coffee grounds, eggshells, grease, and small food particles can accumulate and solidify, leading to significant blockages.
- Grease and Oil: When poured down the drain, hot grease cools and hardens, coating pipe walls and trapping other waste.
- Foreign Objects: Small items like cotton swabs, dental floss, or trinkets can find their way into drains and cause obstruction.
- Mineral Buildup: In areas with hard water, mineral deposits can form over time, narrowing pipe passages and contributing to clogs.
Essential Tools for Your DIY Drain-Fixing Toolkit

You don’t need a plumbing license to fix many drain issues. A few common household items and a couple of specialized tools can make a world of difference. Having these on hand means you’re prepared for most minor plumbing emergencies:
| Tool | Purpose | When to Use |
|---|---|---|
| Plunger | Creates suction and pressure to dislodge blockages. | Most general clogs in sinks, tubs, and toilets. |
| Drain Snake (Auger) | A flexible cable that threads into the drain to break up or pull out clogs. | Deeper clogs that a plunger can’t reach, like those caused by hair. |
| Screwdriver | To remove drain stoppers or access pipe components. | When disassembling parts of the drain assembly. |
| Bucket or Bowl | To catch water when removing a P-trap or cleaning a drain assembly. | When working directly under a sink. |
| Old Towels or Rags | To soak up spills and keep the area clean. | Essential for any messy DIY job. |
| Baking Soda & Vinegar | Natural cleaning agents that can help break down minor clogs. | Mild clogs, for a preventative maintenance as well as a first-line defense. |
| Gloves | To protect your hands from grime and potential germs. | Always recommended for cleaning tasks. |
Troubleshooting Step-by-Step: How to Fix Your Drain Without a Plumber

Let’s get down to business! Here are the tried-and-true methods for tackling common drain clogs. We’ll start with the easiest and move to more involved solutions.
Method 1: The Mighty Plunger Power
The plunger is your first line of defense and incredibly effective for many clogs. It works by creating a seal and then using suction and pressure to force the blockage loose.
- Choose the Right Plunger: For sinks and tubs, a cup-shaped plunger is ideal. For toilets, you’ll need a flange plunger, which has an extra flap to fit the toilet bowl’s drain opening.
- Prepare the Area: Place old towels or rags around the drain to catch any splashing water. If it’s a double sink, block the other drain with a wet rag to ensure a proper seal. For tubs, ensure there’s enough water to cover the plunger cup.
- Create a Seal: Place the plunger over the drain opening, ensuring the rim is completely submerged in water. Push down firmly to create an airtight seal.
- Plunge Away: Give a few strong, up-and-down thrusts. The goal is to force water back and forth in the pipe. Don’t pull up too hard; focus on the downward push and then a quick, firm pull.
- Check for Drainage: After about 15-20 plunges, lift the plunger. If the water starts to drain, you’ve likely cleared the clog. You may need to repeat the process a few times. If the water drains but is still slow, it might be a partial clog, and you can try a natural cleaner.
Method 2: Natural Cleaners – Baking Soda and Vinegar
This classic combination is a safe and eco-friendly way to break down grease, soap scum, and other minor organic blockages. It’s also a great preventative maintenance step.
- Remove Standing Water: If there’s standing water, try to bail out as much as possible.
- Pour Down Baking Soda: Pour about half a cup of baking soda directly into the drain.
- Add Vinegar: Follow with about half a cup of white vinegar. You’ll hear fizzing and see bubbles – this is the chemical reaction working to break down the clog.
- Cover the Drain: Immediately cover the drain with a stopper or a wet rag to keep the reaction contained within the pipes.
- Wait and Flush: Let it sit for at least 30 minutes (or even an hour for tougher clogs). Then, pour a kettle of boiling water down the drain to flush away the loosened debris. Be cautious with boiling water, especially if you have PVC pipes; very hot tap water is a safer alternative for those.
- Repeat if Necessary: If the drain is still slow, you can repeat this process.
For more stubborn clogs, you might consider a commercial drain cleaner. However, use these products with extreme caution. They contain harsh chemicals that can be dangerous if not used correctly and can damage some pipe materials. Always follow the product instructions precisely and ensure good ventilation. If you opt for a chemical cleaner, it’s often best to use it after trying the plunger and natural methods, and be aware that they can make future plunging attempts less effective if they don’t fully clear the blockage.
Method 3: The Drain Snake (Auger) – For Deeper Clogs
When the clog is further down the pipe or too tough for a plunger or natural cleaners, a drain snake (also known as a drain auger) is your best friend. This tool’s flexible cable can reach deep into pipes to snag or break up blockages.
- Prepare the Area: Lay down towels to protect the floor and have a bucket ready.
- Insert the Snake: Gently feed the end of the drain snake cable into the drain opening.
- Push and Crank: As you push the cable deeper into the pipe, crank the handle to rotate the auger head. This helps it navigate bends and grab onto the clog. You’ll feel resistance when you hit the blockage.
- Engage the Clog: Once you feel resistance, continue to crank and push gently. If you’re trying to grab the clog, rotate the handle while carefully pulling the snake back a little. If you’re trying to break it up, keep rotating it into the blockage.
- Retrieve the Snake: Once you feel the clog break up or you’ve snagged it, slowly pull the snake back. You might pull out clumps of hair and debris; carefully dispose of them.
- Flush the Drain: After removing the snake, run hot water down the drain to flush out any remaining debris. You may need to repeat the snaking process if the clog wasn’t fully cleared.
For a more in-depth guide on using a drain snake, resources like This Old House offer excellent visual and textual instructions.
Method 4: Cleaning the P-Trap (Under the Sink)
Many sink clogs, especially in kitchens and bathrooms, are located in the P-trap. This U-shaped pipe under the sink is designed to hold water, preventing sewer gases from entering your home. It’s also a common trap for debris.
- Clear Everything Out: Remove items from under the sink to give yourself plenty of working room.
- Place a Bucket: Position a bucket or large bowl directly beneath the U-shaped section of the pipe to catch any water and debris.
- Loosen the Slip Nuts: The P-trap is usually connected by two couplings called slip nuts. These can typically be loosened by hand, but if they’re tight, you might need slip-joint pliers. Loosen both nuts gradually.
- Remove the P-Trap: Once the nuts are loose, the P-trap should be able to be gently pulled down. Be prepared for water to spill out.
- Clean the Trap: Empty the trap into the bucket. Use an old toothbrush or rag to clean out any gunk, hair, or debris inside the P-trap. Rinse it thoroughly.
- Inspect the Connecting Pipes: While the trap is off, look into the pipes it connects to for any visible blockages you can reach with a cloth or rag.
- Reassemble: Put the P-trap back in place, ensuring the seals are properly seated. Hand-tighten the slip nuts, then give them a quarter-turn more with pliers if needed. Don’t overtighten.
- Test for Leaks: Run water slowly into the sink and check the P-trap connections for any drips. If you see a leak, try tightening the slip nut slightly.
Method 5: Clearing a Clogged Toilet
Toilet clogs are frustrating but usually addressable. Beyond the plunger, other methods can help:
- The Toilet Plunger: Use a flange plunger specifically designed for toilets. Ensure the plunger cup is fully submerged and creates a good seal. Plunge vigorously.
- Hot Water and Dish Soap: Pour about half a cup of dish soap into the toilet bowl. Let it sit for a few minutes to lubricate the clog. Then, carefully pour a bucket of hot (not boiling) water into the bowl from waist height. Let it sit for 20-30 minutes. The soap and water can help break down or loosen the blockage.
- Toilet Auger (Closet Auger): This is a specialized tool designed to reach further into toilet traps than a standard drain snake. It has a protective sleeve to prevent scratching the porcelain. Follow the same principles as using a drain snake, but be gentle to avoid damaging the toilet.
For situations where multiple fixtures are blocked or you suspect a main line issue, the EPA’s guide to understanding your home’s plumbing can provide valuable context on how various parts of your system connect.
Preventative Maintenance: Keeping Your Drains Clear
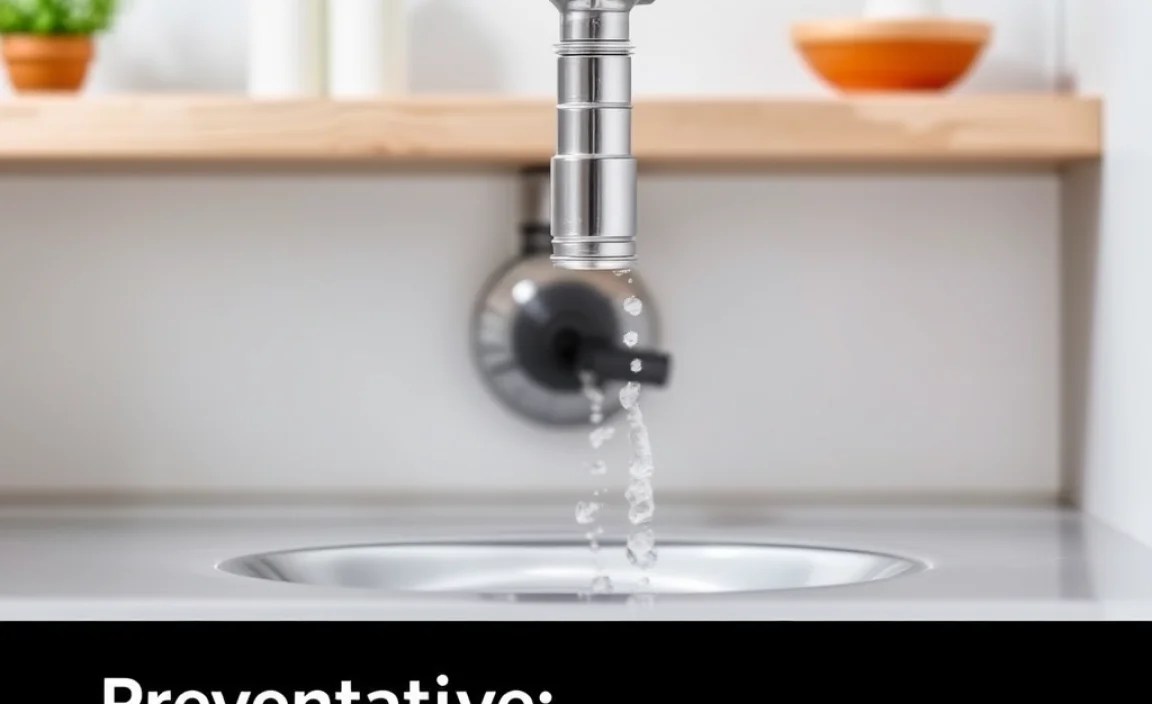
The best way to avoid a clog is to prevent it from happening in the first place. A little proactive care goes a long way. Here are some simple habits:
- Use Drain Strainers: Place mesh strainers in sinks and shower drains to catch hair, food particles, and other debris. Clean them regularly.
- Scrape Plates: Scrape food scraps into the trash or compost bin before rinsing dishes. Avoid pouring grease, oil, or coffee grounds down the kitchen sink.
- Be Mindful of what goes down: Never flush anything other than human waste and toilet paper down the toilet. This includes wet wipes (even “flushable” ones), paper towels, cotton balls, menstrual products, and excessive amounts of toilet paper.
- Run Hot Water: After using the kitchen sink, run hot water for a minute to help flush away any lingering grease or soap residue.
- Regular Cleaning: Once a month, pour a cup of baking soda followed by vinegar down your drains, let it sit for 30 minutes, and then flush with hot water. This helps keep pipes clear of minor buildup.
Troubleshooting Drain Problems: A Quick Reference
Here’s a quick table to help you decide which DIY method might be best for your situation:
| Symptom | Likely Cause | Recommended DIY Solution(s) |
|---|---|---|
| Slow-draining sink or tub | Minor buildup of soap scum, hair, or grease | Plunger, Baking Soda & Vinegar, Drain Snake (for hair), P-trap cleaning |
| Completely blocked sink or tub | Significant accumulation or object blockage | Plunger, Drain Snake, P-trap cleaning |
| Toilet won’t flush or is clogged | Excessive toilet paper, foreign object, or deeper blockage | Toilet Plunger, Hot Water & Dish Soap, Toilet Auger |
| Bad odors from drain | Trapped organic matter decomposing | Baking Soda & Vinegar, Baking Soda & Hot Water flush, P-trap check for debris |
| Multiple drains clogged | Potential main sewer line issue | Call a plumber (DIY methods may not be effective and could worsen the problem) |
Frequently Asked Questions About Fixing Drains
Q1: How do I know if my drain is only partially clogged?
A partially clogged drain will typically still allow some water to flow, but much slower than normal. You might hear gurgling sounds, or water may back up slightly before draining. If your drain is completely blocked and no water can pass, it’s a full clog.
Q2: Can I pour boiling water down my drain to clear it?
Boiling water can be effective for melting grease clogs. However, it’s best to use very hot tap water or let boiling water cool slightly, especially if you have PVC pipes, as extreme heat can potentially damage PVC fittings or seals.
Q3: Is using a chemical drain cleaner really bad?
Chemical drain cleaners can be effective but should be used as a last resort due to their harsh nature. They can harm pipes (especially older ones), damage septic systems, and are hazardous to skin, eyes, and lungs. Always follow instructions and ensure good ventilation.
Q4: My drain snake isn’t pulling anything out. What should I do?
If the snake isn’t catching anything, the clog might be further down, or you might be pushing through a soft blockage. Try rotating the snake in different directions or gently pushing it a bit further. If you still can’t dislodge it, it might be time to try a different method or call a professional.
Q5: How often should I use baking soda and vinegar for maintenance?
For preventative maintenance, using the baking soda and vinegar method once a month is generally recommended for most households. If you have particularly hard water or tend to experience slow drains, you might do it twice a month.
Q6: What is a ‘P-trap’ and why do sinks have them?
The P-trap is the U-shaped bend in the pipe under your sink. It’s crucial because it traps a small amount of water, creating a seal that prevents unpleasant sewer gases from rising up through your drain and into your home. It’s also a common place for clogs.
