
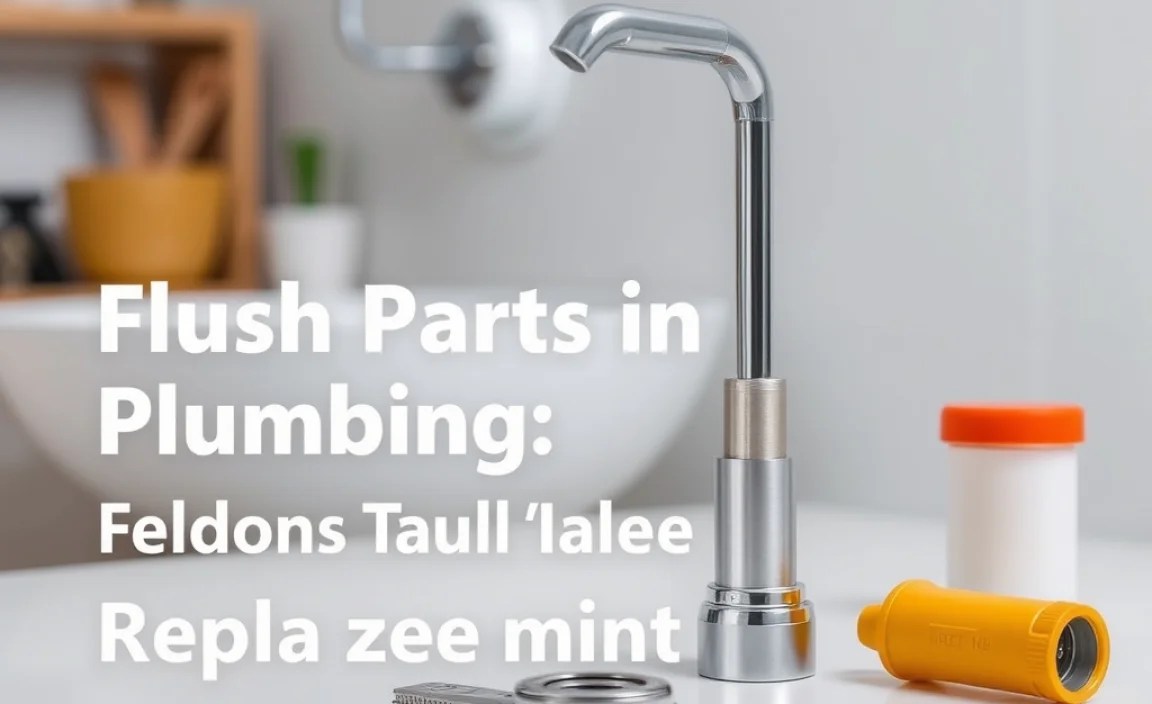
Understanding “flush parts in plumbing” is key to fixing common toilet troubles like running water or weak flushes. This guide simplifies identifying and replacing these essential components, empowering you to perform basic repairs with confidence and save money on plumbing visits.
Ever had a toilet that just won’t stop running? Or maybe the flush isn’t as strong as it used to be? These common frustrations often point to issues with the “flush parts in plumbing” – the unsung heroes inside your toilet tank. Don’t worry, these aren’t complicated mysteries! This guide is designed to break down exactly what these parts are, why they matter, and how you can tackle simple fixes yourself. We’ll walk through it all, step-by-step, so you can get your toilet working perfectly again.
What Are Flush Parts in Plumbing and Why Do They Matter?

The “flush parts in plumbing” refer to the collection of components located inside your toilet tank that work together to manage the water supply and initiate the flushing action. Think of them as the engine and gears of your toilet! When these parts are functioning correctly, your toilet will fill properly after each flush, hold water efficiently, and release the right amount of water to clear the bowl effectively.
Over time, wear and tear, mineral buildup, or simple age can cause these parts to malfunction. This is when you might notice leaks, a constant running sound, or a weak flush. Knowing these parts and their purpose is the first step to diagnosing and fixing many common toilet issues, potentially saving you significant costs on professional plumbing services.
The Anatomy of Your Toilet Tank: Key Flush Parts Explained

Understanding the individual components inside your toilet tank is crucial for effective troubleshooting. Each part plays a specific role in the flushing process. Let’s get acquainted with the main players:
1. The Fill Valve (or Ballcock)
This is the master controller for refilling the tank. When you flush, the fill valve closes, allowing water to enter the tank until it reaches the predetermined level. Modern fill valves are often a single unit, making them easier to replace than older, more complex ballcock assemblies. Its main job is to shut off the water supply to the tank once it’s full.
2. The Flapper
This is the circular or oblong piece of rubber or plastic that sits at the bottom of the tank, covering the flush valve opening. When you press the flush lever, a chain or linkage lifts the flapper, allowing water to rush from the tank into the bowl. A worn-out or warped flapper is a very common cause of a constantly running toilet because it doesn’t create a proper seal.
3. The Flush Valve Seat
This is the surface that the flapper seals against. It’s part of the larger flush valve assembly. Mineral deposits or damage to the flush valve seat can prevent the flapper from creating a watertight seal, leading to leaks into the toilet bowl.
4. The Flush Valve Assembly
This is the larger component at the bottom of the tank that the flapper is attached to. When the flapper lifts, the flush valve opens, allowing the tank’s water to drain into the toilet bowl. It’s essentially the gateway for water to exit the tank during a flush.
5. The Overflow Tube
This is a vertical tube, usually part of the flush valve assembly. If the fill valve malfunctions and overfills the tank, the overflow tube directs excess water down into the toilet bowl, preventing your bathroom from flooding. It’s a critical safety feature.
6. The Float (Ball or Cup)
Connected to the fill valve, this mechanism tells the fill valve when to shut off. Older toilets might have a large ball float, while newer ones often use a cup-style float that slides up and down the fill valve shaft. The float rises with the water level, and when it reaches a certain height, it triggers the fill valve to close.
7. The Flush Lever and Chain/Linkage
The flush lever is the external handle you push. It’s connected by a chain or a rigid rod (linkage) to the flapper and sometimes to the float. When you push the lever, it pulls the chain, lifting the flapper to start the flush.
Common Toilet Problems Solved by Understanding Flush Parts
Many everyday toilet annoyances can be traced directly to a faulty flush part. Recognizing the symptoms can help you pinpoint the culprit:
- Toilet Constantly Running: This is often caused by a worn-out flapper that isn’t sealing properly, or a fill valve that fails to shut off completely, causing water to constantly spill into the overflow tube.
- Weak Flush: A partially clogged flush valve, a flapper that’s too heavy or closing too soon, or insufficient water in the tank (due to a faulty fill valve or float setting) can lead to a weak flush.
- Slow Tank Refill: If your tank takes too long to refill after flushing, the fill valve might be clogged or set too low, or the water supply to the toilet might be restricted.
- Water in the Bowl Without Flushing: This is a classic sign of a leaky flapper or a damaged flush valve seat. Water is slowly seeping from the tank into the bowl.
- Gurgling Noises: While sometimes indicative of venting issues higher up in the plumbing system, persistent gurgling can also relate to how water is filling or draining within the tank.
Tools You’ll Need for Basic Flush Part Replacement
Before you dive into replacing parts, gather these common tools. Most of these are standard in any DIYer’s toolkit:
- Adjustable wrench
- Pliers (slip-joint or channel-lock)
- Screwdriver (flathead and Phillips)
- Bucket and towels (for catching drips and cleaning up spills)
- Gloves (optional, but recommended for hygiene)
- Measuring tape (to ensure you get the correct replacement parts)
- Perhaps a stiff brush or old toothbrush for cleaning
How-To Guide: Replacing the Flapper
The flapper is the most frequently replaced flush part. It’s a relatively simple DIY job that can solve many running toilet issues. Here’s how:
Step 1: Turn Off the Water Supply
Locate the shut-off valve on the wall behind or beside your toilet. It’s usually a small round or oval handle. Turn it clockwise until it stops. You can also turn off the main water supply to your house if you’re unsure or can’t find the individual valve, but this will cut water to your entire home.
Step 2: Flush and Drain the Tank
Flush the toilet to empty as much water as possible from the tank. You may need to hold the handle down longer than usual. Use a sponge or towel to soak up any remaining water at the bottom of the tank. This makes working with the parts much easier and cleaner.
Step 3: Disconnect the Old Flapper
Look at how the flapper is attached. Most flappers have two ears that hook onto pegs on the flush valve assembly. Gently unhook these ears. Then, unhook the chain or linkage from the flush lever arm. Some flappers may have a ring that slides onto a post.
Step 4: Connect the New Flapper
Take your new flapper (make sure it’s the right size and type for your toilet – they are not all universal!) and attach its ears to the pegs on the flush valve assembly. Reattach the chain or linkage to the flush lever arm. Adjust the slack in the chain so it’s taut but not pulling the flapper up when at rest. Typically, you want just a bit of slack, allowing the flapper to sit closed naturally. A good rule of thumb is about six coin-like links of slack.
Step 5: Turn the Water Back On
Slowly turn the shut-off valve counter-clockwise to restore water to the tank. Let the tank fill completely.
Step 6: Test the Flush
Flush the toilet. Listen for any running sounds after the flush. If the toilet stops making noise and the tank refills properly, you’ve succeeded! If it’s still running, check the flapper chain for proper slack, or ensure the flapper is seated correctly. If it persists, the flush valve seat might be the issue, or the fill valve could be faulty.
How-To Guide: Replacing the Fill Valve
A faulty fill valve can cause continuous running, overfilling, or slow refilling. Replacing it is another manageable DIY task.
Step 1: Turn Off Water and Drain Tank
As with the flapper replacement, turn off the water supply valve and flush to empty the tank. Remove any remaining water with a sponge.
Step 2: Disconnect Water Supply Line
Under the tank, you’ll see a flexible water supply line connected to the bottom of the fill valve. Use an adjustable wrench to carefully unscrew the nut connecting it. Have a towel ready for residual water.
Step 3: Remove the Old Fill Valve
Most modern fill valves are secured from inside the tank by a large nut or a locking ring. Unscrew this from the bottom of the tank. Once the nut is loose, you should be able to lift the old fill valve straight out from the top of the tank.
Tip: Before removing, take a picture or note how the old valve is oriented. This helps when installing the new one.
Step 4: Install the New Fill Valve
Place the new fill valve into the hole at the bottom of the tank, making sure it’s oriented correctly. From inside the tank, screw on the locking nut or ring that came with the new valve. Tighten it snugly, but don’t overtighten, as you could crack the tank. Ensure any overflow connection aligns correctly. Reconnect the water supply line to the bottom of the new fill valve and tighten the nut with your wrench.
Step 5: Adjust the Float (If Necessary)
Most new fill valves have an adjustable float. The water level in the tank should typically be about 1/2 to 1 inch below the top of the overflow tube. Adjust the float mechanism (usually a screw or clip) on the fill valve until the water reaches the desired level. For more precise information, consult the EPA’s WaterSense program, which offers guidance on water-efficient fixtures and their optimal operation.
Step 6: Turn Water On and Test
Slowly turn the water shut-off valve back on. Let the tank fill. Once full, flush the toilet. Check that the fill valve shuts off completely and that the water level is correct. Ensure there are no leaks around the base of the fill valve where it connects to the tank.
Troubleshooting Common Issues with Toilet Flush Parts
Sometimes, even after replacing parts, you might encounter lingering problems. Here are some common troubleshooting tips:
- Still Running After Flapper Replacement:
- Chain Too Tight: The chain is pulling the flapper open slightly. Add a little more slack.
- Chain Too Loose: The chain is getting caught under the flapper, preventing a seal. Shorten it.
- Wrong Flapper Type: Universal flappers can sometimes fit poorly. Ensure you have the correct one for your toilet model.
- Damaged Flush Valve Seat: Inspect the surface the flapper seals against. If it’s corroded, pitted, or has debris, it won’t seal. You can try cleaning it with a soft cloth or a special valve seat repair disc. If damaged, the entire flush valve assembly may need replacement.
- Toilet Bowls Not Filling with Water:
- Fill Valve Not Activated: Ensure the flush lever is properly attached to the flapper chain/linkage.
- Fill Valve Clogged: Mineral buildup can restrict water flow. You might need to clean or replace the fill valve.
- Water Supply Restricted: Check the shut-off valve; ensure it’s fully open. Look for kinks in the supply line.
- Toilet Overflows:
- Faulty Flapper/Flush Valve: Water is leaking from the tank into the bowl, causing the fill valve to run constantly.
- Fill Valve Malfunction: The fill valve isn’t shutting off, causing the tank to overfill and water to go down the overflow tube. Adjust the float or replace the fill valve.
When to Call a Professional Plumber
While most toilet flush part replacements are simple DIY tasks, there are times when it’s best to call in a professional:
- Persistent Leaks: If you’ve replaced parts and still have leaks, there might be a crack in the tank or bowl, or a more complex issue with the piping.
- Unusual Noises: Chronic banging, whistling, or loud gurgling sounds that aren’t resolved by replacing standard parts could indicate pressure issues or problems with your home’s main plumbing system.
- Multiple Toilet Issues: If you’re dealing with several problems at once or are uncomfortable with any part of the repair process.
- Water Damage Concerns: If you suspect water is seeping behind walls or under floors.
- Lack of Confidence: If you’re simply not comfortable performing the repair, it’s always better to be safe and call a professional. Mistakes can lead to more costly damage.
For more in-depth information on plumbing systems and maintenance, resources like the National Association of Home Builders (NAHB) provide insights into typical home systems and their upkeep.
Comparing Different Types of Fill Valves
The fill valve is a critical component, and understanding the types available can help you make a good replacement choice. Here’s a simple comparison:
| Type of Fill Valve | Description | Pros | Cons |
|---|---|---|---|
| Ballcock (Traditional) | An older style with a large, red plastic ball float attached to a metal or plastic arm. | Can be robust if well-maintained. | More complex adjustments, prone to leaking over time, parts can be harder to find. |
| Float Cup Fill Valve | A modern, common type where a plastic cup slides up the fill valve shaft. | Quiet operation, easy to adjust water level, good water efficiency, widely available, simple. | Can be slightly more expensive than basic flap/ball types. |
| Diaphragm Fill Valve | Uses a rubber diaphragm to control water flow. Less common in residential DIY replacements. | Can be very quiet. | Diaphragms can degrade over time, leading to leaks. Not typically the first choice for DIYers. |
| Dual-Action Fill Valve | These valves often have features to reduce refill time or water usage during partial flushes. | Can offer enhanced water savings. | Usually more complex and expensive, less common for standard DIY replacement. |
Maintaining Your Toilet’s Flush Parts for Longevity
Preventive maintenance can significantly extend the life of your toilet’s flush parts and prevent common issues:
- Regular Cleaning: Clean the toilet tank periodically with a mild cleaner to prevent mineral buildup. Avoid harsh chemicals that can damage rubber parts like the flapper.
- Check for Leaks: Even a slow leak can waste a lot of water. Drop a little food coloring into the tank water. If color appears in the bowl within 15-20 minutes without flushing, you have a leak, usually from the flapper or flush valve seat.
- Inspect Chains and Levers: Over time, chains can stretch or break, and levers can become loose or corroded. Check them for wear and tear and replace them if necessary.
- Avoid “In-Tank” Cleaners: Many toilet bowl cleaners designed to be dropped into the tank contain harsh chemicals. These can degrade the rubber and plastic components inside your tank, leading to premature failure of parts like the flapper and seals. It’s generally safer to clean the bowl and tank separately with appropriate cleaners.
- Water Hard
