
The “system of mirrors” refers to how multiple mirrors work together to create illusions of space, reflection, or focused light. Essential tips involve proper placement for desired effects, safe handling to avoid breakage, and cleaning for clear reflections, ensuring they enhance your home safely and effectively.
We’ve all seen those amazing photos or rooms where mirrors seem to double the space or create stunning visual effects. This is often thanks to a clever arrangement, which we can call the “system of mirrors.” Sometimes, mirrors in a DIY project or even just a well-placed wall mirror can seem tricky. You might wonder how to get that professional look or avoid common mistakes. Don’t worry! Setting up mirrors effectively is simpler than you think. This guide will break down everything you need to know to use the system of mirrors like a pro, making your home look its best. We’ll cover placement, safety, and maintenance, so you can confidently enhance your space.
Understanding the “System of Mirror”

At its heart, a “system of mirrors” isn’t a single product, but rather how two or more mirrors are positioned relative to each other and to the viewer or light source. The magic happens because each mirror reflects the other, creating an endless series of reflections. This principle is used in everything from grand optical illusions in art installations to practical applications like enhancing natural light in a home or creating a feeling of spaciousness. For homeowners and DIY enthusiasts, understanding this system unlocks creative potential for interior design and functional improvements. It’s about leveraging the reflective properties of glass to manipulate perception and functionality within a space.
Key Principles at Play
When mirrors interact, several optical principles come into play, which we can simplify for practical use:
- Reflection: The basic act of light bouncing off a surface. A mirror system uses multiple reflections.
- Angle of Incidence equals Angle of Reflection: This physics principle means the light beam hitting the mirror bounces off at the same angle it arrived. This governs how you see reflections.
- Perceived Depth and Space: By reflecting a view back, mirrors “extend” the visible area, making small rooms seem larger.
- Light Amplification: Mirrors can bounce and redirect light, making a room appear brighter.
For anyone looking to add mirrors to their home, understanding that these simple principles can create dramatic effects is the first step. It’s not about complicated math; it’s about thoughtful placement.
Essential Tips for Using a System of Mirrors in Your Home
Integrating mirrors into your home, especially in arrangements that work together, can transform the feel and function of a room. Here are some must-know tips to get you started, focusing on both aesthetics and practicality.
1. Strategic Placement for Maximum Impact
The placement of your mirrors is the most crucial element. Think about what you want to achieve before you hang a single piece.
Enhancing Light and Space
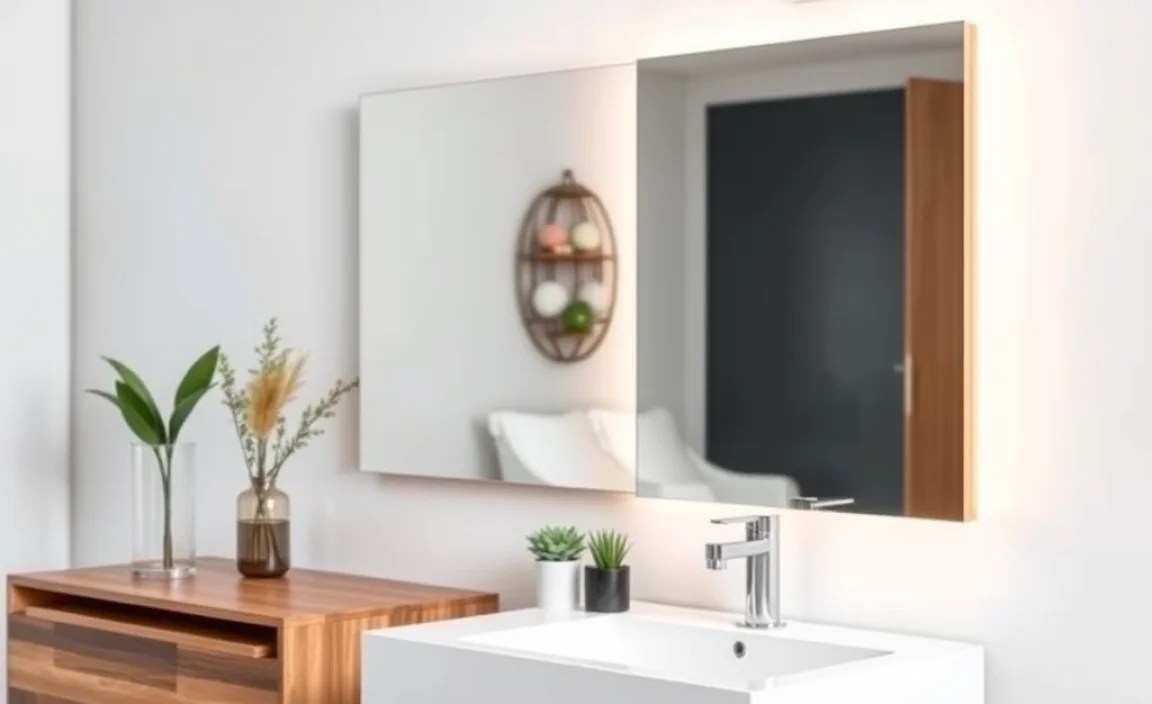
This is perhaps the most common and effective use of mirrors. Placing a mirror directly opposite a window can dramatically increase natural light. The mirror bounces the sunlight around the room, making it feel brighter and more open. Consider larger mirrors for this purpose, or a collection of smaller ones arranged thoughtfully.
- Opposite Windows: Reflects natural light and the view outside, expanding the perceived space.
- In Dark Corners: Can “borrow” light from brighter areas, making the space feel less gloomy.
- Behind Furniture (like sofas or consoles): Can create a sense of depth rather than just reflecting the back of the furniture.
Creating Visual Interest and Focal Points
Mirrors aren’t just for making rooms look bigger; they can also be decorative elements that draw the eye. A mirrored surface can reflect artwork, a beautiful light fixture, or an interesting architectural feature, effectively highlighting these aspects of your decor.
- Reflecting Artwork: Position a mirror to reflect a favorite painting or photograph, creating a dynamic, layered display.
- Framed Mirrors: Choose mirrors with decorative frames that complement your room’s style. These can act as art pieces themselves.
- As a Gallery Wall Element: Incorporate a mirrored piece into a gallery wall of photos and art for added dimension.
Functional Placement
Mirrors are practical too! Think about where you need to check your appearance or where a quick glance can be helpful.
- Entryways: A hallway mirror is essential for a quick check before heading out.
- Dining Rooms: A well-placed mirror can make a dining room feel more expansive and also reflect ambient light from candles or lamps.
- Against a Fireplace: A mirror above a mantelpiece is a classic design choice that reflects light and adds elegance.
2. Choosing the Right Type of Mirror
Not all mirrors are created equal. The size, shape, and quality of the glass can all influence the final effect.
Size Matters
Large mirrors: Are excellent for creating a strong sense of space and light. A single, large floor-to-ceiling mirror can be a dramatic statement piece.
Medium-sized mirrors: (e.g., over a console table or in a bathroom) are versatile.
Small accent mirrors: Can be used in groups to create a patterned effect or to highlight specific areas.
Shape and Style
The frame and shape of the mirror should match your room’s décor. You can find everything from minimalist frameless mirrors to ornate, antique-inspired designs. Round mirrors can soften a room, while rectangular ones offer a more structured look.
Beveled vs. Flat Edges
Beveled mirrors: Have a sloped edge that adds a subtle decorative touch and can make the mirror appear more substantial.
Flat-edged or frameless mirrors: Offer a more modern, minimalist aesthetic.
3. Safety First: Handling and Installation
Mirrors, especially larger ones, can be heavy and fragile. Proper handling and installation are paramount to prevent accidents.
Handling Heavy Mirrors
Always get help when moving large mirrors. Use heavy-duty work gloves to protect your hands and improve grip. If a mirror has a frame, lift by the frame, ensuring it’s sturdy. If frameless, be extremely careful to support the glass evenly. Always transport mirrors upright, not flat, if possible, as this reduces stress on the glass.
Secure Installation Techniques
The method of hanging depends on the mirror’s weight and your wall type. Always use hardware rated for the mirror’s weight, plus a safety margin.
- For lighter mirrors: Picture hanging hooks or sturdy adhesive strips designed for mirrors can work. Ensure the wall is clean and dry for adhesive strips.
- For medium to heavy mirrors: Use sturdy wall anchors (like toggle bolts or screw-in anchors) and heavy-duty D-rings or wire on the mirror’s frame. For very large or heavy mirrors, consider specialized mirror mounting systems or a professional installer.
- Stud Finder: Whenever possible, screw hanging hardware directly into wall studs for maximum support. A good stud finder is a valuable tool for this.
It’s also wise to use a level to ensure your mirror is hung straight. Nothing spoils the look (or the illusion) like a crooked mirror.
For more detailed information on wall anchors and mounting hardware, resources like This Old House offer excellent guidance.
4. Creating Optical Illusions with Multiple Mirrors
This is where the “system of mirrors” truly comes alive. Arranging two or more mirrors can create fascinating visual effects.
Infinite Reflections
Placing two mirrors facing each other creates an illusion of endless depth. The reflections bounce back and forth infinitely. This can be dramatic but be mindful of where this system is placed; it can sometimes feel overwhelming in smaller spaces or reflect unwanted objects.
- Ideal Spots: Hallways, alcoves, or as a unique feature in a living room corner.
- Caution: Avoid placing them where they create disorienting reflections or reflect clutter. Ensure there are no direct reflections of doors or openings that could confuse depth perception (making someone think there’s a path where there isn’t).
Angled Mirrors for Unique Views
Instead of placing mirrors directly opposite, angle them. This can create unique visual pathways, reflect different parts of the room, or offer interesting peeks into adjacent areas without fully opening a view.
- Corner Placement: Two mirrors angled in a corner can make the corner disappear, effectively “widening” the room.
- Creating a ‘Window’ Effect: An angled mirror can reflect a scene as if it were another window.
Mirrored Furniture and Surfaces
Beyond wall mirrors, consider mirrored surfaces on furniture like coffee tables, cabinets, or sideboards. These pieces can reflect light and create a sense of spaciousness, acting as a more subtle mirror system component.
5. Maintaining Your Mirrors for Clarity
Even the most beautifully placed mirrors lose their impact if they’re smudged or dirty. Regular cleaning is essential.
Daily Cleaning
A quick wipe-down with a microfiber cloth can remove fingerprints and dust. For stubborn spots, a specialized glass cleaner is best.
Deep Cleaning Tips
When it’s time for a thorough clean:
- Best Cleaners: Avoid ammonia-based cleaners if possible, as they can damage reflective backing on older mirrors. A solution of equal parts white vinegar and water in a spray bottle is a great, natural alternative that works wonderfully. Commercial glass cleaners are also effective.
- The Right Cloths: Use lint-free microfiber cloths. One for washing, one for drying/buffing. This prevents streaks.
- Technique: Spray the cleaner onto the cloth, not directly onto the mirror, especially if it has an ornate frame or is near electrical outlets. Wipe in a consistent pattern (e.g., horizontal then vertical, or in circles). Buff dry immediately to prevent water spots and streaks.
- Framed Mirrors: Be careful cleaning around painted or gilded frames. Use a slightly damp cloth and dry thoroughly. For delicate frames, a soft brush can help remove dust.
A clean mirror is a happy mirror, reflecting light and beauty without distraction.
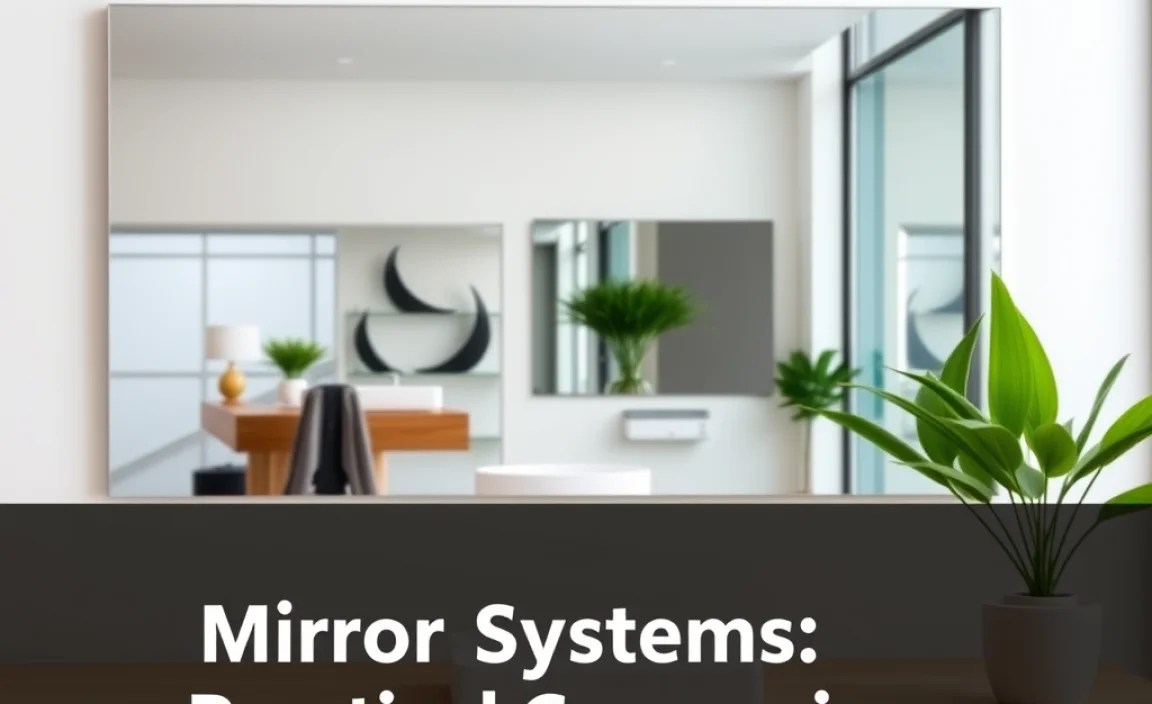
Mirror Systems: A Practical Comparison
To help you decide on the best approach for your home, here’s a quick look at different ways to implement a mirror system and their primary benefits.
| Mirror System Approach | Primary Goal Achieved | Best For | Considerations |
|---|---|---|---|
| Single Large Mirror Opposite Window | Maximizing natural light and perceived space | Small or dimly lit rooms | Can be expensive; requires secure mounting |
| Two Mirrors Facing Each Other | Creating an infinite reflection illusion | Entryways, long hallways, decorative statements | Can be disorienting; avoid reflecting clutter or unsafe areas |
| Gallery of Smaller Mirrors | Adding decorative flair and subtle depth | Living rooms, dining rooms, accent walls | Requires careful arrangement; more effort to hang |
| Mirrored Furniture Pieces | Reflecting light and adding glamour subtly | Living rooms, bedrooms | Can show fingerprints easily; more costly than wall mirrors |
| Angled Mirrors in Corners | Softening corners, creating visual continuity | Rooms with awkward corners, connecting spaces | Requires precise angling; may not be suitable for all corner types |
DIY Projects Using Mirror Systems

Integrating mirrors into your DIY projects can lead to some fantastic results. Here are a couple of beginner-friendly ideas:
1. The Layered Entryway Mirror
Goal: To make a narrow entryway feel larger and more welcoming.
What you’ll need:
- A medium-sized mirror with a frame (e.g., 2ft x 3ft)
- 2-3 smaller, decorative mirrors (different shapes or styles are fine)
- Sturdy hanging hardware for all mirrors (hooks, screws, anchors)
- Level
- Measuring tape
- Pencil
- Your choice of artwork or decorative items for the surface below
Steps:
- Measure and Mark: Decide on the placement for your main, larger mirror. Measure its dimensions. Using a level, lightly mark where the top of the mirror will hang.
- Hang Main Mirror: Install the hardware according to the hardware’s instructions (ensuring you hit studs if possible for heavier mirrors). Hang the main mirror.
- Arrange Smaller Mirrors: Place your smaller mirrors around the main mirror. Think about creating a visual cascade or a balanced cluster. One could go above, one to the side, or even slightly overlapping with the larger mirror’s frame for a modern look.
- Mark and Hang Small Mirrors: Once you’re happy with the arrangement, mark their positions and hang them securely.
- Add Finishing Touches: Place a console table or shelf below the mirrored arrangement and add decorative items, a plant, or keys. The mirrors will reflect these and the surrounding space, enhancing the entryway.
2. The “Endless” Cabinet Door Mirror
Goal: To create a decorative, reflective surface on a plain cabinet or closet door.
What you’ll need:
- Adhesive mirror tiles or a large, thin adhesive mirror sheet
- Utility knife or strong scissors
- Cleaning supplies (degreaser, microfiber cloths)
- Measuring tape
Steps:
- Clean the Surface: Thoroughly clean the cabinet or closet door surface. Ensure it’s free of dust, grease, and any old finishes. A degreasing cleaner is often best. Let it dry completely.
- Measure the Area: Measure the area of the door you want to cover.
- Cutting the Mirror (if using tiles or a sheet): If using adhesive mirror tiles, plan your layout. If using a large sheet, carefully measure and cut it to size using a utility knife or strong scissors. Many adhesive mirror sheets can be cut with scissors. For precise cuts, a glass cutter might be needed, but often isn’t for these mirror types. For cutting plastic mirror sheets (which are safer and lighter than glass), follow specific guidance.
- Apply the Mirror: Peel off the backing of the adhesive mirror tiles or sheet. Carefully align the edge with the door and press firmly, smoothing out any bubbles as you go. Work from one edge to the other.
- Finish: Once applied, press down firmly over the entire surface to ensure good adhesion. Clean again if necessary.
The result is a transformed piece of furniture that adds light and a sense of depth to your room.
Choosing the Right Mirror for Your Needs
When selecting mirrors, consider what you want them to do. Are you aiming for a specific aesthetic, or is function the main driver? Here’s a quick breakdown to help inform your decision.
Aesthetic Considerations
- Frame Style: Match the mirror’s frame to your room’s existing décor. A rustic room might suit a reclaimed wood frame, while a modern space calls for sleek metal or frameless options.
- Size and Shape: A very large mirror can be a statement piece, while a collection of smaller, varied shapes can create an artistic focal point. Round mirrors can soften sharp lines.
- Placement of Reflection: What will the mirror actually reflect? Ensure it’s something you want to see repeated or highlighted.
Functional Considerations
- For Increased Light: Place mirrors opposite windows or light sources.
- For Perceived Space: Lean a large mirror against a wall or hang one to reflect a longer dimension of the room.
- For Quick Checks: A mirror near an entrance or in a dressing area is practical.
- For Safety: Ensure mirrors, especially large ones, are securely mounted to prevent them from falling. Use appropriate hardware.
Think of your mirrors not just as reflective surfaces, but as design tools that can solve practical problems and enhance the beauty of your home.
For guidance on professional installation services, local directories and review sites can help you find qualified glaziers or handymen. For DIY hardware, check reputable home improvement stores.
Frequently Asked Questions (FAQ)
What is the best way to clean mirrors without streaks?
The best way is to use a lint-free microfiber cloth and a cleaning solution. A popular DIY solution is a 50/50 mix of white vinegar and water. Spray the solution onto the cloth, not the mirror, and wipe in a consistent motion (like horizontal then vertical.
