
Quick Summary: Understanding basic “flush terminology in plumbing” empowers you to fix common toilet issues. Knowing terms like “flush valve,” “flapper,” and “fill valve” helps you identify problems and select the right parts for DIY repairs, saving time and money.
Dealing with a toilet that’s acting up can be frustrating. Whether it never seems to stop running, won’t flush properly, or makes strange noises, it’s easy to feel overwhelmed by all the technical terms often used to describe toilet parts. But don’t worry! This guide is here to break down the essential “flush terminology in plumbing” in a way that’s easy for anyone to understand. We’ll help you identify the key components and understand what they do. With this knowledge, you’ll feel more confident tackling minor toilet troubles yourself, leading to a more reliable bathroom and peace of mind. Let’s dive in and demystify your toilet’s inner workings!
Your Toilet’s Inner Workings: A Beginner’s Guide to Flush Terminology


As a DIY enthusiast, I’ve learned that the best way to approach any home maintenance task is to understand the tools and terms involved. For many homeowners, the toilet is a bit of a mystery box. When something goes wrong, we tend to call a plumber. But with a little knowledge of the basic “flush terminology in plumbing,” you can often diagnose and even fix common issues yourself. This empowerment not only saves you money but also gives you a great sense of accomplishment.
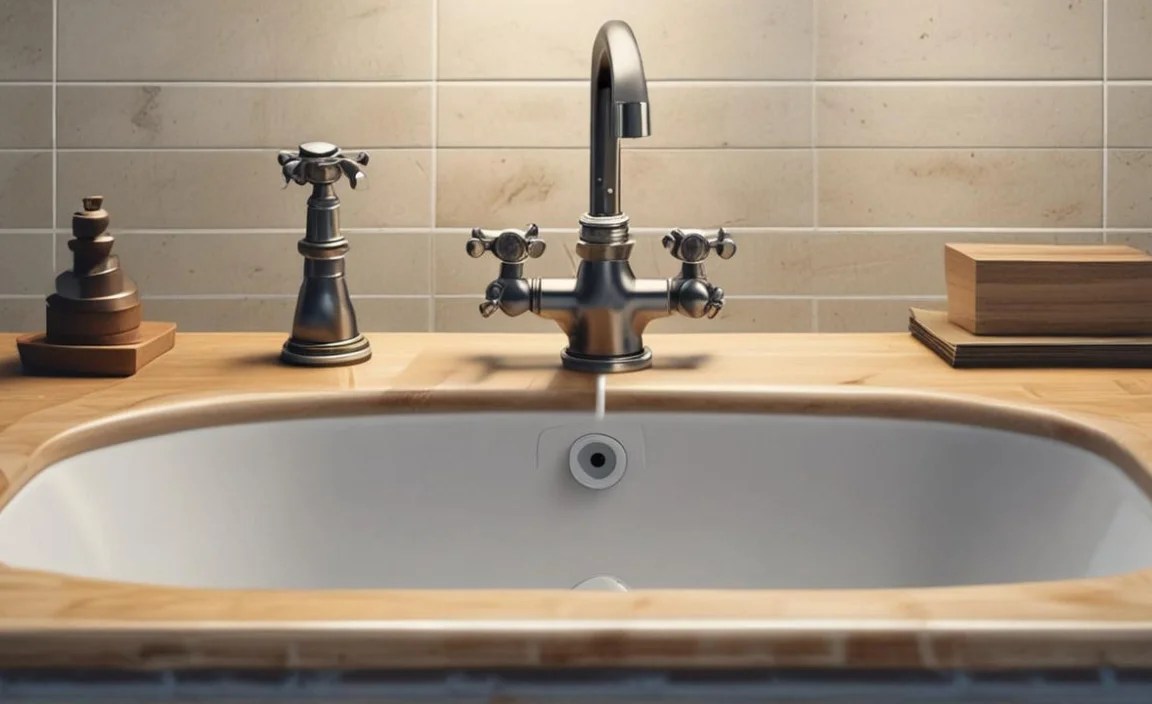
Think of your toilet as a simple, yet clever, system. It uses gravity and a bit of clever engineering to clear waste. The “tank” at the back holds water, and the “bowl” is where waste goes. When you press the handle, a series of events occurs that allows the water from the tank to rush into the bowl, flushing everything away.
We’re going to explore the main parts you’ll encounter and what they do. This knowledge is crucial for picking up the right replacement parts at the hardware store or even just having a more productive conversation with a plumber if you do need professional help. Let’s start at the top, inside the tank, where most of the magic happens.
Inside the Tank: The Heart of the Flush

The tank is where all the action starts. It’s a reservoir of water waiting for its cue. Inside this seemingly simple box, several components work together to create the flush. Understanding these parts is key to diagnosing many common toilet problems.
The Fill Valve (or Ballcock)

The fill valve is responsible for refilling the tank with water after each flush and to shut off the water supply once the tank is full. It’s usually a vertical assembly with a float mechanism. There are two main types you’ll commonly see:
- Float-and-Arm Fill Valve: This is the older style, featuring a float ball attached to an arm. As the water level rises, the float rises, eventually reaching a set point where it activates a lever to shut off the water.
- Tower Fill Valve (or Fluidmaster Style): This is the more modern and common type. Instead of a ball on an arm, it has a cylindrical or tower-shaped float that slides up and down the fill valve shaft. It’s generally more reliable and easier to adjust than the older style.
When your toilet runs continuously, the fill valve is often the culprit. It might not be shutting off properly, allowing water to constantly enter the tank and then overflow into the overflow tube.
The Flush Valve
The flush valve is the gateway between the tank and the bowl. It’s essentially a large opening at the bottom of the tank that is normally sealed. When you flush, this seal is broken, allowing water to rush from the tank into the bowl.
- The Seal: The flush valve is typically sealed by a rubber or plastic component called a “flapper” or a “tank ball” (in older toilets). This seal needs to be watertight to prevent water from slowly leaking from the tank into the bowl, which can cause phantom flushing or a constantly running toilet.
- Height and Water Level: The flush valve also dictates the maximum water level in the tank. The overflow tube is often integrated into the flush valve assembly, and if water rises above a certain point, it will spill into the overflow tube and then into the bowl, preventing the tank from overflowing onto your bathroom floor.
The Flapper
This is one of the most common parts to wear out and cause problems. The flapper is a rubber or plastic stopper that rests on top of the flush valve opening. When you flush, the flush handle (connected by a chain or lift rod) lifts the flapper, allowing water to drain from the tank into the bowl.
- Material Degradation: Over time, the rubber of the flapper can become stiff, cracked, or distorted, preventing it from forming a good seal with the flush valve seat. This leads to water leaking from the tank into the bowl, wasting water and causing your toilet to run.
- Chain or Lift Rod Issues: The chain connecting the flush handle to the flapper can also cause issues. If your chain is too long, it can get caught under the flapper, preventing a proper seal. If it’s too short, it might not lift the flapper high enough for a full flush. For lift rod systems, the rod itself can bend or detach.
The Overflow Tube
The overflow tube is a vertical pipe, usually part of the flush valve assembly, that prevents the toilet tank from overflowing. If the fill valve fails to shut off, water will rise above the top of the overflow tube and cascade down into the bowl, thus protecting your bathroom from flooding.
It’s important to note that the water level in the tank should always be below the top of the overflow tube. If it’s not, that’s a clear sign of a problem with your fill valve.
The Float Ball or Cup
This component is directly linked to the fill valve. Its job is to float on the water’s surface. As the water level rises, the float rises with it. Once the float reaches a pre-determined height, it signals the fill valve to shut off the water supply.
- Float Ball: An older style, typically a metal or plastic sphere on an adjustable arm.
- Float Cup/Tower: A newer design, where the float mechanism is integrated into the fill valve assembly itself.
A malfunctioning float (e.g., a float ball that has a leak and sinks, or a float cup that’s stuck) can lead to the fill valve not shutting off properly, resulting in a constantly running toilet.
The Flushing Mechanism: Bringing it All Together
The actual flush involves a coordinated effort from several parts. When you press the handle, you initiate a chain of events that clears the bowl.
The Flush Handle and Lift Rod/Chain

This is the part you interact with. When you press the flush handle on the outside of the tank, it pulls on a lift rod or chain connected to the flapper inside.
- Lift Rod: A metal rod that connects the handle to the flapper or chain.
- Chain: Connects the lift rod to the flapper. Ensure it has just the right amount of slack.
If the handle is loose, broken, or the linkage is disconnected, you might not get a proper flush. Sometimes, a simple adjustment of the chain length or reattaching a loose rod can fix a weak flush.
The Siphon Jet and Trapway

These terms relate more to how the bowl empties, but they’re essential to understanding the complete flush mechanism.
- Siphon Jet: Many toilets have a small hole at the bottom of the bowl, below the water line. This jet starts the siphoning action by squirting a stream of water into the trapway, helping to initiate the rapid emptying of the bowl.
- Trapway: This is the curved passageway at the bottom of the toilet bowl that leads to the drainpipe. It’s designed to hold a small amount of water, creating a seal that prevents sewer gases from entering your bathroom. The siphoning action created by the water rushing from the tank, combined with the push from the trapway, clears the bowl.
A clogged trapway or a partially blocked siphon jet can lead to incomplete flushes or situations where the bowl doesn’t empty properly.
Common Toilet Problems Explained by Terminology
Now that we’ve introduced some key terms, let’s see how they apply to common toilet issues. This is where understanding the terminology really pays off for DIYers. For more complex issues, resources from organizations like the EPA’s WaterSense program offer great insights into water-efficient plumbing, including troubleshooting tips.
Toilet Runs Constantly
This is often the most common and annoying problem. It can be caused by several issues, all related to the terms we’ve discussed:
- Leaking Flapper: The most frequent cause. Worn-out rubber on the flapper doesn’t create a seal, letting water slowly leak from the tank into the bowl. You might hear a faint trickle.
- Fill Valve Not Shutting Off: The fill valve is set too high, or it’s malfunctioning and won’t stop the water flow. Water then spills over the overflow tube into the bowl.
- Chain Too Tight: If the chain connecting the handle to the flapper is too taut, it can hold the flapper slightly open, preventing a perfect seal.
Weak Flush or Incomplete Flush
If your toilet isn’t clearing the bowl effectively, consider these terms:
- Not Enough Water in Tank: The fill valve might be set too low, or the float is shutting off the water prematurely.
- Clogged Siphon Jet or Trapway: Debris can block the siphon jet or the trapway, hindering the siphoning action.
- Flapper Lifting Too Quickly or Not High Enough: If the flapper lifts too quickly, it can disrupt the siphon. If it doesn’t lift high enough, there isn’t enough water released for a proper force. This can be due to an incorrectly adjusted chain or an issue with the lift rod.
Toilet Won’t Flush or Handle is Loose

This usually points to an issue with the handle and its connection to the flushing mechanism.
- Loose or Broken Handle: The handle itself might be loose on its mount or broken internally.
- Disconnected Lift Rod/Chain: The connection between the handle lever and the lift rod, or the lift rod and the chain, might have come undone.
- Obstruction: Sometimes, something might be physically blocking the movement of the handle assembly.
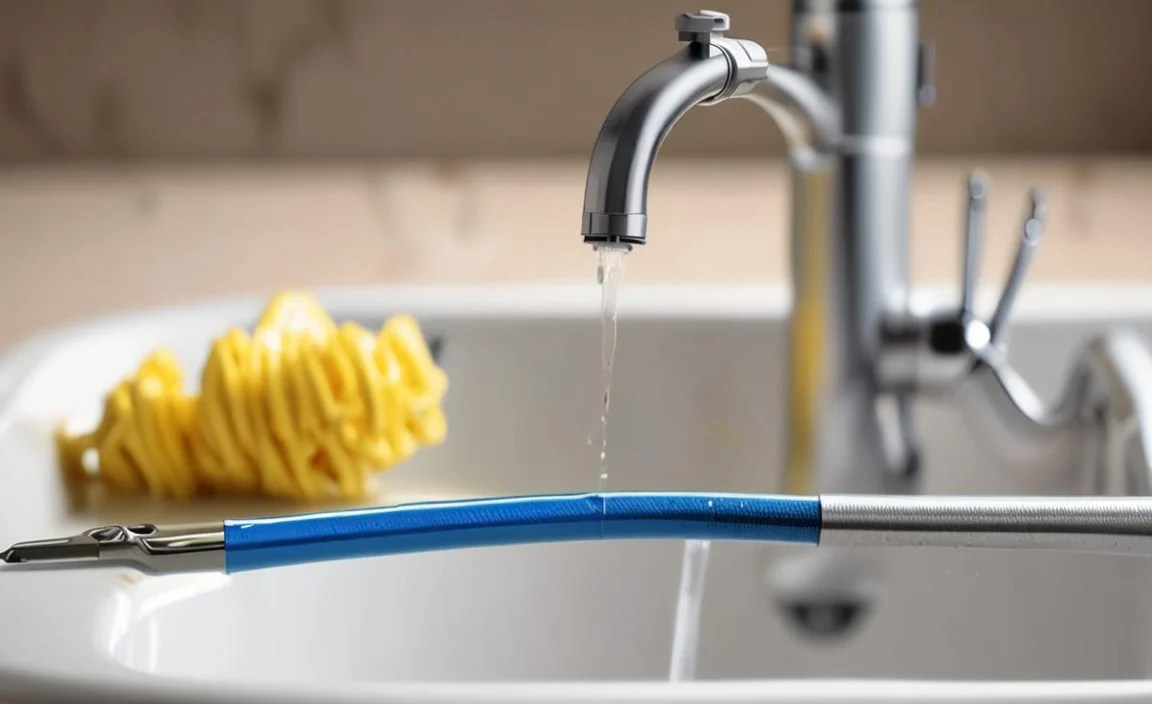
Essential Tools for Toilet Maintenance
Before you start any DIY repair, it’s crucial to have the right tools. For most basic toilet fixes, you won’t need a huge toolbox. Here are some essentials:
| Tool | Purpose | Notes |
|---|---|---|
| Adjustable Wrench | Tightening or loosening nuts and bolts on tank-to-bowl connections or water supply lines. | A medium-sized wrench is usually sufficient. |
| Screwdriver Set | Used for various screws, often found on handle mechanisms or older fill valves. | Both Phillips head and flathead are useful. |
| Pliers (Slip-Joint or Channel Locks) | Grip and turn various plumbing components. | Helpful for stubborn nuts. |
| Bucket | To catch any residual water when disconnecting parts or to hold removed components. | Essential for preventing water damage. |
| Sponge | To soak up remaining water in the tank or bowl. | A cheap and effective tool. |
| Toilet Repair Kit | Contains common replacement parts like flappers, fill valves, and seals. | Highly recommended to have a universal kit on hand. |
| Old Towels or Rags | For cleaning up spills or drying parts. | Always good to have extra on hand. |
| Gloves | For hygiene and protection. | Protect your hands. |
DIY Steps: Replacing a Flapper (A Common Fix)
Replacing a flapper is a super common and relatively easy DIY task. It’s a great way to gain confidence with “flush terminology in plumbing.” Here’s how:
- Gather Your Supplies: You’ll need a new flapper compatible with your toilet model (take a picture of your old one or bring it to the store!), an adjustable wrench, a bucket, and some rags.
- Turn Off the Water Supply: Locate the shut-off valve on the wall behind the toilet. Turn it clockwise until it stops.
- Empty the Tank: Flush the toilet and hold the handle down to drain as much water as possible from the tank. Use a sponge to soak up any remaining water.
- Disconnect the Old Flapper: The flapper is usually attached to the flush valve (the large pipe in the middle of the tank) by two plastic ears or a ring. Carefully unhook these from the overflow tube or the flush valve assembly. Also, disconnect the chain from the flush handle’s lift rod.
- Install the New Flapper: Attach the new flapper to the flush valve assembly, ensuring it sits properly over the flush valve opening. Reconnect the chain to the lift rod, making sure there’s just a little slack (so the flapper can seal, but the chain doesn’t get caught underneath it when flushed).
- Turn Water Back On: Slowly turn the water supply valve counter-clockwise. Let the tank refill.
- Test the Flush: Once the tank is full, try flushing the toilet. Check for leaks from the tank into the bowl. Listen for continuous running. If it runs, you may need to adjust the chain length slightly.
If the problem persists after replacing the flapper, you might need to look at the fill valve or the flush valve seat itself. However, a new flapper solves a large percentage of “running toilet” issues.
Understanding the Flush Valve Seat
The flush valve seat is the rim at the bottom of the flush valve where the flapper makes contact to create a seal. This surface can become corroded, pitted, or damaged over time, especially in areas with hard water. Even a new flapper won’t seal properly if the seat is damaged.
- Inspection: After removing the old flapper, carefully feel the rim of the flush valve seat. If it feels rough, bumpy, or has visible damage, this could be the cause of your leaks.
- Cleaning: Sometimes, mineral deposits can hinder a good seal. You can try to gently clean the seat with a scouring pad or even a bit of fine-grit sandpaper. Be gentle to avoid further damage.
- Replacement (Flush Valve Assembly): If the seat is significantly damaged, you may need to replace the entire flush valve assembly. This is a more involved DIY task but is still achievable with the right guidance. Kits for this are readily available. For a visual guide, check out resources from reputable DIY sites or even manufacturer instructions on replacing aflush valve.
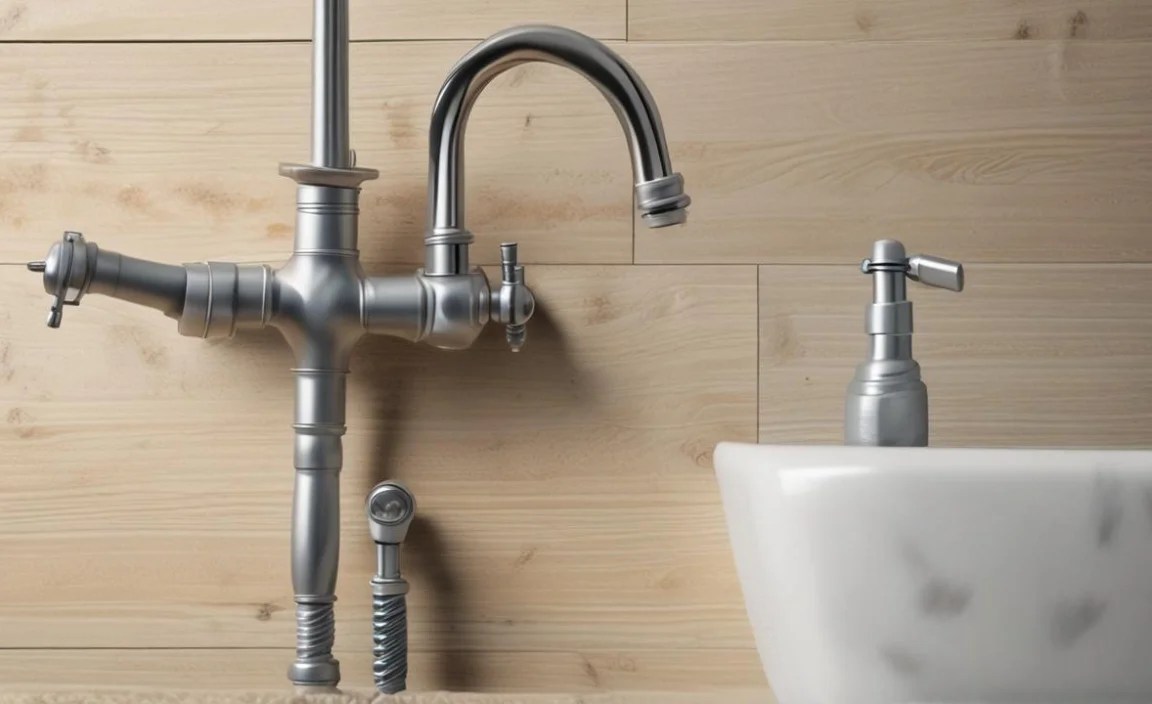
The Role of the Water Supply Line

While not strictly “flush” terminology, the water supply line is crucial for the entire process. It’s the hose or pipe that brings water from your home’s main water system into the toilet tank.
- Supply Valve: The shut-off valve on the wall behind the toilet.
- Supply Hose: Typically a flexible hose connecting the supply valve to the fill valve inlet. These can degrade over time and leak.
- Connection: Both ends of the supply hose have nuts that need to be properly tightened.
A leak in the supply line, or a faulty connection, can cause water wastage and potential damage. Regular inspection of these components is a good practice.
Advanced Terminology (Briefly)
As you dive deeper into plumbing, you might encounter terms like:
- Spud Washer: A rubber gasket that seals the connection between the toilet bowl and the tank.
- Tank-to-Bowl Gasket: The large donut-shaped gasket that seals the flush valve opening to the bowl.
- Causeway: The raised part of the bowl that separates the water entering from the flush valve.
These are generally parts you’ll see if you’re replacing the entire tank or bowl, or dealing with leaks between those components.
Maintaining Your Toilet for Longevity
Understanding the basic “flush terminology in plumbing” is the first step. The next is proactive maintenance:
