
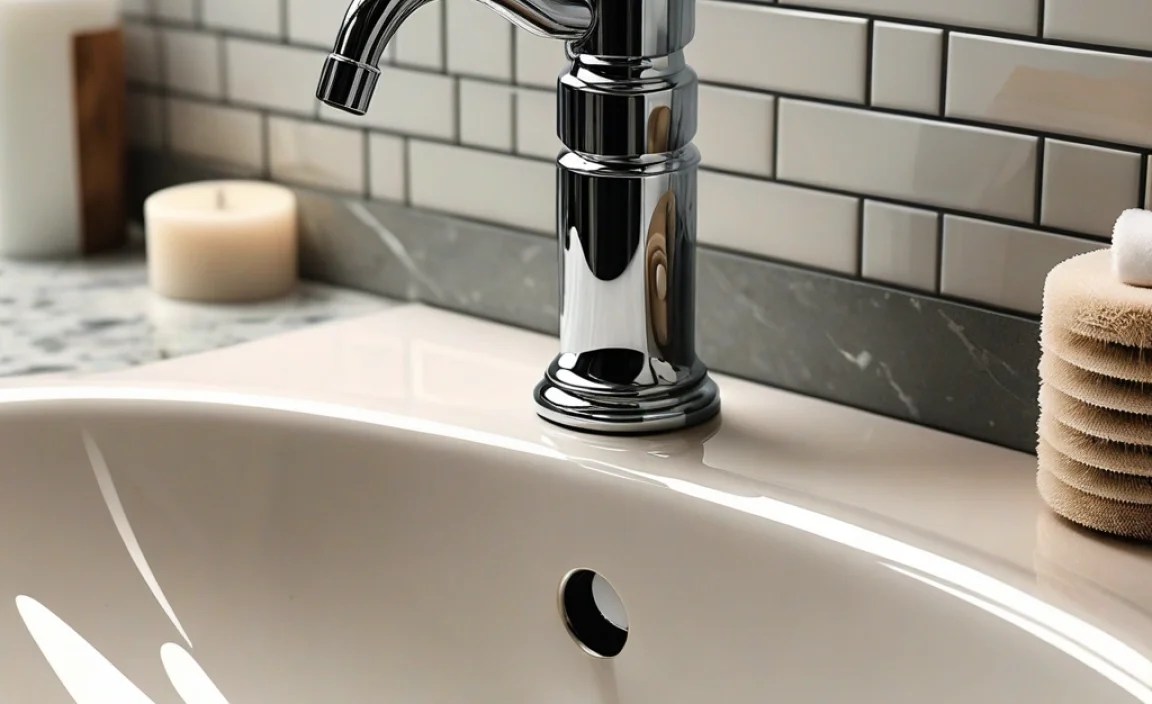
Have you ever tried to wash your hands, only to realize your bathroom sink doesn’t hold water? Frustrating, right? The culprit is often a faulty sink stopper. Learning how to install a bathroom sink stopper can save you time and hassle.
Imagine filling up the sink for a quick face wash. You turn on the tap, but the water just drains away. It’s a common problem. Luckily, fixing it is simpler than you might think.
Installing a bathroom sink stopper is a handy skill everyone should have. It’s a small task that can make your routine smoother. Plus, doing it yourself can feel really rewarding!
Did you know you can often fix the problem in just a few minutes? With the right steps, you can have your sink working perfectly again. So, let’s dive in and explore how to make this simple fix today!

How To Easily Install A Bathroom Sink Stopper Today

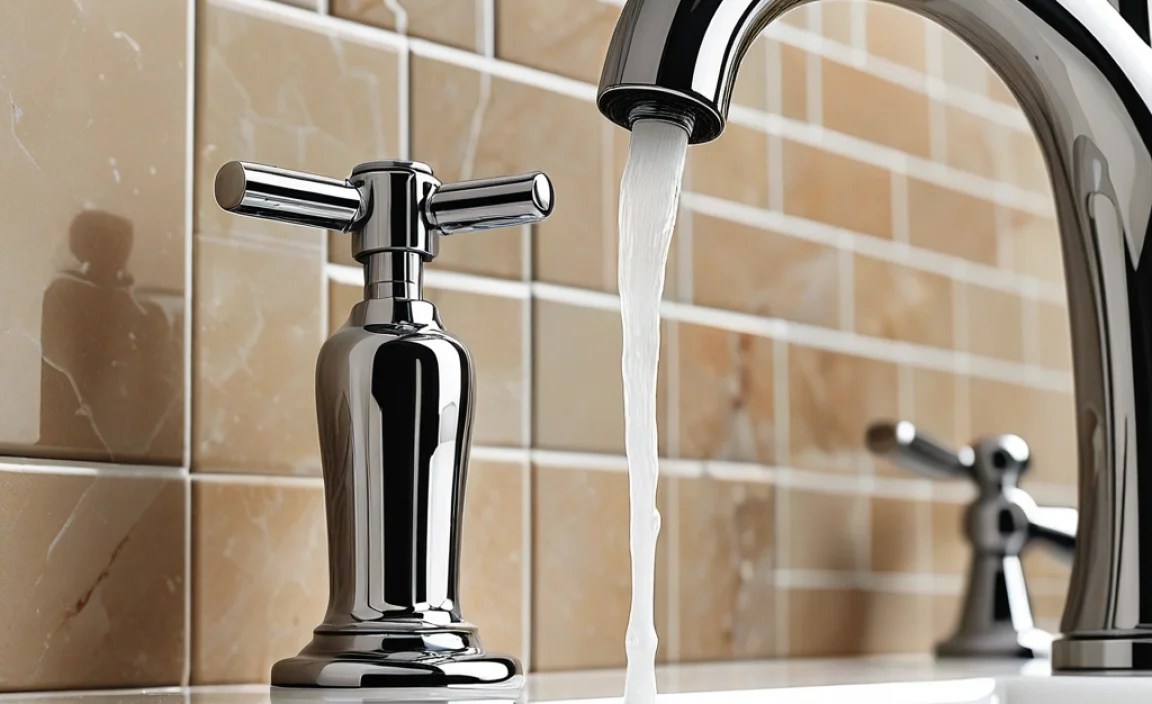
Installing a bathroom sink stopper can be straightforward and rewarding. First, understand how different types work. Knowing the parts helps you assemble them correctly. Imagine how easy it will be to stop water from draining. Gather your tools and follow the steps carefully. Did you know that a functioning stopper can help save water? Regular checks ensure it doesn’t wear out. Simple repairs can make a big difference in your bathroom routine!
Tools and Materials Needed for Installation
List of essential tools (e.g., pliers, screwdriver, wrench). Required materials (e.g., new stopper, plumber’s putty, sealing tape).
To install a bathroom sink stopper, you need a few simple tools and materials. First, gather your essential tools:
- Pliers
- Screwdriver
- Wrench
Next, collect the required materials:
- New stopper
- Plumber’s putty
- Sealing tape
With these items, you’ll be ready to get started on your installation. It’s easy to find each tool at a local store.
What tools do I need for installing a bathroom sink stopper?
You will need pliers, a screwdriver, and a wrench. These tools help you easily replace the sink stopper.
What materials are necessary for this task?
You’ll need a new stopper, plumber’s putty, and sealing tape. These materials seal the stopper and prevent leaks.
Step-by-Step Guide to Installing a Bathroom Sink Stopper

Detailed instructions for each type of stopper installation. Common troubleshooting tips during installation.
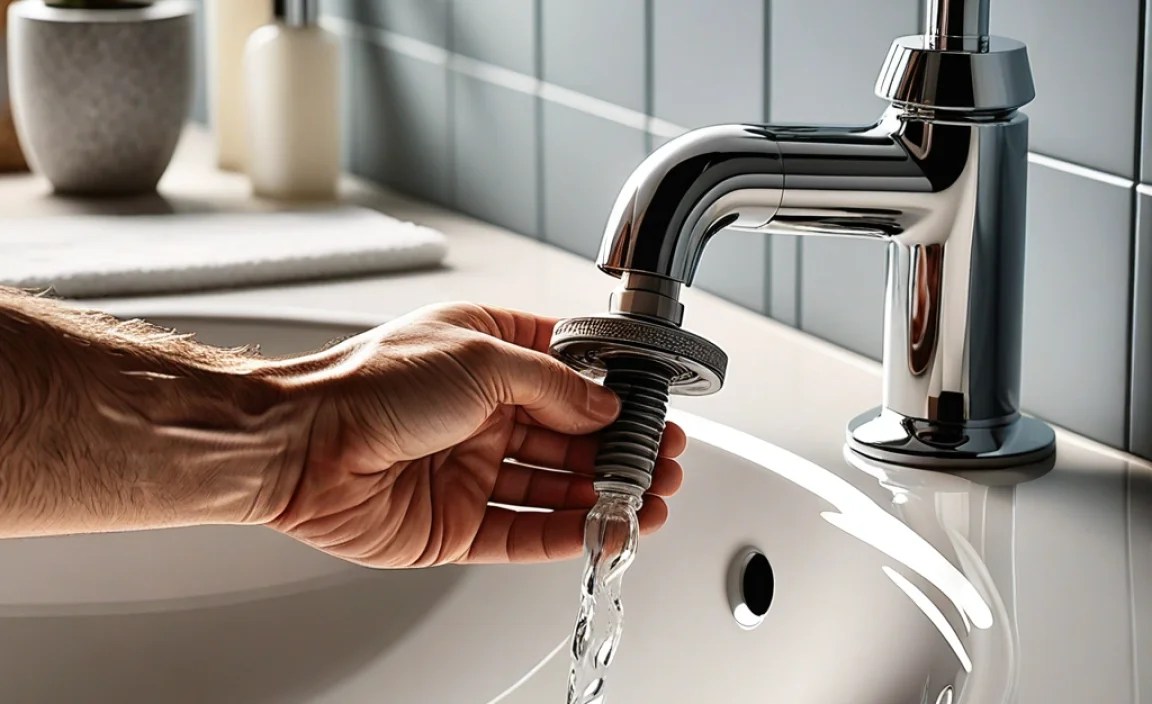
Installing a bathroom sink stopper is simple. Follow these steps for different types:
- Lift-and-turn stopper: First, remove the old one. Unscrew the stopper and pull it out. Insert the new stopper and screw it back in.
- Push-and-pull stopper: Take out the old stopper. Push the new one into the drain. Pull to test if it works.
- Toe touch stopper: Unscrew the old stopper. Place the new one in the hole and press down to secure it.
If there are issues, check the connection. Make sure everything is tight and aligned. Also, test for leaks after installation.
What common issues arise during installation?
Many people face difficulties like securing the stopper or spotting leaks. The answer is simple: Double-check each connection and ensure all parts are aligned.
With these easy steps, you can have a working sink stopper in no time! Enjoy your clean and functional bathroom.
Maintaining Your Sink Stopper for Longevity
Suggested maintenance practices to prevent clogs and leaks. Signs that indicate your stopper needs repair or replacement.
Keeping your sink stopper in good shape is important. Regular maintenance helps avoid clogs and leaks. Check for hair or debris in the stopper. Clean it often to prevent blockages. Use a gentle cleaner to avoid damage. Pay attention to these signs for repairs:
- Water drains slowly.
- Bad odors from the sink.
- Water leaks around the stopper.
Fixing problems early can save time and money. A well-maintained stopper lasts longer!
What are some signs that my sink stopper needs repair?
Look for slow draining water, bad smells, or leaks. These are signs it’s time to fix or replace your sink stopper.
Common Mistakes to Avoid When Installing a Sink Stopper
Common pitfalls and how to avoid them. Importance of proper measurements and alignment.
Many people make mistakes when they install a sink stopper. These errors can lead to leaks and messes. To avoid problems, pay close attention to measurements. Always double-check the length and alignment of the stopper. A small mistake can cause bigger issues later on. Here are some tips:
- Check the size of the drain carefully.
- Make sure parts fit together snugly.
- Align everything properly before tightening.
By being precise, you help ensure your installation is successful!
What are common mistakes when installing a sink stopper?
Common mistakes include incorrect measurements, not aligning parts properly, and forgetting to check for leaks.
When to Call a Professional Plumber
Scenarios where professional help is advisable. Cost considerations and what to expect from professional services.
Sometimes, your sink may act like it’s auditioning for a drama. If you face a stubborn clog, flowing water risks turning into a mini-waterfall on your floor, definitely not the kind of home decor you want! In such cases, it’s time to consider calling a pro. They can quickly fix your sink problems without the mess.
Professional plumbers can cost a bit, but they save you time and headaches. Expect to pay between $50 to $150 for a visit. Here’s a quick look at common scenarios:
| Situation | Professional Help |
|---|---|
| Major leaks | Yes |
| Clogs that won’t budge | Yes |
| Simple drain cleaning | No |
In short, if your sink seems more rebellious than a teenager, calling a plumber is the smart move! It’ll save you from DIY disasters and potential drownings.
Conclusion
In conclusion, installing a bathroom sink stopper is easy and rewarding. You can choose between various types to suit your sink. Remember to follow simple steps for a successful installation. If you need help, don’t hesitate to ask a grown-up. For more tips, check online guides or watch tutorial videos. Happy fixing!
FAQs
Here Are Five Related Questions On The Topic Of Installing A Bathroom Sink Stopper:
To install a bathroom sink stopper, first, you need a new stopper that fits your sink. Remove the old stopper by taking out the screw underneath the sink. Next, put in the new stopper and secure it with a screw. Finally, test it by pushing the stopper up and down to see if it works. If it does, you’re all done!
Sure! Please provide the question you want me to answer.
What Tools And Materials Do I Need To Install A Bathroom Sink Stopper?
To install a bathroom sink stopper, you need a few tools and materials. First, get a wrench to tighten and loosen bolts. You also need a new sink stopper that fits your sink. Some plumber’s putty can help seal gaps. Finally, have a cloth handy to clean up any mess.
How Do I Remove The Old Sink Stopper Before Installing A New One?
To remove the old sink stopper, first, look for a small lever or chain under the sink. This controls how the stopper moves. You can usually unscrew or unhook it. After that, pull the stopper out from the sink. If it sticks, gently wiggle it to loosen it.
What Are The Different Types Of Bathroom Sink Stoppers, And How Do They Function?
There are a few common types of bathroom sink stoppers. The most popular one is the lift-and-turn stopper. You lift the top, and it allows water to flow or stop. Another type is the push-and-pull stopper, which you push to close and pull to open. Lastly, there’s the pop-up stopper. You press a lever, and it makes the stopper move up and down. All of these help keep water in the sink when you want it and let it drain when you don’t.
Can I Install A Sink Stopper Without Professional Help, Or Is It A Complex Process?
You can definitely install a sink stopper by yourself! It’s not a very hard task. Usually, all you need is a few simple tools. Just follow the instructions that come with the stopper, and you’ll be fine!
How Do I Troubleshoot Common Issues With A Newly Installed Sink Stopper, Such As Leaks Or Improper Sealing?
To fix a leaking sink stopper, start by checking the connections. Make sure the stopper is tightly fitted in the drain. If it’s loose, tighten it gently. If water still leaks, check the seals for cracks or dirt. You might need to clean or replace the seals if they look worn.
