
Getting started with your shower installation is straightforward! This guide provides essential tips for a smooth DIY process, covering everything from preparation to finishing touches. Follow these easy steps for a professional-looking result that enhances your bathroom’s functionality and appeal, ensuring a leak-free and satisfying shower experience.
Welcome to your ultimate guide on installing a shower! We’ve all been there – a dripping faucet or a shower that just won’t cooperate. It can feel a little daunting, especially when you’re new to home projects. But don’t worry! With the right preparation and a clear plan, installing a shower can be a rewarding DIY achievement. This guide is designed to break down the process into simple, manageable steps. We’ll cover what you need, how to do it safely, and what to watch out for. Get ready to transform your bathroom with confidence!
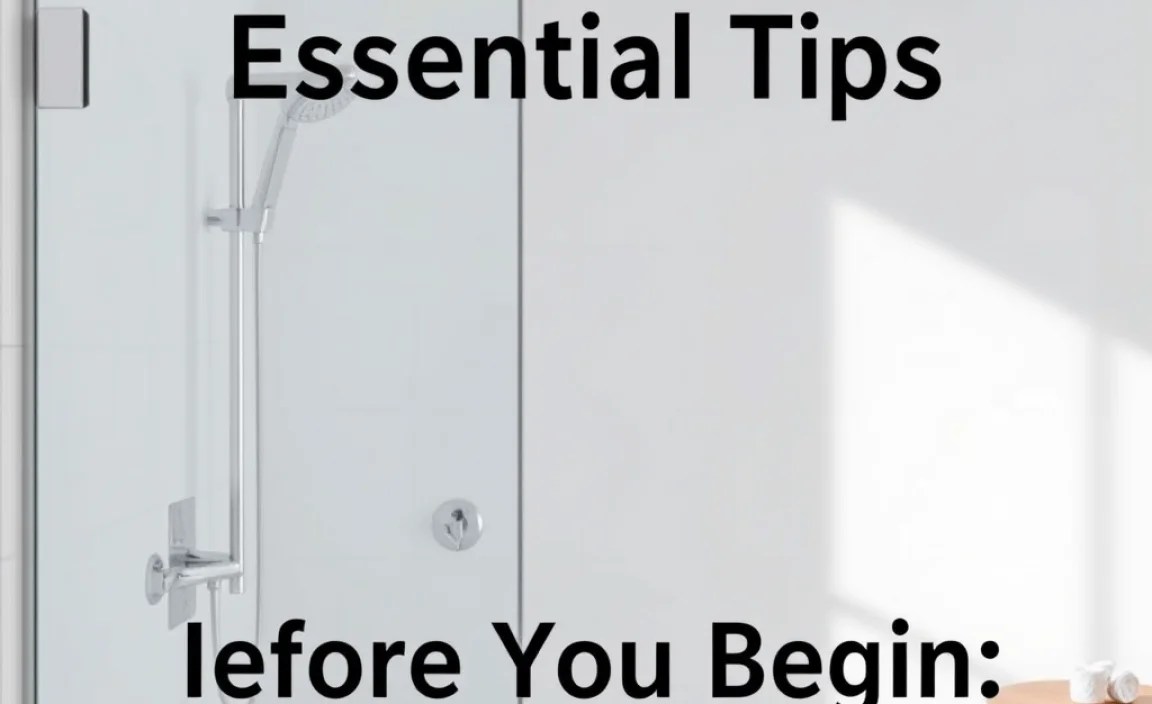
Before You Begin: Planning and Preparation
Taking the time to plan and prepare is the most crucial step for any successful DIY project, especially when it comes to plumbing and water. A little upfront effort here saves a lot of headaches later on. Think of it as building a strong foundation for your new shower.
Choosing Your Shower System
There are several types of shower systems available, each with its own benefits and installation considerations. Understanding these will help you select the best fit for your bathroom and your DIY skills.
- Standard Shower Fixture: This is the most common type, usually replacing an existing shower head and valve. It’s generally the easiest to install.
- Shower Panel System: These are often larger units that include multiple shower heads, body jets, and sometimes even a bathtub spout. They can be simpler to install than traditional built-out systems because much of the plumbing is pre-assembled.
- Complete Shower Unit (Slider Door/Enclosure): These come as a pre-fabricated unit with walls, a base, and often a door. Installation typically involves setting the base, connecting plumbing, and attaching the walls and door.
- Custom Tiled Shower: This is the most involved option, requiring waterproofing, tiling, and integrating all components. While beautiful, it’s best suited for experienced DIYers or professionals.
For this guide, we’ll focus on the most common scenario: replacing or installing a standard shower fixture and head. If you’re considering a complete shower unit, many of the preparation steps will still apply, but the fixture installation will differ.
Gathering Essential Tools and Materials
Having the right tools and materials on hand before you start means you can work efficiently and safely. Missing one key item can bring your project to a halt.
Here’s a checklist of common tools and materials you’ll likely need:
| Tool/Material | Description | Why You Need It |
|---|---|---|
| Adjustable Wrench | A versatile tool for tightening and loosening various nuts and bolts. | Essential for connecting pipes and fixtures. |
| Pipe Wrench | Provides a stronger grip on pipes than an adjustable wrench. | Useful for stubborn connections or larger pipes. |
| Plumber’s Tape (PTFE Tape) | A white, Teflon tape used to seal threaded pipe connections. | Ensures watertight seals and prevents leaks. |
| Pipe Joint Compound (Pipe Dope) | A paste-like sealant applied to threads. Often used with or instead of plumber’s tape. | Provides an extra layer of sealing for pipe threads. |
| Screwdriver Set (Phillips and Flathead) | For removing and installing screws on trim plates and handles. | Necessary for disassembling and reassembling the shower trim. |
| Utility Knife | For scoring caulk or cutting materials. | Helps in removing old caulk and for general utility use. |
| Bucket | To catch any residual water from the pipes. | Minimizes mess when you disconnect old parts. |
| Towel/Rags | For wiping down surfaces and cleaning up spills. | Keeps your workspace clean and dry. |
| Safety Glasses | To protect your eyes from debris or splashes. | Crucial for eye safety during any DIY work. |
| New Shower Faucet/Valve (if applicable) | The main component controlling water flow and temperature. | This is the heart of your new shower system. |
| Shower Head and Arm | The part where the water comes out and the extension pipe. | Your new showering experience! |
| Caulk (Silicone or Kitchen/Bath) | Waterproof sealant for the gap between the shower fixture and the wall. | Prevents water from seeping behind the fixture. |
Safety First: Turning Off the Water
This is the absolute most important step. You do not want to turn on the water supply and have a geyser erupt in your bathroom! Here’s how to do it safely:
- Locate Your Home’s Main Water Shut-Off Valve: This is usually found in the basement, garage, crawl space, or near your water meter.
- Turn Off the Water: Turn the valve clockwise until it is fully closed.
- Test the Shut-Off: Go to a sink in your house and turn on the faucet. Water should stop flowing after a short period, indicating the main valve is working. If water still trickles out, you might need to drain the pipes by opening a lower faucet (like in the basement) or find a local shut-off valve specific to the bathroom or shower.
- Open the Shower Faucet: Once the water is confirmed to be off, open your existing shower faucet to release any remaining pressure and drain residual water in the pipes. Leave it open.
For more detailed information on locating and operating home water shut-off valves, consult resources like EPA’s guidance on water conservation and efficient use, which often touches on main water controls.
Removing Your Old Shower Fixture (If Applicable)

If you’re upgrading an existing shower, you’ll need to remove the old components first. This usually involves the handle, trim plate, and sometimes the valve body.
Step 1: Remove the Shower Handle
Most shower handles have a small screw that secures them. This screw is often hidden:
- Look for a small cap on the front or underside of the handle. Pry this cap off gently with a small flathead screwdriver or a utility knife.
- Inside, you’ll find a screw. Use the appropriate screwdriver (usually Phillips) to remove it.
- Once the screw is out, the handle should pull straight off. If it’s stuck, you might need to gently wiggle it or use a handle puller tool (available at hardware stores).
Step 2: Remove the Trim Plate (Escutcheon)
The trim plate is the decorative piece behind the handle that covers the hole in the wall. It might be held in place by screws, or it might screw directly onto the valve body, or it might simply be held by friction and caulk.
- Screwed-on: If you see screws, remove them with your screwdriver.
- Threaded-on: If there are no visible screws, try to unscrew the plate by hand in a counter-clockwise direction. If it’s tight, use a pipe wrench or adjustable wrench, but be gentle to avoid damaging your tiles or wall. Wrap a rag around the plate to protect its finish if using a wrench.
- Friction-fit/Caulked: Carefully run a utility knife around the edge to break the caulk seal. Then, try prying it gently away from the wall.
Once the trim plate is off, you’ll see the valve body inside the wall. There might be a “bonnet nut” or a set of screws holding the valve stem in place.
Step 3: Remove the Valve Cartridge or Stem
This is the part that actually controls the flow and mixing of hot and cold water. The process varies depending on the type of valve:
- Cartridge Valves: These are common in newer homes. You’ll likely see a clip or a retaining nut holding the cartridge inside the valve body. Remove the clip with pliers or unscrew the retaining nut with an adjustable wrench. Then, pull the cartridge straight out. Sometimes, a cartridge puller tool is necessary if it’s stuck.
- Stem Valves: Older homes often have these. You might have to unscrew a packing nut and then unscrew the stem assembly itself.
Important: Before you remove the cartridge or stem, note its orientation (which way it was facing). This will help you when installing the new one.
As you remove the old valve components, water might drip out. Keep your bucket and rags ready!
Installing Your New Shower Fixture
Now for the exciting part – putting in the new components! This is where that preparation really pays off.
Step 1: Install the New Valve or Cartridge
This step truly depends on whether you are replacing the entire valve body within the wall or just the internal cartridge.
- Replacing the entire valve body: This is a more involved process, often requiring cutting into the wall and soldering or connecting new PEX or copper pipes to the valve. If your existing valve body is damaged or you’re installing a new shower entirely, you’ll need to follow the specific instructions for your new valve body. Ensure it’s properly centered in the wall opening for the trim plate.
- Replacing just the cartridge: This is far more common for DIYers.
- Clean the valve body: Gently clean out any debris or old plumber’s putty/tape from inside the valve body.
- Insert the new cartridge: Carefully slide the new cartridge into the valve body, ensuring it’s oriented correctly. Look for index tabs or markings that should align with slots in the valve body. Don’t force it.
- Secure the cartridge: Reinstall any retaining clip or nut that held the old cartridge in place. Make sure it’s snug but don’t overtighten.
Tip: Most new shower valves come with a “stub-out” or template that helps you position the valve correctly in the wall for future trim installation. If you’re replacing a valve body, make sure this part is set plumb and at the correct depth according to the manufacturer’s instructions. Often, the front of the valve body should be flush with the finished wall surface.
Step 2: Install the Shower Arm and Flange
The shower arm is the pipe that extends from the wall to your shower head, and the flange is the decorative plate that covers the hole where the arm exits the wall.
- Apply sealant: Wrap plumber’s tape (PTFE tape) around the threads of the shower arm about 3-5 times in a clockwise direction. You can also apply a thin layer of pipe joint compound over the tape for extra security.
- Screw in the shower arm: Screw the threaded end of the shower arm into the fitting inside the wall. Tighten it hand-tight first, then use an adjustable wrench to tighten it another 1-2 turns. Be careful not to overtighten, as this can damage the fitting inside the wall. The arm should now be pointing downwards at a slight angle.
- Install the flange: Slide the decorative flange onto the shower arm, resting it against the wall. Some flanges are friction-fit, while others might screw onto a collar on the arm. If it doesn’t seem to seal completely against the wall, you can apply a thin bead of caulk around its edge later.
Step 3: Install the New Trim Plate and Handle
This is where your shower starts to look like a shower again!
- Attach the trim plate: Align the new trim plate (escutcheon) over the valve body. It may screw directly onto the valve body or attach to mounting screws that protrude from the valve. Follow the manufacturer’s instructions specific to your new trim kit.
- Install the handle: Slide the new handle onto the valve stem. Orient it correctly (usually pointing downwards when off). Secure it with the provided screw, then replace the decorative cap.
Step 4: Install the Shower Head
This is often the easiest part!
- Apply sealant: Wrap plumber’s tape (PTFE tape) clockwise around the threads of the shower arm where the shower head will attach.
- Screw on the shower head: Simply screw the new shower head onto the arm. Hand-tighten it firmly. Many modern shower heads don’t require a wrench, but check your product’s instructions. If a wrench is needed, use a rag to protect the finish.
Testing and Finishing Touches
You’re almost done! Before you admire your work, it’s crucial to test everything and add those final touches.
Step 1: Turn the Water Back On
This is the moment of truth!
- Close the shower faucet: Make sure your new shower handle is in the “off” position.
- Open the main water supply valve: Slowly turn the main water shut-off valve counter-clockwise.
- Check for leaks immediately: Listen for any sounds of running water and visually inspect all the connections you’ve made (where the shower arm meets the wall, the shower head connection, and around the valve stem/trim plate).
- Test operation: Turn on the shower. Check that hot and cold water mix correctly and that the flow is as expected. Test all pressure and temperature settings.
If you notice any drips or leaks, turn the water off again at the main valve and re-tighten the connections. If the leak persists from a threaded connection, you may need to unscrew it, reapply plumber’s tape and/or pipe dope, and re-tighten.
Step 2: Caulk Around the Trim Plate
A good bead of caulk acts as a crucial water barrier.
- Make sure the area around the trim plate is clean and dry.
- Apply a continuous bead of 100% silicone caulk or a high-quality kitchen/bath caulk around the outer edge of the trim plate where it meets the wall.
- Using a damp finger or a caulk tool, smooth the bead for a clean, professional look.
- Wipe away any excess caulk immediately with a damp cloth.
- Allow the caulk to cure according to the product’s instructions (usually 12-24 hours) before using the shower.
For more on applying caulk effectively, check out This Old House’s guide on how to caulk.
Step 3: Clean Up and Enjoy!
Clean up your tools and workspace. Remove any protective films from your new fixtures. Now, run yourself a well-deserved shower and enjoy your handiwork!
