
Installation of cisterns is an essential home plumbing task that ensures efficient water storage for toilets. This guide provides clear, step-by-step instructions for DIYers, covering everything from choosing the right cistern to leak-checking your new setup, ensuring a reliable and water-saving system.
Having a working toilet is a modern necessity, and at its heart is the cistern. If your current cistern is leaking, not refilling properly, or you’re simply upgrading your bathroom, installing a new one might seem a bit daunting. But don’t worry! With the right guidance, this is a task even beginners can tackle with confidence. We’ll walk you through each step, from gathering your tools to the final test flush, so you can get your toilet back in tip-top shape.
This guide is designed to make the “installation of cistern” process feel simple and manageable. We’ll break down what you need, how to do it safely, and what to watch out for. Ready to transform your bathroom maintenance skills?
What is a Cistern and Why is It Important?

A cistern, often called a toilet tank, is the part of your toilet that holds water. When you flush the toilet, the cistern releases this stored water into the toilet bowl, quickly and effectively clearing waste. It’s a crucial component for any flushing toilet system, ensuring a clean and sanitary bathroom.
A properly functioning cistern is vital for several reasons:
- Water Efficiency: Modern cisterns are designed to use a specific amount of water per flush, helping to conserve water and lower your utility bills.
- Effective Waste Removal: The amount of water and the speed at which it’s released are calibrated to clear the bowl effectively.
- Hygiene: It ensures a strong, consistent flush needed for proper sanitation.
- Aesthetics and Functionality: A new cistern can update the look of your toilet and improve its overall performance.
When a cistern starts to fail, it can lead to running toilets, weak flushes, or even leaks, creating water waste and potential damage. Understanding how it works is the first step to successfully installing a new one.
Choosing the Right Cistern
Before you begin the installation, you need to select the correct cistern for your toilet. There are several types available, and compatibility is key. The most common types are:
- Close-Coupled Cisterns: These are the most popular. The cistern sits directly on top of the toilet pan, and they are usually sold as a complete unit. Installation is generally straightforward.
- Low-Level Cisterns: The cistern is positioned at a lower height, above the toilet pan, connected by a longer flush pipe. These offer a more traditional look but can be more complex to install.
- High-Level Cisterns: These are mounted high on the wall, with a long pipe dropping down to the pan. Primarily for older or period-style bathrooms, often operated by a pull-chain.
- Concealed Cisterns: These are hidden behind a wall or custom panel, with only the flush plate visible. They are ideal for modern, minimalist bathrooms but require significant installation work and are usually best left to professionals.
For most DIYers focusing on replacing an existing unit, a close-coupled cistern is the most common and simplest choice. When buying, ensure the new cistern’s bolt holes and outlet position match your existing toilet pan. If you’re unsure, take photos of your current setup to the store or consult a plumbing professional.
Tools and Materials You’ll Need

Gathering all your supplies before you start will make the installation smoother and prevent frustrating interruptions. Here’s a list of common tools and materials:
Essential Tools:
- Adjustable wrench (or pipe wrench)
- Screwdriver set (Phillips and flathead)
- Bucket
- Old towels or rags
- Spirit level
- Tape measure
- Pliers (especially if dealing with old, stubborn fittings)
- Scraper or putty knife (for removing old sealant)
Materials:
- New cistern (including flush mechanism)
- Cistern-to-pan gasket (often included with the cistern, but double-check)
- Cistern bolts and nuts (usually included with the cistern)
- Sealant/Plumber’s tape (PTFE tape)
- Toilet seat and lid (if not replacing separately)
- Flexi-hose for water inlet (if your existing one is old or incompatible – ensure it’s the correct size and type)
Having a good quality adjustable wrench is incredibly useful. For plumbing tasks, consider investing in a set that can handle a range of sizes without damaging fittings. You can find good plumbing toolkits at most home improvement stores or online retailers like Toolstation.
Step-by-Step: How to Install a Cistern
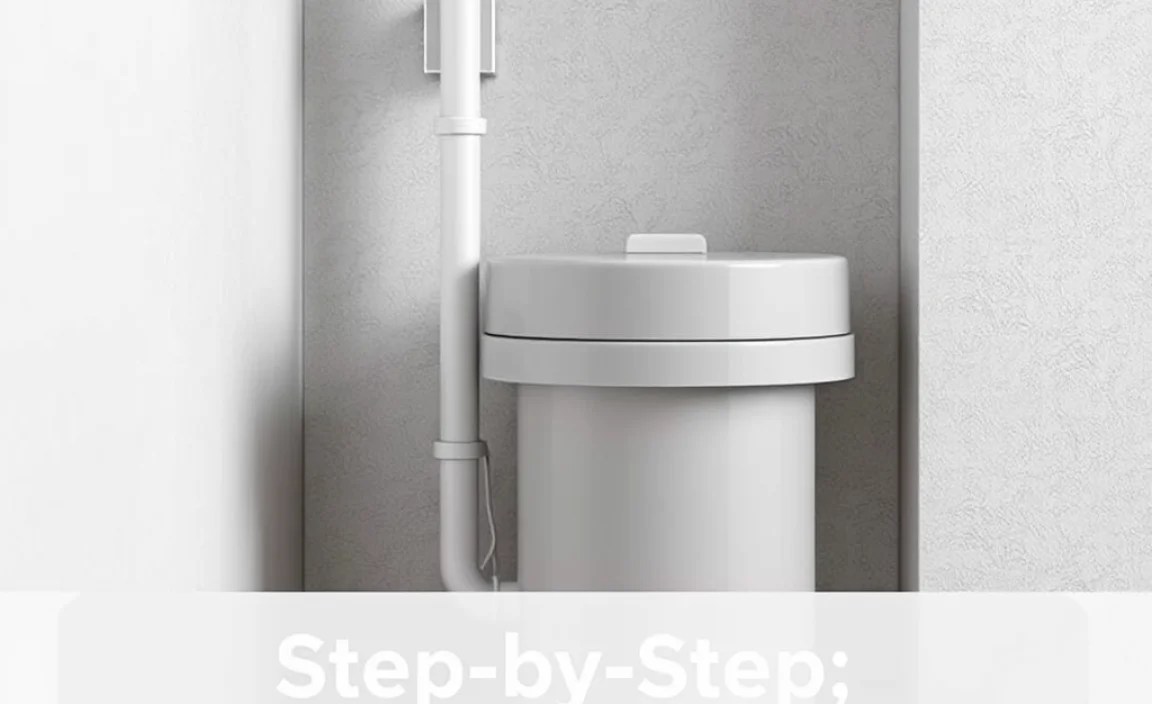
This guide focuses on the most common scenario: replacing a close-coupled cistern. Safety first! Ensure the water supply to the toilet is turned off before you begin.
Step 1: Turn Off The Water Supply and Drain The Cistern
Locate the water isolation valve, typically found on the wall behind the toilet or on the pipe leading to the cistern. It usually looks like a small tap. Turn it clockwise until it stops. Now, flush the toilet. Hold the flush lever down until as much water as possible has drained from the cistern into the pan. Use a bucket and rags to soak up any remaining water at the bottom of the cistern. This minimises mess during removal.
Step 2: Disconnect The Water Supply Pipe
Place your bucket and rags underneath the connection where the flexible water supply pipe meets the cistern. Using your adjustable wrench, carefully unscrew the nut connecting the pipe to the cistern’s inlet valve. Be prepared for a small amount of residual water to drip out. If the pipe is old, it might be brittle; handle it gently.
Step 3: Remove Old Cistern Bolts
Inside the cistern, you’ll see two large bolts with nuts that secure the cistern to the toilet pan. Sometimes these are plastic, sometimes metal. You might need an adjustable wrench to hold the nut underneath the cistern while you use a screwdriver on the bolt head from inside, or vice-versa, depending on the type. Unscrew and remove these bolts. Some water might dribble out as you loosen them.
Step 4: Lift Off The Old Cistern
With the bolts removed and the water supply disconnected, carefully lift the old cistern straight up off the toilet pan. It might be heavy, so be mindful of your back. Place it aside, ready for disposal. You’ll likely see an old rubber gasket at the base of the cistern. Remove this and any old sealant from the toilet pan surface.
Tip: Take a moment to clean the top of the toilet pan where the cistern sat. This is a good opportunity to ensure a clean, flat surface for the new gasket.
Step 5: Prepare The New Cistern
If your new cistern came pre-assembled with the flush mechanism, great! If not, you’ll need to fit the new flush valve (the vertical pipe with the flapper or piston at the bottom) and the inlet valve (where the water enters). Follow the manufacturer’s instructions carefully. Ensure the flush mechanism is correctly seated and sealed. Fit the new cistern-to-pan gasket onto the base of the new cistern or ensure it’s correctly positioned in the cistern outlet on the pan.
Step 6: Position and Secure The New Cistern
Carefully lower the new cistern onto the toilet pan, aligning the bolt holes. Make sure the cistern sits level. You can use a spirit level here to check. Once aligned, insert the new cistern bolts through the holes from inside the cistern down into the pan. From underneath the pan, screw on the nuts. Tighten them alternately and evenly, gradually applying more pressure. Don’t overtighten, as this can crack the ceramic. The cistern should feel secure and not rock.
A perfectly level cistern is important for the flush mechanism to operate correctly:
| Check | Why it’s important | What to do if it’s wrong |
|---|---|---|
| Levelness | Ensures consistent water fill and proper flush. | Adjust the tightening of the cistern bolts. Loosen slightly on one side and tighten on the other until level. |
| Tightness | Prevents leaks and wobbling. | Gradually tighten bolts alternately until firm and stable, but avoid ceramic stress. |
Step 7: Reconnect The Water Supply
Connect the flexible water supply hose to the inlet valve on the new cistern. If you’re using plumber’s tape (PTFE tape), wrap a few turns clockwise around the threads of the inlet valve or the hose fitting before connecting. Hand-tighten the nut first, then use your adjustable wrench to give it about a quarter to half turn more. Again, don’t overtighten.
Step 8: Turn On Water and Check For Leaks
Slowly turn the water supply valve back on (counter-clockwise). Listen and watch for any immediate leaks around the cistern bolts, the pan gasket, and the water inlet connection. Allow the cistern to fill. Observe the water level – it should reach the marked fill line. Check the water inlet connection particularly closely as the cistern fills and once it’s reached its level.
Step 9: Test The Flush
Once the cistern is full, press the flush button or lift the lever. Ensure the pan flushes effectively and that the cistern refills without continuing to run. Check again for any leaks, especially around the flush valve at the bottom of the cistern, as the water level drops and rises during flushing.
Troubleshooting common issues:
- Leaking at cistern bolts: The bolts might not be tight enough, or the rubber washers are damaged. Tighten bolts slightly or replace washers.
- Leaking at the pan connection: The cistern-to-pan gasket might be damaged, incorrectly seated, or the cistern isn’t level. Reseat the gasket or adjust cistern position.
- Cistern doesn’t fill: The fill valve might be clogged or faulty, or the isolation valve isn’t fully open. Check these components.
- Toilet keeps running: The flush valve (flapper) might not be seating correctly, or the fill valve is set too high. Adjust the flush valve seating or the fill valve height.
For more detailed troubleshooting and adjustment tips, the U.S. General Services Administration provides helpful insights on common toilet repairs.
Maintaining Your New Cistern
Once your new cistern is successfully installed and performing well, a little regular maintenance will keep it that way for years. Here’s what to do:
- Listen for Running Water: Periodically, after the cistern has finished filling, listen to make sure it’s not silently trickling water into the bowl. A constant, faint hiss or gurgle indicates a leak, usually from the flush valve or an incorrect fill level.
- Check for Leaks: Occasionally, you might notice water around the base of the cistern or where the water pipe connects. If you do, try tightening the relevant fixing slightly. If the leak persists, it may be time to check the gasket or seals.
- Clean the Cistern: Every few months, lift the cistern lid and give the inside a gentle wipe with a damp cloth and mild, non-abrasive cleaner. This helps prevent a build-up of limescale and keeps the components clean. Avoid using harsh chemicals or abrasive pads as they can damage the plastic and rubber parts.
- Adjust the Water Level: If you notice the flush isn’t as effective as it used to be, or if you’re concerned about water usage, you might be able to adjust the water fill level. Modern cisterns have an adjustable float mechanism. Consult your cistern’s manual for specific instructions on how to lower or raise the water level slightly. A common fill level is about 10-20mm below the overflow pipe.
- Inspect Flush Mechanism: Over time, the flapper or piston at the bottom of the flush valve can wear out. If you notice water constantly running into the bowl, this is often the culprit. These are usually replaceable parts.
Regular checks are far easier and cheaper than fixing a major problem down the line. Think of it as a quick ‘health check’ for your toilet!
Conclusion
You’ve navigated the process of installing a cistern, transforming a potentially complex DIY task into an achievable project. By following these steps, you’ve not only replaced a worn-out part but also potentially improved your home’s water efficiency and ensured a more reliable sanitation system. Remember, the key is preparation, careful execution, and thorough testing.
Don’t hesitate to tackle future home maintenance tasks with the same confidence. Understanding your home’s plumbing is a valuable skill, and this successful cistern installation is a testament to your growing DIY expertise. Keep an eye out for any unusual sounds or leaks in the coming days, and enjoy the peace of mind that comes with a job well done.
Frequently Asked Questions (FAQ) About Cistern Installation
Q1: How long does it typically take to install a toilet cistern?
A: For a standard close-coupled cistern replacement, a beginner can expect it to take anywhere from 1 to 3 hours. This includes preparation, removal of the old cistern, and installation of the new one, plus a thorough leak check.
Q2: Do I need to be a professional plumber to install a cistern?
A: No, not for most standard replacements. If you are comfortable following step-by-step instructions and using basic tools like an adjustable wrench and screwdriver, you can install a cistern yourself. However, if you encounter complex plumbing or feel uncomfortable at any stage, it’s always best to call a qualified plumber.
Q3: What is the most common mistake people make when installing a cistern?
A: The most common mistake is overtightening the cistern bolts, which can crack the ceramic pan. Another frequent error is not ensuring the cistern-to-pan gasket is correctly seated, leading to leaks. Always tighten bolts gradually and evenly and double-check gasket placement.
Q4: Can I reuse the old cistern bolts if they look okay?
A: It’s highly recommended to use the new bolts that come with your new cistern. Old bolts can be corroded, and their seals or washers may have degraded, leading to potential leaks or a less secure fitting. New bolts ensure a fresh, watertight seal.
Q5: My new cistern leaks around the base. What should I do?
A: This usually means the cistern-to-pan gasket isn’t sealing properly. You might need to slightly adjust the cistern’s position, re-tighten (or slightly loosen and then re-tighten evenly) the cistern bolts, or ensure the surface of the pan is perfectly clean and flat before seating the gasket. If the leak persists, the gasket might be faulty or damaged.
Q6: How can I ensure the cistern is level?
A: Use a small spirit level placed on the top surface of the cistern after you have semi-tightened the cistern bolts. Adjust the tension on the bolts alternately until the spirit level indicates the cistern is perfectly horizontal. A level cistern is crucial for the proper functioning of the fill valve and flush.
