
Have you ever wondered how a simple flush can change your bathroom experience? Installing flush systems is easier than you think. Picture this: you pull the handle, and everything disappears with a swift motion. It’s not just magic; it’s smart design!
In this article, we will explore the installation of flush systems. You will learn how they work and why they are important. Maybe you’ve heard of low-flow toilets that save water. They can also save you money on your water bill!
Before we dive in, here’s a fun fact: Did you know the first flush toilet was invented over 400 years ago? It’s come a long way since then. Today’s flush systems are designed for efficiency and comfort.
Let’s uncover the secrets to a successful installation of flush systems. Ready? Let’s get started!
Installation Of Flush: A Step-By-Step Guide For Success

Installation of Flush
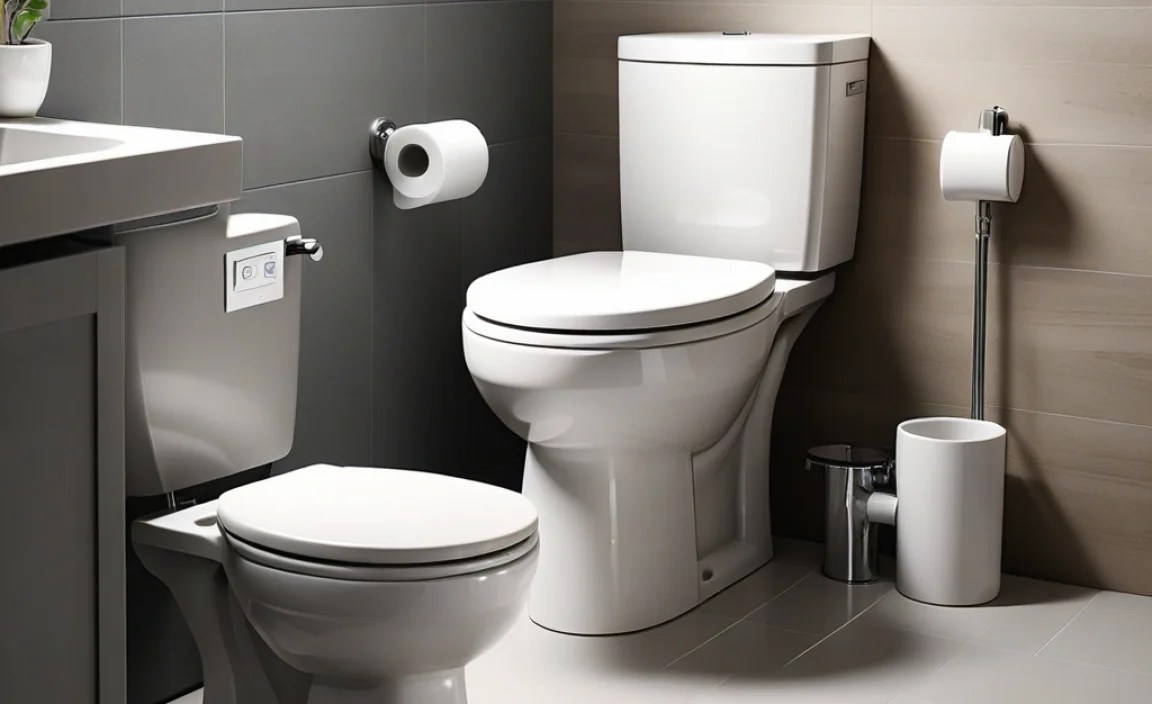
Installing a flush toilet is easier than you might think! You’ll learn about essential tools like wrenches and screwdrivers. Start by removing the old toilet, and remember to shut off the water first. Don’t worry if you make a mistake; it happens to everyone! Once the new toilet is in place, checking for leaks is crucial. Did you know that a properly installed toilet can save water and money? Get ready to tackle this home project!
Understanding Flush Systems
Definition and types of flush systems. Benefits of installing a flush system.
Flush systems help move waste and clean water in homes. There are several kinds, like gravity flush and pressure-assisted flush. Each type comes with its perks. Installing a flush system offers benefits, such as:
- Cleaner bathrooms
- Less water waste
- Better hygiene
Having a flush system can also save you money on water bills. So, it’s smart to consider when renovating or building.
What is a flush system?
A flush system is a way to move waste using water. It helps keep bathrooms clean and fresh.
What are the benefits of a flush system?
- Improves bathroom cleanliness
- Reduces water usage
- Enhances hygiene
- Saves money on bills
Required Tools and Materials

List of essential tools for installation. Materials needed for a successful installation.
Getting your flush installed? Make sure you come prepared! Let’s gather the essentials. For starters, grab some basic tools: a wrench, screwdriver, and a level. These will help keep things steady, unlike your uncle after Thanksgiving dinner. Along with tools, you’ll need materials like a new flush mechanism, seals, and connectors. Without these, your installation may be like a cake without frosting—just not complete!
| Tools | Materials |
|---|---|
| Wrench | New flush mechanism |
| Screwdriver | Seals |
| Level | Connectors |
With these items, you’ll be ready for a smooth installation. Think of it as preparing for a big adventure; the right gear makes all the difference!
Preparation for Installation
Assessing your current plumbing system. Safety precautions to consider before starting.
Before starting the flush installation, check your plumbing system. Look for leaks or damages. Make sure the pipes can handle the new flush. This step is very important. Safety is also key. Wear gloves and goggles to protect yourself. Turn off the water supply to avoid accidents.
- Wear protective gear, like gloves and goggles.
- Turn off the water before you begin.
- Keep tools and materials organized to prevent hazards.
Why is assessing the plumbing system important?
It’s important to ensure your plumbing system can handle the flush installation. This helps avoid problems later on. Fixing leaks or issues will save time and money.
Step-by-Step Installation Process
Detailed steps for removing the old flush system. Instructions for installing the new flush system.
First, gather your tools! You’ll need a wrench, a bucket, and a little patience. Begin by turning off the water supply to avoid a splashy surprise. Next, flush the toilet to drain the tank. After that, remove the old flush system. Unscrew it, and give it a gentle wiggle. Once it’s out, it’s time for the new system!
The new flush system will fit right in. Place it where the old one was and screw it back in place. Make sure everything is tight so your toilet doesn’t play the “drip, drip” game. Finally, turn the water supply back on and test your new system. Watch for leaks. If all is good, you’ve successfully upgraded your throne!
| Step | Action |
|---|---|
| 1 | Turn off water supply |
| 2 | Flush and drain the tank |
| 3 | Remove the old flush system |
| 4 | Install the new flush system |
| 5 | Turn water supply back on and test |
Common Issues and Troubleshooting
Typical problems encountered during installation. Solutions for common flush system malfunctions.
Installing a flush system can have some tricky moments. Here are a few common issues you might face:
- Poor water flow
- Leakage around connections
- Non-functional flush button
Each problem has a solution. Check connections for leaks. Make sure everything is tight. If the flush button is stuck, clean it carefully. Remember, a little care can fix many issues!
What if my flush doesn’t work?
If your flush doesn’t work, first check the water supply. It might be turned off. Next, take a look at the flush valve. Sometimes, debris can block it. Clean out any gunk to help it work properly.
Being aware of these problems prepares you to fix them. Stay patient! Troubleshooting can be easy with these tips.
Maintenance Tips for Flush Systems
Routine maintenance tasks to ensure longevity. Signs that indicate the need for professional help.
To keep your flush system running well, regular care is important. Simple tasks, like checking for leaks, can make a big difference. Always clean the parts. Watch for signs like strange noises or slow flushing. These could mean you need help from a professional. Here are some key tasks:
- Check for leaks regularly.
- Clean the flush system monthly.
- Inspect the flapper valve for wear.
Prompt attention helps avoid bigger problems later.
What signs mean you need professional help?
Look for these signs: leaks, clogs, or strange noises. If you notice any of these, call a plumber to take a look. Don’t wait too long!
Cost Considerations
Breakdown of typical installation costs. Factors that can influence overall pricing.
Installing a flush can cost money. Here’s a breakdown of what you might pay:
- Parts: $50-$100
- Labor: $100-$300
- Extra costs (like plumbing changes): varies
Several factors affect the price:
- Type of flush system
- Location
- Current plumbing condition
Knowing these can help you budget. Always ask for quotes to find the best deal.
What affects installation costs the most?
Factors like parts needed and labor rates can greatly impact overall costs.
Frequently Asked Questions
Common queries related to flush installation. Expert answers to installationrelated concerns.
Many people have questions about flush installation. Here are some common questions and answers to help you understand better.
What tools do I need to install a flush?
You will need some basic tools. A wrench, screwdriver, and plunger are essential. A level can also help ensure everything is straight.
Can I install it myself?
Yes! Many people can install a flush without expert help. With clear instructions, you can do it yourself!
How long does it take to install?
Usually, it takes a few hours. Much depends on your skill level and the type of flush.
Are there any tips for a smooth installation?
- Read the manual carefully.
- Prepare your workspace.
- Check for leaks after installation.
Conclusion
In conclusion, installing a flush toilet is easier than you might think! You need basic tools and a little patience. Remember to measure carefully and follow the instructions step-by-step. After your installation, always test for leaks. If you’re curious, explore more tips online or ask a friend for help. Happy DIY-ing! You can do it!
FAQs
What Are The Necessary Tools And Materials Required For Installing A Flush Toilet?
To install a flush toilet, you will need a few tools and materials. Get a wrench to tighten bolts, a screwdriver for screws, and a level to make sure everything is straight. You also need a new toilet, a wax ring, and bolts to hold it down. Don’t forget a flexible water hose to connect to the water supply!
How Do You Properly Connect The Water Supply Line To Ensure A Leak-Free Flush Installation?
To connect the water supply line without leaks, follow these steps. First, make sure both ends of the line are clean. Next, hold the line tightly and screw it onto the faucet. Use a wrench to tighten it a little more, but don’t overdo it. Finally, turn on the water and check for any leaks. If you see any, tighten it a bit more until it’s sealed.
What Are The Steps To Remove An Old Toilet Before Installing A New Flush System?
To remove an old toilet, first, turn off the water supply. Next, flush the toilet to empty the tank. Then, use a sponge to soak up any leftover water. After that, loosen the bolts at the base of the toilet. Finally, lift the toilet off and place it aside. Now, you’re ready to install the new flush system!
How Can You Troubleshoot Common Issues During The Installation Process Of A Flush Toilet?
If your flush toilet leaks, check all the connections. Make sure the bolts are tight. If the toilet is rocking, place spacers under it. If water doesn’t flow, look for kinks in the pipes. You can also check the valve to make sure it’s open.
What Are The Different Types Of Flush Systems Available, And How Do They Affect Installation?
There are several types of flush systems for toilets. The most common ones are gravity flush, pressure-assisted flush, and dual flush. Gravity flush uses water to push waste down. Pressure-assisted flush uses air pressure, making it stronger. Installing them can be different. Some need more space or special pipes.
