
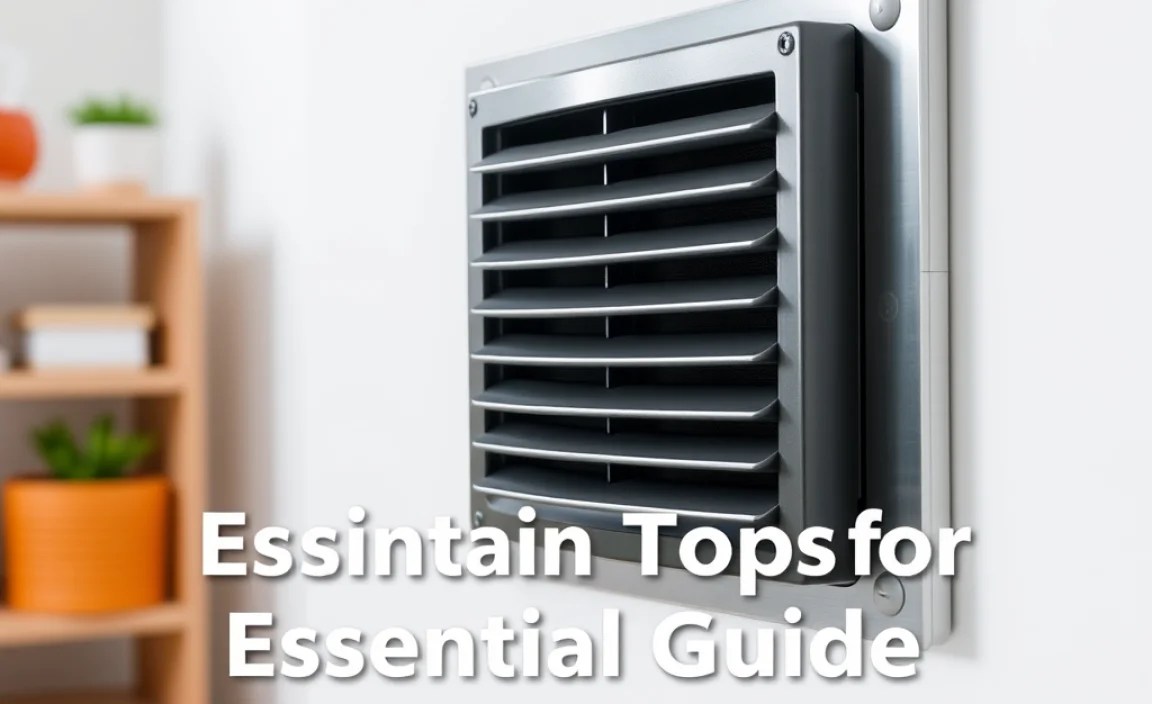
Regularly maintain your vent tips by cleaning them of dust, debris, and obstructions to ensure proper airflow, efficient system operation, and a healthier home environment. This guide provides simple, actionable steps for homeowners to keep their vents in top shape, preventing common issues like reduced air quality and increased energy bills.
You know those vents scattered around your home? They’re more important than you might think! When they get clogged with dust, pet hair, or even small forgotten toys, they don’t just look messy – they stop working as well as they should. This makes your heating and cooling systems work harder, costing you extra money and making your home less comfortable. Don’t worry, keeping them clean is a simple task! You don’t need special tools or fancy skills. We’ll walk through exactly how to tackle this chore, making your home’s air cleaner and your systems more efficient.
Why Vent Maintenance Matters: More Than Just Looks

It’s easy to overlook your home’s vents. They’re just there, part of the background. But these unassuming openings are critical components of your HVAC (Heating, Ventilation, and Air Conditioning) system. They are the pathways for conditioned air to enter your living spaces and for stale air to be removed. When these pathways become blocked or dirty, the entire system suffers.
Think of it like trying to breathe through a clogged nose. It’s difficult, inefficient, and not very pleasant. Similarly, blocked vents force your HVAC system to work overtime. This not only leads to higher energy bills as your system struggles to circulate air effectively but also causes uneven temperatures throughout your home. Some rooms might feel too hot, while others are too cold.
Beyond comfort and efficiency, dirty vents can significantly impact your indoor air quality. Dust, allergens, mold spores, and other microscopic particles can accumulate on vent grilles and within the ductwork connected to them. When your system runs, these contaminants are blown back into your home, exacerbating allergies, asthma, and other respiratory issues. Regularly maintaining your vent tips is a proactive step towards a healthier living space and a more reliable, cost-effective HVAC system.
Understanding Your Vents: Types and Functions

Before we dive into maintenance, let’s get a basic understanding of the vents you’ll be working with. Most homes have a combination of supply vents and return vents:
- Supply Vents: These are where your heated or cooled air enters your rooms from the HVAC system. They typically have adjustable louvers or dampers that allow you to control the direction and sometimes the volume of airflow.
- Return Vents: These are where the air from your rooms is pulled back into the HVAC system to be reconditioned. They are usually larger than supply vents and often have a grille that can be removed for filter access or cleaning.
Both types serve a crucial role in the continuous circulation and conditioning of air within your home. Ensuring both are clean and unobstructed is key to a balanced and efficient HVAC operation.
Essential Tools for Vent Maintenance
You don’t need a professional toolkit for this job. Most of what you need can be found around your house or is easily acquired:
- Vacuum Cleaner with Hose Attachment: A crevice tool and a brush attachment are invaluable for reaching into slats and corners.
- Microfiber Cleaning Cloths: For wiping down surfaces and reusable.
- Duster (e.g., electrostatic duster, feather duster): Good for light, surface dusting.
- Screwdriver (various types): Some vent covers may be screwed in place. Check if you need a Phillips head or flathead.
- Step Stool or Ladder: For reaching ceiling or high wall vents safely.
- Gloves: To keep your hands clean.
- Dust Mask: Recommended, especially if you or someone in your household has allergies or respiratory sensitivities, to avoid inhaling disturbed dust.
- Mild All-Purpose Cleaner (optional): For stubborn grime on removable vent covers. Ensure it’s safe for painted or metal surfaces.
Step-by-Step Guide: How to Maintain Vent Tips
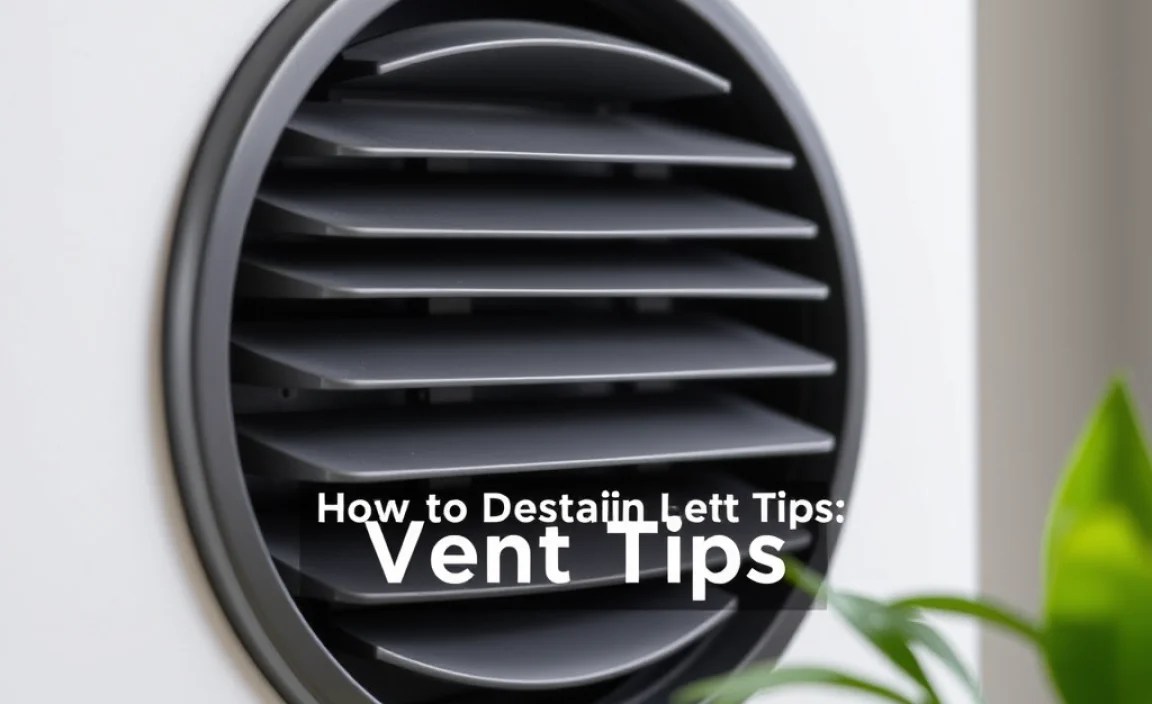
Maintaining your vent tips is a straightforward process. Following these steps will help you do a thorough job:
Step 1: Safety First!
Before you start touching any vents, especially those near electrical outlets or heating elements, it’s wise to be cautious. If you’re cleaning vents connected to your heating system in winter, ensure the system is turned off to avoid any unexpected bursts of hot air or exposure to heat. Similarly, if cleaning near air conditioning units, ensure the AC is off.
Always use a stable step stool or ladder for high vents. Never overreach. If a vent is particularly high or hard to reach, consider hiring a professional for that specific task. Wearing gloves and a dust mask will protect you from dust and irritants.
Step 2: Initial Surface Cleaning
Start with a quick pass to remove loose dust. Use a dry microfiber cloth or a duster to wipe down the exterior of the vent grille. For louvers, gently run the duster or cloth between them. This is a good first layer of defense against accumulating grime.
Step 3: Deep Cleaning with a Vacuum
This is where your vacuum cleaner becomes your best friend.
- Attach the Crevice Tool: This narrow attachment is perfect for getting deep into the slats of the vent. Carefully run the crevice tool along each slat, moving from one end to the other.
- Use the Brush Attachment: Once you’ve loosened debris with the crevice tool, switch to a brush attachment. Gently brush the surface of the grille and run it between the louvers. This will help lift any remaining dust and hair that the crevice tool might have missed.
- Special Attention to Corners: Pay extra attention to the corners and edges of the vent cover, as dust tends to accumulate there.
If you have particularly stubborn dust or cobwebs around the vent opening, you can use your vacuum to gently remove them before they have a chance to be pulled into the ductwork.
Step 4: Tackle Removable Vent Covers (If Applicable)
Some vent covers, particularly floor vents or larger return air grilles, can be removed for a more thorough cleaning.
- Identify Fastenings: Look for screws around the edge of the vent cover or clips that hold it in place.
- Remove Screws or Clips Carefully: Use the appropriate screwdriver to remove any screws. If there are clips, gently pry them open. Keep track of screws and parts; store them in a safe place (like a small container or plastic bag) so you don’t lose them.
- Clean the Cover: Once removed, you can clean the vent cover more effectively. For most metal or plastic grilles, a good vacuuming followed by wiping with a damp microfiber cloth is sufficient. For tougher grime, a mild all-purpose cleaner can be used, but ensure you rinse it thoroughly and dry it completely before reattaching. Never soak electrical components if your vent has any integrated features.
- Clean the Vent Opening: With the cover off, you’ll have direct access to the vent opening. Use your vacuum with the crevice tool and brush attachment to clean out any dust and debris from the immediate opening and the first few inches of the ductwork if accessible. Be careful not to push debris further into the duct system. A quick pass to remove visible dust is usually all that’s needed.
- Reassemble: Once the cover is clean, dry, and the opening is clear, reattach the cover securely. Make sure all screws are tightened and clips are engaged.
Step 5: Final Wipe Down
After the deep cleaning, give the vent grille one last wipe with a dry microfiber cloth to ensure it’s free of any residual dust and looks fresh.
Step 6: Don’t Forget Return Air Grilles
Return air grilles often house your HVAC system’s air filter. While their primary maintenance task involves filter replacement (which is crucial!), the grille itself also collects dust and debris. Follow the same cleaning steps as above for these grilles. A clean return grille ensures your system can breathe properly, which is essential for efficient operation. For more on air filters, check out resources from the U.S. Department of Energy, which highlights their importance in energy efficiency and indoor air quality maintenance: [Energy Saver: Furnace and Air Conditioner Maintenance].
Step 7: Schedule Regular Cleanings
How often should you clean your vents? It depends on your home environment. For most households, a light dusting can be done monthly, with a deeper vacuuming and cleaning of removable covers happening every 1-3 months. If you have pets that shed, or if someone in your home has allergies, you might need to clean them more frequently, perhaps every 2-4 weeks.
Vent Maintenance Schedule: A Practical Approach
To keep your vent tips in optimal condition, a consistent schedule is key. Here’s a suggested breakdown:
| Task | Frequency | Notes |
|---|---|---|
| Surface dusting of all vents | Monthly | Quick pass with duster or dry cloth. |
| Vacuuming vent grilles (crevice & brush tool) | Every 1-3 months | More often if you have pets or allergies. |
| Deep cleaning removable vent covers | Every 3-6 months (or as needed) | Includes washing covers if necessary. |
| Inspect and clean return air grilles | Monthly (while changing filter) | Focus on grille cleanliness; filter replacement is separate. |
| Check for obstructions around vents | Quarterly | Ensure furniture, rugs, or decor aren’t blocking airflow. |
When to Call a Professional
While most vent tip maintenance is DIY-friendly, there are times when professional help is necessary:
- Ductwork Cleaning: If your HVAC system has never had its ductwork professionally cleaned, or if you suspect significant buildup deep within the ducts (indicated by very poor air quality, unusual odors, or visible debris coming from vents), a professional duct cleaning service is recommended. This is a more involved job than simple vent tip maintenance. Reputable organizations like the National Air Duct Cleaners Association (NADCA) offer resources to find certified professionals.
- Damaged Vents: If you find that a vent cover is broken, rusted through, or damaged in a way that compromises its function or safety, it should be replaced by a professional.
- Difficulty Accessing Vents: If vents are in extremely high or inaccessible locations, and you lack the proper equipment or comfort level to reach them safely, it’s best to hire someone.
- Persistent Air Quality Issues: Even after regular vent and filter maintenance, if you continue to experience poor indoor air quality, there might be a more significant underlying issue with your HVAC system or home insulation that requires expert diagnosis.
Common Issues and How to Prevent Them
Neglecting vent maintenance can lead to several common, frustrating issues:
| Problem | Cause | Prevention |
|---|---|---|
| Reduced Airflow | Dust, debris, pet hair, toys, furniture blocking vents. | Regular cleaning and ensuring vents are unobstructed. |
| Poor Indoor Air Quality | Dust, allergens, mold spores circulating from dirty vents and ducts. | Consistent vent cleaning, regular air filter changes, and professional duct cleaning if needed. |
| Uneven Room Temperatures | Blocked supply vents leading to insufficient air delivery in some rooms. | Ensure all supply vents are clear and functional; balance dampers if needed (consult an HVAC professional for complex balancing). |
| Increased Energy Bills | HVAC system working harder to compensate for blocked airflow. | Maintaining clean vents and filters reduces strain on the system. |
| Unpleasant Odors | Mold, mildew, or accumulated dust/grime in vents/ducts. | Regular cleaning, ensuring proper humidity control, and addressing any water leaks. |
Conclusion
Maintaining your vent tips is a small effort that yields significant rewards for your home’s comfort, health, and efficiency. By incorporating regular cleaning into your home maintenance routine, you’re not just keeping dust bunnies at bay; you’re ensuring your HVAC system operates at its best. This guide has provided you with a clear, step-by-step approach, along with practical tips and a schedule to follow. Remember, consistent care of these often-ignored components is a cornerstone of smart homeownership. So grab your vacuum, a cloth, and tackle those vents with confidence, knowing you’re contributing to a cleaner, more comfortable, and energy-efficient living environment for you and your family.
Frequently Asked Questions (FAQ)
Here are some common questions homeowners have about vent maintenance:
Q1: How often should I really clean my vents?
A1: For most homes, a quick dust of the vent covers monthly, with a thorough vacuuming every 1-3 months, is a good starting point. If you have pets, notice a lot of dust, or suffer from allergies, you’ll want to clean them more frequently, perhaps every 2-4 weeks.
Q2: Can I paint my vent covers?
A2: Yes, you can paint vent covers, but it’s important to do it correctly. Ensure they are thoroughly cleaned and dry first. Use heat-resistant spray paint designed for metal or plastic surfaces. Avoid applying thick coats, as this can obstruct airflow. For metal vents, a light primer followed by your chosen paint works best. Avoid painting the louvers shut!
Q3: What if I find a toy or a large object in my vent?
A3: If it’s close to the opening and you can reach it easily with your hand or a vacuum attachment without pushing it further in, carefully remove it. If the object is deep inside, or if you’re unsure, it’s safer to call an HVAC professional or an appliance repair service to retrieve it to avoid damaging your ductwork.
Q4: My vents smell musty. What should I do?
A4: A musty smell often indicates mold or mildew. Clean the accessible parts of the vents with a mild disinfectant cleaner (test in an inconspicuous area first). Ensure your home’s humidity levels are controlled. If the smell persists or seems to come from deep within the ducts, it’s crucial to have your ductwork inspected by a professional.
Q5: Do I need to clean the ducts behind the vents?
A5: While cleaning the vent tips removes surface dust, the ductwork behind them can accumulate significant debris over time. For optimal indoor air quality and system efficiency, professional duct cleaning is recommended every 3-5 years, or more often if you have pets, allergies, or have recently completed renovations.
Q6: Can cleaning vents improve my energy efficiency?
A6: Absolutely! When vents are clean and unobstructed, your HVAC system doesn’t have to work as hard to circulate air. This means it uses less energy, leading to lower utility bills. It’s a small maintenance task with a tangible impact on your home’s energy performance.
