
Maintaining your vent tools is crucial for efficient airflow and system longevity. Simple cleaning, lubrication, and inspection prevent clogs, wear, and potential hazards. This guide offers beginner-friendly steps to keep your vent tools working perfectly, ensuring comfort and safety in your home.
Hey everyone, Bryan Lee here! Ever feel like your home just isn’t breathing right? That weird smell, a stuffy room, or even a higher energy bill could all be linked to something surprisingly simple: your vents and the specialized tools used to access and maintain them. These are the unsung heroes of home comfort and safety, but they can get neglected.
Grime, dust, and debris love to build up, reducing airflow and making your HVAC system work overtime. Don’t worry, though! Keeping these tools and your vents in top shape is easier than you think. We’ll walk through everything you need to know, step-by-step, so you can breathe easy and confidently tackle this task.
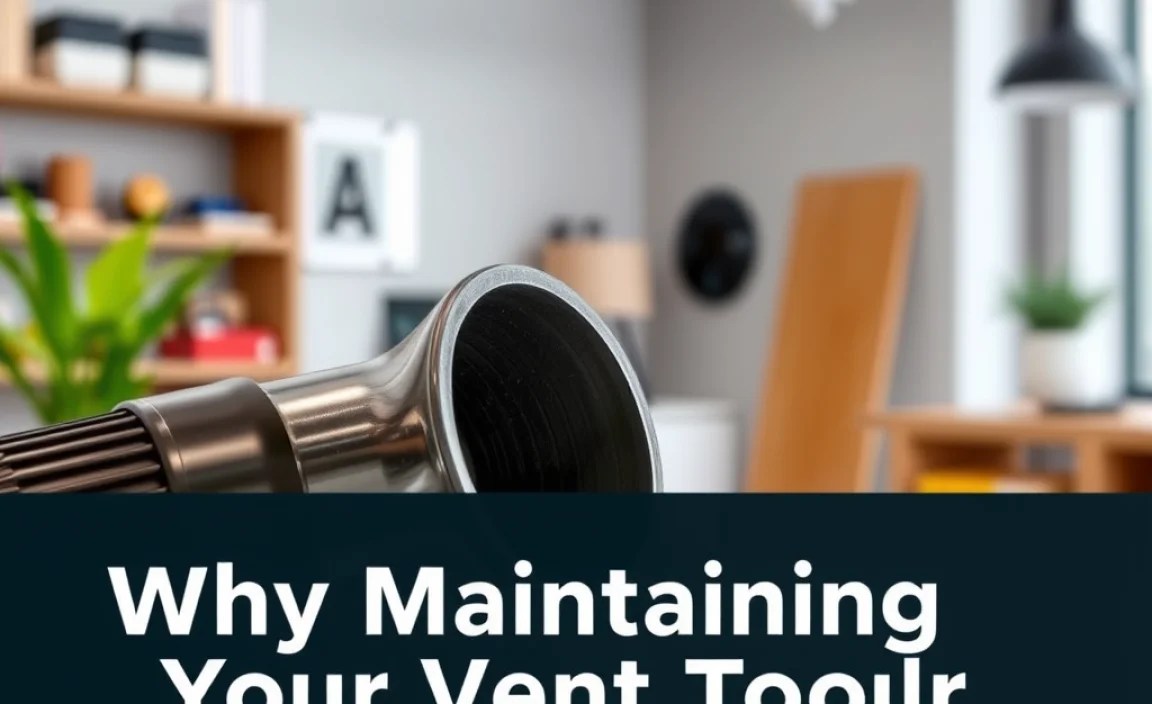
Why Maintaining Your Vent Tools Matters
Think of your vent tools like any other essential equipment you use around the house – your lawnmower, your power drill, or even your car. They need a little love and attention to perform at their best. For vent tools, this isn’t just about aesthetics or convenience; it’s about performance, safety, and avoiding costly repairs down the line. When vent tools, or the vents they interact with, are clogged or damaged, it directly impacts your home’s air quality and energy efficiency.
Poorly maintained vents can lead to:
- Reduced airflow, making your heating and cooling systems less effective.
- Increased energy consumption as your HVAC has to work harder.
- Poor indoor air quality, potentially leading to allergies or respiratory issues.
- Accumulation of dust and debris, which can become a fire hazard in extreme cases.
- Damage to the vent tools themselves, leading to replacement costs.
Our goal today is to demystify vent tool maintenance. You don’t need to be a seasoned pro to keep them in good working order. We’ll break down the process into simple, manageable steps.
Understanding Common Vent Tools and Their Maintenance Needs
Before we dive into the “how-to,” let’s get familiar with some of the most common tools you might use when dealing with vents. Knowing their purpose helps us understand how to best care for them.
1. Vent Brushes and Cleaners
These are typically long, flexible brushes designed to reach deep into vent ducts. They come in various shapes and sizes, often with stiff bristles to dislodge stubborn dirt.
Maintenance Focus:
- Cleaning: After each use, rinse the bristles thoroughly with water and mild soap. If you’ve cleaned out a particularly dirty vent, you might need to use a disinfectant spray.
- Drying: Ensure the brush is completely dry before storing to prevent mildew and rust. Hang it upside down or lay it on a towel over a radiator if available.
- Inspection: Check for bent or broken bristles. Replace the brush if it’s no longer effective.
2. Specialized Vacuum Attachments (Crevice Tools, Extension Wands)
These attachments are crucial for vacuuming out dust and debris from vent grilles and the immediate duct openings. Extension wands allow you to reach further, and crevice tools get into tight spots.
Maintenance Focus:
- Debris Removal: Regularly clear out any dust, hair, or small particles that get lodged in the attachments themselves. A gentle puff of air or a quick wipe with a damp cloth usually does the trick.
- Connection Check: Ensure the attachments fit snugly onto your vacuum hose. Loose fittings mean less suction power.
- Storage: Store them attached to the vacuum or in a designated tool caddy to prevent loss or damage.
3. Screwdrivers and Nut Drivers
Often needed to remove vent covers (grilles) for a more thorough cleaning. Phillips head and flathead screwdrivers are common, as are nut drivers for certain types of fasteners.
Maintenance Focus:
- Tip Condition: Inspect the tips for wear or stripping. A worn tip can damage screws and make removal difficult.
- Handle Grip: Ensure the handles are clean and free of grease for a secure grip.
- Rust Prevention: Store in a dry place. A light coat of oil can help prevent rust on metal shafts.
4. Pliers (Needle-nose, Regular)
Useful for bending back slightly warped vent covers or manipulating small parts.
Maintenance Focus:
- Jaw Condition: Check the gripping surfaces for nicks or damage that could affect their grip.
- Pivot Point: A drop of lubricating oil on the pivot point can ensure smooth operation and prevent squeaking. Clean off any excess oil.
- Rust Prevention: Similar to screwdrivers, keep them dry and consider a light oiling.
5. Borescopes/Inspection Cameras
For more advanced maintenance, these cameras allow you to look inside ducts to assess the level of buildup.
Maintenance Focus:
- Lens Cleaning: Gently clean the camera lens with a microfiber cloth. Avoid harsh chemicals.
- Cable Care: Be careful not to kink or bend the flexible cable too sharply.
- Battery/Power: Ensure batteries are charged or power sources are functional before use. Store with batteries removed if not using for extended periods to prevent corrosion.
Step-by-Step Guide: How to Maintain Your Vent Tools

Now that we know our tools, let’s get down to the practical steps for keeping them in prime condition. We’ll focus on the most common tasks that apply to most vent cleaning tools.
Step 1: Gather Your Supplies
Before you start, make sure you have everything you need. This will make the process smoother and prevent interruptions.
- Your vent cleaning tools (brushes, vacuum attachments, etc.)
- Mild soap or detergent
- Warm water
- Clean cloths or rags (microfiber is great!)
- Lubricating oil (e.g., WD-40, but use sparingly)
- A clean, dry storage area
- Optional: Disinfectant spray, gloves
Step 2: Tool Cleaning Session
This is the core of maintenance. Treat each tool according to its material and design.
For Brushes:
- Fill a bucket or sink with warm water and a small amount of mild soap.
- Immerse the bristles of the vent brush into the soapy water and gently work them around to loosen dirt and debris.
- Rinse the brush thoroughly under clean running water until all soap residue is gone.
- Shake off excess water and pat the bristles dry with a clean cloth.
- Allow the brush to air dry completely, preferably in a well-ventilated area, before storing. You can hang it with the bristles facing down to help water drain away.
For Vacuum Attachments and Wands:
- Detach the attachment from your vacuum hose.
- Use a dry or slightly damp cloth to wipe away any dust, lint, or debris from the inside and outside of the tool.
- For stubborn buildup, you can use a soft brush (like a toothbrush) to dislodge particles.
- Ensure the attachment is completely dry before reconnecting it to your vacuum.
For Screwdrivers, Pliers, and Other Metal Tools:
- Wipe down the metal parts with a clean cloth to remove any dirt or grime.
- If there’s any sign of rust, you can gently scrub it with a fine steel wool pad.
- To prevent future rust, apply a very thin layer of lubricating oil to the metal surfaces, especially the shaft and tip of screwdrivers, and the pivot point of pliers. Wipe off any excess oil.
- Check handles for cracks or damage. Clean them with a damp cloth if they are dirty.
Step 3: Lubrication (When Necessary)
Some tools, particularly those with moving parts like pliers or extendable wands, can benefit from lubrication. Apply a small amount of multi-purpose lubricant to pivot points or sliding mechanisms. Wipe away any excess immediately to prevent dust attraction.
Important Note: Use lubricants sparingly and ensure they are safe for the tool’s material. For example, oil can degrade rubber grips over time if applied too liberally. Always consult your tool’s manual if available.
Step 4: Inspection
Regularly inspect your tools for any signs of wear and tear. This is crucial for optimal vent tool functionality and home safety.
- Bristles: Are they bent, matted, or falling out? Worn bristles won’t clean effectively and could scratch surfaces.
- Plastic Parts: Check for cracks, breaks, or warping, especially on vacuum attachments or handles.
- Metal Components: Look for rust, corrosion, or bent shafts/tips. Damaged metal parts can be ineffective or even dangerous.
- Connections: Ensure all parts fit together securely, especially for vacuum attachments and extension wands. A loose fit means reduced efficiency.
If a tool is significantly damaged, it’s often safer and more effective to replace it. For example, a severely bent screwdriver tip can strip screws, making them impossible to remove and potentially damaging the vent cover.
Step 5: Proper Storage
Storage is key to longevity. The best way to store your vent tools is in a clean, dry place.
- Toolbox or Caddy: A dedicated toolbox or tool caddy keeps everything organized and protected.
- Hang Them Up: If possible, hang brushes or long tools to keep them straight and allow for better air circulation.
- Avoid Damp Areas: Basements, garages, or sheds can be damp. If this is your only option, consider using a dehumidifier or storing tools in sealed containers.
- Keep Them Together: Store vacuum attachments with their respective vacuums or in a kit to avoid misplacing them.
Maintaining Your Actual Vents: A Quick Guide

While this article is primarily about your tools, maintaining the tools often goes hand-in-hand with maintaining the vents they clean. Here’s a brief overview of how to keep your home’s vents clear.
Step 1: Safety First!
Before touching any vent, ensure your HVAC system is turned OFF. You can do this at the thermostat or, for extra safety, at the breaker box controlling the HVAC unit. This prevents accidental activation while you’re working.
Step 2: Remove the Vent Cover (Grille)
Many vent covers are held on by screws. Use your screwdriver or nut driver to remove them. Some covers might just clip on, requiring a gentle pull or small lever. Keep the screws in a small container so you don’t lose them.
Step 3: Clean the Grille
Wipe down the vent cover itself with a damp cloth or wash it in warm, soapy water if it’s removable and not made of delicate material. Dry it completely before reattaching.
Step 4: Clear the Duct Opening
Use your vacuum with a crevice tool to suck up loose dust and debris from the opening. For deeper buildup, use your specialized vent brush. Insert the brush and twist and pull to dislodge dust. You can then vacuum the dislodged debris.
For a more thorough look inside, a borescope can be invaluable. This can help you see how far back the dust and obstructions go. The U.S. Department of Energy provides excellent resources on improving air quality which can be found on their Energy Saver website.
Step 5: Reassemble
Once everything is clean and dry, reattach the vent cover. Ensure it’s secure but don’t overtighten screws to avoid stripping them or cracking the cover.
Step 6: Turn the System Back On
Restore power to your HVAC system at the breaker box and set your thermostat back to its desired temperature.
Troubleshooting Common Vent Tool Issues
Even with the best maintenance, tools can sometimes act up. Here are a few common problems and how to fix them:
| Problem | Possible Cause | Solution |
|---|---|---|
| Vent brush not cleaning effectively | Bristles are bent, matted, or worn out. | Clean bristles thoroughly. If still ineffective, replace the brush. |
| Vacuum attachment has low suction | Kinked hose, debris in the attachment, or loose connection. | Check for kinks. Clean out the attachment. Ensure a tight seal with the vacuum hose. |
| Screwdriver tip is worn or stripped | Frequent use on tough screws, using the wrong size screwdriver. | Replace the screwdriver. Ensure you’re using the correct type and size for the screw head. |
| Pliers are stiff or squeaky | Lack of lubrication, dirt in the pivot. | Clean the pivot point and apply a small amount of lubricating oil. Wipe off excess. |
| Extension wand won’t lock in place | Internal locking mechanism is dirty or damaged. | Clean the locking mechanism. If damaged, the wand may need to be replaced. |
When to Seek Professional Help
While most vent tool maintenance is DIY-friendly, there are times when you should call a professional. If your inspection reveals any of the following, it’s best to contact an HVAC technician:
- Extensive mold growth inside the ducts.
- Significant structural damage to ductwork.
- Persistent unusual noises from your HVAC system.
- Blockages that your tools cannot reach or dislodge.
- If you’re uncomfortable or unsure about any step of the process.
Professional duct cleaning services often have specialized, industrial-grade equipment that goes beyond typical DIY tools. The Environmental Protection Agency (EPA) offers guidance on choosing qualified professionals for duct cleaning and other indoor air quality services on their website.
Conclusion
Keeping your vent tools in excellent condition is a small act of home maintenance that yields significant rewards. Regular cleaning, proper lubrication, and diligent inspection ensure your tools are ready when you need them, making vent maintenance a straightforward and effective task. By following these simple steps, you’re not just taking care of your tools; you’re contributing to better air quality, improved home comfort, and greater energy efficiency. So, grab your brushes, your vacuum, and your screwdrivers, and give those essential vent tools the attention they deserve. You’ll be breathing easier and enjoying a more comfortable home in no time!
Frequently Asked Questions (FAQ)
Q1: How often should I clean my vent tools?
A1: It’s best to clean your vent tools after each significant use. For general brushes or vacuum attachments you use often, a quick wipe-down every few weeks can prevent buildup. If you notice dirt or dust accumulating, it’s time for a clean.
Q2: Can I use harsh chemicals to clean my vent brushes?
A2: It’s generally safer to stick with mild soap and warm water. Harsh chemicals can degrade the bristles or plastic components over time, reducing the tool’s lifespan and effectiveness. If you need to disinfect, use a mild bleach solution (1 part bleach to 10 parts water) and rinse extremely thoroughly, ensuring the brush is completely dry afterwards.
Q3: My vent brush feels stiff. What can I do?
A3: Stiff bristles are often a sign of dried-on dirt or improper drying. Try soaking it in warm, slightly soapy water for about 15-30 minutes, then rinse well and dry thoroughly. If the bristles are permanently bent or misshapen, it might be time for a new brush.
Q4: Are there special tools for cleaning different types of vents (e.g., floor vents vs. ceiling vents)?
A4: While many general vent brushes and vacuum attachments work for most common vents, specialized longer or more flexible brushes might be needed for deeper or more awkwardly shaped ducts. The principles of cleaning the tools themselves remain the same regardless of vent type.
