
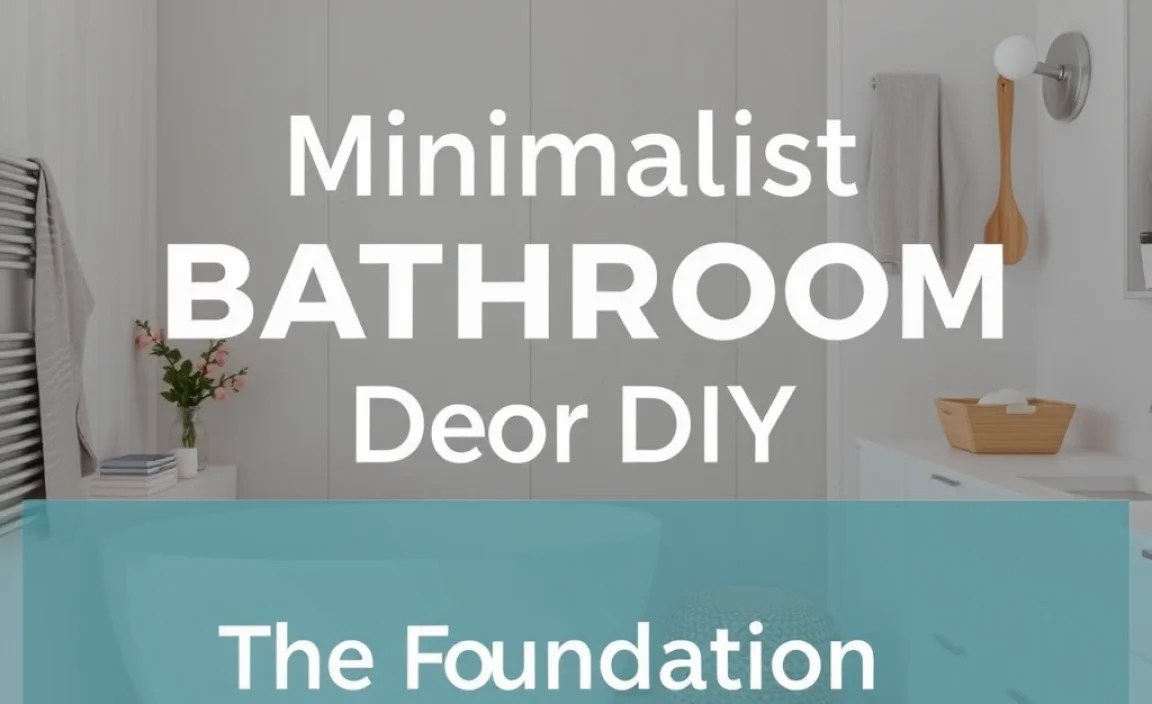
DIY minimalist bathroom decor is achievable by focusing on essential, functional items, decluttering thoroughly, and choosing a simple color palette. This approach saves money and creates a serene, organized space perfect for any skill level.
Feeling overwhelmed by bathroom clutter? You’re not alone. Many of us dream of a clean, spa-like bathroom, but the reality is often a chaotic mix of half-used products and mismatched accessories. The good news is that creating a minimalist bathroom doesn’t require a complete overhaul or a huge budget. With DIY in mind, we can transform your bathroom into a tranquil haven. This guide will walk you through proven essentials and simple DIY projects to achieve that serene, uncluttered look, making your daily routine more enjoyable and stress-free. Get ready to simplify and beautify!
This article will guide you through the core principles of minimalist bathroom decor and how to implement them through simple DIY projects and smart choices. We’ll cover decluttering, essential elements, color schemes, and easy upgrades that anyone can do.
What Exactly is Minimalist Bathroom Decor?

Minimalist bathroom decor is all about simplicity, functionality, and intentionality. It’s not about having bare walls and no personality; rather, it’s about surrounding yourself with items that serve a purpose and bring you joy, while eliminating anything unnecessary. Think clean lines, a calming color palette, and smart storage solutions. The goal is to create a serene, organized space that feels like a retreat, making your morning and evening routines more peaceful and less chaotic. For beginners, this means focusing on a few key elements that make a big impact without requiring complex installations or expensive materials.
The Foundation: Declutter and Organize
Before you even think about adding new decor, the most crucial step in minimalist bathroom DIY is decluttering. This is where the magic truly begins, and it costs absolutely nothing but your time and decision-making skills. A cluttered bathroom is the antithesis of minimalist design, so this phase is non-negotiable. Embrace this as a liberating process!
Step 1: The Great Bathroom Purge
Empty absolutely everything from your cabinets, drawers, and countertops. Yes, everything. This visual approach helps you see exactly what you have. As you pull items out, create three distinct piles:
- Keep: Items you use regularly, love, and that are essential for your bathroom routine.
- Donate/Sell: Items that are still good but you no longer need or use. Think extra towels, nearly-full toiletries you didn’t like, or unused gadgets.
- Trash/Recycle: Expired medications, single-use packets, empty bottles, and anything broken or unusable. Be mindful of local recycling guidelines for specific items like aerosols or plastics. For guidance on responsible disposal, the EPA’s recycling basics can be a helpful resource.
Step 2: Deep Cleaning the Empty Canvas
With everything out, it’s the perfect time for a thorough clean. Wipe down shelves, scrub tiles, clean the sink, toilet, and shower. A fresh, clean space sets the stage for your new minimalist look and is a key component of a serene bathroom.
Step 3: Smart Storage Solutions (DIY-Friendly)
Organization is key to maintaining a minimalist aesthetic. The goal is to keep surfaces clear and everything hidden away neatly. This is where DIY can shine:
- Drawer Dividers: Use cardboard from old boxes, scrap wood, or dollar store plastic bins to create custom dividers for your drawers. This prevents small items like makeup, toiletries, and hair ties from becoming a jumbled mess. You can even cover them with decorative paper or paint for a cohesive look.
- Vertical Storage: If counter space is limited, think vertically. Small shelves can be installed above the toilet or in empty corners. You can build simple floating shelves yourself or purchase affordable floating shelf kits.
- Magnetic Strips: For small metal items like tweezers, bobby pins, or manicure scissors, install a magnetic strip inside a cabinet door. It keeps them organized and easily accessible without taking up drawer space.
- Lazy Susans: Perfect for under-sink cabinets, a spinning Lazy Susan allows you to easily access items in the back without rummaging. You can often find inexpensive ones at discount stores or repurpose old ones.
- Wall-Mounted Baskets or Trays: For items like extra toilet paper, towels, or cleaning supplies, wall-mounted baskets or simple wooden shelves can keep things tidy and off the floor.
Essential Minimalist Bathroom Decor Elements
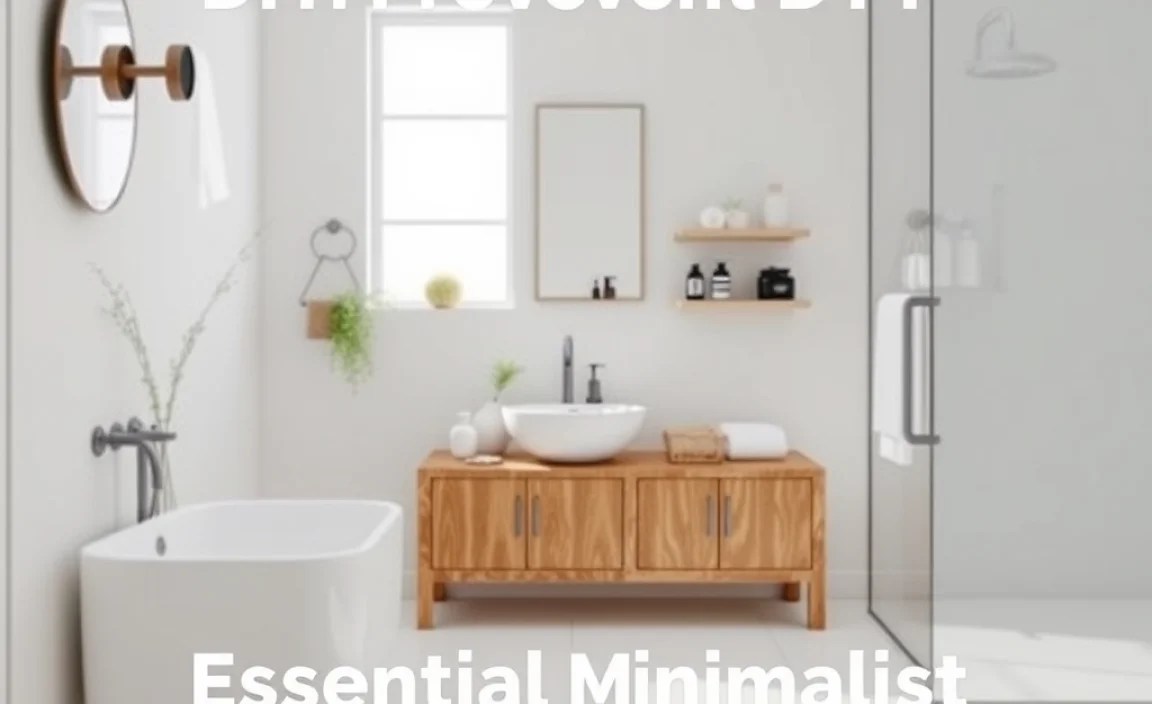
Once the decluttering and organizing are complete, you can focus on the few, carefully chosen elements that define minimalist bathroom decor. Remember, less is truly more here. Every item should be purposeful and contribute to the overall calm aesthetic.
The Color Palette: Calm and Cohesive
A minimalist bathroom thrives on a simple, soothing color scheme. Think neutrals that create a sense of peace and spaciousness.
- Whites and Off-Whites: These create a bright, airy feel and make any space seem larger. They are timeless and versatile.
- Grays and Beiges: These offer a sophisticated and grounding effect. They can be warm or cool depending on the specific shade.
- Black Accents: Used sparingly, black can add a touch of modern elegance and definition to a neutral palette. Think black hardware, a picture frame, or a toothbrush holder.
- Natural Wood Tones: Incorporating elements like a wooden stool, bamboo accents, or a wooden tray can add warmth and texture, preventing the space from feeling sterile.
Lighting: Setting the Mood
Good lighting is crucial for both functionality and ambiance. In a minimalist bathroom, aim for layered lighting:
- Task Lighting: This is essential for your vanity. Sconces on either side of the mirror or a well-placed overhead light provide clear, shadow-free illumination for tasks like shaving or applying makeup.
- Ambient Lighting: A softer, general light from an overhead fixture or a dimmer switch can create a more relaxing atmosphere, especially during a bath.
- Natural Light: If you have a window, keep it unobstructed to let in as much natural light as possible. Consider frosted glass or a simple blind for privacy if needed.
DIY Lighting Upgrade: If your current light fixture is outdated, consider a simple DIY swap. Many modern, minimalist fixtures are available at affordable price points. Ensure you turn off the power at the breaker box before attempting any electrical work, or consult a qualified electrician if you are unsure. For safety tips on basic electrical work, resources from organizations like NFPA (National Fire Protection Association) on electrical safety are invaluable.
Mirrors: Functional Art
A mirror is a bathroom essential, but in a minimalist design, it can also be a statement piece. Choose a mirror with a simple frame or opt for a frameless design for a cleaner look. Over-sized mirrors can also make a small bathroom feel much bigger and brighter.
DIY Mirror Enhancement: If you have a plain mirror, consider adding a minimalist frame yourself. You can use simple wooden planks, apply a sleek paint finish, or even create a concrete-look frame. Clean, simple lines are key.
Textiles: Quality Over Quantity
When it comes to towels, bathmats, and shower curtains, select items in your chosen neutral color palette with good quality. A few plush, high-quality towels feel more luxurious and contribute to the spa-like atmosphere than a pile of old, thin ones.
- Towels: Opt for a set in white, gray, or beige. Fold them neatly or hang them on simple hooks.
- Bath Mat: A simple, solid-colored bath mat in a neutral shade will do. Consider a natural material like cotton or bamboo for added warmth and texture.
- Shower Curtain: A plain white, gray, or textured neutral shower curtain is perfect. For an extra minimalist touch, consider a liner with a water-repellent finish and omit the curtain altogether if your shower setup allows and you prefer that look.
Decor Items: Intentional and Simple
Minimalist decor doesn’t mean zero decor, but it means every piece is chosen with intention. Focus on items that add function, texture, or a subtle touch of personality without adding clutter.
Plants: A Touch of Nature
A small, well-chosen plant can bring life and a calming natural element to your bathroom. Choose low-maintenance options that thrive in humid environments, such as a snake plant, ZZ plant, or a small orchid.
DIY Potting: Repurpose simple ceramic pots or paint basic terracotta pots in a neutral color to match your decor. Placing a plant on a floating shelf or a small corner table keeps it accessible and visually appealing.
Minimalist Artwork
If you enjoy art, choose one or two pieces that are simple and unobtrusive. Abstract pieces with clean lines, black and white photography, or botanical prints in simple frames can add personality without overwhelming the space.
DIY Art: You can create your own minimalist art. Try simple line drawings on a neutral background, a single bold brushstroke, or even a framed piece of pleasing textured wallpaper. For budget-friendly framing, consider using ready-made frames and painting them to match your color scheme.
Functional Accessories
Choose your bathroom accessories wisely. Opt for items that are both practical and aesthetically pleasing.
- Soap Dispenser: A sleek, minimalist dispenser in glass, ceramic, or brushed metal.
- Toothbrush Holder: A simple holder that keeps brushes tidy.
- Trash Can: A small, discreet bin with a lid.
- Trays: A small tray on the counter can corral frequently used items like hand lotion and a soap dispenser, keeping the surface tidy. You can DIY this with a piece of wood or a thrifted tray painted to match.
Wood and Natural Elements
Adding wood tones, bamboo, or stone can introduce warmth and texture, grounding your minimalist design.
- Wooden Stool: A small, well-designed wooden stool can serve as a surface when needed or simply as a decorative element.
- Bamboo Accessories: Embrace bamboo for a toothbrush holder, a small tray, or even a shower caddy.
- Stone Accents: A small decorative bowl made of stone or a slate coaster can add an organic touch.
Simple DIY Upgrades to Elevate Your Minimalist Bathroom
These DIY projects are designed to be beginner-friendly and don’t require specialized tools or extensive experience. They focus on enhancing functionality and aesthetics without overhauling your bathroom.
Upgrade 1: Modernizing Hardware
The hardware in your bathroom – faucet handles, cabinet knobs, towel racks – can make a surprisingly big difference. Swapping out old, dated hardware for modern, sleek options is a quick and impactful DIY project.
Tools Needed:
- Screwdriver (Phillips and flathead)
- New hardware (knobs, pulls, towel bars, etc.)
- Optional: Measuring tape
Steps:
- Identify Existing Hardware: Note the type of screws holding your current hardware in place.
- Remove Old Knobs/Pulls: Unscrew the existing hardware. Keep the screws!
- Install New Hardware: Align the new hardware and screw it into place. Ensure it’s snug but don’t overtighten.
- Towel Bars/Racks: If replacing these, you might need to fill old screw holes and drill new ones. Measure carefully to ensure bars are level and at the correct height. Many modern towel bars offer easier installation with concealed screws.
Minimalist Choices: Look for hardware in brushed nickel, matte black, or brushed gold finishes for a modern, understated look. Simple, geometric shapes work best.
Upgrade 2: Creating a Custom Vanity Tray
A simple tray can transform a cluttered countertop into an organized display. This DIY project adds a touch of custom design and keeps essential items tidy.
Materials:
- A piece of wood (e.g., 1×6 or 1×8 pine, or a salvaged piece)
- Wood glue
- Small nails or brads (optional, for extra strength)
- Sandpaper (medium and fine grit)
- Primer and paint or wood stain
- Optional: Drawer pulls or small handles
Tools Needed:
- Saw (hand saw or miter saw for cleaner cuts)
- Measuring tape
- Clamps (optional but helpful)
- Paintbrush
Steps:
- Measure and Cut: Measure the space on your vanity where the tray will sit. Cut your wood pieces to create a rectangular or square tray. You’ll need four pieces for the base, or you can cut out a solid base and attach four side pieces. For sides, cut strips of wood to the desired height.
- Assemble the Tray: Apply wood glue to the edges where pieces will join. Assemble the sides around the base, or if making a simple box, glue and nail the sides together. Use clamps to hold pieces in place while the glue dries.
- Sand: Once dry, sand all surfaces and edges smooth. Start with medium-grit sandpaper and finish with fine-grit for a smooth feel.
- Finish: Wipe away dust and apply your chosen finish – a neutral paint color, a wood stain, or even a faux concrete finish. Add primer first if painting.
