
Quick Summary: Understanding mirror details ensures you choose, install, and maintain the right mirrors for your space, maximizing their aesthetic and functional benefits safely and effectively. This guide provides clear, simple steps for beginners.
Mirrors are more than just reflective surfaces; they are design tools that can transform a room. But sometimes, figuring out the best mirror for a specific spot can feel a bit puzzling. You might wonder about the right size, how to hang it securely, or even how to keep it looking its best. It’s easy to feel a little lost with all the options and technical terms. But don’t worry! This guide is here to help. We’ll break down everything you need to know about mirror details in a way that’s easy to understand. You’ll learn how to select, prepare, and care for mirrors with confidence. Get ready to make your home shine!
Understanding Mirror Details: A Beginner’s Guide


Choosing and using mirrors can seem straightforward, but there are several “mirror details” that make a big difference. These details cover everything from the type of glass and its backing to installation methods and maintenance. For beginners, grasping these specifics is key to a successful and satisfying outcome. Let’s dive into what makes a mirror work and how to get the most out of yours.
Types of Mirrors and Their Characteristics

Not all mirrors are created equal. The type of mirror you choose depends on its intended use and desired aesthetic. Understanding these differences will help you make an informed decision.
Glass Types

The base material of a mirror is crucial. Most mirrors are made from glass, but the quality and type can vary:
- Float Glass: This is the most common type. It’s made by floating molten glass on a bed of molten tin. This process results in a very flat, uniform surface, which is ideal for reflection.
- Tempered Glass: This is a safety glass that’s much stronger than regular float glass. If it breaks, it shatters into small, blunt pieces rather than sharp shards. This makes it a good choice for larger mirrors or those in high-traffic areas where safety is a concern. You can often find tempered glass used for shower mirrors or bathroom vanities.
- Acrylic or Plexiglass Mirrors: These are lighter and more shatter-resistant than glass mirrors. However, they can scratch more easily and may not offer as crisp a reflection as glass. They are often used in children’s rooms or for decorative purposes where weight or breakage is a concern.
Backing Materials
The backing of a mirror is what gives it its reflective quality. The most common materials are silver and aluminum:
- Silver-Plated Mirrors: These are traditional and offer excellent reflectivity and color accuracy. A layer of silver is applied to the glass, followed by protective copper and paint layers.
- Quicksilver or Mercury Mirrors: These are older types and are generally not used anymore due to the toxicity of mercury.
- Aluminum-Coated Mirrors: These are more affordable and durable than silver-plated mirrors. They are also resistant to tarnishing, making them a popular choice. The reflection might have a slightly cooler tone compared to silver.
Coating and Finishes
Beyond the backing, finishes can affect how the mirror looks and functions:
- Clear Mirror: The standard mirrored surface appears clear and reflects true colors.
- Tinted Mirrors: These mirrors have a colored hue, such as bronze, gray, or blue. They can add a unique aesthetic touch but may alter the perceived colors of objects reflected.
- Antique Mirrors: These are designed to look old, often with intentionally placed imperfections, distressed finishes, or unique patinas.
- One-Way Mirrors (Two-Way Mirrors): These are specially coated mirrors that appear reflective on one side and transparent on the other under specific lighting conditions. They are often used in security settings or observation rooms.
Choosing the Right Mirror for Your Space
Selecting a mirror involves considering its purpose, size, shape, and how it fits into your overall decor. Here’s how to approach it:
Purpose and Placement

Think about why you need the mirror and where it will go. This will guide your choice:
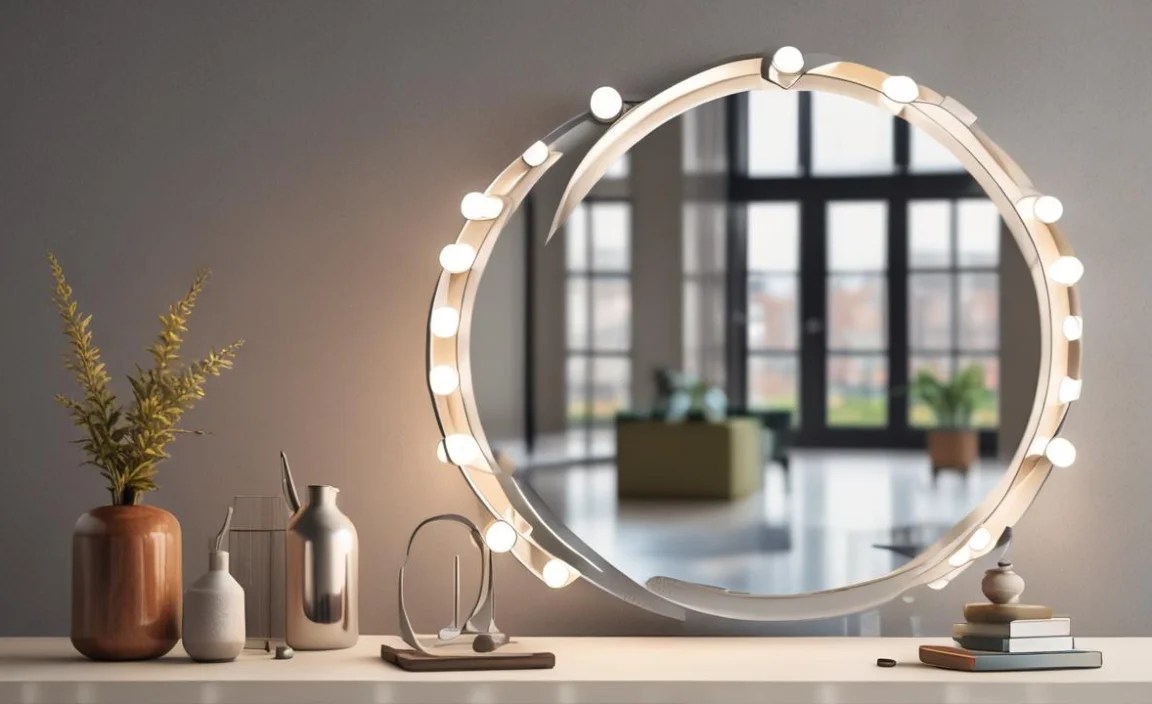
- Decorative Accent: A smaller, uniquely shaped mirror can add visual interest to a gallery wall or entryway.
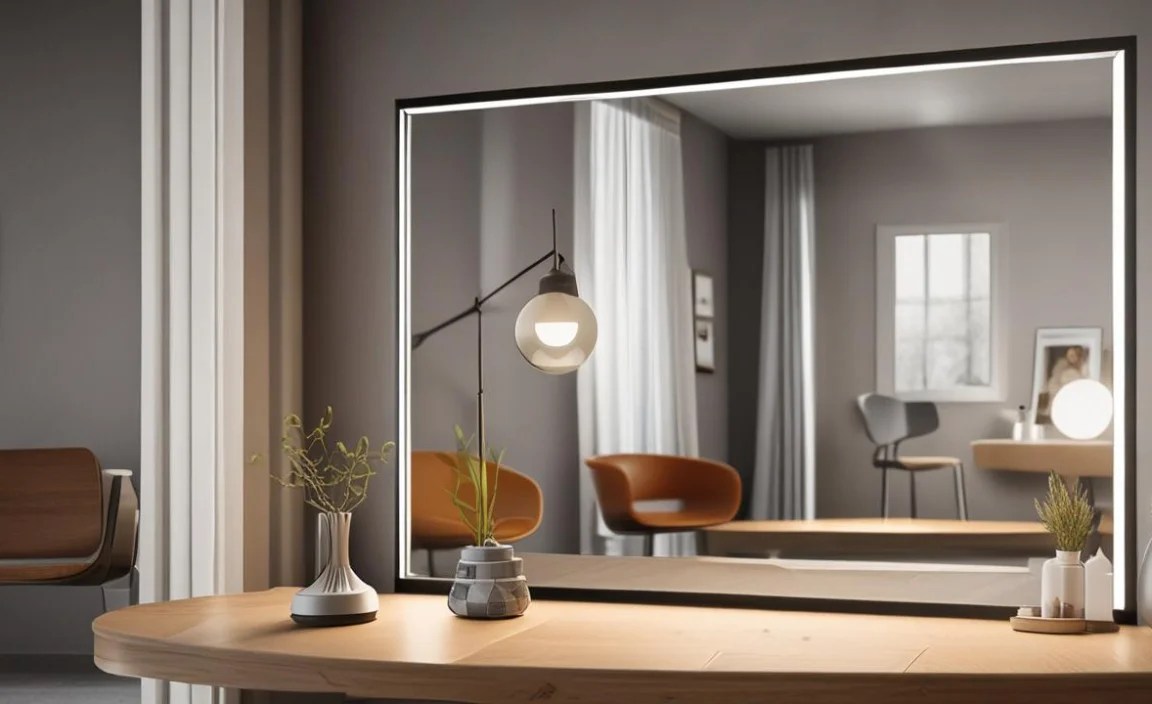
- Functionality: A large, clear mirror in a bathroom or dressing area is essential for grooming and getting ready.
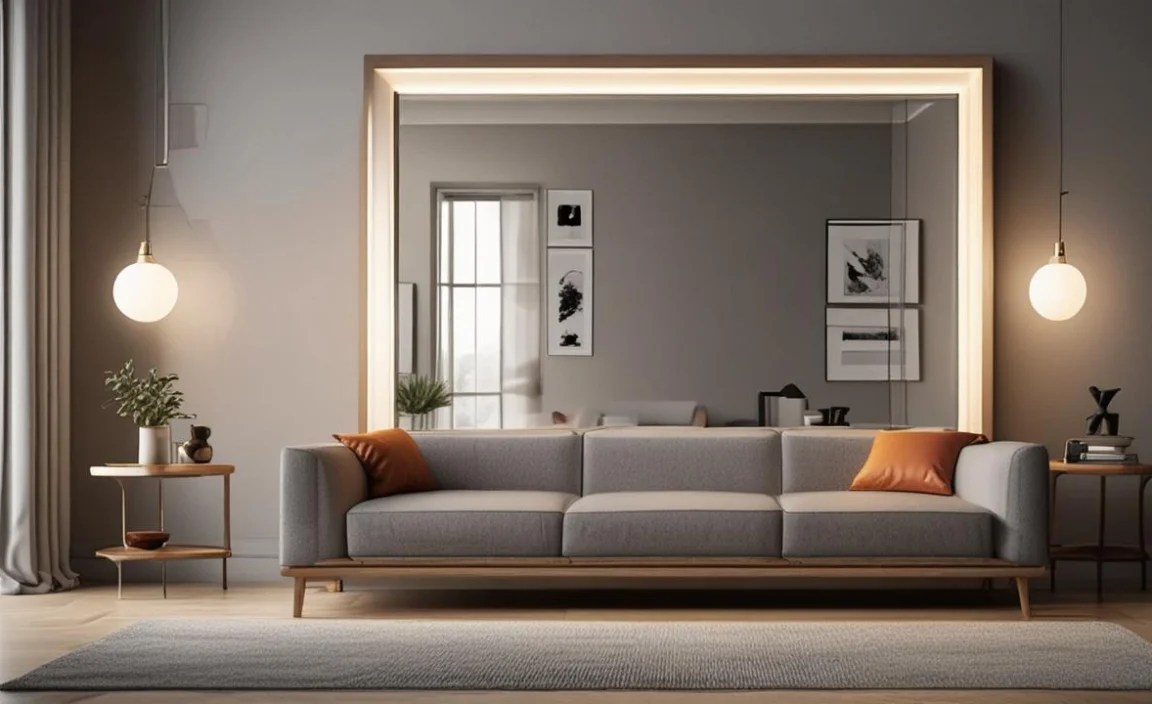
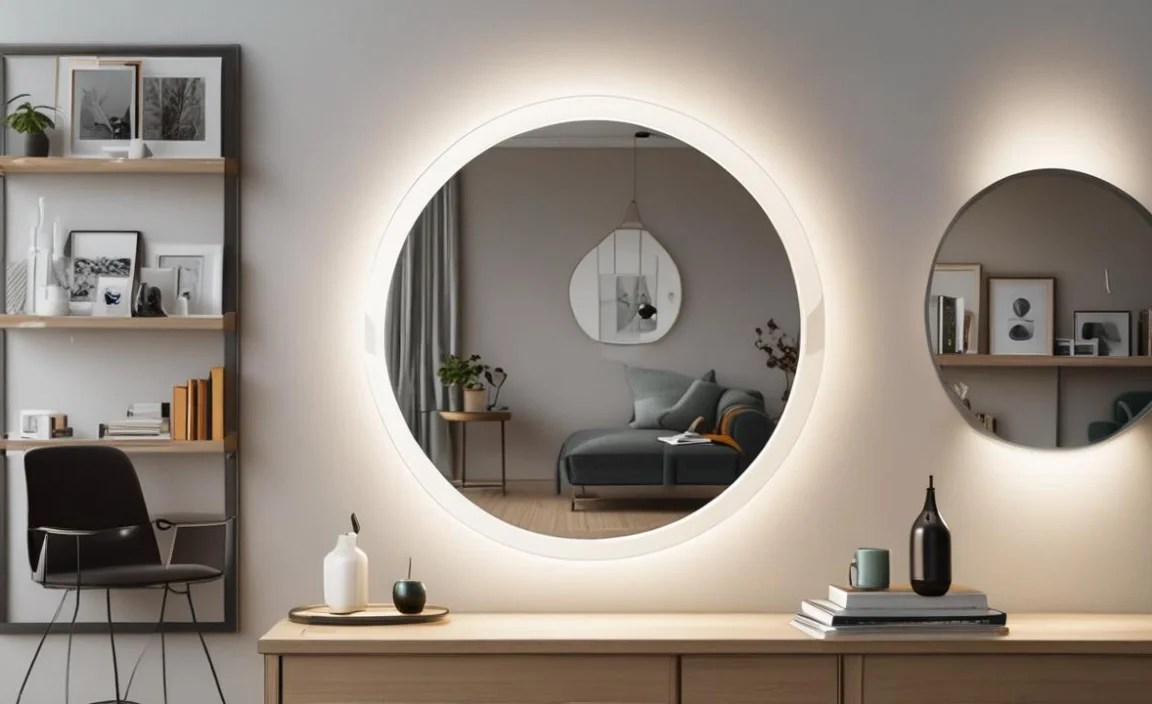
- Space Enhancement: Placing a mirror opposite a window or on a large wall can make a room feel bigger and brighter.
Size and Proportion
The size of your mirror should be proportionate to the wall and furniture it’s near. A common rule of thumb for hanging a mirror above a piece of furniture (like a console table or fireplace mantel) is that the mirror should be about two-thirds the width of the furniture below it. Also, ensure there’s adequate vertical space—don’t hang it too high or too low.
Consider the mirror’s height in relation to the room. A general guideline for hanging a mirror on a wall without furniture beneath it is to have the center of the mirror at eye level, typically around 57-60 inches from the floor. This ensures comfortable viewing for most people.
Shape and Style

Mirrors come in countless shapes and frame styles:
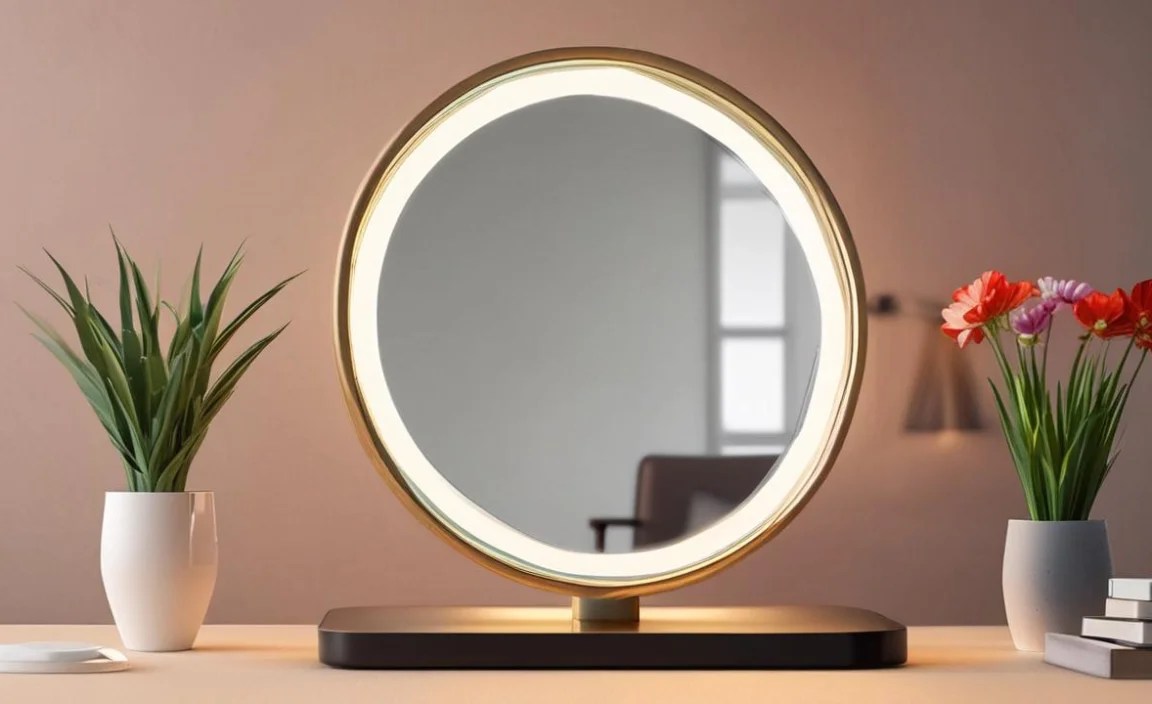
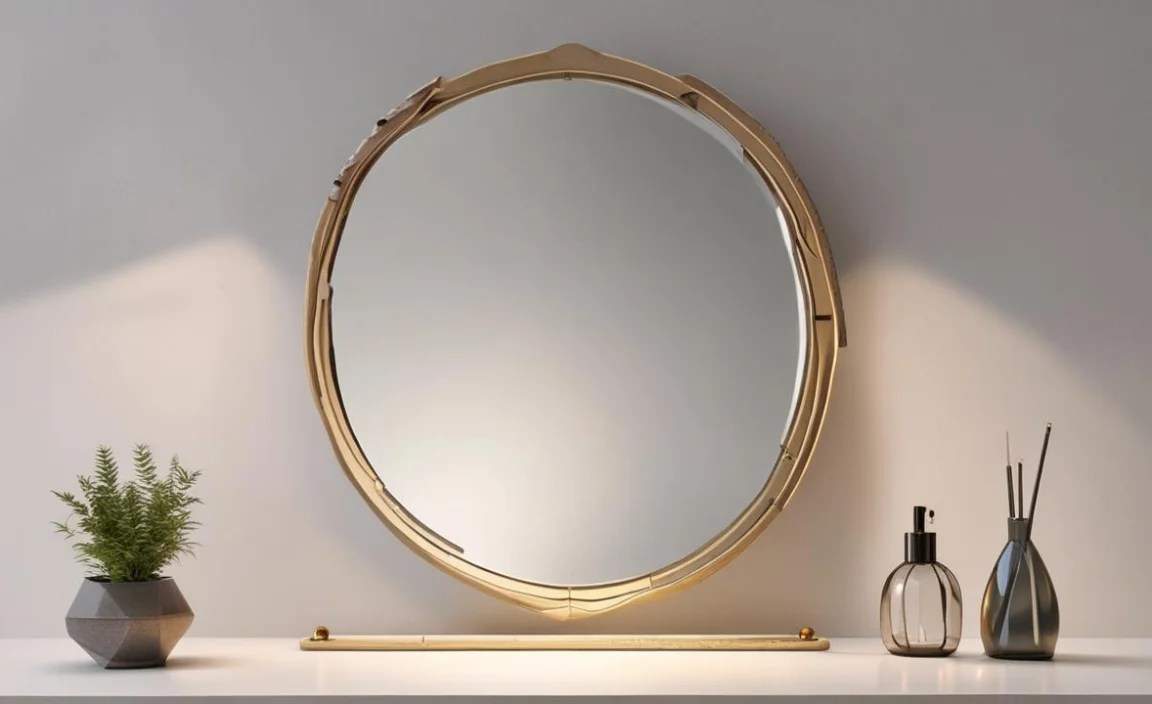
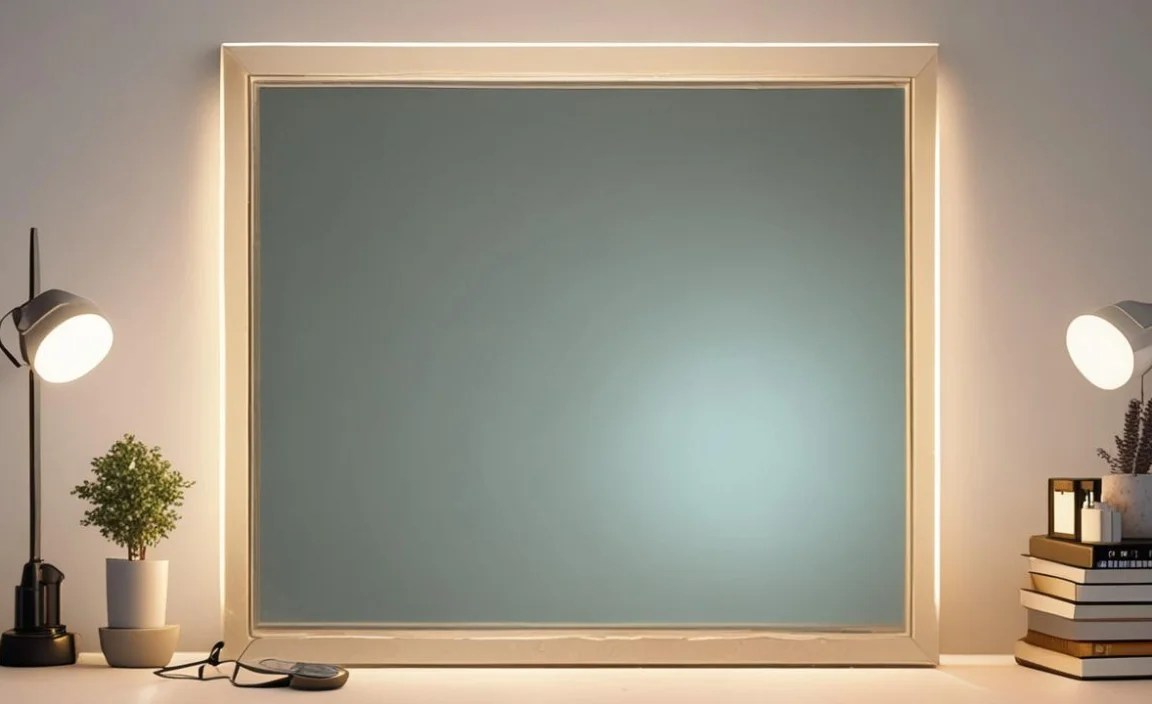
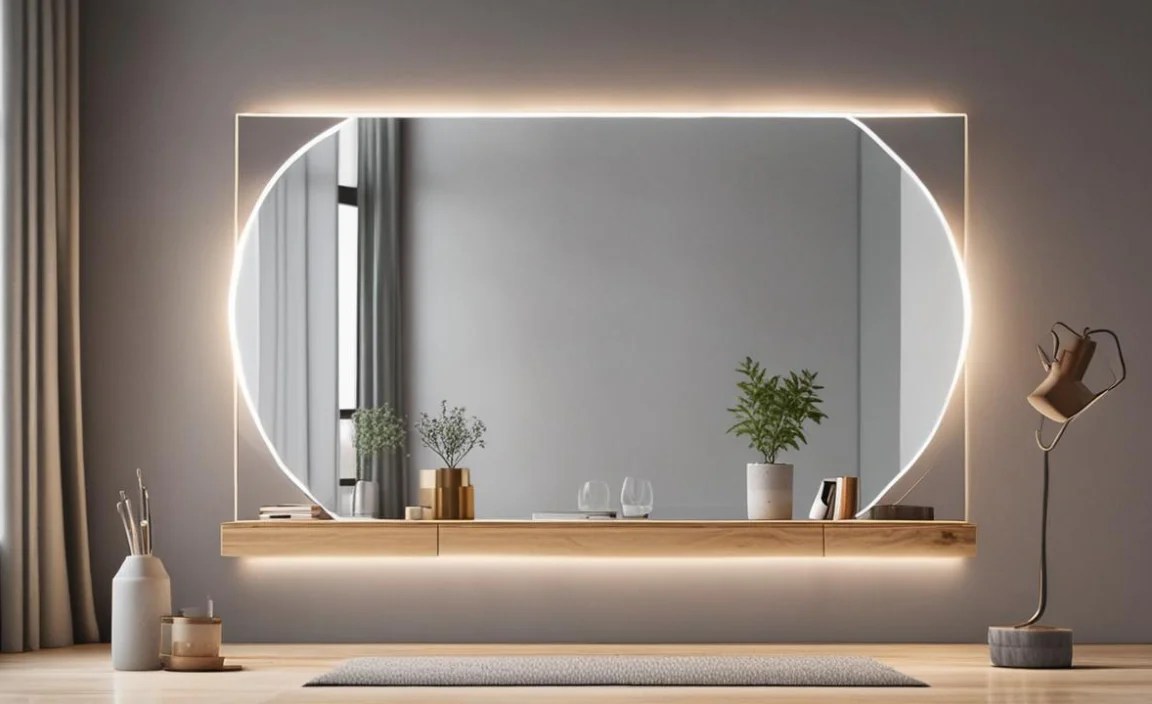
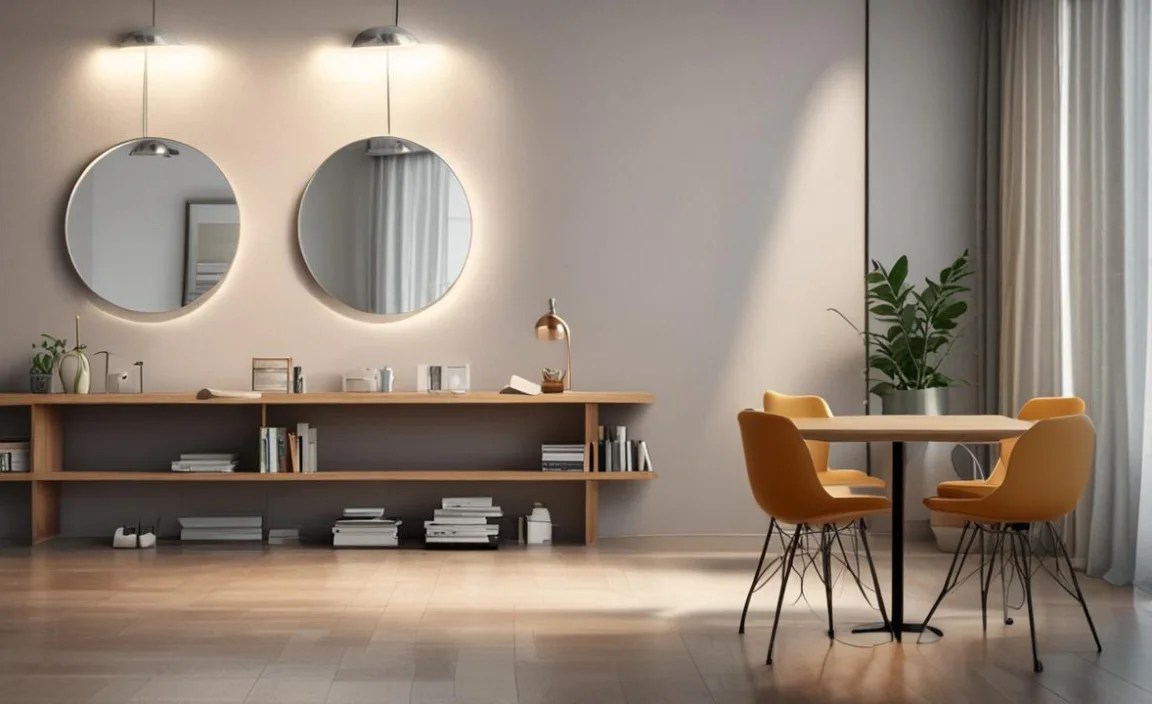
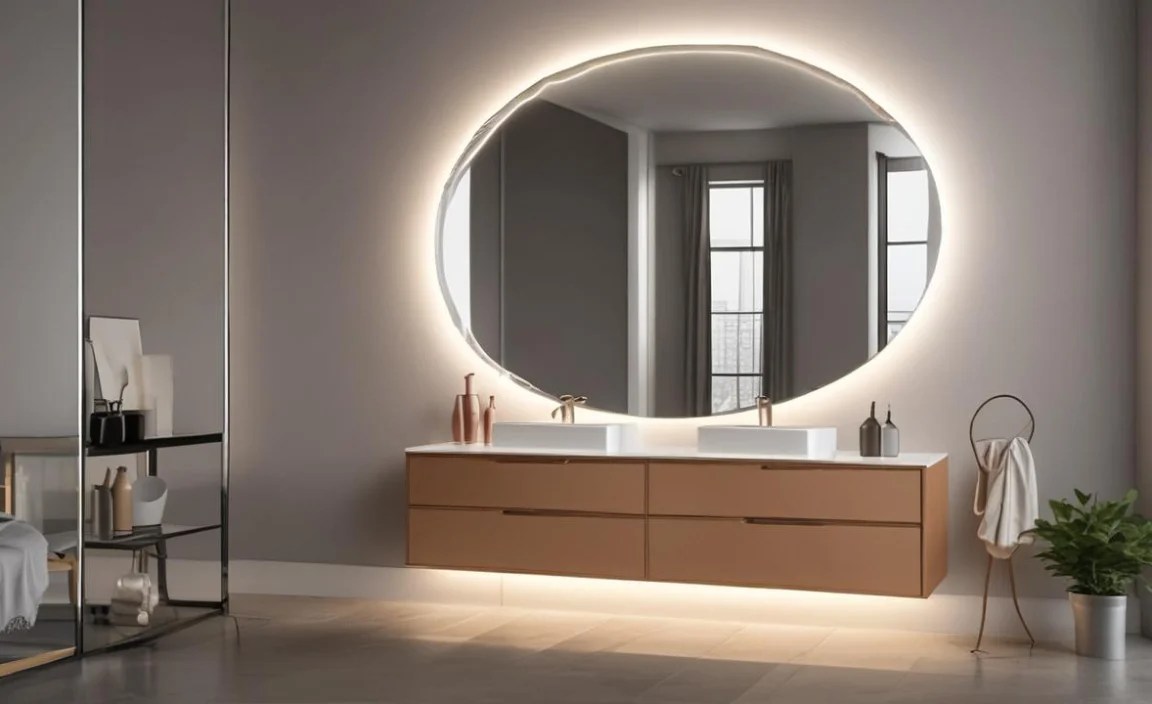
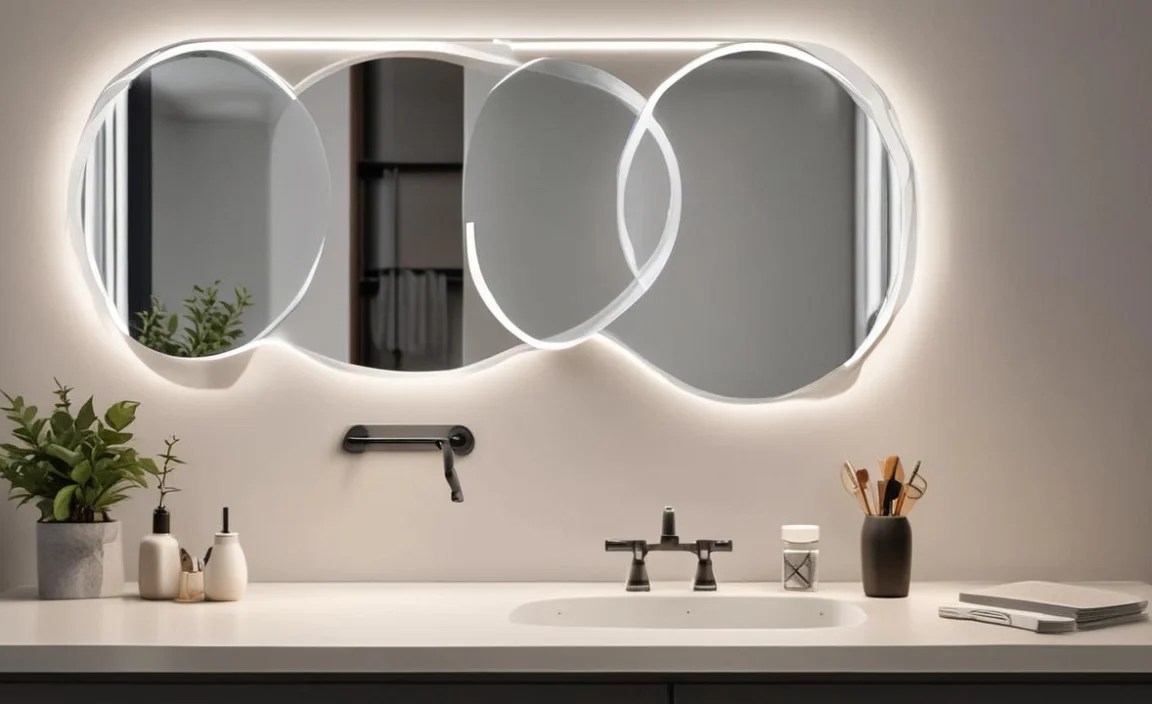
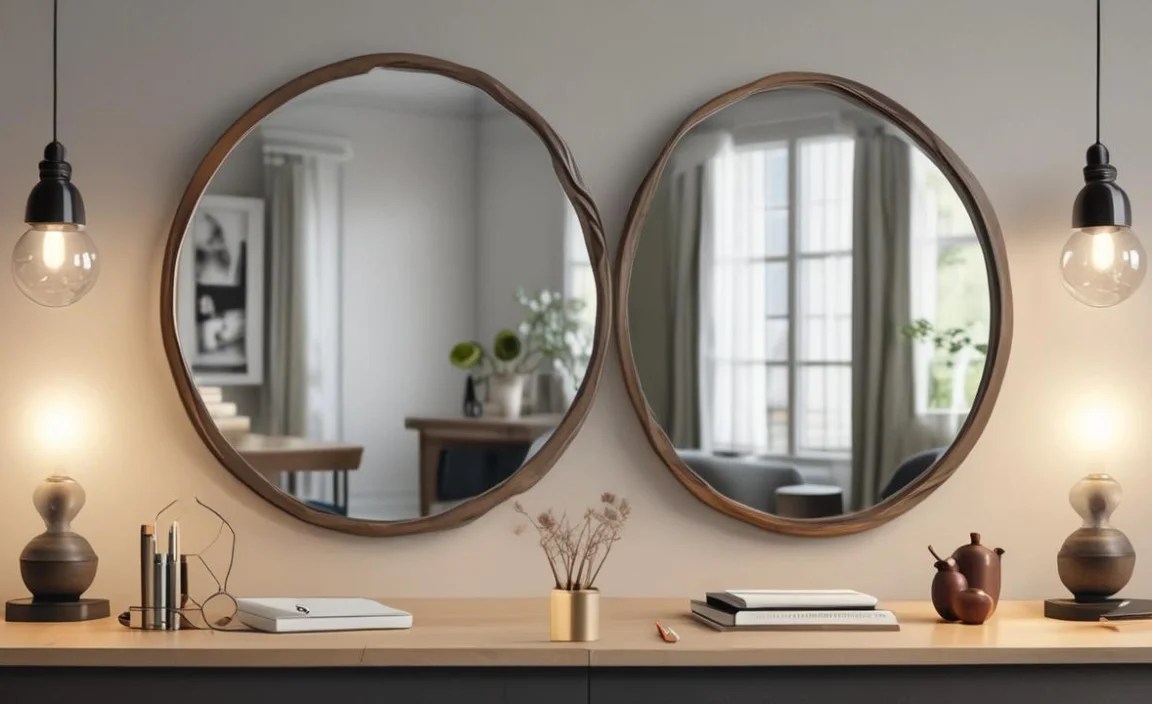
- Shapes: Round, oval, rectangular, square, arched, sunburst, freeform. Choose a shape that complements your existing decor. A round mirror can soften a room with many straight lines, while a rectangular mirror offers a classic look.
- Frames: Materials range from ornate carved wood and polished metal to minimalist frameless designs. The frame should either match or artfully contrast with your furniture and wall color. A frameless mirror offers a modern, sleek appearance and is easier to clean.
Mirror Installation: Safety First!

Hanging a mirror, especially a large or heavy one, requires attention to detail and safety. Incorrect installation can lead to damage or injury. Here’s a breakdown of important considerations:
Assessing the Wall Type
Different walls require different mounting methods. Knowing your wall type is the first step to choosing the right hardware.
Common Wall Types:
- Drywall: The most common interior wall material. It’s relatively soft and requires anchors for hanging heavier items.
- Plaster: Older homes may have plaster walls, which are harder and more brittle than drywall. Special anchors or drilling into studs are often necessary.
- Concrete/Masonry: These walls (found in basements or exterior walls) are very strong but require masonry drill bits and anchors.
- Wood Paneling: Requires screws or nails driven directly into the wood or studs.
Choosing the Right Hanging Hardware
The weight of the mirror dictates the type of hardware needed. Always check the weight rating of your hardware and compare it to the mirror’s weight.
Essential Hardware Types:
- Studs: For heavy mirrors, the most secure method is to screw directly into wall studs. Use a stud finder to locate them.
- Picture Hanging Hooks: For lighter mirrors. They come in various weight capacities.
- Toggle Bolts: These are good for drywall when you can’t find a stud. They expand behind the drywall for a strong hold.
- Molly Bolts (Expansion Anchors): Similar to toggle bolts, they expand behind the drywall to distribute weight.
- Concealed Hanging Systems (French Cleats): These metal strips provide a very secure and often level hanging solution for heavy mirrors. One piece attaches to the wall, and the other to the mirror, and they interlock.
For guidance on finding studs, the U.S. Department of Energy offers helpful resources on home energy efficiency, which often includes information on wall construction and how to find structural elements like studs: Energy Saver – Home Energy’s Role in Greenhouse Gas Emissions
Step-by-Step Hanging Guide
Here’s a general process for hanging a mirror. Adapt it based on your mirror’s weight and your wall type:
- Determine Mirror Placement: Decide exactly where you want the mirror. Use a level to mark the desired top or center line on the wall. For mirrors hung above furniture, ensure the bottom edge is 6-10 inches above the furniture.
- Locate Studs (if applicable): Use a stud finder to locate wall studs in your desired hanging area. Mark the stud locations lightly with a pencil.
- Measure and Mark Hardware Points:
- If hanging on studs: Measure the distance between the D-rings or wire attachment points on the back of the mirror. Transfer this measurement to the wall, ensuring your marks align with the studs. The marks should be level with each other.
- If using anchors (and not studs): Measure the same way. You’ll drill holes for the anchors based on the anchor manufacturer’s instructions.
- For French Cleats: Follow the specific instructions for your cleat system, which usually involves leveling one piece on the wall and securely attaching it.
- Drill Pilot Holes (if necessary): If screwing into studs or using certain anchors, drill pilot holes slightly smaller than your screws at the marked locations. For masonry, use a masonry bit appropriate for the anchor size.
- Install Hardware:
- Screws into studs: Drive sturdy screws into the pilot holes. Leave enough of the screw head exposed to catch the D-ring or wire.
- Anchors: Insert toggles or molly bolts into the drilled holes and secure them according to their instructions. Then, attach screws to the anchors.
- French Cleat: Securely fasten the wall-mounted piece of the cleat to the wall, ensuring it’s level.
- Hang the Mirror: Carefully lift the mirror and align its D-rings or wire with the hardware on the wall. Gently lower the mirror into place. For French cleats, lift the mirror and slide it down so the mirror-side cleat engages with the wall-side cleat.
- Check for Levelness and Security: Use a level to ensure the mirror is straight. Gently tug on the mirror (or the wall where it’s hung) to confirm it feels secure.
Special Considerations for Large Mirrors
Large mirrors present unique challenges. It’s highly recommended to have at least two people to lift and hang them. If your mirror is very large or heavy, consider professional installation or using a robust French cleat system. Some very large mirrors are designed to be leaned against a wall rather than hung.
Mirror Care and Maintenance
Keeping your mirrors clean and clear enhances their beauty and longevity. Simple, regular maintenance can prevent damage.
Cleaning Solutions
You don’t need harsh chemicals to get a sparkling mirror. Often, simple solutions work best.
Recommended Cleaning Mixes:
- Water and White Vinegar: Mix equal parts distilled water and white vinegar in a spray bottle. Vinegar helps cut through grime and leaves a streak-free shine. Use distilled water to prevent mineral deposits from tap water causing spots.
- Water and Rubbing Alcohol: For tougher spots or a quick clean, mix one part rubbing alcohol with three parts water. Alcohol evaporates quickly, reducing streaks.
- Mild Dish Soap and Water: For very greasy smudges, a tiny drop of mild dish soap in water can be effective. Rinse thoroughly to remove residue.
Cleaning Techniques

The right technique prevents scratches and streaks.
- Spray Sparingly: Don’t drench the mirror. Spray your cleaning solution onto a soft cloth, not directly onto the mirror surface, especially near the edges where liquid can seep behind the backing and cause damage.
- Wipe in a Pattern: Use a clean, lint-free microfiber cloth. Wipe in a consistent motion, either horizontally or vertically, or in a figure-eight pattern.
- Dry Immediately: Use a separate, dry microfiber cloth to buff the mirror dry. This is crucial for preventing water spots and streaks.
- Clean Edges: Pay attention to the edges and corners where dust and grime can accumulate. A cotton swab can be useful for these tight spots.
What to Avoid

Certain substances and tools can damage mirrors:
- Abrasive Cleaners: Powders, scouring pads, and steel wool will scratch the glass surface.
- Ammonia-Based Cleaners (on some mirrors): While good for some glass, if a mirror has a special coating or is an antique, ammonia can sometimes damage the silvering. Always test in an inconspicuous area first.
- Paper Towels: Many paper towels, especially cheaper ones, leave behind lint and can be slightly abrasive. Microfiber is much better.
- Cleaning Directly on the Frame: If your mirror has a frame, be careful not to spray cleaning solution onto it, especially if it’s wood, metal, or plaster, as moisture can damage the finish.
Understanding Mirror Quality and Longevity

The quality of a mirror significantly impacts its appearance and how long it lasts. Several factors contribute to mirror quality. The U.S. General Services Administration (GSA) provides standards for building materials, which can offer insight into specifications for quality components, including glass and reflective surfaces. While not directly for homeowners, their standards highlight rigorous testing and material requirements that define high-quality products: GSA Design and Construction Standards
The Role of the Silvering Process

The way the reflective layer is applied is critical. A high-quality silvering process involves multiple layers of protection to prevent tarnishing and degradation. This includes a copper layer to seal the silver and then multiple coats of paint. Cheaper mirrors might have fewer protective layers, making them more prone to spotting or detaching from the glass over time.
Edge Treatments
The edges of a mirror can have different finishes:
- Polished Edge: A smooth, slightly rounded, and shiny edge.
- Beveled Edge: An angled, decorative cut along the edge that catches light and adds a touch of elegance. The width of the bevel (e.g., 1/4 inch, 1/2 inch) affects the visual impact.
- Sealed Edge: Edges that are specifically treated to prevent moisture from reaching the reflective backing. This is crucial for mirrors in humid environments like bathrooms.
Longevity Factors
How long a mirror lasts depends on:
- Environmental Conditions: High humidity, extreme temperature changes, and direct sunlight can degrade mirror backing over time.
- Quality of Materials: Higher-quality glass, backing, and protective coatings contribute to greater longevity.
- Installation: Proper installation that doesn’t stress the glass or expose the edges to moisture is essential.
- Care: Regular, gentle cleaning prevents build-up that can damage the surface or edges.
Mirror Hardware and Accessories
Beyond the mirror itself, specific hardware is often needed for installation and display. Understanding these accessories ensures a secure and polished look.
Types of Mirror Hangers

- D-rings and Wires: Common for framed mirrors. D-rings are attached to the frame, and a wire is strung between them. The wire’s strength should match the mirror’s weight.
- Z-Clips: A simple system where one clip attaches to the wall and another to the mirror, allowing them to slide and lock together securely.
- Keyhole Hangers: Small metal plates with keyhole-shaped slots that screw onto the back of the mirror frame. Screws are driven into the wall, and the mirror hangs by fitting the screw heads into the larger part of the keyhole slot and sliding down to the narrower part.
Specialty Mirror Mounts
For certain applications, specialized mounts are used:
- Suction Cup Hangers: Temporary solutions for smooth surfaces like shower walls or cabinet doors. Their holding power can vary and should not be relied upon for heavy mirrors.
- Adhesive Mirror Mounts: Double-sided tape specifically designed for mirrors. Best for smaller, lighter mirrors and should only be used on perfectly smooth, clean surfaces. Follow manufacturer instructions precisely for best results.
Mirror and Electrical Safety

While mirrors themselves are not electrical items, their placement and installation can intersect with electrical safety, especially with lighted mirrors or those near electrical outlets and fixtures.
