
Have you ever noticed a small hole in your bathroom wall? It can be annoying and a bit embarrassing. You might wonder how it got there. Maybe it was a careless bump from a towel rack or a restless doorknob. Whatever the cause, knowing how to patch a hole in the bathroom wall can save you time and stress.
Here’s a fun fact: even a tiny hole can let in moisture, which may lead to bigger problems later. Imagine the surprise when you find a more extensive damage caused by that little hole! Who wants a bigger repair job, right?
Patching a hole not only keeps your space looking nice, but it also protects it. Ready to learn how to take care of that pesky hole? Let’s dive into the simple steps you can follow to fix it quickly and easily!
How To Patch A Hole In Bathroom Wall: Step-By-Step Guide
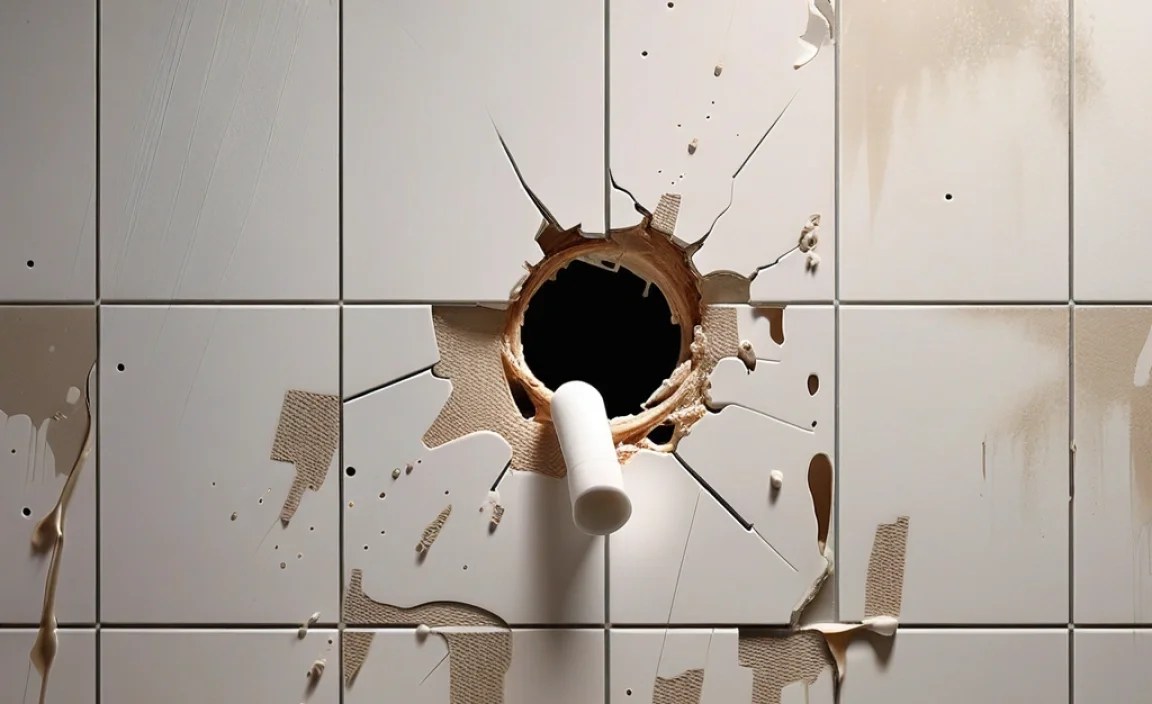
Patch Hole in Bathroom Wall
Fixing a hole in your bathroom wall can be simple and rewarding. Do you have a tiny gap or a big punch? First, gather your tools, like spackling paste and a putty knife. Clean the area well. Next, apply the paste and smooth it out. Once it’s dry, sand it down gently for a seamless finish. Did you know this can save you money on repairs? A well-patched wall not only looks great but also protects against moisture.
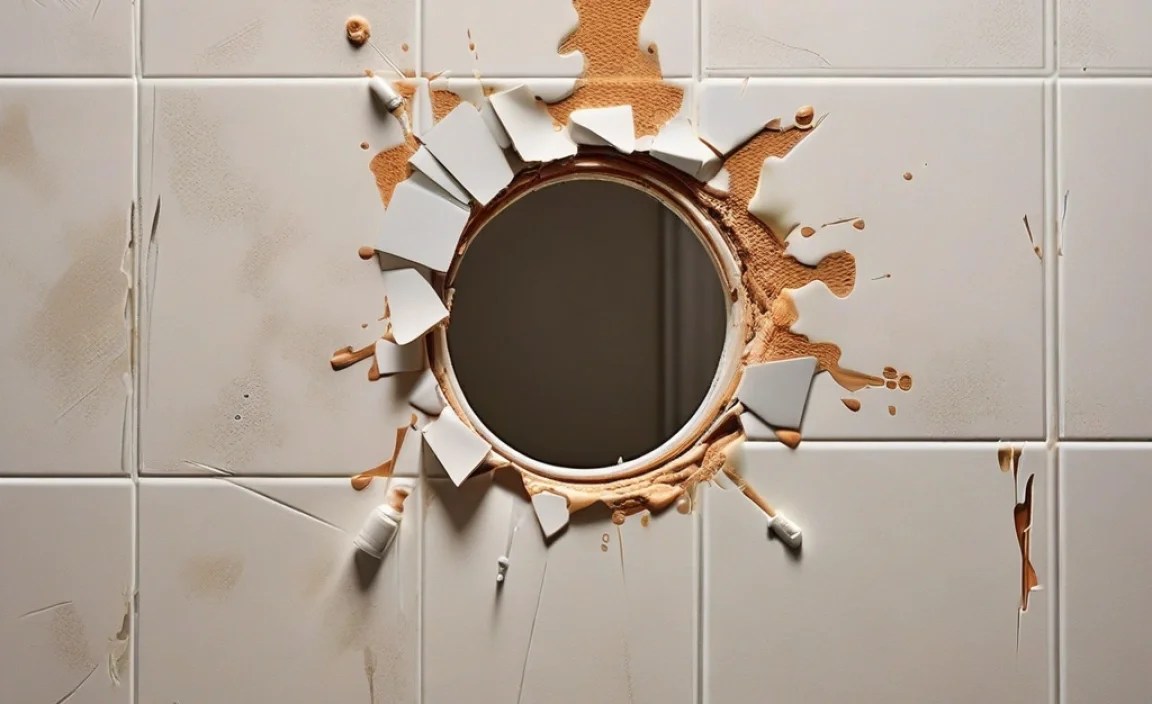
Assessing the Damage
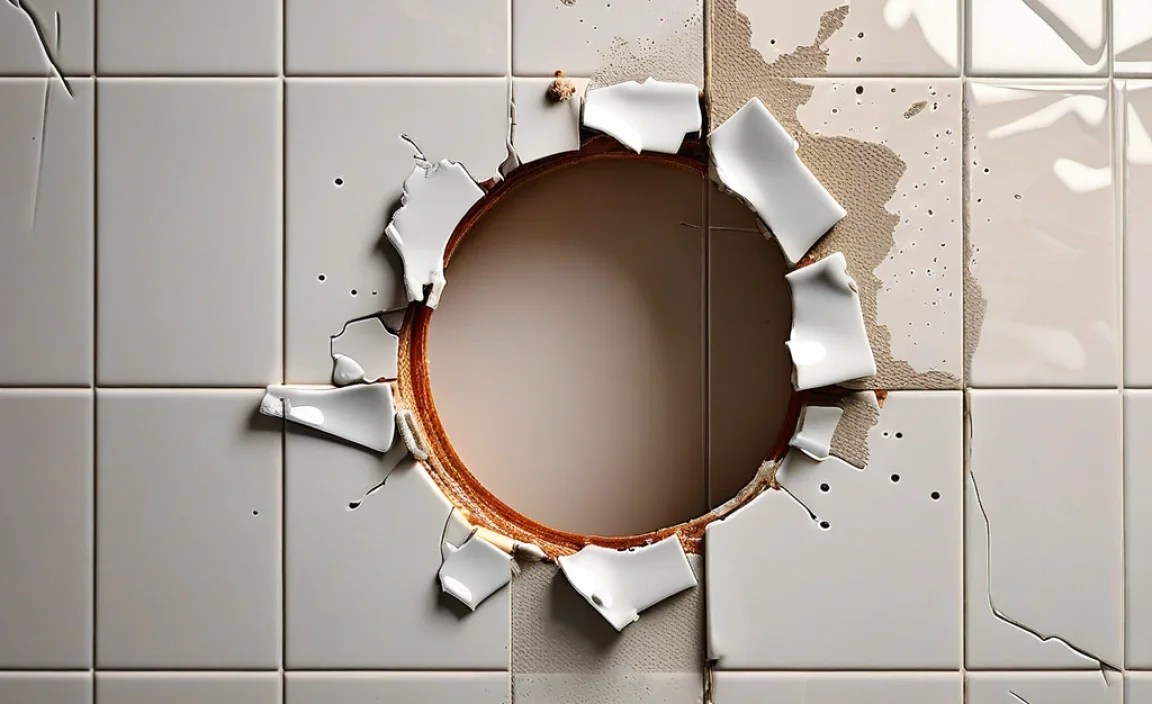
Identify the type and size of the hole.. Determine if there is any underlying plumbing or electrical issues..
Start by looking closely at the hole. What shape is it? How big is it? This helps you know what supplies you might need. Next, check behind the wall. Are pipes or wires damaged? They can cause bigger problems later. Look for moisture or strange sounds.
- Identify the hole size: small, medium, or large.
- Examine for leaks from plumbing.
- Check for loose wires or electrical issues.
Getting this right will make fixing the hole easier!
What should I do if there is a leak?
If you find a leak, turn off the water supply immediately. This will prevent more damage while you patch the hole.
Gathering Necessary Tools and Materials
List essential tools needed for the repair (e.g., putty knife, sandpaper, etc.).. Specify materials required (e.g., patching compound, mesh tape, primer)..
To fix a hole in your bathroom wall, gather some important tools and materials. You will need a putty knife, sandpaper, and a paintbrush. For the repair, collect patching compound, mesh tape, and primer. Here’s a handy list:
- Putty knife
- Sandpaper
- Paintbrush
- Patching compound
- Mesh tape
- Primer
Having everything ready makes it easier. Start your repair with the right tools!
What tools do I need to patch a hole in the bathroom wall?
You need a putty knife, sandpaper, and a paintbrush for patching holes.
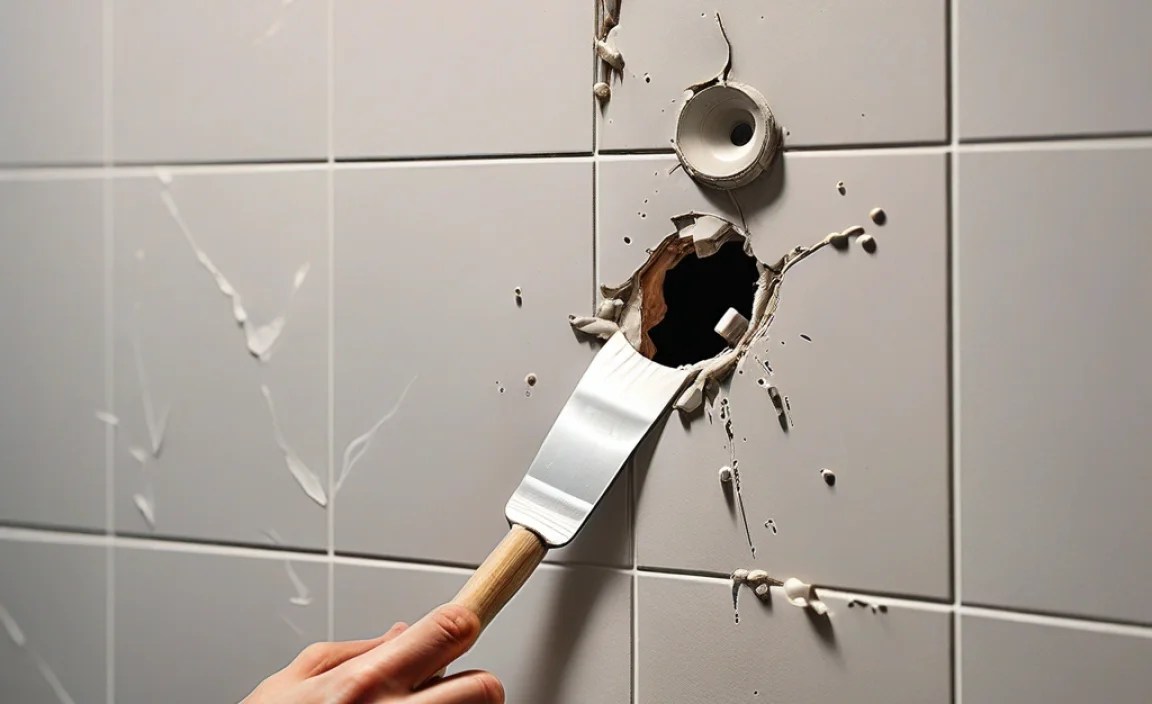
Preparing the Area for Repair
Clear the repair area of any loose debris and dust.. Protect surrounding surfaces with painter’s tape or drop cloths..
Before fixing a hole in the wall, make sure the area is clean. Remove any dirt, dust, or loose pieces. This helps the patch stick better. Next, protect the nearby areas. Use painter’s tape or drop cloths to avoid any mess. This keeps your bathroom tidy while you work. A clear, protected space makes the job easier and neater.
What should you do before patching a hole?
Start by cleaning the area and covering surfaces with tape or cloths. This way, you’ll have a smooth and tidy workspace.
Did you know that a clean area can boost your repair success by up to 50%? Keeping things neat saves time and makes repairs look great!
Patching the Hole
Stepbystep instructions for applying the patching compound.. Tips for using mesh tape and compound effectively..
To fix a hole, follow these steps. First, clean the area around the hole. Next, cut a piece of mesh tape slightly larger than the hole. Press the tape over the hole firmly.
Then, mix your patching compound until it’s smooth. Apply the compound over the tape using a putty knife. Spread it evenly and let it dry. Repeat if needed for a smooth finish.
- Always press the tape down well to avoid bubbles.
- Use a clean knife to spread compound smoothly.
- Sand gently after it dries for a flat surface.
How long does the patching compound take to dry?
The drying time can vary, but it usually takes 24 hours for a solid patch. Remember, the type of compound may change this time.
Finishing Touches
Guidelines for sanding the patched area smooth.. Recommendations for priming and painting over the repair..
After patching the hole, it’s time for some finishing touches. First, sanding is key. Lightly sand the patched area until it feels smooth. This helps it blend in. Use fine sandpaper for the best results. Next, it’s time to prime and paint. Choose a quality primer to cover the patch. Let it dry before adding your final coat of paint. This will ensure a neat and polished look.
How do I smooth the patched area?
To smooth the patched area, use fine sandpaper and gently sand until it feels even. Always sand lightly to avoid damaging the surrounding wall.
Tips for priming and painting:
- Use a quality primer to help with adhesion.
- Choose paint that matches your wall color.
- Allow each coat to dry fully before applying another.
Preventing Future Damage
Discuss moistureresistant materials and their benefits.. Tips on regular maintenance and inspection to avoid future holes..
Using moisture-resistant materials is a smart way to keep your bathroom walls safe. They help stop humidity from causing damage, which means fewer repairs and more time for fun. Think of them as your wall’s superhero. Regular maintenance, like checking for leaks and cleaning mold, is also key. A quick look every few months can save you from bigger problems. Remember, a happy wall means a happy bathroom!
| Material | Benefit |
|---|---|
| Moisture-resistant drywall | Prevents mold growth |
| Waterproof paint | Acts as a shield against moisture |
| Vinyl wallpaper | Easy to clean and maintain |
Conclusion
In conclusion, patching a hole in your bathroom wall is an easy task. You can gather your tools and materials to get started. Remember to clean the area first, apply the patch, and paint it afterward. If you want more tips or detailed steps, check out other helpful guides. You’ve got this!
FAQs
What Materials Do I Need To Patch A Hole In My Bathroom Wall Effectively?
To patch a hole in your bathroom wall, you need a few simple materials. First, get some wall putty or spackle. You will also need a putty knife to spread it. Don’t forget sandpaper to smooth the area after it dries. Finally, paint that matches your wall color will help make it look nice again.
How Do I Properly Prepare The Area Around The Hole Before Patching It?
First, clean the area around the hole. You can use a brush or a cloth to remove dirt and dust. Next, make sure the edges of the hole are smooth. You might need a scraper for this. Finally, let it dry completely before you start patching. This way, the patch will stick better!
What Is The Best Technique For Applying Joint Compound To Ensure A Smooth Finish?
To get a smooth finish when using joint compound, start with a clean surface. Use a wide putty knife to spread the compound. Apply it in thin layers, and let each layer dry completely. Sand it lightly between layers for a nice feel. Finally, finish with a light touch of sand for extra smoothness.
How Long Should I Wait For The Patch To Dry Before Painting Over It?
You should wait for the patch to dry completely before painting. This usually takes about 24 hours. Make sure it feels dry and not sticky. If you’re unsure, wait a little longer. It’s better to be safe than sorry!
Are There Specific Considerations I Should Keep In Mind For Patching Holes In A Bathroom Due To Moisture And Humidity?
When patching holes in a bathroom, you must be careful about moisture. Use special materials that resist water. Make sure to clean the area well before you start. You should also allow the patch to dry completely. This will help stop mold from growing.
