
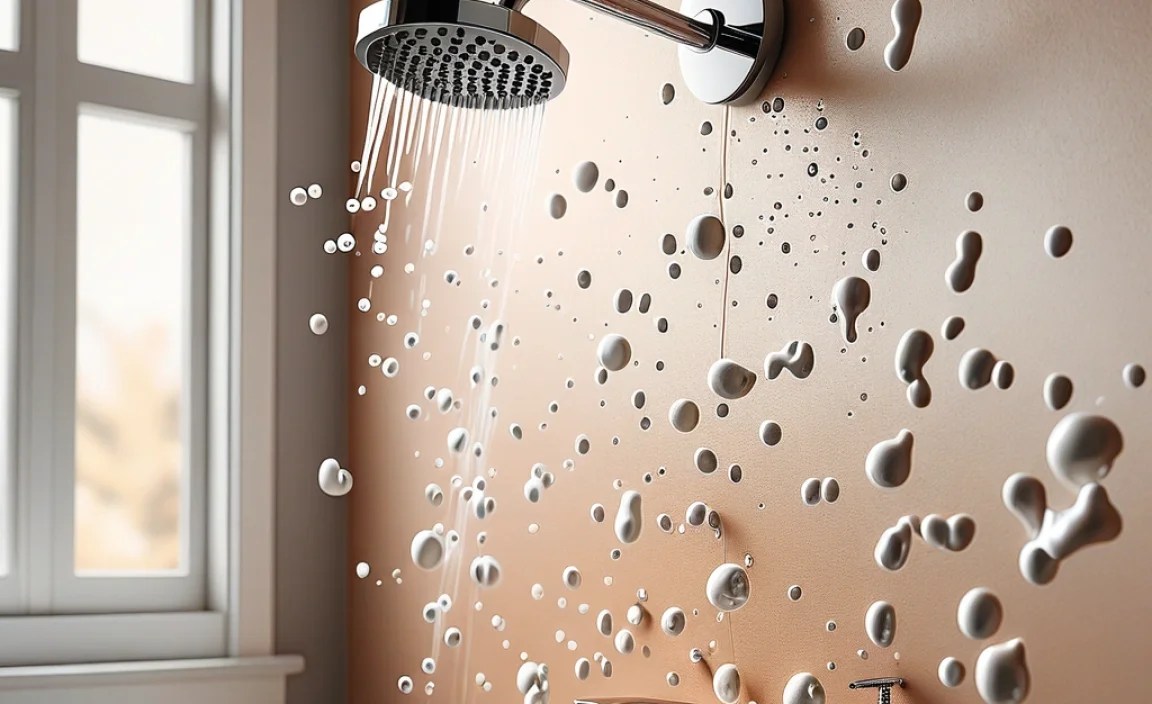
Have you ever noticed bubbles forming on your bathroom walls? It can be quite frustrating. These bubbles don’t just look odd; they also signal that something is wrong. You may wonder how they appeared in the first place. Well, it often happens due to moisture trapped beneath the paint or wallpaper.
Imagine stepping into your favorite room, only to find unsightly bumps staring back at you. It’s not a pleasant sight, is it? But don’t worry! You can fix bathroom wall bubbling with some simple steps. With a little care, you can restore your walls to their former beauty.
Did you know that bathroom humidity can create a perfect storm for peeling paint? Moisture builds up and causes bubbles to form. Understanding why this happens is the first step to fixing it. Let’s explore how to tackle this problem so that your bathroom looks its best once again!
How To Fix Bathroom Wall Bubbling: Simple Solutions Explained
Fixing Bathroom Wall Bubbling
Bathroom wall bubbling can be annoying. It often happens when moisture builds up behind the paint. First, find the source of the water. This could be a leak or poor ventilation. Once you fix the water issue, you can tackle the bubbles. Gently scrape them away and let the area dry completely. After that, apply a high-quality primer and repaint for a smooth finish. Remember, keeping your bathroom dry can prevent future bubbles.
Understanding Bathroom Wall Bubbling
Definition and causes of wall bubbling. Common signs to identify bubbling issues.
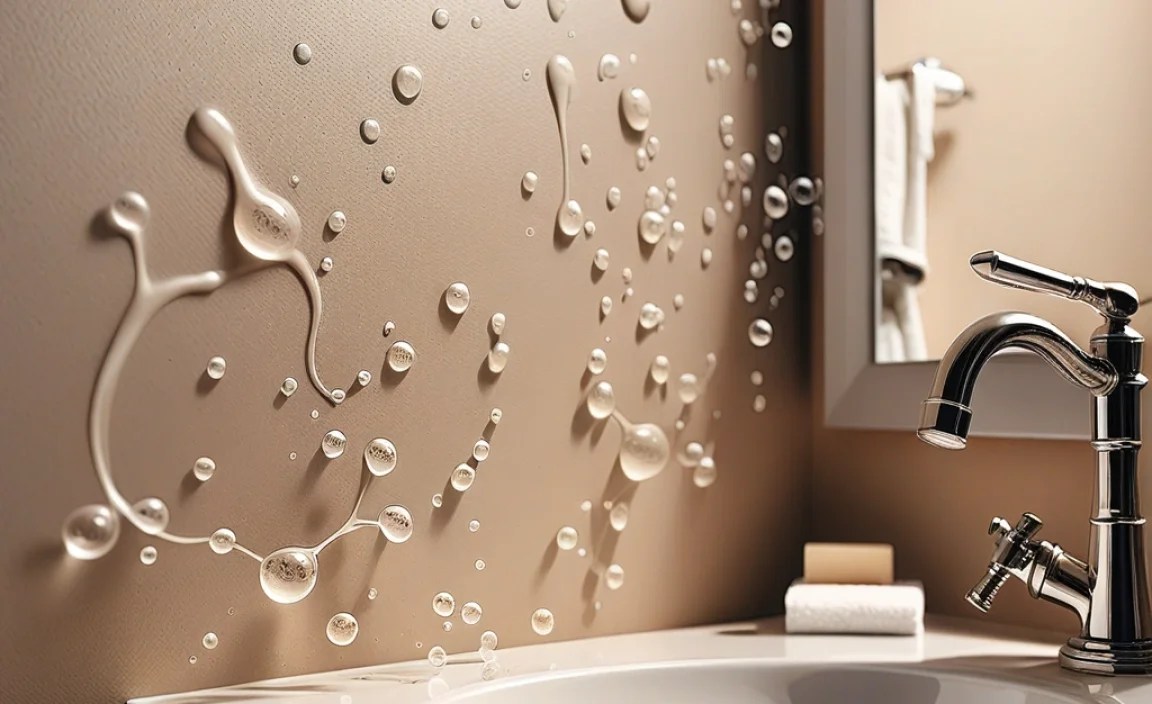
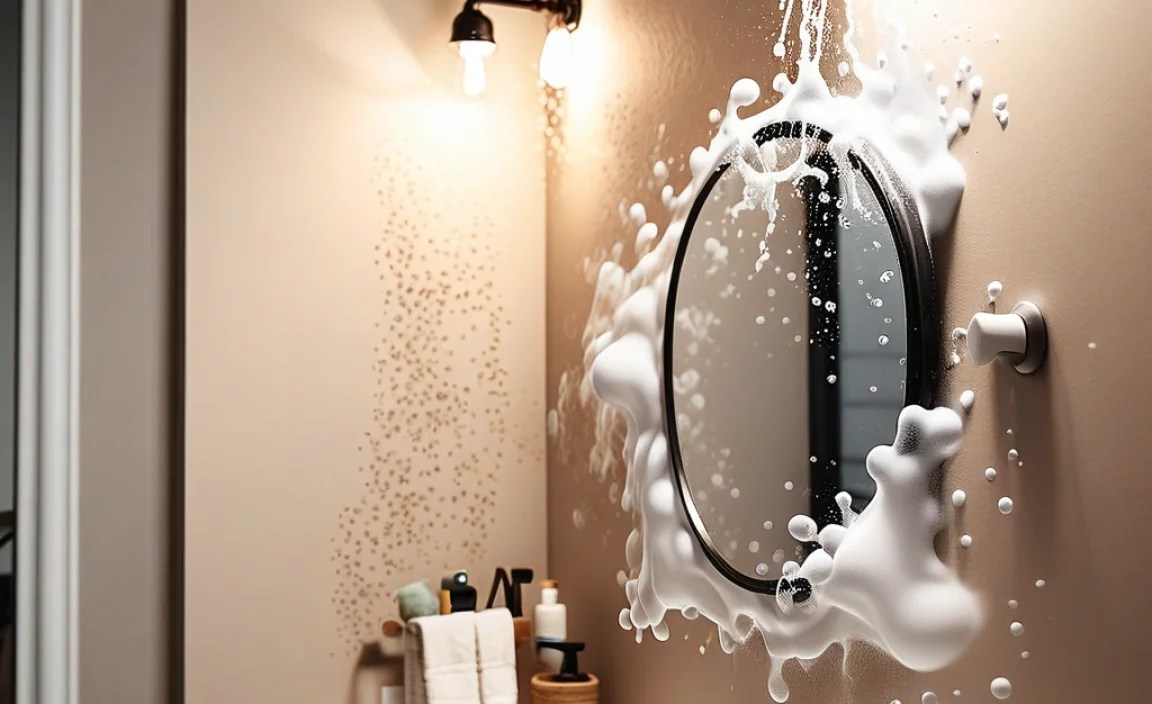
Wall bubbling in your bathroom is like a bad hair day for your walls. It happens when moisture builds up under your paint or wallpaper, causing it to swell. Common causes include leaks, high humidity, or poor ventilation. You might see bubbling, peeling, or blisters when this happens. It’s like your wall is trying to say, “Help! I need air!” Check out the signs in the table below:
| Signs of Wall Bubbling | What It Means |
|---|---|
| Bubbles or Blisters | Moisture is trapped underneath. |
| Peeling Paint | Paint is losing its grip. |
| Dark Spots | Possible mold growth! |
Identifying these issues early can save time and money in repairs. So, if your walls are looking a little “puffy,” it might be time for a fix!
Causes of Bathroom Wall Bubbling

Moisture and humidity factors. Poor paint application and incompatible materials.
Bathroom wall bubbling can be a headache. Two main culprits are moisture and poor paint application. High humidity levels invite moisture to sneak into walls. If walls get too cozy with water, bubbles form. Poor paint jobs make things worse. Think of mismatched materials throwing a party where no one gets along—chaos ensues! The result? Bubbles that could win a game of leapfrog!
| Cause | Description |
|---|---|
| Moisture | Too much humidity lets water invade the paint. |
| Poor Application | Using the wrong tools or techniques leads to bubbling. |
| Incompatible Materials | Different materials don’t always like to play nice. |
Tools and Materials Needed for Repair
List of essential tools for fixing bubbling. Recommended materials for effective repair.
To repair a bubbling bathroom wall, you’ll need some key tools and materials. These items will make the job easier and help get great results. Here’s what you should gather:
- Putty knife
- Sandpaper
- Caulk gun
- Paintbrush or roller
- Primer
- Waterproof paint
Having these will prepare you for your repair. Make sure to choose materials that are strong and waterproof. This will help the wall stay smooth and avoid future bubbling!
What tools do I need to fix my bathroom wall?
You will need a putty knife to scrape off the bubbling, sandpaper to smooth the area, and a caulk gun for sealing. Don’t forget waterproof paint to protect your wall!
Step-by-Step Guide to Fix Bathroom Wall Bubbling
Preparation: Assessing the damage and gathering supplies. Removal of bubbling paint or wallpaper. Treatment of underlying issues (moisture and mold).
First, check your bathroom walls for bubbling. Look closely to see how bad it is. Gather your supplies like a putty knife, paint, and a good sense of humor. Next, use the putty knife to carefully scrape off the bubbly paint or wallpaper. Don’t worry, the wall won’t bite! Now, take a peek behind the wall. If there’s moisture or mold, it’s time for a little extra TLC. Clean those areas to keep your bathroom safe and dry!
| Step | Action |
|---|---|
| 1 | Assess Damage |
| 2 | Gather Supplies |
| 3 | Remove Bubbling Paint |
| 4 | Treat Moisture and Mold |
Repairing and Repainting the Wall
Patching the damaged area: techniques and tips. Choosing the right paint for bathrooms.
Patching a bubbling bathroom wall needs care. Start by scraping the damaged area until it’s smooth. Use a filler to level it out. Remember to let it dry completely. When choosing paint, opt for a moisture-resistant type to prevent future bubbles. It’s smart to pick lighter colors for a brighter look.
How can I patch and repaint my bathroom wall?
To fix your bathroom wall, follow these steps:
- Scrape away damaged paint.
- Apply a filler, then smooth it.
- Use moisture-resistant paint.
- Choose a light color for brightness.
With these tips, repairing your wall will be much easier, keeping your bathroom looking fresh!
Preventative Measures to Avoid Future Bubbling
Tips for maintaining bathroom humidity levels. Regular inspection and maintenance of walls.
Keeping bathroom humidity in check is crucial to avoid problems. Use exhaust fans while showering. This helps remove moist air. Open windows when possible for ventilation. Check for leaks regularly. Small drips can lead to bigger issues. Inspect walls for any signs of damage often. Use a dehumidifier if humidity stays high. This keeps your bathroom dry and healthy.
How can I maintain bathroom humidity levels?
Use exhaust fans, open windows, and check for leaks regularly.
Regular Inspection Tips:
- Look for peeling paint.
- Check for mold or mildew.
- Ensure proper ventilation systems work.
When to Call a Professional
Signs that indicate the need for professional help. Cost considerations for hiring a contractor.
Spotting bubbling on your bathroom wall? It’s a sign of trouble! Look out for mold, water stains, or cracks; these red flags hint you need help. If the wall is peeling like an overripe banana, it’s time to call a pro. Also, consider costs here—the average repair might run between $300 to $800. Here’s a quick look at some signs and costs:
| Signs | Cost Estimate |
|---|---|
| Mold Growth | $400-$800 |
| Water Stains | $300-$600 |
| Cracks | $250-$500 |
Don’t tackle it alone unless you want to wear a superhero cape! If things look overwhelming, call a contractor who can save the day.
Conclusion
In summary, fixing bathroom wall bubbling is important to keep your space safe and beautiful. You should first find the source of moisture, then repair the wall. Don’t forget to repaint for a fresh look. Remember, staying on top of this problem helps prevent bigger issues. For more tips and guidance, check out related articles!
FAQs
Sure! Here Are Five Related Questions On The Topic Of Fixing Bathroom Wall Bubbling:
Bubbling on bathroom walls usually happens because of water damage. First, you need to find out what is causing the bubbles. It might be leaking pipes or too much moisture. Once you know, you can fix the problem and let the wall dry. Then, you can paint over the bubbles to make it look nice again.
Sure! Please ask your question, and I’ll be happy to help you with a short answer.
What Are The Common Causes Of Bubbling Paint Or Wallpaper On Bathroom Walls?
Bubbling paint or wallpaper in bathrooms usually happens because of moisture. When steam from showers gets trapped, it can make the walls wet. This moisture can cause the paint or wallpaper to lift. Sometimes, old paint or wallpaper doesn’t stick well anymore. To fix this, we should keep the bathroom dry and use a fan.
How Can I Properly Prepare The Surface Before Fixing Bubbling On Bathroom Walls?
To fix bubbling on bathroom walls, start by removing any loose paint or bubbling. You can use a scraper to gently lift it off. Next, wash the wall with soap and water to clean it. After it dries, sand the area so it’s smooth. Finally, wipe away dust with a damp cloth before you start fixing the bubbles.
What Materials And Tools Do I Need To Repair Bubbling On A Bathroom Wall Effectively?
To fix bubbling on a bathroom wall, you need some tools and materials. Get a putty knife to scrape off the bubbles. You will also need sandpaper to smooth the surface. Buy paint that matches your wall color and a primer to help it stick. Finally, grab a clean cloth for wiping away dust.
Is It Necessary To Replace The Entire Wall Section If Bubbling Occurs, Or Can It Be Repaired?
If you see bubbles on the wall, you might not need to replace the whole section. Sometimes, we can fix just the bubbled part. This means we scrape off the bubbles and smooth the wall. After that, we can paint it to make it look nice again.
How Can I Prevent Future Bubbling On My Bathroom Walls After Making Repairs?
To stop bubbling on your bathroom walls, make sure the walls are completely dry before you paint. Use a special bathroom paint that fights moisture and mold. Check for leaks in pipes and fix them right away. You can also use a fan or open a window to help dry out the room. Keeping the bathroom well-ventilated helps too!
