
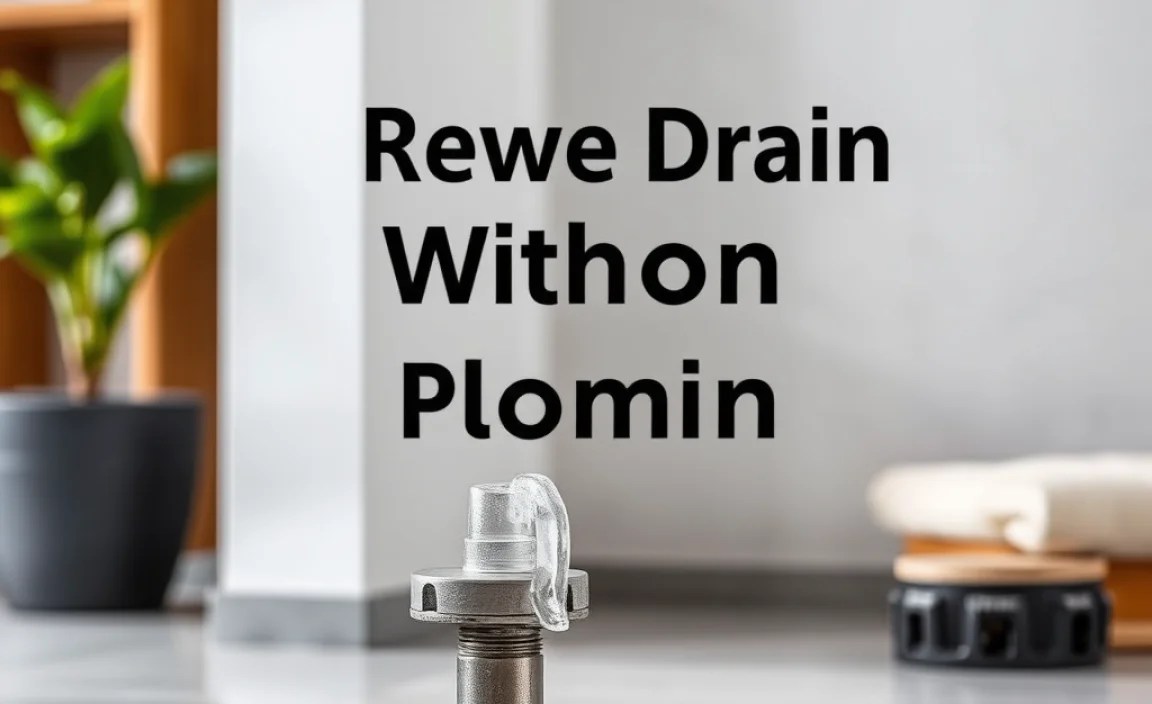
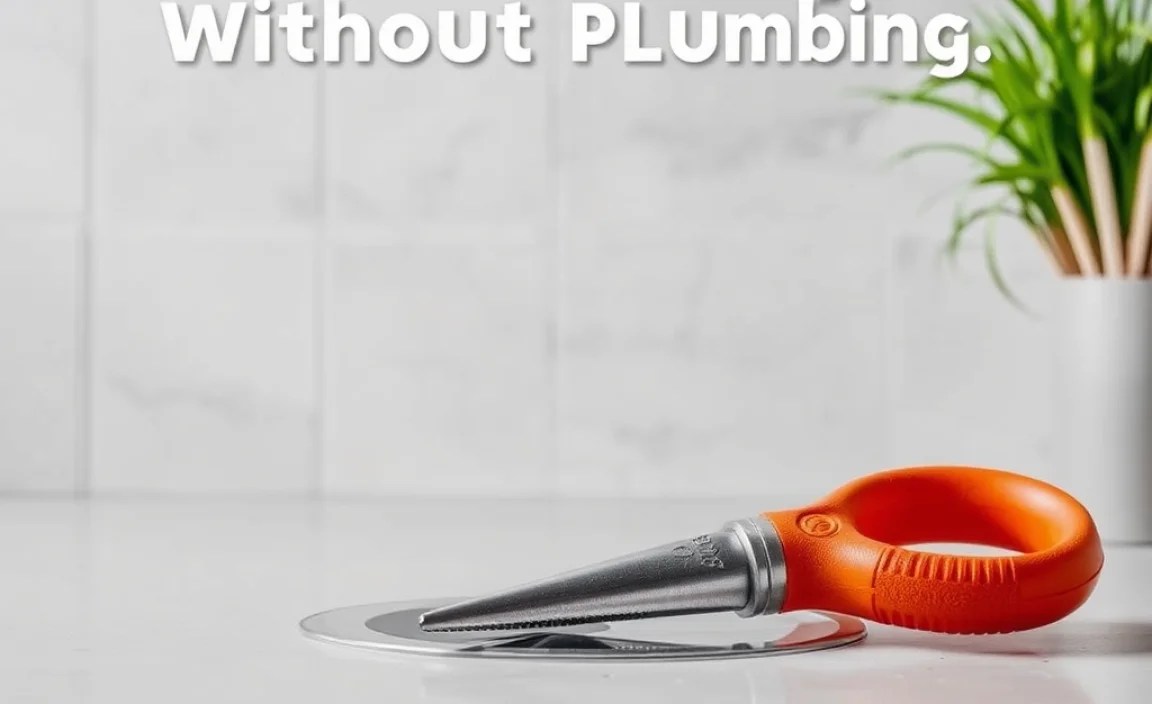
Yes, you can remove a drain without a plumber! This guide provides a beginner-friendly, step-by-step approach to safely and effectively remove sink, tub, or shower drains yourself. We’ll cover common types, necessary tools, and simple techniques to tackle this DIY task confidently.
A clogged or stubborn drain can be a real headache. You might be tempted to call a professional, but what if the issue is simpler? Sometimes, a full drain removal is necessary to fix leaks, replace an old fixture, or clear an impossible clog. Don’t worry, it’s a task many homeowners can handle with the right guidance. This guide will walk you through everything you need to know to remove a drain safely and efficiently, saving you time and money.
We’ll break down the process into easy-to-follow steps, demystify the tools you’ll need, and offer handy tips to make the job go smoothly. Get ready to tackle this common household fix and feel a great sense of accomplishment!
Why You Might Need to Remove Your Drain

There are several common reasons why you might need to remove a drain from your sink, tub, or shower. Understanding these reasons can help you pinpoint your problem and know when this DIY solution is appropriate.
- Stubborn Clogs: Sometimes, clogs are so severe or located so deep that plunging or snaking just won’t work. In these cases, you might need to remove the drain itself to access the pipe directly and clear the obstruction.
- Replacing an Old or Damaged Drain: Drains can become worn out, discolored, or even develop cracks over time. If your current drain is an eyesore or is leaking, replacing it is a straightforward fix.
- Upgrading Fixtures: If you’re renovating your bathroom or kitchen, you might want to upgrade your drain assembly to match new fixtures or improve functionality (e.g., a pop-up drain for a sink).
- Leak Repair: Leaks originating from the drain flange or the seal between the drain and the sink/tub require removing the drain to properly reseal or replace components.
- Preventative Maintenance: While less common, sometimes you might need to remove a drain to thoroughly clean the trap or pipe opening, especially if you’ve had recurring slow drains.
Assessing Your Drain Type
Before you grab your tools, take a moment to look at your drain. Different types of drains have slightly different removal processes. The most common types you’ll encounter are:
1. Pop-Up Drains (Sinks)
These are very common in bathroom sinks. They feature a stopper that you lift and lower manually, often with a lever on the back of the faucet. The stopper itself might lift out, or it might be connected to a pivot rod that needs to be disconnected underneath the sink.
2. Strainer Drains (Sinks)
Found in kitchen sinks, these drains typically consist of a metal basket or strainer that sits in the opening. They are usually held in place from underneath by a large locknut. Some kitchen sinks also have a garbage disposal connection integrated with the drain.
3. Pop-Up Drains (Tubs)
Bathtub drains are also frequently “pop-up” style. The stopper might be operated by a lever on the overflow plate, or it could be a lift-and-turn or push-down stopper. Like sink pop-ups, the mechanism is usually accessible from under the tub.
4. Toe-Touch Drains (Tubs)
These are another common type of tub drain operated by pushing the stopper down with your toe and then pushing again to pop it up. They are typically screwed into the drain shoe assembly.
Identifying your drain type will help you anticipate the steps involved and gather the correct tools. For most DIY removals, you’ll be working from both above and below the sink or tub.
Essential Tools You’ll Need
Gathering the right tools before you start is key to a smooth and successful drain removal. You won’t need a whole toolbox for most jobs, just a few common household items. Having them ready nearby will save you trips back and forth.
Here’s a list of tools that are commonly used for removing drains:
- Adjustable Wrench or Pliers: Essential for gripping and turning locknuts or pipes under the sink or tub. Channel-lock pliers are particularly handy for their adjustable grip.
- Screwdriver Set: You might need a Phillips head or flathead screwdriver to remove overflow plates or other small components.
- Plumber’s Putty or Silicone Sealant: Needed for re-sealing the new drain, unless it comes with a gasket designed to do the job.
- Bucket or Towels: To catch any residual water that may be in the pipes or trap once you start disconnecting.
- Gloves: To protect your hands from grime and potentially sharp edges.
- Safety Glasses: Always a good idea when working on plumbing to protect your eyes from debris.
- Drain Removal Tool (Optional but Helpful): For some specific drain types (like certain strainers or pop-up mechanisms), specialized drain wrenches or removal tools can make the job easier. However, for basic removal, adjustable wrenches are usually sufficient.
- Penetrating Oil (e.g., WD-40): If parts are corroded or stuck, a little spray can help loosen them.
- Putty Knife or Scraper: To carefully remove old plumber’s putty or sealant.
Don’t feel overwhelmed by this list! For most basic drain removals, you’ll primarily use an adjustable wrench, a screwdriver, and some towels. The other items are for specific situations or added convenience.
Step-by-Step Guide: Removing a Sink Drain

Removing a sink drain is a very common DIY task. The process involves working from both the top of the sink and the underside. Let’s break it down:
Step 1: Prepare the Area
Clear out the cabinet or vanity space below the sink. Remove everything so you have plenty of room to work. Place towels or your bucket directly underneath the drain assembly to catch any drips.
For safety, you might also want to turn off the water supply to the faucet, although it’s not strictly necessary for drain removal itself, it’s good practice if you’re doing other faucet work.
Step 2: Remove the Stopper Mechanism (if applicable)
For Pop-Up Drains:
Look underneath the sink. You’ll see a horizontal rod (the pivot rod) that goes into a U-shaped piece of pipe (the P-trap). Attached to this pivot rod is a strap with holes. Locate the clip or nut that attaches the pivot rod to the strap. Remove this clip or nut. Then, you should be able to pull the pivot rod out from the strap. Once the pivot rod is free, the stopper in the sink should lift out easily. If it doesn’t, you may need to gently pry it up.
For Strainer Drains (Kitchen Sinks):
These usually don’t have a moving stopper mechanism. The strainer basket simply sits in the drain opening. The actual removal happens from underneath.
Step 3: Loosen the Locknut Underneath
Now, focus on the underside of the sink. You’ll see the drain flange (the metal part you see in the sink) extending downwards and connected to a pipe assembly, usually including a tailpiece and the P-trap. About an inch or two below the sink basin, there will be a large nut that secures the drain flange to the sink. This is the drain locknut.
Using your adjustable wrench or channel-lock pliers, grip the locknut. You’ll need to turn it counter-clockwise (lefty-loosey) to loosen and remove it. Be prepared for some water to drip out as you loosen this nut.
Step 4: Separate the Drain Flange and Tailpiece
Once the locknut is removed, the drain assembly will come apart. The tailpiece (the pipe directly below the sink) will detach from the drain flange. The drain flange itself should now be free to be pushed up and out from the top of the sink. You might need to carefully rock it back and forth or use a putty knife to gently break the seal of the old plumber’s putty.
Step 5: Clean the Sink Opening
With the old drain removed, you’ll likely find residue from old plumber’s putty or sealant. Use your putty knife or a scraper to carefully clean this off the underside of the sink rim where the flange was seated. A clean surface is crucial for a good seal with your new drain.
Tip: If your sink has an overflow drain, ensure you’ve also disconnected any linkage from the stopper mechanism to the overflow plate. Sometimes this involves unscrewing a plate on the sink’s back or side.
Step-by-Step Guide: Removing a Tub Drain

Removing a bathtub drain is similar to a sink, but often a bit easier as you have more direct access to the plumbing underneath (though sometimes this is through an access panel).
Step 1: Remove the Stopper
First, you need to remove the visible stopper from the tub. How you do this depends on the type of drain:
- Pop-Up Stopper: For a lever-operated pop-up drain, you’ll typically unscrew the large overflow plate on the tub wall. Behind this plate is a mechanism connected to the stopper. You’ll need to disconnect the pivot rod from this mechanism. Once disconnected, the stopper should lift out. For lift-and-turn or push-down stoppers, you can usually unscrew the stopper cap directly from the drain body.
- Toe-Touch Stopper: Simply push the stopper down, then try to unscrew it. It might screw directly off the top of the drain.
If the stopper is stuck, a gentle twist with pliers wrapped in a cloth might help, but be careful not to damage it if you plan to reuse it.
Step 2: Remove the Drain Flange
Look into the drain opening. You’ll see the drain flange, which is like a metal ring screwed into the drain pipe assembly (often called the drain shoe). Most tub drains have a special tool that can grip slots in the flange to unscrew it. However, a large set of channel-lock pliers or a pipe wrench can often work.
Place your tool into the drain flange and turn it counter-clockwise to unscrew it. You may need to apply significant force if it’s been in place for a long time.
External Resource: The U.S. Environmental Protection Agency (EPA) provides excellent resources on water conservation and plumbing maintenance, which can be helpful for understanding the importance of well-maintained fixtures. You can find general plumbing advice on their website: EPA WaterSense.
Step 3: Access and Disconnect the Drain Shoe (if necessary)
In some cases, especially if you’re replacing more than just the flange, you might need to access the drain shoe. This is the part of the drainpipe that connects to the tub and the waste pipe. It’s usually located under the tub. If you have an access panel behind the tub, you can use that. If not, you might need to carefully cut into the ceiling below the tub or consider professional help.
If you can access it, you’ll see where the drain shoe connects to the waste pipe. This connection is typically sealed with a rubber gasket and secured with a slip nut. Loosen the slip nut counter-clockwise to disconnect the drain shoe from the waste pipe.
Step 4: Remove Old Plumber’s Putty/Sealant
Once the flange is out, you’ll need to clean the tub’s drain opening of any old plumber’s putty or sealant. Use a putty knife or scraper. Make sure the surface is clean and smooth for the new drain to seal properly.
Step 5: Consider Overflow Plate Removal
As mentioned, if your drain is operated by a lever on the overflow plate, you’ll need to remove the overflow plate to disconnect the linkage. This usually involves unscrewing a couple of screws on the plate. Keep these screws aside, as you’ll likely need them to reattach the new overflow plate.
Important Considerations and Tips
Even with a clear guide, unexpected issues can arise. Here are some extra tips and considerations to help you avoid common pitfalls and ensure a successful drain removal:
Dealing with Stuck Drains
If your drain is old and corroded, it might be difficult to unscrew. Applying a penetrating oil like WD-40 and letting it sit for 15-30 minutes can help loosen the threads. Gently tapping around the nut with a hammer can also help break the corrosion. If it’s still stuck, you may need to carefully use more force with your wrench or consider a specialized drain removal tool.
Working with Different Materials
Be mindful of the material of your sink or tub. Plastic sinks and tubs are more susceptible to damage from excessive force or heat than cast iron or porcelain. Use caution and gentle pressure when working with them. If you’re unsure, it’s always better to err on the side of caution.
When to Call a Professional
While this guide aims to empower you to handle drain removal, there are times when professional help is the best option:
- If the drain is severely corroded and you risk breaking it off or damaging the fixture.
- If you can’t access the plumbing underneath the sink or tub easily (e.g., no access panel, or the pipes are in a difficult spot).
- If you’ve removed the drain and discover significant pipe damage or leaks that require more than a simple reseal.
- If you feel uncomfortable or unsafe at any point during the process.
It’s always better to spend a little on a plumber than to cause more extensive damage to your plumbing system.
Replacing the Drain: A Quick Overview
While this guide focuses on removal, it’s worth noting that the reverse process is how you install a new drain. You’ll typically:
- Prepare the new drain assembly.
- Apply plumber’s putty or sealant around the underside of the new drain flange.
- Insert the new flange into the sink/tub opening from above.
- From underneath, install the new tailpiece and tighten the locknut securely onto the flange.
- Reconnect any stopper mechanisms.
- Test for leaks by running water.
Always follow the manufacturer’s instructions for your new drain assembly, as they can have specific installation requirements.
Understanding Plumber’s Putty vs. Silicone Sealant
When installing a new drain, choosing the right sealing compound is important.
| Sealing Compound | Pros | Cons | Best For |
|---|---|---|---|
| Plumber’s Putty | Malleable, easy to work with, creates a good watertight seal. A traditional and reliable choice for drain flanges. | Can stain porous materials like granite or marble. May dry out over many years. | Most sink drains (especially those with pop-up mechanisms), strainers. Generally safe for porcelain, stainless steel, and enameled cast iron. |
| Silicone Sealant | Durable, flexible, waterproof, and often mildew-resistant. Good for areas prone to moisture. | Can be messier to apply and clean up than putty. Can be difficult to remove once cured. | Tub drains, shower drains, or sinks made of porous materials like natural stone (granite, marble) where putty might stain. |
Always check the recommendations for your specific fixture material. If in doubt, a high-quality, neutral-cure silicone sealant is often a safe bet for most applications.
FAQ: Your Drain Removal Questions Answered
Q1: How do I know if I need to remove the drain or just clear a clog?
A: If plunging, snaking, or drain cleaners don’t work, or if you suspect a mechanical issue with the stopper mechanism or a leak, removal is likely necessary. If water drains very slowly or not at all, a clog is the primary suspect. If you see water pooling around the drain flange itself, it’s likely a sealing issue requiring removal.
Q2: Can I damage my sink or tub by removing the drain myself?
A: There’s a risk of cosmetic damage (scratches) if you’re not careful with tools, or fixture damage if excessive force is used, especially on delicate materials like acrylic or porcelain. Take your time, use the right tools, and avoid brute force.
Q3: What if the drain is glued or sealed in a way that’s not obvious?
A: Most common sink and tub drains are threaded and held by a locknut. If a drain seems unusually difficult to remove, it might be an older.
