
Quick Summary: Removing pipes safely and effectively is achievable with the right preparation and techniques. This guide offers proven, effortless tips for DIYers, ensuring a smooth process with minimal hassle. Learn how to identify pipe types, gather essential tools, and follow simple steps for successful pipe removal.
Hey there DIY adventurers! Bryan Lee here. Ever found yourself staring at a pipe and thinking, “How in the world do I get this out of here?” You’re not alone! Whether you’re upgrading your plumbing, tackling a renovation, or just need to clear some space, removing pipes can seem like a daunting task. But don’t worry, it’s totally manageable, even for beginners. We’re going to break it down into easy, actionable steps. You’ll be confidently wielding your tools in no time, transforming what might have felt like a headache into a satisfying accomplishment. We’ll cover everything from safety to the actual removal, so let’s dive in and make this a breeze!
Understanding Your Pipes: The First Crucial Step

Before you even think about grabbing a wrench, it’s super important to know what kind of pipes you’re dealing with. Different materials require different approaches and tools. Misidentifying a pipe can lead to damage, leaks, or even injury, so let’s get this right from the start. Most homes use a few common pipe materials, and recognizing them is key to a smooth removal process.
Common Pipe Materials and Identification
Here’s a quick rundown of what you’ll likely encounter. Think of this as your pipe-identification cheat sheet!
- Copper Pipes: These are metallic, often shiny (or tarnished green/brown with age), and can be rigid or flexible. They are joined with solder or compression fittings.
- Galvanized Steel Pipes: These are older and have a dull, silvery-gray coating. They are rigid and usually have threaded connections. They are heavier than copper.
- PVC (Polyvinyl Chloride) Pipes: These are white or off-white plastic pipes. They are lightweight, usually rigid, and joined with solvent cement (glue) or threaded fittings.
- PEX (Cross-linked Polyethylene) Pipes: These are flexible plastic pipes, often red (hot water) or blue (cold water), but can also be white. They are typically connected with crimp rings or expansion fittings.
- ABS (Acrylonitrile Butadiene Styrene) Pipes: Similar to PVC but usually black. They are also plastic and joined with solvent cement. Often found in drain and vent lines.
Why does this matter for removal? Copper often needs to be cut, while galvanized steel might require significant force to unscrew. PVC and ABS are usually cut or unscrewed depending on the connection type, and PEX often involves cutting or de-crimping specific fittings.
Essential Tools for Pipe Removal
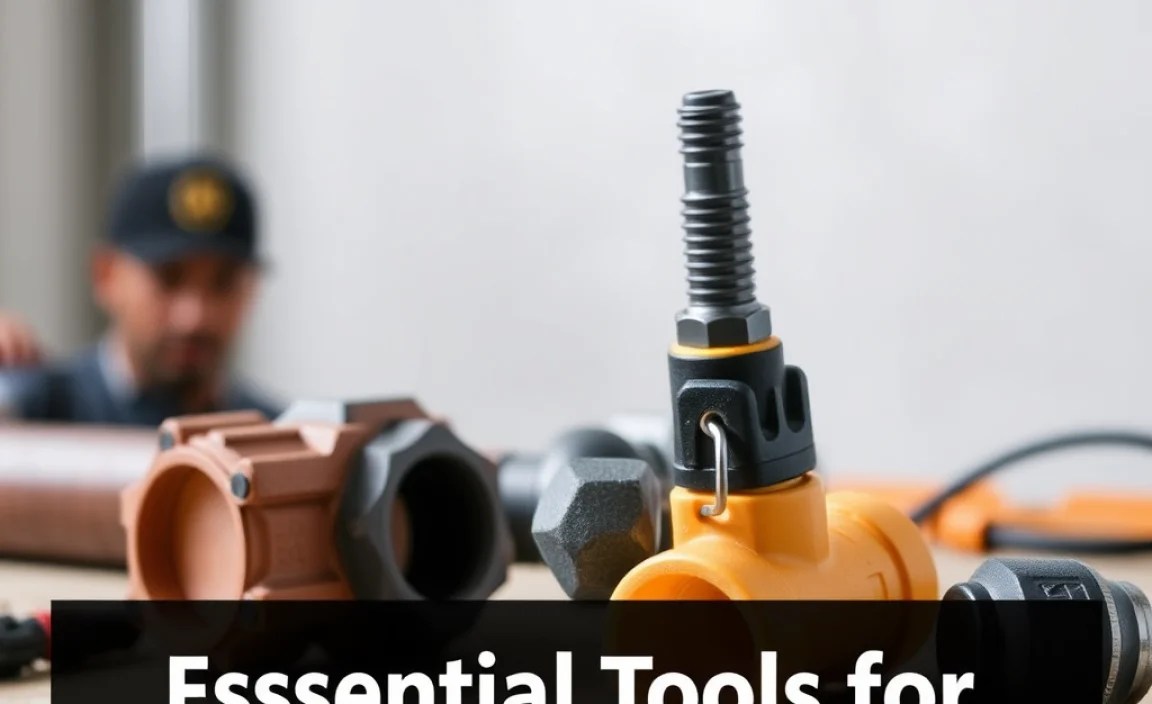
Having the right tools makes any DIY job easier and safer. For removing pipes, you’ll want a few basics to cover most situations. Don’t feel overwhelmed; most of these are standard tools you might already have or can easily borrow from a friend!
The Must-Have Toolkit
- Pipe Wrench: This is your primary tool for gripping and turning pipes, especially metal ones. You’ll likely need two – one to hold the pipe or fitting still, and another to turn.
- Adjustable Wrench: Useful for hexagonal fittings and nuts.
- Bucket and Towels: Essential for catching water that will inevitably come out of the pipes!
- Gloves: Protect your hands from rough edges, grease, and potential contaminants.
- Safety Glasses: Non-negotiable! Protect your eyes from falling debris or splashing water.
- Pipe Cutter: For creating clean cuts in copper, PEX, and some plastic pipes.
- Hacksaw or Reciprocating Saw: For cutting through tougher materials like galvanized steel or stubborn plastic.
- Screwdriver set: For any threaded connections or hose clamps you might encounter.
- Pliers: Various types can be helpful for gripping small parts or manipulating fittings.
- Marker: To mark cut lines.
Before you begin, ensure your tools are in good working order. A slipped wrench or a dull saw can turn a simple job into a frustrating one.
Preparing for Pipe Removal: Safety First!
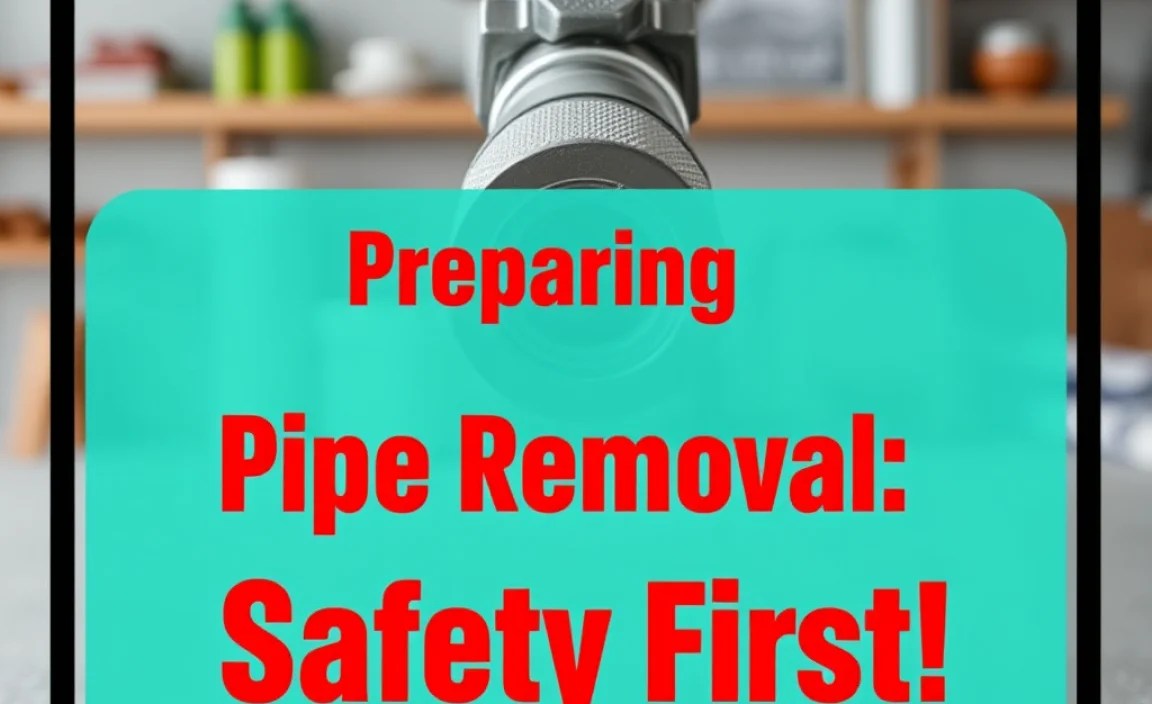
This is the most critical part of the process. Taking a few minutes to prepare can prevent a lot of headaches, leaks, and potential damage to your home. Think of it as setting yourself up for success!
Step-by-Step Preparation Checklist
- Turn Off the Water Supply: This is your absolute first step. Locate the main water shut-off valve for your house. It’s often found where the water line enters your home, in a basement, crawl space, or utility closet. Turn it clockwise until it’s fully closed.
- Drain the Pipes: Open the lowest faucet in your home (like a garden spigot or a basement sink). Then, open the faucet connected to the pipe you’ll be removing. This will allow any remaining water in the system to drain out. Let it drain as much as possible. Even after draining, expect some residual water when you disconnect.
- Gather Your Tools and Supplies: Have everything from the “Essential Tools” list readily accessible. Lay them out so you can grab them easily when needed.
- Clear the Area: Remove any obstacles around the pipes you’ll be working on. This gives you plenty of room to maneuver your tools and yourself safely. Cover nearby surfaces with old towels or a drop cloth to protect them from drips.
- Identify Shut-off Valves: If you’re only working on a specific section of plumbing (like a sink or toilet), try to locate the smaller shut-off valves specific to that fixture. While turning off the main water is the safest bet, knowing these can sometimes save you from draining the entire house if you’re comfortable with that.
Pro Tip: If you’re unsure about locating your main water shut-off valve or how to operate it, consult your utility company’s website or a quick search for your local municipality’s recommendations. For example, the U.S. Environmental Protection Agency (EPA) offers guidance on reading water meters which can sometimes help locate the main shut-off. Safety and preparedness are paramount!
Effortless Pipe Removal Techniques
Now for the main event! The technique you use will largely depend on the type of pipe and how it’s connected. We’ll cover the most common scenarios for copper, galvanized steel, and plastic pipes.
Removing Copper Pipes
Copper pipes are common in homes built in the last few decades. They are often joined by soldering or compression fittings.
Scenario 1: Soldered Connections
These connections are permanent and require heat to break. For beginners, this can be trickier and involves risk. If you’re uncomfortable with a torch, it’s often best to cut copper pipes with a pipe cutter as described below.
- Tools Needed: Pipe cutter, torch (for disassembly, not recommended for beginners), bucket, towels, gloves, safety glasses.
- Process (Cutting Recommended for beginners):
- Ensure water is off and drained. Place a bucket underneath the joint.
- Position your pipe cutter around the copper pipe, a safe distance from the fitting.
- Tighten the cutter slightly and rotate it around the pipe.
- Continue tightening and rotating until the pipe is cut cleanly.
- Repeat for the other side of the section you wish to remove.
Scenario 2: Compression Fittings
These fittings have nuts that can be unscrewed.
- Tools Needed: Two adjustable wrenches or pipe wrenches, bucket, towels, gloves.
- Process:
- Place one wrench on the fitting to hold it steady.
- Place the second wrench on the nut of the fitting connected to the pipe you want to remove.
- Turn the second wrench counter-clockwise to loosen the nut.
- Be prepared for a small amount of water to leak out.
- Once the nut is loose, you can usually pull the pipes apart.
Removing Galvanized Steel Pipes
Galvanized steel pipes are often found in older homes and are connected via threaded fittings.
- Tools Needed: Two large pipe wrenches, bucket, towels, gloves, safety glasses. A pipe vise can be extremely helpful if you have access to one.
- Process:
- Ensure water is off and the pipes are drained. Place a bucket beneath the connection.
- Place one pipe wrench on the stationary fitting (the one attached to the wall or other connected pipe).
- Place the second pipe wrench on the pipe you want to remove, gripping the fitting next to the connection.
- To loosen, you will turn the pipe counter-clockwise. This means the wrench on the stationary fitting will move clockwise to hold it, while the wrench on the pipe to be removed will move counter-clockwise.
- Apply steady, firm pressure. These can be very tight due to corrosion. If it’s extremely difficult, you might consider a penetrating oil (allow it to sit) or, as a last resort, cutting the pipe with a hacksaw or reciprocating saw.
- Be ready for residual water.
Important Note on Galvanized Steel: If you’re removing a large section or dealing with multiple tight threaded connections, consider calling a professional plumber. These pipes can sometimes be fragile with age and may surprise you with how much force is needed.
Removing Plastic Pipes (PVC, ABS, PEX)
Plastic pipes are generally easier to work with and lighter than their metal counterparts.
Scenario 1: Solvent Cemented Joints (PVC, ABS)
These pipes are glued together. There’s no unscrewing here; you’ll need to cut them.
- Tools Needed: Pipe cutter or hacksaw, marker, bucket, towels, gloves, safety glasses.
- Process:
- Ensure water is off and drained. Place a bucket to catch drips.
- Using your marker, draw a line around the pipe where you want to cut. Aim for a clean, straight cut a few inches away from the fitting you are removing.
- Use a pipe cutter for a clean, professional cut. If using a hacksaw, take your time to keep the cut straight.
- Cut on one side of the fitting, then move to the other side and cut again.
Scenario 2: Threaded Fittings (Less Common on Plastic, but possible)
If your plastic pipes have threaded fittings, you’ll use wrenches similar to how you would with metal pipes, but with less force required.
- Tools Needed: Adjustable wrenches or pipe wrenches, bucket, towels, gloves.
- Process:
- Follow the same procedure as for galvanized steel pipes, using wrenches to turn the fittings counter-clockwise.
- These are usually much easier to loosen than metal pipes.
Scenario 3: PEX Pipes with Fittings
PEX pipes use various connection methods. The most common are crimp rings or expansion fittings.
- Tools Needed (depends on fitting type): PEX cutter, PEX crimping tool, PEX expansion tool, de-crimping tool, pipe cutter or hacksaw, bucket, towels, gloves.
- Process (General):
- PEX is typically cut using a PEX cutter or a sharp hacksaw.
- If the PEX is connected via crimp rings, a de-crimping tool is needed to remove the ring.
- Expansion fittings require specific tools to either expand the fitting or cut it off.
- Often, cutting the PEX pipe a few inches away from the fitting is the simplest method for DIY removal.
For a deeper dive into PEX systems, resources like PEXinfo’s Installation Guide offer excellent visual and technical details on different connection types, which can be invaluable for removal.
Dealing with Stubborn Pipes
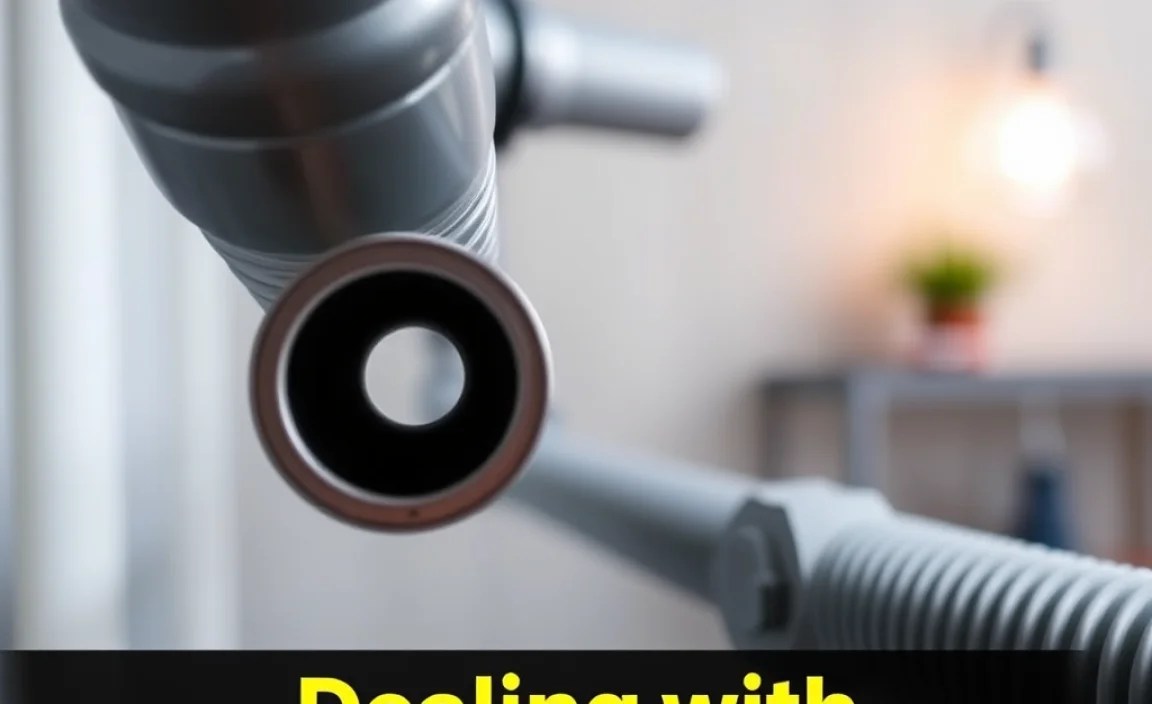
Sometimes, pipes just don’t want to budge. Don’t force it excessively, as this can cause damage. Here are a few tricks:
- Penetrating Oil: For threaded metal pipes, a good penetrating oil (like WD-40 or PB Blaster) can work wonders. Spray it generously on the threads and let it sit for 15-30 minutes (or even longer for very stubborn connections).
- Gentle Tapping: Sometimes, a few gentle taps with a rubber mallet on the fitting can help break corrosion free. Be careful not to dent or damage the pipe itself.
- Heat (Use with Extreme Caution!): For threaded galvanized steel pipes only, a propane torch can be used to gently heat the fitting (not the pipe directly). The heat expands the fitting slightly, which can help break the corrosion. This is risky and should only be attempted if you are comfortable with a torch and have fire safety precautions in place (water nearby, no flammable materials). Never use heat on plastic pipes or near combustible materials.
- Leverage: Increasing leverage with a longer pipe wrench or a cheater bar (a pipe slipped over the wrench handle) can help, but again, do so cautiously to avoid breaking the pipe or fitting unexpectedly.
- Cutting as a Last Resort: If all else fails, cutting the pipe (as described for each material type) is often the most reliable, albeit less elegant, solution.
Always remember that if a pipe is severely corroded or stuck, it might be time to call in a professional plumber. They have specialized tools and experience to handle these challenging situations safely.
What to Do After Pipe Removal
You’ve done it! The old pipes are out. But your work isn’t quite finished. Proper cleanup and disposal are important.
Clean Up and Disposal
- Clean the Area: Wipe down any residual water or debris from the walls, floors, and surrounding fixtures.
- Inspect the Work Area: Check the remaining plumbing connections and the surrounding structure for any damage that may have occurred during removal.
- Dispose of Old Pipes: Check your local waste disposal guidelines. Metal pipes might be recyclable, while plastic pipes usually go in regular trash. Some plumbing supply stores or scrap metal yards may accept old copper or brass.
- Prepare for New Installation: If you are replacing the pipes, ensure the ends of the remaining pipes are clean and ready for new connections.
Consider leaving the ends of the removed pipes slightly longer than absolutely necessary if you plan to connect new pipes to them. This gives you more material to work with for new fittings.
Common Pitfalls to Avoid
Even with the best intentions, things can go awry. Here are some common mistakes beginners make when removing pipes:
| Pitfall | Impact | Solution |
|---|---|---|
| Forgetting to turn off the main water supply. | Flooding, water damage, significant mess. | Always locate and turn off the main shut-off valve first. |
| Not draining pipes sufficiently. | Unexpected water spills during disconnection. | Open the lowest faucet in the house after shutting off the main valve. |
| Using the wrong size or type of wrench. | Stripped fittings, inadequate grip, potential injury from slipping. | Use pipe wrenches for pipes and adjustable wrenches for fittings. Ensure they fit snugly. |
| Applying too much force to old/corroded pipes. | Breaking pipes unexpectedly, causing larger damage. | Use steady pressure. Employ penetrating oil or heat (cautiously) for stubborn metal pipes. Know when to cut. |
| Not wearing safety gear. | Eye injury from debris, hand cuts, chemical exposure (if using glues/solvents). | Always wear safety glasses and gloves. |
| Cutting pipes too close to an existing fitting. | Insufficient pipe material to make a new connection. | Cut at least 1-2 inches away from fittings unless otherwise specified. |
Avoiding these common issues will significantly.
