
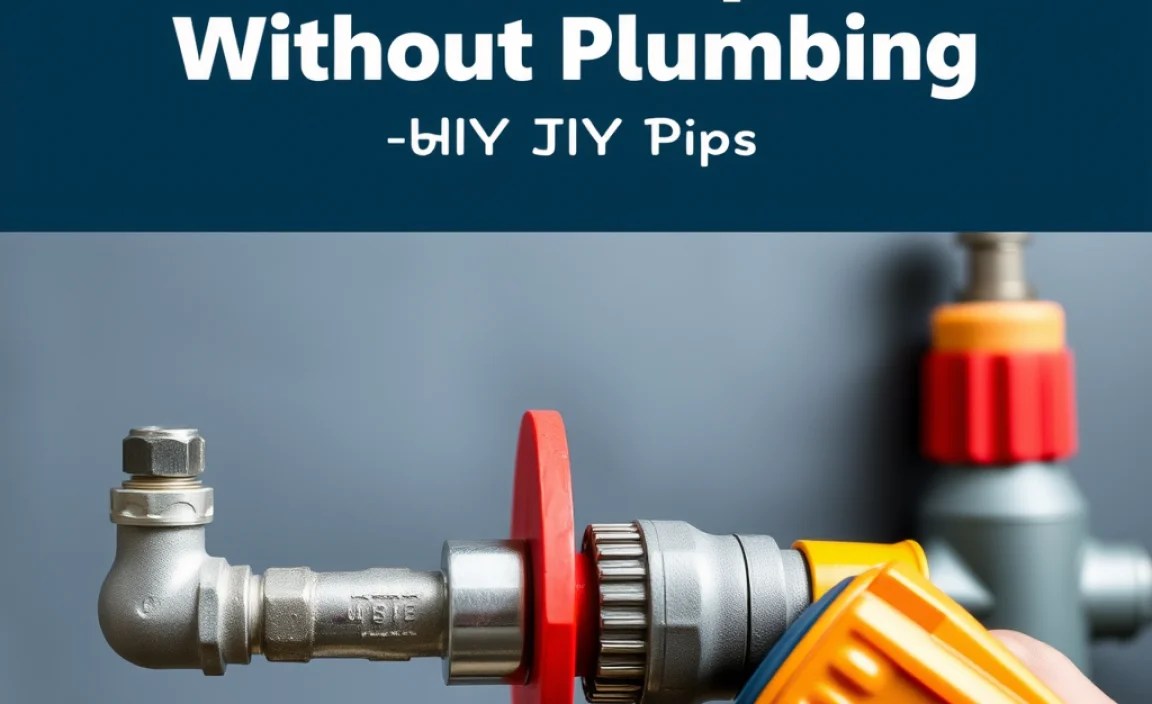
Can you remove pipes without a plumber? Yes, with the right tools, safety precautions, and a clear understanding of the process, DIYers can successfully remove pipes for renovations or replacements. This guide provides expert tips and step-by-step instructions to help you tackle this common home maintenance task safely and efficiently.
Dealing with pipes can feel intimidating, especially if you’re not a seasoned DIYer. Leaks, outdated fixtures, or renovation plans often mean you’ll encounter pipes that need removing. The thought of cutting into your home’s plumbing system might seem like a job best left to the pros. But what if you could handle it yourself? With a little knowledge and the right approach, removing pipes without a plumber is entirely achievable. This guide will walk you through everything you need to know, ensuring you can approach this task with confidence and a can-do attitude.
This isn’t just about saving money; it’s about empowering yourself to understand and manage your home’s systems. We’ll cover the essential safety steps, the tools you’ll need, and a clear, easy-to-follow process for removing pipes. Get ready to tackle this project and add another skill to your home maintenance toolkit!
Why DIY Pipe Removal? The Benefits Explained

Taking on pipe removal yourself can be incredibly rewarding. Beyond the obvious cost savings of not hiring a professional, there are several other compelling reasons to consider a DIY approach:
- Cost Savings: Professional plumbers charge for their time, expertise, and sometimes even a call-out fee. By doing the work yourself, you significantly reduce the labor costs associated with pipe removal.
- Learning and Empowerment: Every DIY project is a learning opportunity. Understanding how your plumbing system works, how to safely disconnect and remove pipes, builds your confidence and competence in home maintenance.
- Flexibility and Control: When you DIY, you set the schedule. You can work at your own pace without waiting for a plumber’s availability, which is especially helpful during renovations where timing is crucial.
- Understanding Your Home: Removing and potentially replacing pipes gives you firsthand knowledge of your home’s infrastructure. This can be invaluable for future maintenance or troubleshooting.
- Environmental Considerations: If you’re replacing old pipes with more eco-friendly materials, understanding the removal process allows you to ensure proper disposal and installation of new, sustainable options.
Essential Tools for Safe Pipe Removal
Before you start, gather the right tools. Having the correct equipment makes the job easier, safer, and much more efficient. Here are the essentials:
Hand Tools
- Pipe Wrench (or two): These are your primary tools for gripping and turning pipes and fittings. Having two allows you to hold one pipe steady while turning another.
- Adjustable Wrench: Useful for smaller nuts and fittings that pipe wrenches might not grip effectively.
- Pliers (various types): Slip-joint pliers and channel-lock pliers are versatile for gripping, bending, and sometimes cutting.
- Screwdrivers: Both Phillips and flathead screwdrivers are needed for removing mounting hardware or other small components.
- Bucket or Container: Absolutely crucial for catching residual water in the pipes.
Cutting Tools (Depending on Pipe Material)
The type of pipe you have will dictate the best cutting tool:
- Pipe Cutter: For copper, PEX, or plastic pipes, a dedicated pipe cutter provides a clean, straight cut. There are different types for different materials.
- Hacksaw: A versatile option for many pipe materials, including older metal pipes. Ensure you have a sharp blade suitable for the material.
- Reciprocating Saw (Sawzall): A powerful tool for faster cutting, especially for larger or tougher pipes. Use the appropriate blade for the pipe material (metal, wood, plastic).
Safety Gear (Non-Negotiable!)
Safety is paramount when working with plumbing.
- Safety Glasses: Protect your eyes from debris, water, and potential splashes.
- Work Gloves: Protect your hands from sharp edges, corrosion, and provide a better grip.
- Bucket/Towels: Essential for catching water and cleaning up spills.
- Flashlight or Headlamp: Ensures you can see clearly in dimly lit areas under sinks or in basements.
Understanding Your Plumbing System Basics

Before you dismantle anything, it’s helpful to understand a few basic terms and concepts. This will make the process clearer and safer. Plumbing systems generally consist of supply lines (bringing water in) and drain/waste/vent (DWV) lines (taking water and waste out).
Supply Lines vs. Drain Lines
- Supply Lines: These carry fresh water from your main water source (city supply or well) to your fixtures (faucets, toilets, showers). They are typically under pressure.
- Drain/Waste/Vent (DWV) Lines: These carry used water and waste away from fixtures to your sewer or septic system. They rely on gravity and a venting system to function.
Pipe Materials
The material of the pipes will affect how you remove them:
- Copper: Common for supply lines, known for durability but can be expensive.
- PEX (Cross-linked Polyethylene): A flexible plastic tubing, increasingly popular for supply lines due to ease of installation.
- PVC (Polyvinyl Chloride): Often used for drain, waste, and vent (DWV) lines and sometimes cold water supply.
- ABS (Acrylonitrile Butadiene Styrene): Similar to PVC, typically black plastic, also used for DWV.
- Galvanized Steel: An older material for supply lines, prone to corrosion and rust. It’s heavier and often harder to cut than modern materials.
Knowing your pipe material helps you choose the right tools and techniques. For instance, a PVC pipe needs a different cutting method than a copper pipe. References like the EPA’s information on plumbing materials can provide further context on common types and their uses.
Step-by-Step Guide: How to Remove Pipes Safely

This guide focuses on removing sections of pipe, often for replacement or to clear the way for renovations. Remember, these steps assume you’re working on isolated sections and not the entire home’s plumbing. Always prioritize safety.
Step 1: Turn Off the Water Supply
This is the most critical first step. Locate the main water shut-off valve for your house. It’s usually in the basement, crawl space, garage, or near where the water line enters the house. Turn it off completely.
If you’re only working on a specific fixture’s pipes (like under a sink), you might be able to use the local shut-off valves for that fixture. However, for comprehensive pipe removal, shutting off the main supply is best.
Step 2: Drain the Remaining Water
After turning off the main supply, open the lowest faucet in your house to drain any remaining water from the system. If you’re removing a section of pipe under a sink, open the hot and cold taps of that sink to relieve pressure and drain that specific section.
Keep a bucket handy under the pipe section you intend to work on. Open the faucet and let the water that’s still in the pipes drain out. You might be surprised how much water can still come out, even after shutting off the supply!
Step 3: Assess the Pipe Section and Fittings
Take a close look at the pipe you need to remove. Identify how it’s connected:
- Threaded Fittings: These screw together. You’ll likely need pipe wrenches to unscrew them. Note the direction of the threads (most are right-hand threads, meaning you turn counter-clockwise to loosen).
- Soldered Joints (Copper): These are fused together with solder. To separate them, you’ll typically need heat (a torch) to melt the solder, which is a more advanced technique and can be risky for beginners. For DIY, it’s often easier to cut the pipe on either side of the fitting.
- Glued Joints (PVC/ABS): These are joined with solvent cement. If you need to remove a section with glued joints, you’ll likely need to cut the pipe on either side of the glued section.
- Compression Fittings: These have a nut and a ferrule that compress onto the pipe. They can often be loosened with a wrench.
- Push-to-Connect Fittings (e.g., SharkBite): These can usually be disconnected by pushing a release collar while pulling the pipe.
Step 4: Prepare for Cutting or Unscrewing
Place your bucket directly underneath the point where you plan to cut or loosen the pipe. Have towels ready for any drips.
If you’re using a pipe wrench, ensure you have enough space to maneuver. For threaded connections, a second wrench can be invaluable for holding the fitting steady while you turn the pipe.
Step 5: Disconnect or Cut the Pipes
This step depends heavily on the pipe material and connection type.
For Threaded Pipes (Metal or Plastic):
Use two pipe wrenches. Place one wrench on the pipe you want to remove and the other on the fitting it connects to. Turn the pipe wrench counter-clockwise to loosen. If it’s very tight, you might need to apply significant force. Be patient and try not to damage the fitting if you intend to reuse it.
For Soldered Copper Pipes:
The safest DIY method is to cut the pipe. Use a copper pipe cutter for a clean cut. Make the cuts a few inches away from any fittings you’re keeping. This avoids dealing with potentially hazardous heat work. If you must remove a fitting that’s been soldered, it often involves heating the joint with a propane torch to melt the solder, then pulling the pieces apart. This requires practice and strict adherence to safety guidelines, especially regarding fire hazards. Consult resources like guidance on construction safety, which often covers related risks.
For Glued PVC or ABS Pipes:
Use a hacksaw or a reciprocating saw with an appropriate blade. Cut the pipe on either side of the glued joint. Aim for straight cuts. You can also remove a section of pipe that’s connected to a fitting, essentially cutting just the pipe itself.
For PEX Pipes:
PEX often uses crimp rings, expansion rings, or push-to-connect fittings. If it’s a push-to-connect fitting, use the release tool or collar. For crimped or expanded fittings, you’ll typically need a PEX cutter and either a crimping tool or an expansion tool, depending on the system. If cutting, use a PEX cutter for a clean, square cut.
Tip: If you’re unsure about a specific fitting, take a picture and search online for “how to disconnect [fitting type] pipe” or consult a plumbing supply store.
Step 6: Remove the Pipe Section
Once cut or loosened, carefully remove the pipe section. Be prepared for any remaining water to drain into your bucket.
Gently wiggle the pipe free if it’s stuck in a fitting. If it’s a threaded connection that’s stubborn, a little penetrating oil might help, but be mindful of where it drips.
Step 7: Clean Up and Inspect
Wipe down the area to catch any residual water or debris. Inspect the ends of the pipes or fittings you’re keeping. If they are threaded, some pipe dope or PTFE (Teflon) tape will be needed for reassembly or connecting new pipes. If they are for soldering, proper cleaning of the pipe ends and fittings is essential for a good joint.
Dispose of the removed pipe section appropriately. If it’s metal, it may be recyclable. Plastic pipes should be disposed of according to local regulations.
Dealing with Specific Pipe Removal Challenges
Not all pipe removal jobs are straightforward. Here’s how to handle some common tricky situations:
Stubborn Threaded Fittings
Sometimes threaded fittings are seized due to corrosion or old pipe dope. Here are some tricks:
- Penetrating Oil: Apply a rust-penetrating lubricant (like WD-40 or PB Blaster) to the threads and let it sit for at least 15-20 minutes, or longer if possible.
- Heat (with caution): Gently heating the fitting (not the pipe) with a propane torch can cause it to expand slightly, helping to break the seal. Be extremely careful to avoid damaging surrounding materials and have a fire extinguisher handy. This is more advanced and best avoided by beginners if possible.
- “Shocking” the Fitting: Sometimes a sharp, firm tap with a hammer on the fitting (in the direction of loosening) can break the bond. Do this cautiously to avoid deforming the pipe or fitting.
- Leverage: Ensure your pipe wrenches are fully engaged on the pipe and fitting. Using pipes as “cheater bars” on your wrench handles is dangerous and can snap tools or pipes. If you need more leverage, consider a pipe vise if working on a detached section, or ensure stable footing.
Removing Pipes in Tight Spaces
Working under sinks or in crawl spaces can be cramped.
- Tool Choice: Smaller pipe wrenches or basin wrenches might be necessary. For cutting, a compact reciprocating saw or a manual hacksaw can be more maneuverable than a larger saw.
- Lighting: A good headlamp or flexible work light is indispensable.
- Body Position: Get into a comfortable (or as comfortable as possible) position. Sometimes lying down or kneeling is required. Ensure you have a mat or pad for comfort and to protect yourself from the ground.
Dealing with Old, Corroded Pipes
Older galvanized steel pipes can be brittle and heavily corroded. Be prepared for them to crumble or break unexpectedly.
- Gentle Force: Avoid excessive force that could bend or break good sections of pipe.
- Cutting is Often Best: Instead of trying to unscrew corroded fittings, cutting the pipe on either side of the fitting is usually much easier and less risky.
- Check for Lead Pipes: If your home is older (pre-1986), you might have lead pipes. These require professional handling due to health risks. Test your water or consult local authorities if you suspect lead pipes. You can find information on testing and identifying lead pipes via resources like the EPA’s Guidance on Lead in Drinking Water.
When to Call a Professional
While DIY pipe removal is often achievable, there are situations where it’s best to call a plumber. Listen to your intuition and your comfort level. If any of these apply, it’s time to get professional help:
- Major Pipe Replacement: If you’re replacing a significant portion of your home’s plumbing or dealing with main water lines, this is complex work with high stakes.
- Uncertainty About Pipe Material: If you can’t identify your pipe material or are unsure about its condition (especially if lead is suspected), a professional can assess it safely.
- Complex Fittings or Soldering Required: If your pipes use unfamiliar or specialized fittings, or if you need to perform soldering and aren’t comfortable with heat and fire safety, a plumber is the way to go.
- Lack of Appropriate Tools: If you don’t have access to the necessary tools or feel unsafe using them, don’t proceed.
- Persistent Leaks or Water Damage: If you’ve attempted removal and are now dealing with leaks or suspect significant damage, a plumber can fix it quickly and correctly.
- Main Line Issues: Any work involving the water main entering your house or the sewer line leaving it should be handled by professionals.
Plumbers have specialized tools and knowledge to handle complex situations, ensure code compliance, and guarantee the job is done right, preventing future headaches.
Table: Common Pipe Materials and Removal Methods
Here’s a quick reference to help you choose the right approach for different pipe types.
| Pipe Material | Common Uses | Primary DIY Removal Method | Tools Required | Notes |
|---|---|---|---|---|
| Copper | Hot & Cold Water Supply | Cutting | Pipe Cutter (copper specific), Hacksaw | Soldered joints are |
