
Don’t let a leaky shower ruin your day! This guide offers simple, proven fixes to easily remove shower leaks, from identifying the source to applying practical repairs that save you time and money. Get your shower back in perfect working order with these essential DIY solutions.
A drip, drip, drip coming from your shower isn’t just annoying; it’s a clear signal that something needs attention. Left unchecked, a small shower leak can lead to bigger problems like water damage, mold growth, and increased utility bills. But don’t stress! Most common shower leaks are surprisingly easy to fix yourself with a few basic tools and a little guidance. This article will walk you through identifying the culprits behind your shower leak and provide straightforward, beginner-friendly methods to banish those drips for good.
We’ll break down the most frequent causes of shower leaks and give you the confidence to tackle them. From worn-out washers to cracked grout, we’ve got you covered. Get ready to say goodbye to that persistent leak and hello to a dry, happy bathroom!
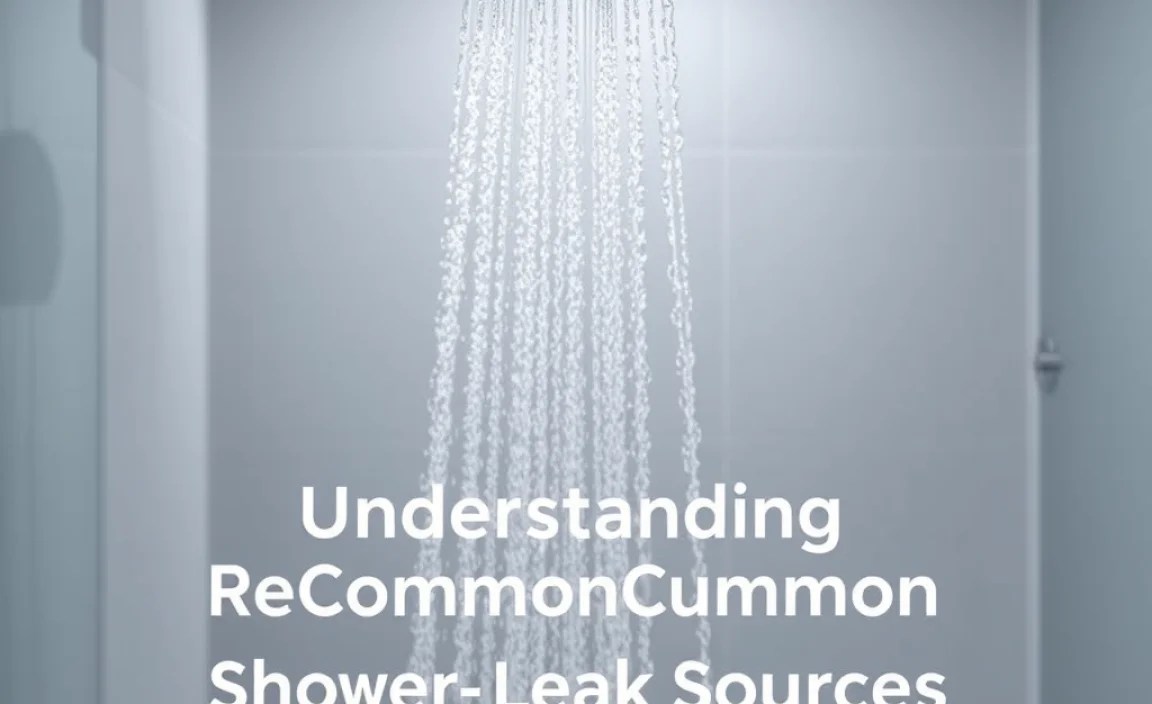
Understanding Common Shower Leak Sources
Before we grab our tools, it’s important to know where to look for trouble. Shower leaks can originate from several places, and pinpointing the source is the first step to an effective repair. Think of it like being a detective for your bathroom!
1. Faucet and Showerhead Components
These are often the most obvious culprits. The constant flow of water, combined with temperature changes, can wear down parts over time.
- Leaky Faucet Handles: If water drips from the spout or handle even when turned off, it’s usually a sign of a worn-out cartridge or escutcheon.
- Faulty Showerhead: A showerhead that leaks around the connection point to the pipe or from the head itself often needs new plumber’s tape or a replacement washer.
- Cartridge Issues: The cartridge inside your faucet controls water flow. When it fails, it can cause leaks and a loss of temperature control.
2. Grout and Caulk Failures
Grout and caulk are your shower’s defense against water seeping into walls and floors. When they break down, leaks are almost inevitable.
- Cracked or Missing Grout: Grout can crack over time due to expansion/contraction from temperature changes or impact. This creates small pathways for water.
- Deteriorated Caulk: The sealant (caulk) around your tub, shower base, and wall junctions can become brittle, peel, or develop gaps, allowing water to escape.
3. Plumbing Behind the Walls
This is generally less common for DIY fixes and might require professional help, but it’s good to be aware of.
- Loose Connections: Pipes or fittings behind your shower walls might have become loose, especially if there’s been recent plumbing work or significant settling of the house.
- Cracked Pipes: While rare, pipes can crack due to freezing temperatures or corrosion. This usually results in more significant water issues.
4. Shower Door Seals and Thresholds
Even your shower door can be a source of leaks if not properly sealed.
- Damaged Door Seals: The rubber or vinyl strips along the edges of your shower door can wear out, tear, or become dislodged, letting water escape.
- Threshold Gaps: The area where the shower door meets the floor or tub can develop gaps, allowing water to pool and potentially leak out.
Essential Tools for Shower Leak Repair

Having the right tools makes any DIY job easier and safer. For most common shower leak repairs, you won’t need a professional toolbox. Here’s a list of handy items to have on hand:
| Tool | Purpose |
|---|---|
| Adjustable Wrench | Tightening or loosening pipe fittings and showerheads. |
| Phillips and Flathead Screwdrivers | Removing faucet trim and other components. |
| Plumber’s Tape (PTFE Tape) | Creating a watertight seal on threaded pipe connections. |
| Caulk Gun | Applying new sealant or caulk neatly. |
| Utility Knife or Razor Blade Scraper | Removing old caulk and grout. |
| Putty Knife | Scraping and cleaning surfaces before applying new caulk. |
| Scrub Brush and Sponge | Cleaning away residue and preparing surfaces. |
| Replacement Parts (Washers, O-rings, Cartridge) | Specific to your faucet or shower fixture. |
| Safety Glasses | Protecting your eyes from debris and splashes. |
| Gloves | Keeping your hands clean and protecting them. |
| Bucket | Catching any residual water during disassembly. |
Proven Fixes for Common Shower Leaks

Now that we know what to look for and have our tools ready, let’s get to the fixes! We’ll start with the easiest and most common issues.
Fix 1: Tightening Loose Connections (Showerhead and Faucet)
Sometimes, a leak is as simple as a slightly loose connection. This is especially true for showerheads.
- Turn off the water supply: If you’re unsure how to do this, check your home’s main water shut-off valve, often located in the basement, garage, or near your water meter.
- Inspect the showerhead connection: Look where the showerhead screws onto the shower arm.
- Tighten gently: Use an adjustable wrench to gently tighten the connection. Don’t overtighten, as this can damage the threads.
- Test for leaks: Turn the water back on and run the shower. If the leak persists at this connection, proceed to Fix 2.
Fix 2: Re-taping the Shower Arm Threads
If tightening didn’t work, or if the leak is coming from the shower arm where it enters the wall, it’s time for fresh plumber’s tape.
- Turn off water supply and remove the showerhead from the shower arm (usually by unscrewing it counter-clockwise).
- Clean the threads: Use a cloth to remove any old plumber’s tape or debris from the threads of the shower arm.
- Apply new plumber’s tape: Wrap new plumber’s tape (PTFE tape) around the threads of the shower arm clockwise, overlapping each layer. You’ll typically need 3-5 wraps. The clockwise wrapping is crucial, as it prevents the tape from unraveling when you screw the showerhead back on.
- Reattach the showerhead: Screw the showerhead back onto the arm tightly by hand, then give it a slight turn with the wrench if needed.
- Test for leaks: Turn the water back on and check for leaks.
For more on plumbing techniques, resources like This Old House offer excellent visual guides and advice.
Fix 3: Replacing a Worn-Out Washer or O-ring
Inside your faucet, washers and O-rings create seals that prevent water from escaping. Over time, they degrade.
- Turn off the water supply to the shower.
- Remove faucet trim: This usually involves unscrewing a decorative plate (escutcheon) and then accessing the valve stem. You might need to remove a handle screw first. Consult your faucet’s manual if you’re unsure how to disassemble it safely.
- Identify and replace the worn part: Look for rubber washers or O-rings on the valve stem. If they appear cracked, flat, or brittle, they need replacing. Take the old part to a hardware store to find an exact match.
- Install the new part: Place the new washer or O-ring onto the valve stem. Apply a small amount of plumber’s grease to new O-rings to help them seal and last longer.
- Reassemble faucet: Put the faucet back together in reverse order.
- Test for leaks: Turn the water supply back on and check for drips.
Fix 4: Replacing a Faulty Faucet Cartridge
The cartridge is the heart of your faucet, controlling both the flow and temperature. If replacing washers didn’t solve the leak or you have temperature control issues, the cartridge might be the problem.
- Turn off water supply and remove faucet trim as described in Fix 3.
- Remove the retaining clip/nut: Most cartridges are held in place by a clip or threaded nut. Carefully remove this.
- Extract the old cartridge: You might need to gently pull or twist the cartridge out. Some brands have a special cartridge puller tool that can be very helpful.
- Insert the new cartridge: Ensure the new cartridge is oriented correctly, matching the markings or shape of the old one.
- Secure the new cartridge: Replace the retaining clip or nut.
- Reassemble faucet and test thoroughly.
Finding the right replacement cartridge can be tricky. Bring the old one to the store or check the manufacturer’s website for your specific model. The HGTV website often has great visual tutorials for these types of repairs.
Fix 5: Repairing Caulk and Grout
Cracked or missing caulk and grout are common entry points for water. This is a more aesthetic repair that prevents bigger water damage issues.
Step-by-step Caulk Replacement:
- Gather supplies: New silicone caulk (kitchen/bath formula), caulk gun, utility knife, putty knife, rubbing alcohol or mild detergent, a clean cloth.
- Remove old caulk: Carefully cut along the edges of the old caulk with a utility knife. Use a putty knife to peel and scrape away all the old, loose caulk.
- Clean the area: Thoroughly clean the joint where the caulk was removed. Ensure it’s completely dry. Any residue can prevent the new caulk from adhering properly.
- Prepare the caulk gun: Cut the tip of the new caulk tube at a 45-degree angle, making a small opening. Puncture the inner seal.
- Apply new caulk: Place the nozzle at a consistent angle against the joint. Apply steady, even pressure to the caulk gun, creating a smooth, continuous bead of caulk. Aim for consistent coverage.
- Smooth the caulk: Immediately after applying, smooth the bead with a damp finger or a specialized caulking tool. Wipe away excess caulk with a damp cloth.
- Allow to cure: Let the caulk cure completely according to the manufacturer’s instructions (usually 24-48 hours) before exposing it to water.
Step-by-step Grout Repair/Re-grouting:
Minor grout cracks can sometimes be filled, but larger areas might need re-grouting.
- Remove damaged grout: Use a grout saw or utility knife to carefully scrape out loose or cracked grout. Be careful not to damage the tiles.
- Clean the grout lines: Vacuum out the dust and debris. Wipe the lines clean with a damp sponge. Let dry.
- Mix grout: Prepare a small batch of matching tile grout according to the package directions. It should be a peanut-butter-like consistency.
- Apply grout: Use a grout float or a putty knife to press the new grout into the cleaned lines, ensuring they are filled completely.
- Wipe off excess: Hold the float at a 45-degree angle and scrape off excess grout from the tile surfaces.
- Clean with a damp sponge: After a few minutes, use a damp (not wet!) sponge to gently wipe the tiles in a circular motion to remove grout haze. Rinse the sponge frequently in clean water.
- Allow to cure and seal: Let the grout cure completely according to the manufacturer’s instructions. Once cured, apply a grout sealer to protect it from moisture and stains.
For detailed visual guides on these processes, check out resources from organizations like the EPA WaterSense program for water-saving tips and maintenance advice related to showers.
Fix 6: Repairing Shower Door Seals and Thresholds
Leaky shower doors are often due to worn-out seals or damaged thresholds.
- Inspect door seals: Check the vinyl or rubber strips along the bottom and sides of your shower door. Look for tears, cracks, or areas where they’ve pulled away.
- Clean and reattach seals: If a seal is just loose, try cleaning the area and pressing it firmly back into place. Sometimes a bit of water-resistant adhesive can secure it.
- Replace damaged seals: If seals are visibly worn or damaged, they need replacing. Many hardware stores sell universal shower door seal kits. Measure the length needed and cut to size.
- Check the threshold: The bottom track or threshold of your shower door might also be damaged or have gaps. Ensure it’s sealed to the tub or floor with silicone caulk. Re-caulk if necessary following the steps in Fix 5.
- Test for leaks: Run water in the shower and observe carefully for any water escaping under the door or through new seal gaps.
When to Call a Professional
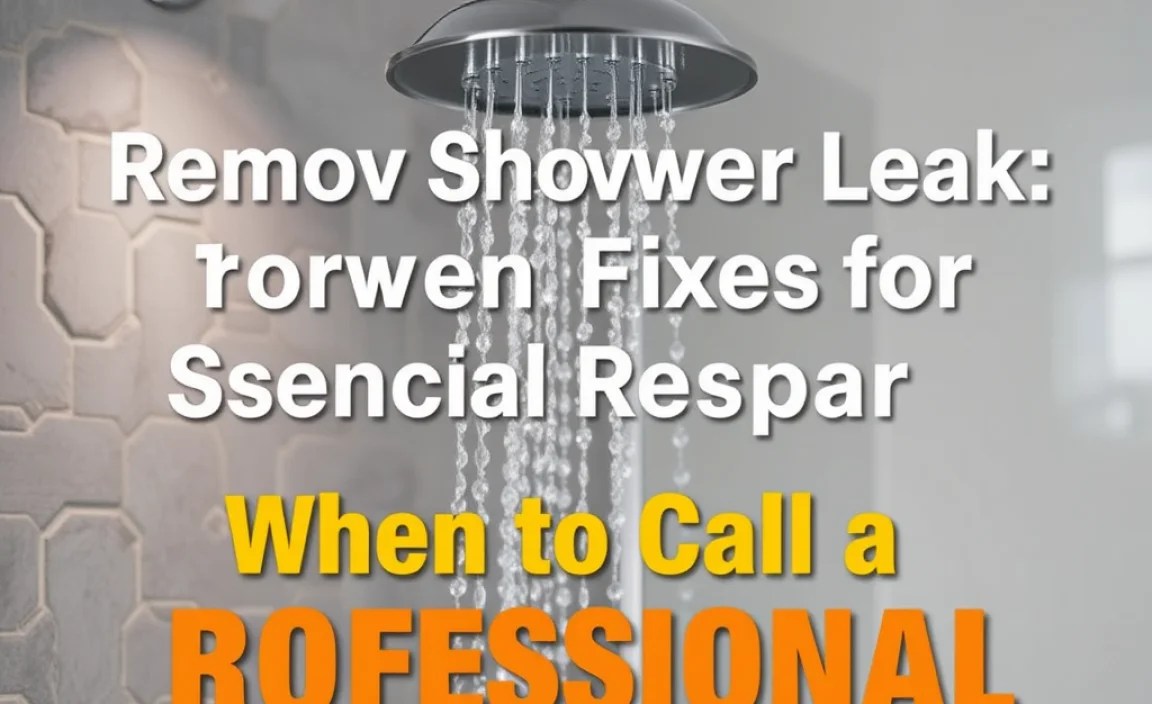
While most shower leaks are DIY-friendly, there are times when it’s best to call in the experts. Don’t hesitate to reach out to a licensed plumber if you encounter any of the following:
- Persistent leaks: If you’ve tried the above fixes and the leak continues, it might be an issue with hidden plumbing.
- Water damage behind walls: Visible signs like peeling paint, discolored drywall, or mold growth suggest more serious water intrusion.
- Low water pressure: This can sometimes indicate a leak further up the plumbing line.
- No visible source: If you suspect a leak but can’t find any obvious signs around the faucet, showerhead, or seals.
- Uncertainty or lack of confidence: If you’re not comfortable performing a repair, it’s always better to be safe and call a professional.
Preventing Future Shower Leaks

Once you’ve fixed your shower leak, you’ll want to keep it from coming back. A little preventative maintenance goes a long way!
- Regularly inspect caulk and grout: Check for cracks or signs of wear at least every six months and touch up or reapply as needed.
- Keep shower doors clean and dry: Wipe down shower doors and tracks after use to prevent soap scum buildup and mold growth, which can degrade seals.
- Address drips immediately: Don’t let small drips go unfixed. A minor issue can escalate quickly.
- Use a shower squeegee: Regularly using a squeegee on shower doors and walls after showering can significantly reduce moisture and prevent issues.
- Consider water-saving fixtures: Low-flow showerheads and faucets can reduce water pressure and wear on your plumbing system.
- Know your plumbing: Familiarize yourself with your home’s shut-off valves.
Frequently Asked Questions (FAQ)
Q1: How do I know if my shower is leaking?
A1: Look for water stains on ceilings or walls below the shower, listen for dripping sounds when the shower is off, check for mold or mildew around the shower area, notice a persistent musty smell, or see an unusually high water bill.
Q2: Can a leaky showerhead be fixed easily?
A2: Often, yes! Many showerhead leaks are caused by loose connections, worn-out washers, or old plumber’s tape. These are usually simple DIY fixes.
Q3: How much does it cost to fix a shower leak?
A3: DIY repairs can cost as little as $10-$30 for materials like plumber’s tape, caulk, or replacement washers. Professional plumbing services can range from $100 to $500 or more, depending on the complexity of the leak.
