
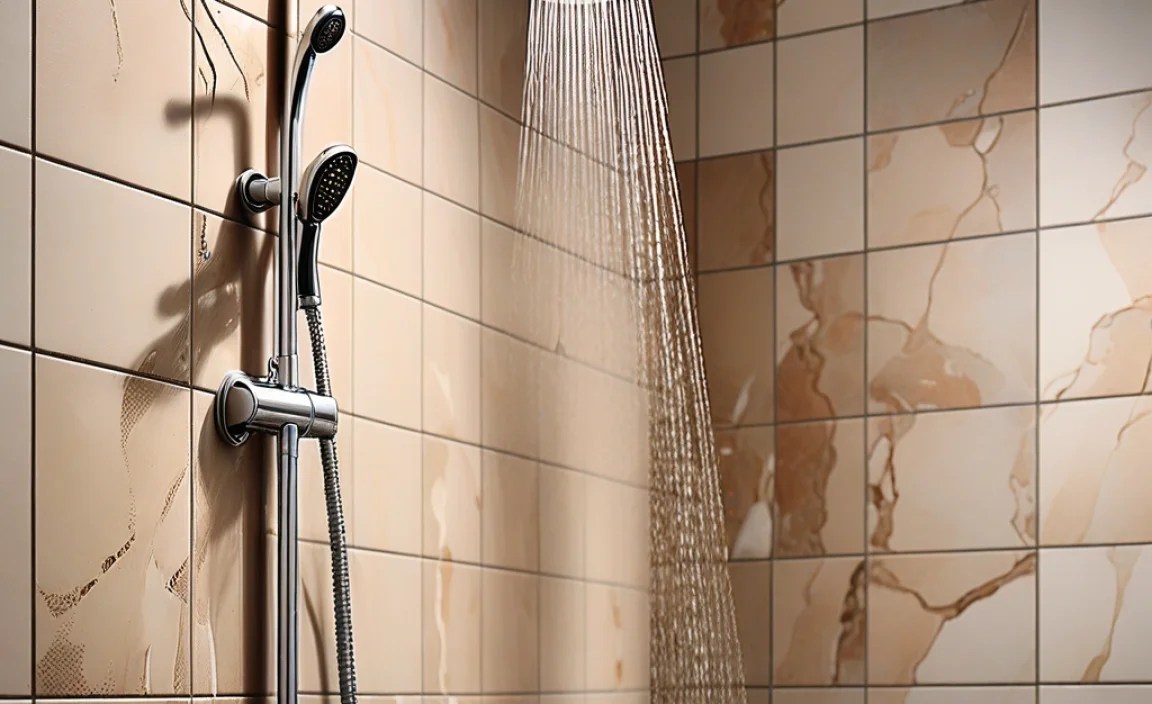
Have you ever stepped into the shower, only to find water dripping from the ceiling? It’s a frustrating surprise! Understanding how to fix a shower leak can save you from bigger problems. A small leak can lead to mold or damage over time. Nobody wants that!
Imagine waking up to a cold shower because your plumbing went haywire. Not fun, right? Luckily, you don’t need to be a plumber to tackle this issue. With a few handy tips, you can identify the source of the leak and make simple repairs yourself.
Did you know that many shower leaks are caused by worn-out seals? This is a common issue that often gets overlooked. By learning how to fix shower leak issues yourself, you gain more control over your home. Plus, you’ll save on costly repair bills! Let’s dive in and explore some easy steps to fix that pesky leak.
How To Fix Shower Leak: Effective Solutions And Tips

How to Fix a Shower Leak

A shower leak can lead to high water bills and even damage your home. First, check the showerhead and fixtures for loose connections. Sometimes, replacing washers or seals solves the issue. If the leak persists, inspect the pipes behind the wall; they might need professional help. It’s easy to ignore small leaks, but did you know a tiny drop can waste over 2,000 gallons a year? Fixing them early saves time and money!
Identify the Source of the Leak

Explore common areas where shower leaks occur, such as faucets, showerheads, or pipe connections.. Discuss methods for detecting leaks, including visual inspections and water meter checks..
Shower leaks can happen in many places. Common spots include faucets, showerheads, and pipe connections. Finding the source is important. Start by looking for water stains or damp areas. You can also check your water meter. If it moves while no water is running, there may be a leak. Use these steps to help you locate the issue:
- Check the faucet and showerhead for drips.
- Examine the caulking around the edges.
- Look for wet walls or floor tiles.
How can I tell if I have a shower leak?
Look for wet spots or listen for dripping sounds around your shower.
Tools and Materials Needed
List essential tools for fixing shower leaks, such as wrenches, screwdrivers, and sealant.. Include a brief description of materials required, like washers, Orings, or plumber’s tape..
Getting ready to conquer that pesky shower leak? First, gather your weapons! You’ll need some handy tools like wrenches and screwdrivers for loosening stubborn parts. Don’t forget about sealant to keep everything snug and leak-free. Now, let’s not skip the materials! Grab washers, O-rings, and some plumber’s tape to seal the deal. Here’s a quick list in a handy table:
| Tools | Materials |
|---|---|
| Wrench | Washers |
| Screwdriver | O-Rings |
| Sealant | Plumber’s Tape |
With these items in hand, you’re ready to tackle that leak like a pro! It’s time to channel your inner plumber!
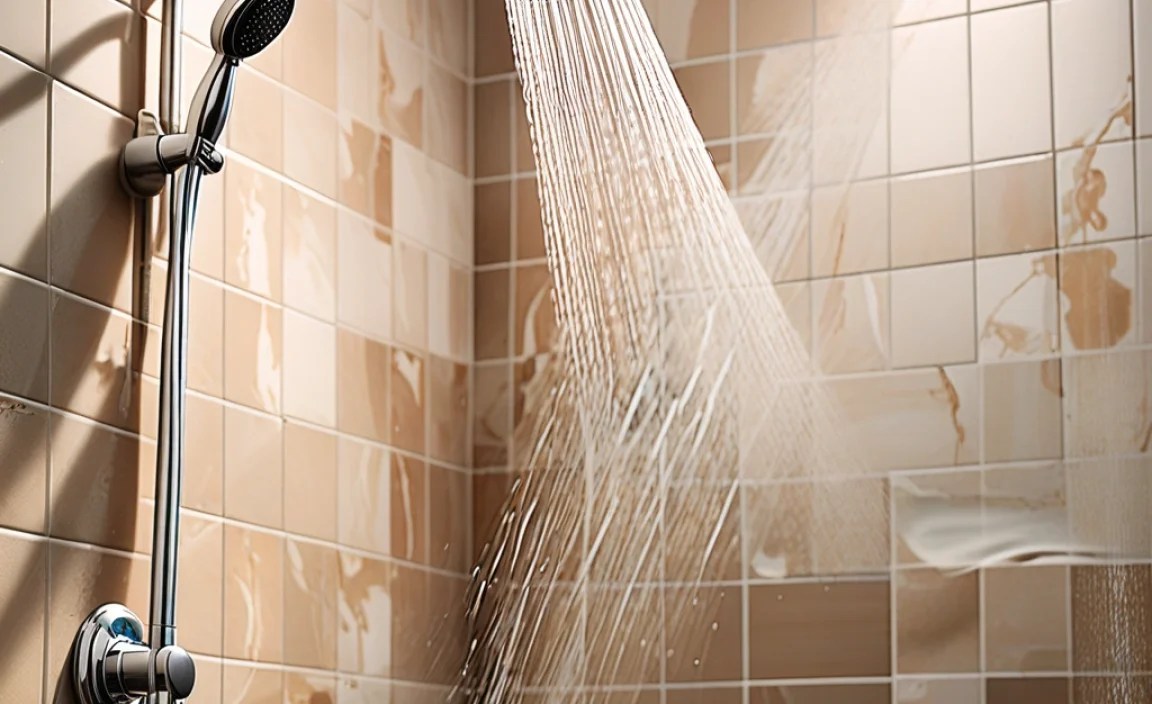
Fixing a Leaky Showerhead
Detail stepbystep instructions for replacing washers or Orings in showerheads.. Explain how to clean and maintain showerheads to prevent future leaks..
Start by turning off the water supply. Remove the showerhead using a wrench. Take out the old washer or O-ring. Replace it with a new one. Reattach the showerhead and turn the water back on. Check for leaks.
To keep your showerhead in good shape, clean it regularly. Use vinegar to dissolve mineral build-up. Soak the showerhead in vinegar overnight if possible. Rinse well afterward.
- Turn off the water supply.
- Remove the showerhead.
- Replace worn washers or O-rings.
- Reattach and check for leaks.
- Clean the showerhead with vinegar.
How do you clean a showerhead?
Cleaning a showerhead is easy! Soak it in vinegar overnight. This removes buildup and helps prevent leaks. Rinse with water afterward for a shiny finish.
Repairing a Dripping Faucet
Provide guidance on disassembling a faucet to access internal components.. Outline the process for replacing cartridges or valve seats to stop the drip..
Got a leaky faucet? No worries! First, turn off the water supply. Next, grab a screwdriver and remove the handle. It’s like playing a game of hide and seek with the faucet! Once you’ve exposed the innards, check for the cartridge or valve seat. Replacing these parts can stop that annoying drip. Follow the steps below for a simple guide:
| Step | Action |
|---|---|
| 1 | Turn off the water supply. |
| 2 | Remove the faucet handle. |
| 3 | Check and replace the cartridge or valve seat. |
| 4 | Reassemble the faucet. |
| 5 | Turn the water supply back on and check for leaks. |
With some effort, your faucet will stop dripping, and you can save some water. Think of it as teaching your faucet to behave!
Dealing with Leaking Shower Doors
Discuss potential causes of leaks in shower doors, including faulty seals and gaps.. Offer solutions for resealing doors and using waterproof paint or caulk..
Shower doors can leak for several reasons. One common cause is faulty seals. These seals wear out and no longer keep water inside. Gaps in the door frame can also let water escape. To fix these issues, try resealing the doors. Using waterproof paint or caulk can help. Here are some quick solutions:
- Inspect the seals regularly for wear.
- Clean the area before applying new sealant.
- Ensure caulk fills any gaps completely.
Taking these steps can help keep water where it belongs!
What are common causes of shower door leaks?
Common causes include worn-out seals and gaps in the frame. Regular checks can help find these issues early.
Addressing Plumbing Issues Behind the Walls
Explain how to identify and access plumbing leaks hidden in walls or under floors.. Describe methods for repairing or replacing damaged pipes, including soldering and using pipe fittings..
Finding leaks behind walls or under floors can feel like a treasure hunt—except the treasure is a soggy mess. First, look for water spots or mold on the walls. If your water bill seems higher than your daily coffee intake, you might have a hidden leak. To fix it, you may need to cut into the wall or floor. Use pipe fittings or solder as your tools. Soldering is like a magic trick for pipes, sealing leaks faster than you can say, “Where’s my tool?”
| Method | Steps |
|---|---|
| Soldering | Heat the pipe, add solder, and watch the leak disappear! |
| Using Pipe Fittings | Join pieces together and tighten. It’s like building with LEGO, but wetter! |
Preventative Measures to Avoid Future Leaks
Suggest regular maintenance tips to keep shower components in good condition.. Discuss the importance of promptly addressing minor leaks to prevent larger issues..
Taking care of your shower is key to avoiding leaks. It’s like regular check-ups for your body. A few simple steps can help keep everything working well:
- Inspect showerheads for any drips.
- Check caulking around edges to keep water in.
- Clean shower drains to avoid clogs.
- Replace worn-out seals and washers quickly.
Addressing small leaks right away is important. A tiny drip can turn into a big problem. Addressing minor issues early on saves money and time later. Keep your shower in good shape, and enjoy a worry-free experience!
How often should I check for leaks?
Check for leaks at least once every month. Early detection can prevent larger issues down the line.
What should I do if I find a leak?
Repair it as soon as possible. This can save you from costly repairs later and keep your shower in good shape.
When to Call a Professional
Highlight scenarios that necessitate professional intervention due to complexity or severity.. Provide tips on how to choose a reputable plumber for the job..
Sometimes, fixing a shower leak is tough. You may need a professional if:
- The leak is big or spreads quickly.
- You can’t find the source of the leak.
- The plumbing looks damaged or old.
Choosing a good plumber is important. Look for someone who is licensed and has good reviews. Ask friends for recommendations. Always get an estimate before work starts. This way, you will know what to expect. A good plumber can save you time and money!
When should you call a plumber for a shower leak?
If your shower leaks, you should call an expert if the problem is beyond simple fixes. Severe leaks can cause damage to your home and might need professional help.
Conclusion
In summary, fixing a shower leak is important for saving water and money. First, identify the source of the leak. Then, tighten or replace faulty parts. Regular maintenance helps prevent future leaks. If the problem seems big, don’t hesitate to call a plumber. You can also read more guides for tips. Taking action now will keep your shower in great shape!
FAQs
What Are The Common Causes Of A Shower Leak, And How Can I Identify Them?
Common causes of a shower leak include broken tiles, worn-out seals, and loose pipes. You can spot a leak by checking for water stains on the wall or floor. Look for drips or puddles when you shower. If you hear a dripping sound, that might mean there’s a leak.
How Do I Determine If The Leak Is Coming From The Showerhead, Faucet, Or The Shower Base?
To find out where the leak is coming from, start by turning off the water. Check the showerhead first by looking for water dripping. Next, turn on the faucet and see if water leaks from there. Finally, look at the shower base while water is running. If you see water pooling at the bottom, the leak might be from there.
What Materials And Tools Do I Need To Repair A Leaking Shower?
To fix a leaking shower, you’ll need a few things. First, grab some plumber’s tape to help seal the pipes. You will also need a wrench to tighten any loose parts. A screwdriver is important to remove the shower handle or faucet. Lastly, you might need replacement washers or O-rings if they are worn out.
When Is It Necessary To Call A Professional Plumber For A Shower Leak Instead Of Attempting A Diy Repair?
You should call a professional plumber if the leak is very big or keeps getting worse. If you can’t find where the water is coming from, it’s time to get help. Also, if you try fixing it and it doesn’t work, don’t keep trying. A plumber has special tools and training to fix leaks safely.
How Can I Prevent Future Leaks In My Shower After Making Repairs?
To prevent future leaks in your shower, you can do a few things. First, check the seals around the edges. Make sure they are tight and not cracked. Also, keep an eye on the pipes for any signs of wetness. Finally, regularly check the showerhead for drips. This way, we can catch problems early!
