
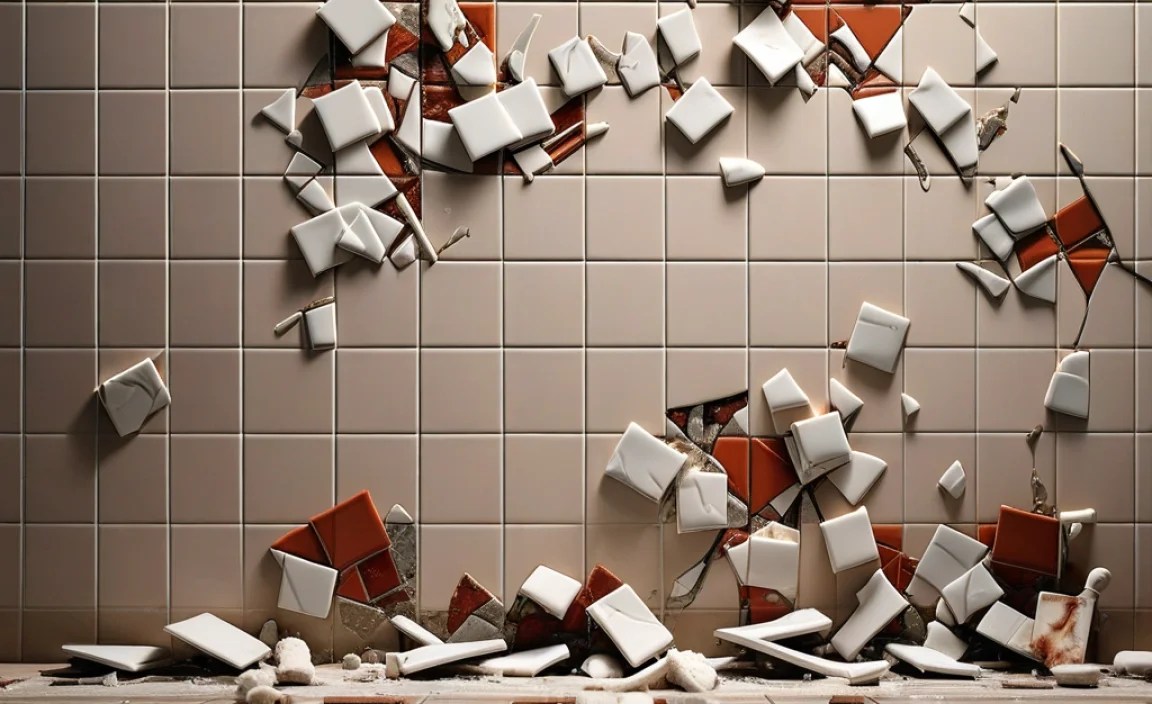
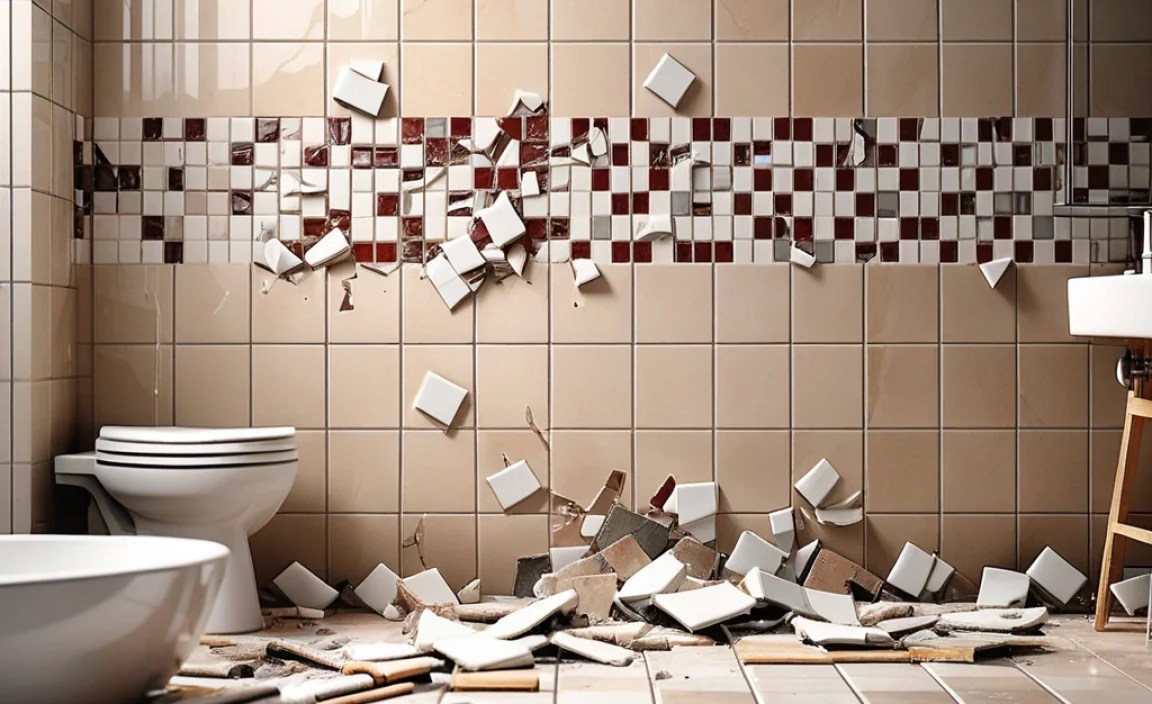
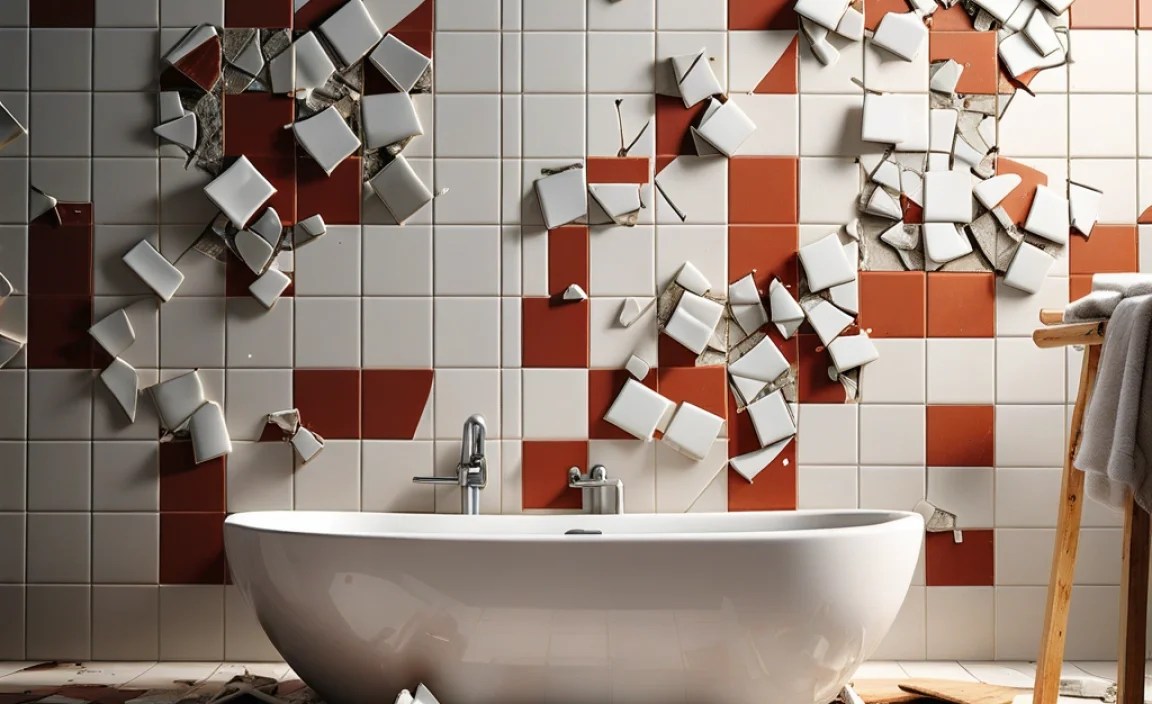
Have you ever stepped on a broken bathroom tile? It’s not just a small annoyance; it can be a real hazard. Replacing broken bathroom tiles is easier than you might think. Imagine walking into your bathroom and seeing shiny, new tiles shining back at you. Doesn’t that sound nice?
Many people worry that fixing tiles is a big job. They might think it’s best to call a professional. But what if I told you that you can do it yourself? Yes, you can! With a little guidance and the right tools, you can replace those tiles in no time.
Did you know that old, broken tiles can harbor germs? They can even make your bathroom look messy. Keeping your bathroom tidy helps it feel more inviting. So, why wait? Let’s explore how you can replace broken bathroom tiles and bring life back to your space!
How To Replace Broken Bathroom Tiles Easily And Effectively

Replace Broken Bathroom Tiles
Broken bathroom tiles can ruin the look of your space. Did you know that replacing them can be an easy DIY project? First, gather the right tools such as a tile cutter and adhesive. Carefully remove the damaged tile without harming surrounding ones. Next, apply new adhesive, set the new tile, and let it dry. Voila! You’ve refreshed your bathroom! Not only does this upgrade enhance beauty, but it also prevents water damage. Isn’t that a win-win?
Tools and Materials Needed
List of essential tools for tile replacement. Recommended materials for a successful project.
To replace broken bathroom tiles, you need some tools and materials. Here’s what you should gather:
- Crowbar: Helps remove old tiles.
- Tile Cutter: Cuts new tiles to size.
- Trowel: Spreads glue evenly.
- Grout Float: Applies grout in gaps.
- Safety Goggles: Protects your eyes.
- Measuring Tape: Ensures correct tile size.
For materials, use:
- New Tiles: Choose tiles that match your style.
- Thinset Mortar: This holds tiles secure.
- Grout: Fills the spaces between tiles.
- Sealant: Protects grout from stains.
Having the right tools and materials will make your project successful and fun!
Why are these tools and materials important?
The right tools make tile replacement easier and faster. Using sturdy materials ensures your project lasts for years. Missing items might lead to mistakes or unsafe conditions.
Assessing the Damage
How to identify broken tiles and underlying issues. Determining if entire tiles or just sections need replacement.
Start by looking closely at your bathroom tiles. Check for cracks, chips, or any signs of damage. You might notice some tiles are just damaged at the corner or in the middle. This helps you decide if you need to replace an entire tile or just a small piece. Be sure to check the space under the tiles too. Sometimes, water leaks can cause bigger problems. Always check for:
- Visible cracks or chips
- Loose tiles that move when touched
- Water stains or mold
Preparing the Area for Tile Replacement
Steps to clear the workspace and protect surrounding tiles. Importance of measuring and planning layout.
Start by clearing the area where you will work. Move any furniture or items out of the way. Protect nearby tiles by using a drop cloth or cardboard. This helps prevent scratches or damage. Next, measure the space carefully. Plan the layout for your new tiles. A good plan leads to a better fit. Remember, a little extra care can save you time and effort later!
How to prepare for tile replacement?
Begin by removing items and covering surrounding tiles. Measure the area to ensure the new tiles fit perfectly.
Steps to clear and protect:
- Move furniture and items away.
- Cover nearby tiles with a drop cloth.
- Measure the space for accurate tile layout.
- Plan how you will place the tiles.
Removing the Broken Tiles
Techniques for safely removing damaged tiles. Tips for minimizing damage to adjacent tiles.
First, grab a chisel and a hammer. Carefully tap around the broken tile. Aim for the corners first. This helps crack it without disturbing its neighbors. Use a putty knife to lift the pieces. Remember, patience is key! No need to go all Hulk on it!
To protect nearby tiles, place tape around the edges. This way, if a slip happens, the tape catches any rogue hits. If you’re unsure, wear goggles and gloves for extra safety. It’s better to be safe than sorry, especially when wielding tools!
| Technique | Tip |
|---|---|
| Chisel | Start at the corners to minimize damage. |
| Putty Knife | Use for lifting to ensure less mess. |
| Tape | Protect surrounding tiles from slips. |
With these tricks, you’ll be a tile-removing pro in no time!
Preparing the Surface for New Tiles
Cleaning and repairing the subfloor or wall surface. Ensuring proper adhesion for the new tiles.
Start by cleaning the area where the new tiles will go. Remove dirt, dust, and old glue. This helps the new tiles stick better. Next, check the surface for cracks or holes. If you find any, fill them in with a strong filler. A smooth surface will help ensure the new tiles stay in place. Remember, a clean and sturdy base is key for a long-lasting tile installation.
Why is it important to clean before tiling?
Cleaning the surface helps new tiles stick well, preventing them from coming loose later.
- Remove old tiles and adhesive.
- Check for structural issues.
- Fill any holes or cracks that could weaken the tiles.
Taking time to prepare will make your project smoother and more successful.
Installing the New Tiles
Stepbystep instructions for aligning and securing new tiles. Importance of grout application and sealing.
First, gather your new tiles, a tile cutter, adhesive, and a notched trowel. Start by spreading adhesive evenly on the surface where you’ll place the new tiles. Align each tile snugly, leaving space for grout. Use spacers to keep them from getting too cozy! Once all tiles are in place, allow the adhesive to dry.
| Step | Action |
|---|---|
| 1 | Spread adhesive |
| 2 | Place tiles |
| 3 | Use spacers |
| 4 | Let dry |
Next comes grout, the hero of your tiling adventure! Apply it between the tiles. This step is important—it keeps water away and protects your tiles. Once the grout settles, seal it to keep things shiny and safe from mold. Remember, “A sealed tile is a happy tile!”
Finishing Touches After Tile Replacement
Tips for cleaning the tiles and grout lines. Maintenance advice to prolong the life of new tiles.
After you’re done swapping out those broken tiles, don’t forget the finishing touches! First, clean the new tiles and grout lines with a gentle cleaner. It’s like giving them a nice bath after the hard work! Use a soft cloth or sponge to avoid scratches. Remember, fresh tiles love a good shine! For maintenance, avoid harsh chemicals that could wear them down. Regular sweeping and damp mopping will keep them sparkling for years to come.
| Cleaning Tips | Maintenance Advice |
|---|---|
| Use a mild detergent | Damp mop regularly |
| Soft cloth or sponge only | Avoid harsh chemicals |
| Seal grout lines yearly | Buff dry for shine |
Troubleshooting Common Issues
Solutions for misaligned tiles or gaps. How to address moisturerelated damage postinstallation.
Sometimes tiles can end up looking more like abstract art than a perfect floor! If tiles are misaligned, you can try using spacers to create the right gaps. This might feel a bit like putting together a puzzle, but with practice, you’ll have a masterpiece! For moisture-related damage, check for leaks. It’s like finding a hidden treasure—except this treasure is water, and it’s not welcome. Fix any leaks before re-tiling to ensure dry success!
| Issue | Solution |
|---|---|
| Misaligned Tiles | Use spacers for correct alignment |
| Moisture Damage | Check for leaks, fix before re-tiling |
Conclusion
In summary, replacing broken bathroom tiles can be simple and rewarding. You can choose the right tiles, gather tools, and follow easy steps. Doing this boosts your bathroom’s look and keeps it safe. If you’re ready, start by picking the perfect tiles today! For more tips, check out DIY guides online for helpful advice.
FAQs
Sure! Here Are Five Questions Related To Replacing Broken Bathroom Tiles:
Got it! Here’s a short answer to your request: To replace broken bathroom tiles, you first need to gather tools like a hammer and tiles. You can remove the broken tile by tapping it gently. Once it’s out, spread some glue on the new tile and press it in place. Finally, let it dry before using the bathroom again. With a little patience, you can make your bathroom look great!
Sure! Please provide the question you would like me to answer, and I will help you with it.
What Tools And Materials Do I Need To Replace A Broken Bathroom Tile?
To replace a broken bathroom tile, you need a few tools and materials. First, get a new tile that matches your bathroom. You will also need tile adhesive to stick the tile down. A small putty knife will help you spread the adhesive. Don’t forget grout to fill the spaces between tiles and a sponge for cleanup!
How Do I Safely Remove A Broken Tile Without Damaging The Surrounding Tiles Or Walls?
First, wear safety glasses to protect your eyes. Use a utility knife to carefully cut the grout around the broken tile. Then, gently tap a putty knife under the tile to lift it. If it’s stuck, use a chisel and hammer, but be careful not to hit nearby tiles. Clean the area before you put in a new tile.
What Are The Steps To Properly Adhesive A New Tile Into Place?
To put a new tile in place, first, you need to clean the area where the tile will go. Then, get your tile adhesive and spread it evenly on the floor using a small tool called a trowel. Next, press the tile down firmly into the adhesive. Make sure it’s straight and even. Finally, let the adhesive dry according to the package instructions before walking on it.
How Can I Match The New Tile With The Existing Tiles For A Seamless Look?
To match new tiles with existing ones, first, check the color and style. You can take a piece of the old tile to the store. Look for tiles that are the same or very close in color and texture. If you can, choose tiles that have a similar finish, like shiny or matte. This will help everything look nice together!
What Should I Do If There Is Damage To The Subfloor Or Wall Underneath The Broken Tile?
First, look closely at the damage to the subfloor or wall. If it’s small, you might fix it yourself with wood glue or patches. If it’s big, you should ask an adult for help. They may need to replace the damaged part. Once that’s done, you can put a new tile in place.
