
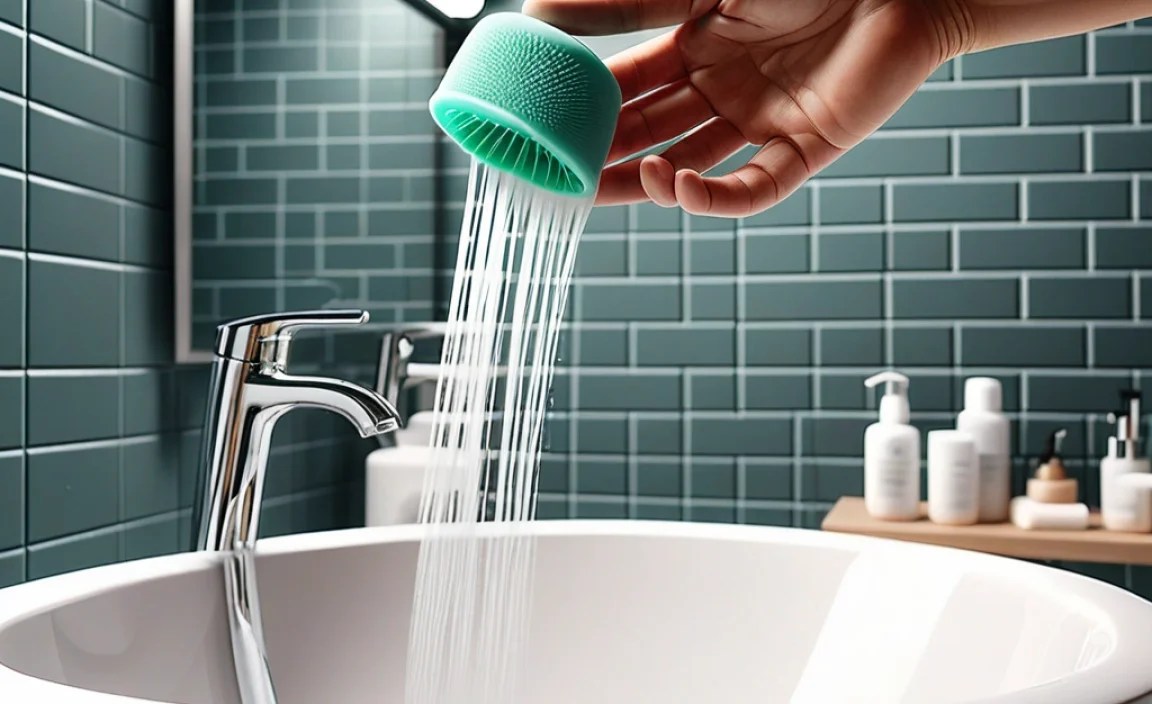
Have you ever looked at your bathroom and thought, “What happened to that shiny silicone seal?” Over time, bathroom silicone can get dirty, moldy, or cracked. It’s not just an eyesore; it can also lead to bigger problems like leaks. If you’ve ever tried to figure out how to clean or replace it, you’re not alone.
Imagine pulling back your shower curtain and seeing that old, gunky silicone. Yuck! Few tasks seem so daunting yet so necessary. Did you know that removing bathroom silicone can actually be easy if you know the right steps? With a few simple tools and tricks, you can bring back the sparkle to your bathroom.
This article will share the best methods for removing bathroom silicone. Get ready to roll up your sleeves and tackle this project. You might even surprise yourself with how quickly it can transform your space!
Effective Tips For Removing Bathroom Silicone Seamlessly

Removing Bathroom Silicone
Removing bathroom silicone can be simple and rewarding. First, gather your tools like a utility knife, scraper, and some vinegar. Did you know vinegar can help break down silicone? This makes your job easier! Carefully slice along the edges of the silicone to avoid hurting the surface. Then, gently wiggle the scraper underneath. What a relief it is to see a clean edge! Finally, clean the area well before applying new silicone. Enjoy your fresh, tidy bathroom!
Understanding Bathroom Silicone

Types of silicone commonly used in bathrooms. Importance of sealing in moisture control.
Bathrooms often use two main types of silicone: sanitary silicone and construction silicone. Sanitary silicone is perfect for areas like tubs and sinks, as it helps prevent mold and mildew. Construction silicone is great for general sealing. Both types seal out moisture, which is key in keeping your bathroom dry. A good seal stops water from leaking and causing damage. This keeps your space safe and clean.
What is the importance of sealing in moisture control?
Sealing helps prevent water damage and mold growth. Moisture can sneak into cracks and cause harm over time. This makes sealing an important part of bathroom care.
Reasons for Removing Bathroom Silicone

Signs that silicone needs replacement. Health implications of mold and mildew.
Silicone in the bathroom can get a little funky over time. Look for cracks or peeling; that’s a sign it’s time for a change. If you spot dark spots, you might have slimy mold or mildew invading your space! These little guys can cause health problems, like sneezing and itchy eyes. Trust me, your bathroom shouldn’t feel like an underwater jungle!
| Signs of Replacement | Health Risks |
|---|---|
| Cracks or peeling | Allergies, respiratory issues |
| Mold or mildew growth | Skin irritation |
So, keeping your silicone fresh isn’t just about looks; it’s about health, too! Remember, a clean bathroom keeps away the scary germs!
Tools and Materials Required for Removal
Essential tools for effective silicone removal. Recommended chemical and nonchemical removal agents.
Ready to tackle that stubborn bathroom silicone? Grab your trusty tools! First on your list should be a utility knife or a small scraper. These help slice through that gunky stuff. Next, grab some rubbing alcohol or a commercial silicone remover to break down any leftover adhesive. For the brave souls, vinegar and baking soda can also do the trick. Just remember, nobody wants a ninja-style surprise attack from a rogue silicone piece mid-bath!
| Tool/Material | Purpose |
|---|---|
| Utility Knife | Cut through silicone |
| Scraper | Lift and remove remnants |
| Rubbing Alcohol | Dissolve silicone effectively |
| Vinegar & Baking Soda | Natural cleaning solution |
With these tools in hand, you’re all set for a silicone showdown. And remember, safety goggles are cool! No one wants a surprise shower of silicone flakes in their eyes.
Step-by-Step Process for Removing Bathroom Silicone
Preparing the area for removal. Detailed steps for safe and effective silicone extraction.
Start by clearing the area around the silicone. Remove any towels or decorations. You want to create a nice, clean workspace—just like a surgeon prepping for an operation! Next, gather your tools: a utility knife, scraper, and some adhesive remover. Safety first! Be sure to wear gloves and goggles. Cut along the silicone edges gently. Use the scraper to lift it away without damaging your surfaces. Voilà! A job well done and a bathroom looking like new!
| Step | Action |
|---|---|
| 1 | Clear the area of items |
| 2 | Gather tools (utility knife, scraper, remover) |
| 3 | Wear gloves and goggles |
| 4 | Cut edges of silicone |
| 5 | Scrape away silicone |
Techniques for Tough Silicone Removal
Recommended methods for stubborn silicone. Tips for using heat and solvents.
For stubborn silicone, several methods can help you. One effective technique is to use heat. A hairdryer can soften the silicone, making it easier to pull off. Be careful not to burn yourself or the surface beneath!
Another option uses solvents, like rubbing alcohol or acetone. Simply apply some to a cloth and rub the silicone. This can break down the silicone’s grip. Always test on a small area first.
- Use a hairdryer for heat.
- Try rubbing alcohol or acetone as a solvent.
- Be gentle to avoid damage.
Proper Disposal and Clean-Up After Removal
Environmentally safe disposal practices. Cleaning the surrounding area postremoval.
After removing silicone, you must clean up properly. This protects our environment and helps keep spaces tidy. Use the following tips for safe disposal:
- Seal old silicone in a bag. It helps prevent pollution.
- Throw it in the trash, not down the drain. This keeps waterways clean.
- Rinse the area with water. This removes leftovers and cleans surfaces.
Cleaning well keeps your bathroom safe and fresh!
What should I do with old silicone?
Old silicone should be sealed in a bag and thrown in the trash to prevent pollution.
How can I clean the area after removal?
- Wash the surface with water. This removes any small bits left behind.
- Use a gentle cleaner. It helps make the area nice and clean.
Sealing Your Bathroom After Silicone Removal
Best practices for applying new silicone. Tips for ensuring a longlasting seal.
After successfully removing old silicone, it’s time to seal your bathroom like a pro! First, choose high-quality silicone that is mold-resistant. Apply it evenly with a caulk gun, holding it at a 45-degree angle. Remember, no one likes a messy job—smooth it out with a wet finger for a tidy finish! Let’s not forget the wait time; patience is key. A solid seal can last for years if done right.
| Best Practices | Tips for a Long-Lasting Seal |
|---|---|
| Use mold-resistant silicone | Wait 24 hours before using the area |
| Clean surfaces thoroughly | Ensure proper ventilation |
| Apply evenly | Check for gaps and reapply if needed |
By following these helpful tips, you can prevent leaks and keep your bathroom looking fresh! Happy sealing!
Common Mistakes to Avoid When Removing Silicone
Missteps that can damage surfaces. Timing and patience during the removal process.
Removing silicone from your bathroom can be tricky. Common mistakes can lead to damaged surfaces. For example, using a sharp tool can scratch tiles or fixtures. Ouch! Remember to take your time. Rushing won’t help and can make a mess. A good plan and some patience are key. Lastly, avoid using harsh chemicals. They might sound helpful, but they can create more problems than solutions. So, proceed with caution and don’t channel your inner Hulk!
| Common Mistake | Why It Matters |
|---|---|
| Using sharp tools | Can scratch surfaces |
| Rushing the process | Creates more mess |
| Using harsh chemicals | Causes more damage |
Always remember, a little patience goes a long way in avoiding these pesky mistakes!
Frequently Asked Questions about Silicone Removal
Answers to common queries and concerns. Troubleshooting tips for unexpected issues.
Many people have questions about removing bathroom silicone. Here are some common concerns that can help you.
What tools do I need?
You will need a utility knife, a scraper, and rubbing alcohol. These help make the job easier.
What if I can’t get it all off?
Don’t worry! Use more rubbing alcohol and a scraper to loosen the stubborn bits.
Can I use a chemical remover?
Yes, but read the instructions first. Some products may have strong smells or fumes.
What if I damage the surface?
If you accidentally scratch it, try using touch-up paint or caulk to fix it.
Always take your time. Rushing can cause mistakes. Happy cleaning!
Conclusion
In conclusion, removing bathroom silicone is easy with the right tools. You need a utility knife, silicone remover, and patience. First, cut along the edges carefully. Then, apply the remover and scrape off the old silicone. Remember to clean the surface well afterward. You can do it! For more tips, check out helpful guides online. Happy cleaning!
FAQs
What Are The Most Effective Methods For Removing Old Bathroom Silicone Caulk?
To remove old bathroom silicone caulk, you can use a few simple methods. First, try a caulk remover, which softens the caulk. You can also use a razor blade carefully to scrape it off. Another way is to soak the caulk with vinegar or rubbing alcohol to help loosen it. Always be careful and wear gloves to protect your hands.
How Do I Prepare The Surface Before Applying New Silicone After Removing The Old One?
To prepare the surface for new silicone, start by cleaning it well. You can use soap and water to remove dirt. Next, dry the area completely. If needed, use a scraper to get rid of any leftover old silicone. Finally, make sure the surface is smooth and dry before you apply new silicone.
Are There Any Specific Tools Or Products Recommended For Silicone Removal?
Yes, there are tools and products to help remove silicone. You can use a silicone remover gel, which softens the silicone. A putty knife or scraper helps you scrape it away easily. You might also find special scissors helpful for cutting the silicone. Always remember to wear gloves to protect your hands!
What Safety Precautions Should I Take When Removing Silicone In The Bathroom?
When removing silicone in the bathroom, you should wear gloves to protect your hands. Make sure the room is well-ventilated. Open a window or turn on a fan to help. If you use a tool, be careful not to hurt yourself. Always keep sharp objects away from your body.
How Can I Prevent Mold And Mildew From Developing In The New Silicone Sealant?
To stop mold and mildew, keep the area dry. Wipe away any extra water after using the sink or shower. Open windows to let in fresh air. Use a fan to help keep things dry. You can also pick a type of sealant that fights mold.
