
Quick Summary: Facing bathtub issues? Don’t worry! Simple bathtub repair tips can tackle common problems like chips, scratches, and leaks without professional help. Learn easy, genius fixes to restore your tub’s look and function, saving you time and money.
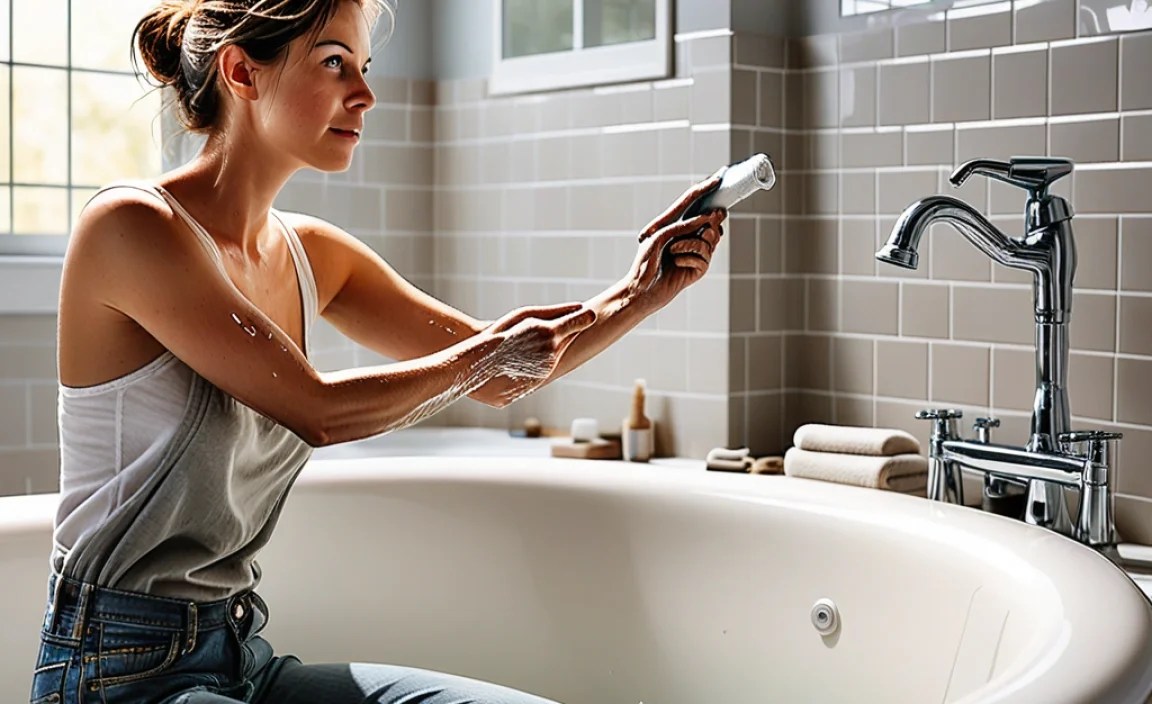
A bathtub is a cornerstone of our daily routine, a place for relaxation and rejuvenation. But what happens when this essential fixture starts showing its age or suffers a minor mishap? Cracks, chips, rust stains, or even a leaky faucet can turn your sanctuary into a source of frustration. Many homeowners feel intimidated by bathtub repairs, imagining complex plumbing or expensive resurfacing. The good news is that with the right knowledge and a few simple tools, you can handle many common bathtub problems yourself. This guide will walk you through practical, beginner-friendly solutions, turning minor damage into a distant memory and giving you the confidence to tackle your next DIY project.
Understanding Common Bathtub Problems
Before diving into fixes, let’s identify the usual suspects when it comes to bathtub woes. Understanding the problem helps us choose the right solution.
Chips and Scratches
These are probably the most common cosmetic issues. They happen due to dropped items, rough cleaning, or just wear and tear over time. Chips are small pieces missing from the surface, while scratches are lines on the surface. They not only look unsightly but can also be a starting point for bigger problems if left untreated.
Stains
Bathtubs can accumulate all sorts of stains. Rust stains from leaky fixtures or mineral deposits, soap scum buildup, or even dye from bath products can leave stubborn marks. These often require more than just a quick wipe-down to remove.
Cracks
Larger than chips, cracks can vary in severity. A hairline crack might just be an aesthetic issue, but a deeper crack can lead to water seeping behind the tub, causing potential water damage and mold growth. These require prompt attention.
Leaky Faucets and Drains
A dripping faucet or a slow-draining tub is not only annoying but also wasteful. These issues usually stem from worn-out seals, washers, or faulty cartridges within the faucet or drain assembly.
Essential Tools and Materials for Bathtub Repairs


Having the right gear makes any DIY job smoother and more effective. For most common bathtub repairs, you won’t need a professional workshop. Here’s a beginner-friendly list of what you might need:
- Cleaning Supplies: Mild detergent, baking soda, vinegar, microfiber cloths. For tougher stains, a specialized tub cleaner might be necessary.
- Patching and Filling: Epoxy repair kits specifically designed for bathtubs, porcelain or acrylic repair compounds, putty knives or spatulas.
- Sanding Tools: Fine-grit sandpaper (e.g., 220-grit and 400-grit), sanding block.
- Sealing and Caulking: Caulk gun, silicone or acrylic caulk suitable for bathrooms (waterproof and mold-resistant).
- Plumbing Tools (for leaks): Adjustable wrench, plumber’s tape, replacement washers or O-rings, basin wrench (for tight spaces).
- Safety Gear: Gloves, safety glasses, and good ventilation are crucial, especially when using chemicals or sealants.
Always check the manufacturer’s recommendations for your specific bathtub material (e.g., porcelain, acrylic, fiberglass) before using any cleaning agents or repair products. Using the wrong product can cause further damage.
Genius Fixes for Common Bathtub Problems
Let’s get to the good stuff! Here are step-by-step guides for tackling those annoying bathtub issues:
Fixing Chips and Scratches
This is a fantastic DIY project that can significantly improve the look of your tub. Most repair kits are straightforward.
Step-by-Step Guide:
- Clean the Area: Thoroughly clean the chipped or scratched area and its surroundings. Use a mild detergent and water, then dry completely. For best adhesion, lightly sand the edges of the chip or scratch with fine-grit sandpaper to create a smooth surface. Wipe away any dust.
- Mix the Repair Compound: If your kit involves mixing two parts (like epoxy), follow the package instructions precisely. Mix only what you need, as it can set quickly.
- Apply the Compound: Use a small spatula or putty knife to carefully apply the mixed compound into the chip or scratch. Smooth it out, ensuring it’s level with the surrounding surface. For scratches, a thin, even layer is best.
- Allow to Cure: Let the compound dry and cure completely according to the product’s instructions. This is crucial for durability.
- Sand and Polish (if needed): Once cured, if the repaired area is slightly raised, gently sand it smooth with very fine-grit sandpaper (400-grit or higher). Be careful not to sand the surrounding original surface. Buff the area with a soft cloth. Some kits come with a polishing compound.
Tackling Stubborn Stains
Taming stains often requires patience and the right cleaning approach. For porcelain and enamel tubs, it’s important to avoid abrasive cleaners that can scratch the surface.
Common Stain Types and Their Fixes:
- Rust Stains: These often come from metal fixtures or water with high iron content.
- Baking Soda Paste: Make a thick paste of baking soda and water. Apply it to the stain, let it sit for 30 minutes, then scrub gently with a soft brush or cloth. Rinse thoroughly.
- Vinegar: For tougher rust, soak paper towels in white vinegar and lay them over the stain. Leave for an hour, then scrub and rinse.
- Lemon Juice and Salt: A paste of lemon juice and salt can also work. Apply, let sit, scrub, and rinse.
- Commercial Rust Removers: If DIY methods fail, consider a commercial rust remover specifically formulated for bathtubs. Always test in an inconspicuous area first and ensure good ventilation. Check out resources on stain removal from the Environmental Protection Agency (EPA) for safe cleaning practices.
- Soap Scum and Hard Water Deposits: These create a dull, chalky film.
- Vinegar Spray: Warm white vinegar in a spray bottle. Spray liberally on the scum, let it sit for 30-60 minutes, then scrub with a non-abrasive sponge or brush. Rinse well.
- Baking Soda and Dish Soap: Mix baking soda with a few drops of dish soap to form a paste. Apply, let sit, scrub, and rinse.
- Dye Stains (e.g., from bath bombs):
- Baking Soda Paste with Hydrogen Peroxide: For non-porcelain tubs, a paste of baking soda and hydrogen peroxide can be effective. Apply, let sit briefly (watch for any color change on the tub surface), scrub gently, and rinse.
Always rinse thoroughly after using any cleaning solution to prevent residue buildup or damage to the tub’s finish. For delicate surfaces like acrylic, avoid abrasive pads and harsh chemicals.
Repairing Cracks in Bathtubs
Cracks need prompt attention to prevent water damage. The repair method depends on the material and size of the crack.
For Porcelain/Enamel and Acrylic Tubs:
- Clean Thoroughly: The crack and surrounding area must be impeccably clean and dry.
- Prepare the Crack: If the crack is sharp or has loose debris, gently clean it out. For deeper cracks, you might need to slightly widen the opening with a utility knife or a small rotary tool to ensure the filler has good adhesion. Be extremely cautious not to enlarge the crack or damage the surrounding material. A light sanding around the crack can also help.
- Apply Repair Filler: Use a two-part epoxy filler specifically designed for bathtubs or the appropriate material (porcelain, acrylic, fiberglass). Follow the manufacturer’s instructions for mixing.
- Fill the Crack: Carefully apply the filler with a small spatula or putty knife, ensuring it penetrates the crack completely. Smooth the surface so it’s flush with the tub. Apply in thin layers if filling a deep crack, allowing each layer to cure partially.
- Cure and Sand: Let the filler cure completely. Once hardened, gently sand the repaired area with fine-grit sandpaper until it’s smooth and blends with the tub’s surface.
- Optional: Color Matching and Sealing: Some kits come with color-matching tints. If the color doesn’t match perfectly, you might consider a tub refinishing kit later for a uniform look. For a more durable repair and to seal the filler, you can recoat the repaired area with a matching bathtub paint or sealant after sanding.
If the crack is large, structural, or you’re unsure, consulting a professional is always the safest bet. They can assess if the tub is compromised and offer solutions like professional resurfacing or replacement.
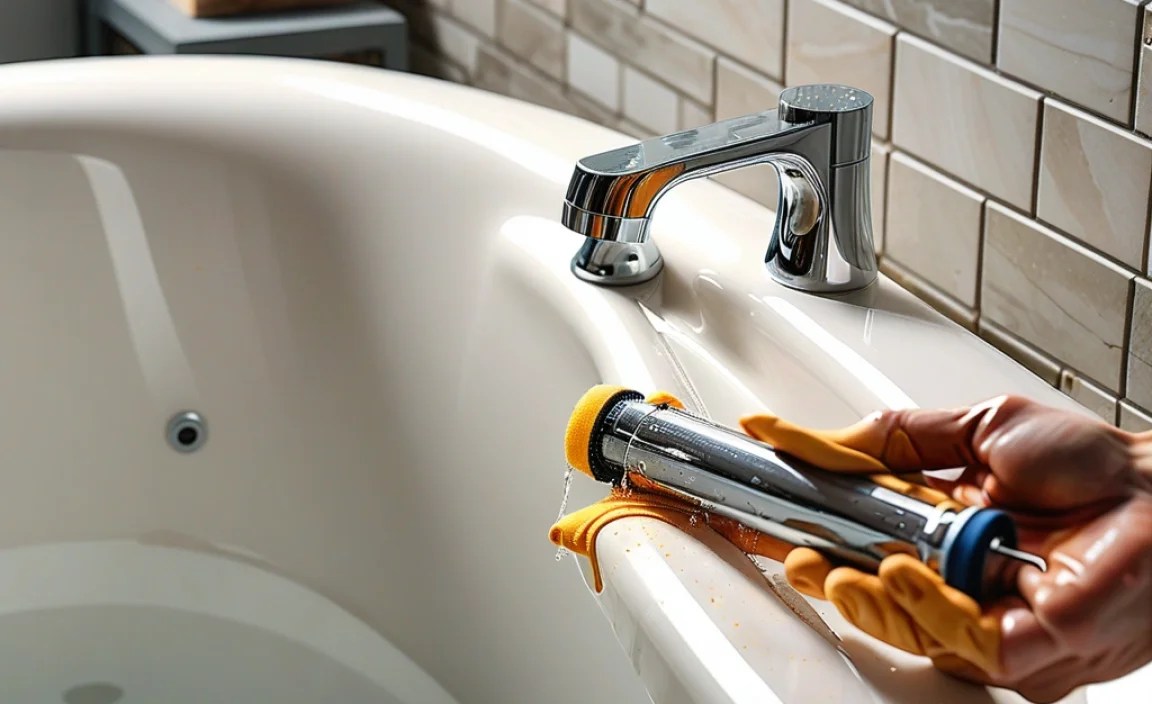
Fixing a Leaky Faucet
A dripping faucet is a common plumbing annoyance. Usually, the culprit is a worn-out washer or O-ring.
Step-by-Step Guide:
- Turn Off Water Supply: Locate the main water shut-off valve for your bathroom or house and turn it off. Alternatively, if your faucet has separate hot and cold shut-off valves underneath the sink, turn those off. Turn the faucet on to drain any remaining water and relieve pressure.
- Disassemble the Faucet Handle: Look for a decorative cap on the handle (often marked with red/blue for temperature). Pry this off gently with a small flathead screwdriver or putty knife. Underneath, you’ll find a screw. Unscrew it and lift off the handle.
- Access the Cartridge/Stem: You’ll now see the faucet stem or cartridge. There might be a retaining nut or clip holding it in place. Remove this (a wrench might be needed for the nut).
- Replace Worn Parts: Carefully pull out the old stem or cartridge. Inspect the O-rings and washers within it. If they look worn, cracked, or flattened, this is your problem. Replace them with identical new parts. It’s often easiest to take the old parts to a hardware store to find exact matches.
- Reassemble: Put the new parts in the same order you removed the old ones. Reinstall the retaining nut or clip, then the handle, its screw, and the decorative cap.
- Turn Water Back On: Slowly turn the water supply back on. Check for leaks at the faucet and around the handle.
For different faucet types (compression, cartridge, ball, or ceramic disk), the internal mechanisms vary. If you’re uncertain, look up your specific faucet model online or consult a plumbing resource like This Old House for detailed diagrams.
Repairing a Leaky Drain
A drain leak can be messy and lead to damage. The leak can be at the stopper, the drain flange, or the plumbing trap. Here’s how to address common drain issues:
Addressing Drain Leaks:
- Check the Stopper Seal: If water leaks around the stopper when the tub is full, the stopper seal might be worn or the linkage is obstructed. Clean the stopper thoroughly and check its rubber seals. Replace if damaged.
- Tighten the Drain Flange: The drain flange is the metal ring inside the tub drain. It’s usually sealed with plumber’s putty or silicone. If the leak is from here (check the ceiling below if you’re on an upper floor), try tightening the flange by hand or with channel locks (use a rag to protect the finish). Don’t overtighten.
- Reseal the Drain Flange: If tightening doesn’t work, the seal beneath the flange has likely failed.
- Drain the tub and remove the drain stopper.
- Unscrew the drain flange using a drain wrench or a large screwdriver.
- Clean all old putty or sealant from the flange and the tub opening.
- Apply a generous bead of fresh plumber’s putty or 100% silicone sealant around the underside of the flange.
- Screw the flange back into place, tightening it to form a good seal. Wipe away any excess putty/sealant.
- Reinstall the stopper and test for leaks.
- Check the Drain Trap: If the leak is from the pipes connecting to the tub (often accessible from a basement or crawl space), you might need to tighten slip nuts or replace seals on the plumbing trap.
Watch for water damage around the tub base and the ceiling below. If you suspect significant leaks in the plumbing, it’s best to call a plumber.
Bathtub Maintenance Tips for Longevity
Preventative care is the best “repair” strategy. Here are some tips to keep your bathtub in top shape:
- Regular Cleaning: Clean your tub weekly with a mild, non-abrasive cleaner. Rinse and dry thoroughly to prevent soap scum and water spots.
- Address Spills Immediately: Clean up bath products, dyes, or harsh chemicals as soon as they spill.
- Use a Tub Mat: A rubber or textured mat can prevent slips and protect the tub surface from scratches from dropped items.
- Avoid Harsh Chemicals: Steer clear of abrasive cleaners, steel wool, or harsh chemical drain cleaners that can damage the surface.
- Fix Drips Promptly: Don’t let leaky faucets or minor cracks go unattended. Small issues can escalate into major problems.
- Ventilate the Bathroom: Good ventilation helps prevent mold and mildew growth, which can stain and degrade tub surfaces over time.
When to Call a Professional
While many bathtub repairs are DIY-friendly, there are times when professional help is essential:
- Large or Structural Cracks: If a crack compromises the integrity of the tub or shows signs of spreading, a professional can best assess the situation.
- Extensive Surface Damage: For deep gouges, widespread damage, or if you desire a complete resurfacing for aesthetic reasons, a professional refinishing service is recommended.
- Plumbing Issues Beyond Simple Fixes: If you’re dealing with persistent leaks, major pipe problems, or if basic faucet repair doesn’t solve the issue, call a licensed plumber.
- Mold or Mildew Behind the Tub: If you suspect water damage or mold behind the tub walls or floor, this requires professional inspection and remediation to ensure your home’s safety and structural integrity.
For professional bathtub refinishing services, look for companies with good reviews and experience, such as those certified by the National Bathtub Refinishers Association (NBRA).
Frequently Asked Questions (FAQ)
Q1: How do I know if my bathtub is porcelain, acrylic, or fiberglass?
Answer: Porcelain tubs are typically heavy, rigid, and have a glossy, hard surface. They are often cast iron or steel with a porcelain enamel coating. Acrylic tubs are lighter, often have a warmer feel to the touch, and can be molded into various shapes. Fiberglass tubs are also lightweight and can sometimes appear slightly more flexible than acrylic, often with a gel coat finish. If unsure, check your home’s original building specifications or consult a professional.
Q2: Can I repair a deep chip in my bathtub?
Answer: Yes, deep chips can often be repaired using a two-part epoxy filler specifically designed for bathtubs. The process involves cleaning the area, filling the chip with the mixed epoxy, letting it cure, and then sanding it smooth. For very large or structural damage, professional repair might be necessary.
Q3: What is the best way to remove rust stains from a bathtub?
Answer: For rust stains, start with natural remedies like a paste of baking soda and water or vinegar. Apply the paste or soaked paper towels, let them sit for a while, then scrub gently. If these don’t work, a commercially available rust remover designed for bathtubs can be used, but always test it in an inconspicuous area first and ensure good ventilation.
Q4: How often should I caulk around my bathtub?
Answer: The caulk around your bathtub should be inspected every 6-12 months. If it shows signs of cracking, peeling, mold growth, or gaps, it should be removed and replaced. This is crucial for preventing water from seeping behind the
