
Don’t let cabinet damage drain your wallet! You can effectively repair and refresh your cabinets with simple, budget-friendly DIY solutions. This guide offers easy-to-follow steps and clever tips to restore their look and function without breaking the bank, making cabinet repair accessible for everyone.
Are your kitchen or bathroom cabinets looking a bit tired? Maybe a drawer is sticking, a door has come loose, or there are scratches and dents that just won’t quit. It’s easy to think you need a professional or a full replacement, but that’s often not the case! Many common cabinet issues are surprisingly simple and inexpensive to fix yourself. You don’t need fancy tools or a professional crew to bring your cabinets back to life.
We all want our homes to look great, and cabinets play a huge part in that. When they’re damaged, it can make the whole room feel rundown. But don’t worry! This guide is packed with smart, affordable ways to tackle common cabinet repairs. We’ll walk you through everything step-by-step, making sure you feel confident and capable. Get ready to save money and restore your cabinets with ease!
Common Cabinet Problems & Affordable Solutions
Let’s break down the most frequent cabinet woes and how you can fix them without spending a fortune. From wobbly hinges to scratched surfaces, there’s a budget-friendly fix for almost everything.
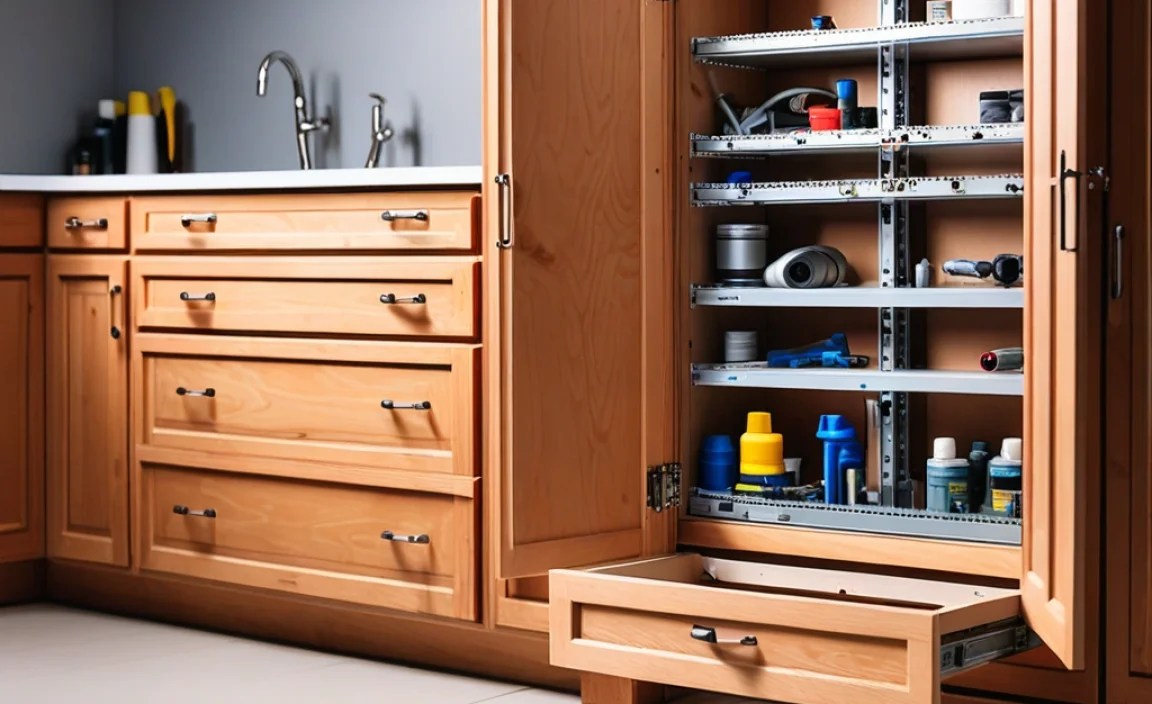
Sticky or Off-Track Drawers
A drawer that sticks or slides unevenly is frustrating, but often the cause is simple: dirty or damaged drawer slides.
Cleaning and Lubricating:
Remove the drawer entirely. You can usually do this by pulling it out as far as it goes and then lifting or tilting it to disengage the slides.
Wipe down the drawer slides (both on the drawer and inside the cabinet) with a damp cloth to remove dust and debris.
A little bit of silicone spray lubricant or even a paraffin wax crayon rubbed along the slides can make a world of difference. Avoid oil-based lubricants, as they can attract more dust.
Damaged Slides: If the metal slides are bent or broken, you might need to replace them. You can often find affordable replacement drawer slides at hardware stores. Measure your old ones carefully to get the right size. You’ll typically need just a screwdriver to swap them out.
Loose or Squeaky Cabinet Doors
Hinges are the unsung heroes of cabinet doors. When they loosen or get dry, doors can sag, scrape, or squeak.
Tightening Screws: Most of the time, loose hinges are due to screws that have simply worked their way out over time.
Open the cabinet door.
Use a screwdriver that fits the screw head snugly (Phillips or flathead) to tighten any loose screws on the hinges. If the screw just spins, the hole might be stripped.
Stripped Screw Holes: If a screw won’t tighten because the hole is stripped:
Wood Dowels or Toothpicks: For small holes, insert a few wooden toothpicks or a pre-cut wooden dowel into the hole. Break them off so they’re flush. Then, drive the hinge screw back into the hole. The wood provides new material for the screw to grip.
Wood Filler or Glue: For slightly larger holes, you can fill the stripped hole with wood filler or wood glue, let it dry completely, and then re-drill a pilot hole (a small guide hole) before re-inserting the screw.
Lubricating Squeaky Hinges: A drop of 3-in-One oil or WD-40 applied directly to the hinge pin can often stop squeaks. Wipe away any excess to prevent drips.
Scratches and Gouges on Wood Cabinets
Minor surface blemishes are common, but they don’t require a full refinishing.
Deep Scratches: For deeper scratches, you can use wood repair markers. These come in various wood tones and can be dabbed directly into the scratch to disguise it. Feather the edges to blend.
Filling Small Dents and Gouges:
Wax Sticks or Crayons: Similar to wood markers, wax sticks are designed to be melted and pressed into small divots. They harden and can be scraped flat with a plastic putty knife.
Wood Putty: For larger gouges, wood putty is your friend. Choose a color that matches your cabinets as closely as possible. Apply it with a putty knife, pressing it firmly into the damaged area. Let it dry completely, then lightly sand it smooth with fine-grit sandpaper. You may need to touch up the color with a stain pen or furniture polish afterward.
Rubbing Nuts: For very light surface scratches on finished wood, sometimes rubbing a walnut or pecan (the meat, not the shell) over the scratch can help disguise it by depositing natural oils.
Peeling Veneer or Laminate
Veneer (a thin layer of real wood) and laminate (a synthetic surface) can sometimes peel at the edges.
Re-adhering:
If the peel is minor and the material is still pliable, you can often re-adhere it with wood glue or a strong contact cement.
Carefully lift the peeling edge.
Apply a thin, even layer of glue to both the underside of the veneer/laminate and the surface it’s lifting from. Allow it to become tacky (follow product instructions).
Press the veneer/laminate back down firmly.
Use painter’s tape or place a heavy, flat object (like a book wrapped in plastic to avoid damage) over the area to hold it securely while the glue dries completely.
Trimming: If the edge is slightly lifted and wrinkled, you can sometimes trim away the damaged or lifted part with a sharp craft knife or razor blade if it’s interfering with closure or aesthetics. Be very careful not to cut into the underlying material.
Chipped Edges on Particleboard or MDF
Particleboard and Medium-Density Fiberboard (MDF) are common cabinet materials that can chip easily.
Filling Chips:
Wood Filler or Epoxy Putty: These materials work well for filling chips. Clean out any loose debris. Mix and apply the filler according to the product instructions, smoothing it as much as possible.
Once dry, sand the repair smooth. You may need to repaint or re-stain the area to match.
Edge Banding: For exposed edges that are chipped or peeling, you can buy iron-on edge banding. This is a thin strip of veneer or laminate with adhesive on one side. You iron it onto the exposed edge, trim the excess, and it gives a clean, finished look. This is a fantastic budget DIY solution for a professional finish.
—
Essential, Cheap Repair Tools & Materials


You don’t need a fully stocked workshop to make these repairs. Here are some budget-friendly essentials that will cover most cabinet fixes.
| Item | Approx. Cost | Where to Find It | Why You Need It |
| :——————— | :———– | :———————- | :—————————————————- |
| Screwdriver Set | $10 – $25 | Dollar Store, Hardware Store | Essential for tightening hinges and reassembling. |
| Wood Glue | $5 – $10 | Hardware Store, Craft Store | For re-adhering loose veneer/laminate and structure. |
| Painter’s Tape | $5 – $10 | Hardware Store, Retail Store | Holds pieces in place while glue dries. |
| Fine-Grit Sandpaper | $3 – $5 | Hardware Store | Smoothing repairs, preparing surfaces. |
| Wood Filler / Putty | $5 – $15 | Hardware Store, Craft Store | Filling dents, gouges, and chips. |
| Wood Repair Markers | $10 – $20 | Hardware Store, Online | Camouflaging scratches and minor blemishes. |
| Silicone Spray Lubricant | $5 – $10 | Hardware Store, Auto Parts | For smooth drawer slides; won’t attract dust. |
| Craft Knife / Razor | $5 – $10 | Craft Store, Hardware Store | Trimming peeling veneer or excess filler. |
| Plastic Putty Knife | $2 – $5 | Hardware Store, Dollar Store | Applying wood filler, scraping excess wax. |
| Wax Repair Sticks | $10 – $20 | Hardware Store, Online | Filling small dents and gouges on finished wood. |
| Magnifying Glass | $5 – $15 | Dollar Store, Online | Finding tiny screws or examining damage closely. |
These common household items or inexpensive purchases can make a significant impact on your cabinet repair efforts. Many can be found at your local dollar store or discount retailer, keeping your costs incredibly low.
—
Step-by-Step Guide for Common Repairs
Let’s walk through a common repair: reattaching a loose cabinet door hinge.
Project: Reattaching a Loose Cabinet Door Hinge
This is a very common issue and usually straightforward. Ensure you feel comfortable working with these steps, as safety is always the top priority.
Tools & Materials You’ll Need:
Screwdriver (matching your hinge screws)
Wood glue (optional, for stripped holes)
Wooden toothpicks or small wood dowel pieces (optional, for stripped holes)
Masking tape or painter’s tape
A helper (optional, but recommended for stability)
Steps:
1. Assess the Hinge: Open the cabinet door and examine the hinge attachment. Are the screws loose? Is the screw hole stripped? Is the hinge itself bent? For this guide, we’ll assume the hinge is okay but the screws are loose or the hole is stripped.
2. Support the Door: If you’re working alone, prop the cabinet door securely so it won’t fall or strain the other hinges. A stack of books or a helper works well.
3. Remove the Hinge (if necessary): If you need to work on the screw holes or the hinge plate, carefully remove the screws from the hinge. Keep the screws together in a safe place, like a small bowl or plastic bag.
4. Address Loose Screws: If the screws are just loose and the hole is sound, the fix is simple.
Align the hinge plate with the original screw holes.
Insert the screws and tighten them firmly with your screwdriver. Do not overtighten, as this can strip the hole.
Test the door by opening and closing it.
5. Repair Stripped Screw Holes: If a screw just spins and won’t tighten, the hole is stripped.
Toothpick Method: Dip a few wooden toothpicks into wood glue. Insert them into the stripped hole, breaking them off flush with the surface. Let the glue dry for about 15-30 minutes.
Dowel Method: For a more robust fix, you can drill out the stripped hole slightly larger and tap in a small wooden dowel with wood glue. Let it dry completely, then cut it flush and sand it smooth.
Pre-drill a small pilot hole into the toothpicks or dowel.
Realign the hinge plate.
Insert the original screw into the pilot hole and tighten it firmly. The wood provides a new surface for the screw to grip.
6. Reattach the Hinge: Once the hole is repaired and dry (if glue was used), align the hinge plate and reinsert the screws. Tighten them securely.
7. Test the Door: Carefully open and close the cabinet door. It should glide smoothly and close properly without sagging. Repeat for any other loose hinges.
8. Clean Up: Wipe away any excess glue and organize your tools.
This process might seem daunting, but taking it one step at a time makes it manageable. For more complex repairs, like replacing a whole drawer slide system, refer to the manufacturer’s instructions or online video tutorials for your specific hardware.
—
Preventative Maintenance for Cabinet Longevity
A little bit of care goes a long way in keeping your cabinets in great shape and avoiding costly repairs down the line. Think of it as an investment in your home’s beauty and functionality.
Regular Cleaning: Dust and grime can build up on hinges, slides, and surfaces. A quick wipe-down with a damp cloth weekly or bi-weekly can prevent sticky drawers and stiff hinges. For wood cabinets, use a cleaner specifically designed for wood finishes to avoid damage. For painted cabinets, a mild soap and water solution is usually sufficient.
Wipe Spills Immediately: Moisture is the enemy of many cabinet materials, especially particleboard and MDF. Clean up any spills or splatters on or around your cabinets immediately to prevent swelling and damage.
Avoid Overloading Drawers: Excessive weight can put a strain on drawer slides and the drawer box itself, leading to sticking, sagging, or structural damage. Distribute weight evenly and avoid cramming too many items into one drawer.
Check Hinges Periodically: Just a quick check every few months can save you from bigger issues. See if any screws look loose and tighten them as needed. This simple habit can prevent doors from becoming misaligned.
Use Cabinet Bumpers: For cabinet doors that close forcefully, consider adding small adhesive-backed felt or rubber bumpers. These cushion the impact, protecting the cabinet frame and reducing wear and tear on hinges over time. You can often find these at dollar stores or hardware aisles.
Following these simple tips can significantly extend the life of your cabinets and keep them looking their best, minimizing the need for repairs.
—
Cost vs. Benefit: When to Repair or Replace

While many cabinet issues are cheap to fix, there are times when replacement might be more cost-effective in the long run, or when a repair simply won’t suffice.
When to Repair:
Minor Cosmetic Damage: Scratches, small dents, chipped paint, loose hinges, or sticky drawers are usually prime candidates for DIY repair.
Structural Integrity is Sound: If the cabinet boxes themselves are solid, without significant water damage, rot, or structural warping, repairing doors, drawers, or hardware is a wise choice.
Budget Constraints: When you need an immediate fix and don’t have the funds for new cabinets, repairs are your best bet.
Specific Part Failure: A single broken hinge or a damaged drawer front might be easily and cheaply replaceable.
When to Consider Replacement:
Extensive Water Damage: If cabinets have been exposed to prolonged moisture, MDF or particleboard can swell and disintegrate, making them beyond repair. Wood can rot.
Severe Structural Damage: If the cabinet boxes are warped, sagging, or falling apart, a repair might be a temporary fix that doesn’t address the core problem.
Outdated Style & Functionality: If your cabinets are very old, don’t meet your current needs (e.g., lack of desired storage solutions), or are simply an eyesore that detracts from your home’s value, replacement might be worth the investment.
Pest Infestations: Termites or other wood-boring insects can compromise the structural integrity of cabinets, making them unsafe and unrepairable.
Excessive Cosmetic Damage: If there are numerous deep gouges, significant peeling veneer across large areas, or extensive warping that cannot be smoothed or fixed, the cost and effort of repair might outweigh the benefits.
A good rule of thumb is to consider the cost of repair vs. the remaining lifespan and aesthetic value of the cabinets. If a repair costs a significant portion of new cabinet prices, or won’t truly solve the problem or improve the look, then replacement should be on the table. For instance, if you have to replace all the drawer slides, hinges, and fill dozens of holes on a set of cabinets that are otherwise in poor condition, you might be better off saving for new ones.
—
Tips for Making Repairs Look Professional
Even budget repairs can look fantastic with a few extra touches. The goal is to make the fix blend seamlessly with the surrounding area.
Color Matching is Key: When using wood fillers, stains, or repair markers, take the time to find the closest possible match to your existing cabinet color. Test the color on an inconspicuous area first (like the inside edge of a door) if possible.
Feather Your Edges: When applying wood filler or using touch-up paint/stain, blend the edges of your repair into the surrounding surface. This helps the repair disappear. Use a clean cloth or a small brush to gently feather the color.
Sand Smoothly: After applying filler or putty, sand the area until it’s perfectly smooth and flush with the surface. Use progressively finer grits of sandpaper for a polished finish. Always sand gently to avoid damaging the surrounding original finish. Reputable sources like This Old House often emphasize the importance of proper sanding for a seamless finish.
* Cleanliness Matters: Before starting any repair, ensure the
