
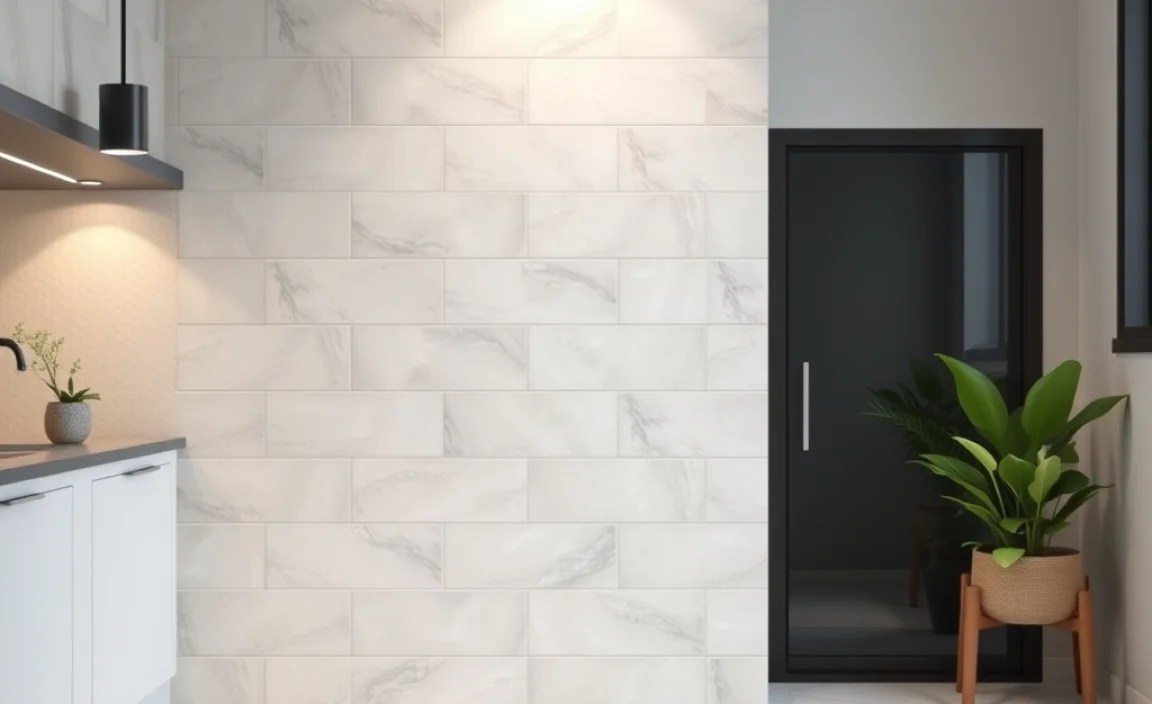
Repairing cracked or chipped tiles doesn’t have to be expensive! With simple DIY techniques, the right tools, and a little patience, you can achieve professional-looking results on a budget. This guide will show you how to fix common tile damage affordably, saving you money and keeping your home looking great.
Cracked tiles can really bring down the look of a room. It’s a common problem, and seeing that tell-tale crack can be frustrating, especially when you think about the cost of replacing the whole tile or even a section of your floor or wall. But guess what? You don’t need to break the bank to fix them! In this friendly guide, we’ll walk through easy and affordable ways to repair your tiles, making them look good as new without calling in the pros.
We’ll cover everything from minor chips to larger cracks, using simple steps that any beginner can follow. You’ll learn what to look for, which inexpensive materials to grab, and how to apply them safely. Get ready to tackle those tile troubles and feel confident in your DIY skills!
Why Repair Tiles Cheap? The Smart Homeowner’s Approach

Dealing with damaged tiles is a familiar challenge for many homeowners. Whether it’s a tiny chip from a dropped utensil, a hairline crack from settling, or a larger break from an impact, these imperfections can be eyesores. The immediate thought might be to replace the entire tile, which can quickly become a costly and time-consuming project. This often involves purchasing new tiles (which might be hard to match if they’re older), buying new grout, and potentially paying for professional labor.
However, approaching tile repair with a “repair tiles cheap” mindset opens up a world of accessible and budget-friendly solutions. For DIY enthusiasts and smart homeowners, addressing minor to moderate tile damage without professional intervention can save significant money. It’s not just about saving cash; it’s also about preserving the integrity and appearance of your home with minimal disruption. This guide is designed to empower you with the knowledge and techniques to confidently tackle these repairs yourself, using readily available and affordable materials.
Common Tile Damage and What Causes It
Before diving into repairs, it’s helpful to understand the types of damage you might encounter and their likely causes. Identifying the issue correctly is the first step toward choosing the most effective and affordable repair method.
- Cracks: These can range from fine, hairline fractures to significant breaks running through the tile. Common causes include heavy impact, dropped objects, pressure from shifting subfloors, or even improper installation where the tile was stressed too much.
- Chips: Small pieces of the tile’s edge or surface breaking off. Often caused by sharp or heavy objects striking the tile, particularly at edges.
- Holes or Pits: Small to medium-sized areas where the tile surface has worn away or broken out. This can happen from prolonged wear and tear, or impacts.
- Loose Tiles: Tiles that have become detached from the subfloor. This usually indicates a failure in the adhesive or grout bond, often due to moisture, insufficient adhesive during installation, or movement.
- Grout Damage: While not the tile itself, damaged or missing grout can make tiles look bad and can lead to further issues like water seeping underneath. This is typically caused by wear, harsh cleaning, or movement.
While structural damage to the subfloor beneath the tile might require professional assessment, most surface-level issues can be managed with DIY solutions. For more complex problems, consider consulting resources like Building Science Information for in-depth understanding of building materials and systems.
The Cost-Saving Toolkit for Tile Repair

The beauty of “repair tiles cheap” is that you don’t need a professional contractor’s arsenal. Most of these repairs can be done with a few essential, affordable tools and materials you might already have or can easily pick up at your local hardware store.
Essential Tools:
- Putty Knife or Scraper: For removing old grout or debris.
- Small Hammer and Chisel (or a Nail Set): For carefully breaking away damaged tile pieces if necessary.
- Utility Knife: For cleaning up grout lines and trimming excess material.
- Gloves: To protect your hands from sharp edges and chemicals.
- Safety Glasses: Crucial to protect your eyes from flying debris.
- Dust Mask: Especially when dealing with grout or broken tile fragments.
- Cleaning Supplies: Sponges, cloths, bucket, mild soap, and water.
- Caulking Gun: If using silicone or acrylic caulk for minor edge repairs.
Key Materials:
- Tile Repair Compound/Epoxy: Specifically designed to fill chips, cracks, and holes in tiles. These often come in different colors or can be tinted to match.
- Color-Matched Grout or Grout Pen: To fill small gaps or touch up grout lines.
- Silicone or Acrylic Caulk: For sealing edges and small gaps, especially around fixtures.
- Rubbing Alcohol: For cleaning surfaces before applying repair materials.
- Fine-Grit Sandpaper (e.g., 220-grit): For smoothing repairs once cured.
Purchasing these items individually is generally inexpensive. Many home improvement stores offer tile repair kits that bundle essential compounds and tools, offering even more value.
Step-by-Step Guide: Repairing Chips and Small Cracks

This method is perfect for those minor imperfections that are noticeable but not structurally compromising. We’ll focus on using tile repair compounds to fill gaps and create a seamless finish.
Materials You’ll Need:
- Tile repair compound (epoxy or filler)
- Small putty knife or applicator tool
- Rubbing alcohol
- Clean cloths or paper towels
- Fine-grit sandpaper (optional, for smoothing)
- Gloves and safety glasses
The Process:
- Clean the Damaged Area: Thoroughly clean the chipped or cracked area. Use a damp cloth with mild soap to remove any dirt, grease, or loose debris. For stubborn grime, a little rubbing alcohol can help degrease the surface and ensure good adhesion. Let the area dry completely.
- Prepare the Repair Compound: Follow the manufacturer’s instructions for your specific tile repair compound. Some are two-part epoxies that need to be mixed, while others are single-part fillers. Mix only what you need to avoid waste.
- Apply the Compound: Using your putty knife or applicator, carefully apply the repair compound into the chip or crack. Press it in gently to fill the void completely. Avoid overfilling the area at this stage; you can add more if needed, but it’s easier to sand down excess than to add more later.
- Smooth the Surface: While the compound is still wet, gently smooth the surface to match the surrounding tile as much as possible. You can use the edge of your putty knife for this. Some compounds are self-leveling, so they might require less manipulation.
- Allow to Cure: Let the repair compound dry and cure according to the product’s instructions. This is a critical step for durability. Curing times can vary from a few hours to 24 hours.
- Sand and Finish (if necessary): Once fully cured, if there’s any excess compound or the area feels slightly raised, you can gently sand it smooth with fine-grit sandpaper. Be careful not to sand the surrounding tile. Wipe away any dust.
- Touch-Up (Optional): If your repair compound is a different color, you might use a very fine brush or touch-up pen to carefully add color to blend it in.
This method is fantastic for making minor damage disappear, effectively saving you money on replacement tiles and labor. For larger cracks or if the tile is loose, you might need to consider a different approach, which we’ll cover next.
Dealing with Larger Cracks or Loose Tiles: Budget-Friendly Fixes

When damage is more significant, or a tile has become loose, the repair strategy needs a bit more attention. Fortunately, there are still affordable ways to address these issues.
If a Tile is Loose: Re-Adhering for Cheap
A loose tile often means the adhesive underneath has failed. The good news is that if the tile itself is not cracked or broken, you can often re-secure it.
Materials:
- Putty knife or scraper
- Tile adhesive (thin-set mortar or mastic for tiles)
- Notched trowel (small size, like 1/4 inch)
- Grout (matching your existing grout)
- Sponge and water
- Gloves and safety glasses
The Process:
- Carefully Remove the Tile: If the tile is loose, try to gently lift it. If it’s still somewhat attached, you may need to carefully use a putty knife or even a thin chisel to pry it up without breaking it further. Be patient!
- Clean Off Old Adhesive: Scrape away all old adhesive from the back of your tile and from the subfloor. Ensure both surfaces are clean and dry.
- Apply New Adhesive: Spread a thin, even layer of tile adhesive onto the back of the tile using your small notched trowel. Aim for consistent coverage.
- Press the Tile Back: Place the tile back into its original position. Press down firmly and twist it slightly to ensure good contact with the adhesive. It should sit flush with its neighboring tiles.
- Clean Up Excess Adhesive: Immediately wipe away any adhesive that squeezes out around the edges of the tile with a damp sponge.
- Weight It Down: Place a heavy object (like a few books wrapped in plastic to prevent damage) on top of the tile to keep it pressed down firmly while the adhesive cures.
- Re-Grout (if necessary): Once the adhesive is fully dry (24-48 hours), you may need to reapply or touch up grout in the surrounding joints if any was disturbed during removal.
If a Tile is Cracked Through: In-Place Repair
For cracks that go through the tile but the pieces are still held together, an epoxy-based tile repair kit designed for structural cracks can work wonders.
Materials:
- Two-part epoxy tile repair kit (clear or color-matched)
- Fine-grit sandpaper
- Rubbing alcohol
- Clean cloths
- Small mixing surface (e.g., cardboard) and mixing stick
- Gloves and safety glasses
The Process:
- Clean and Dry: Ensure the cracked area is meticulously clean and dry. Use rubbing alcohol to remove any oils or residue.
- Mix the Epoxy: Following the kit’s instructions, mix the two parts of the epoxy on your small mixing surface. Only mix enough for the immediate repair.
- Apply the Epoxy: Carefully inject or apply the mixed epoxy into the crack using the provided applicator or a fine-tipped tool. Work it into the crack to ensure full penetration.
- Wipe Away Excess: Immediately wipe away any excess epoxy from the tile surface with a damp cloth before it starts to harden.
- Allow to Cure: Let the epoxy cure completely as per the manufacturer’s instructions.
- Light Sanding: Once cured, if there’s any residual unevenness, you can very gently sand the repaired line smooth with fine-grit sandpaper.
These methods allow you to address more significant damage without the expense of tile replacement. For more extensive information on tiling and repairs, consider consulting guides like those from the DIY Network for additional tips.
Resurfacing and Filling Large Holes: An Affordable Alternative
When tiles have significant pitting, surface wear, or even small holes (not large structural voids), resurfacing or filling can be a cost-effective alternative to replacement. This is particularly true for older, but structurally sound, tiles.
When to Consider Resurfacing:
- Significant surface wear or etching that makes the tile look dull.
- Multiple small pits or chips that would be too time-consuming to fill individually.
- A desire to change the appearance of a tile slightly without replacement (though color matching is key for repairs).
Materials Needed:
- High-quality tile repair compound or epoxy resurfacing kit (ensure it’s suitable for floors/walls and the type of tile). Some are paintable.
- Putty knives and spreaders
- Fine-grit sandpaper (150-220 grit)
- Rubbing alcohol
- Clean cloths
- Gloves and safety glasses
- Masking tape (to protect surrounding areas)
The Process:
- Thorough Cleaning: This is paramount. Clean the entire tile area to be repaired. Use a mild degreaser if necessary to ensure there are no oils or residues. Let it dry.
- Feather the Edges: For chips and pits, you might want to lightly sand around the damaged area to create a smoother transition from the damaged to the undamaged surface. This helps the filler blend better.
- Masking: Use masking tape to carefully outline the tile or the specific area you are repairing. This protects the surrounding tiles or walls and ensures a clean edge.
- Mix and Apply Filler: Prepare your tile repair compound or epoxy filler according to the manufacturer’s instructions. Apply it evenly using a putty knife or spreader. For larger areas, you might use a squeegee-like motion to spread it thinly. Aim to fill holes and pits completely.
- Leveling: Work quickly to level the filler before it begins to cure. Use a clean putty knife held at a slight angle to scrape off excess and create a relatively smooth surface.
- Curing: Allow the filler to cure completely. This can take 24-72 hours depending on the product and environmental conditions.
- Sanding: Once cured, use fine-grit sandpaper to gently smooth the repaired areas. Work in light, circular motions. Be careful not to oversand or damage the surrounding tile.
- Clean: Wipe down the repaired tile to remove any dust from sanding.
- Color Matching/Sealing (Optional): If the filler is not color-matched, you might need to use a tile paint or marker for touch-ups. Some epoxy fillers are clear, while others come in basic colors you can mix, or they can be tinted. If the tile is unglazed, a clear sealant might be necessary after repair.
This approach can breathe new life into worn tiles and is significantly cheaper than replacing them. It’s important to choose a product appropriate for your tile type (ceramic, porcelain, natural stone, etc.) and its location (shower, floor, backsplash).
Sealing and Grouting Touch-Ups: The Finishing Touches
Even the best tile repair can be compromised if the surrounding grout and seals are neglected. Affordable touch-ups here make a big difference.
Grout Touch-Ups:
If your grout is crumbling, missing in small sections, or discolored, you can easily fix it without regrouting an entire area.
- Clean Grout Lines: Scrape out any loose or damaged grout using a utility knife or a dedicated grout saw. Clean the lines thoroughly with water.
- Apply New Grout: For small repairs, use a pre-mixed grout caulk that comes in a tube, similar to a toothpaste tube. This allows for easy application directly into the grout lines. Alternatively, mix a small batch of powdered grout and apply it carefully with a small putty knife.
- Smooth and Clean: Use a damp sponge to smooth the grout and wipe away excess from the tile faces.
- Grout Pens: For discoloration, a grout pen is an excellent, cheap solution. It works like a marker and can quickly refresh the look of your grout lines. These are readily available in various colors.
Edge and Crack Sealing:
Along edges where tiles meet walls, countertops, or fixtures, you’ll often find a caulk bead. If this is cracked or peeling, it can allow moisture to seep in.
- Remove Old Caulk: Use a utility knife to carefully cut along the edges of the old caulk and peel it away.
- Clean the Area: Clean the joint with rubbing alcohol to ensure good adhesion for the new caulk.
- Apply New Caulk: Use a silicone or acrylic latex caulk designed for kitchens and bathrooms. Cut the tip of the tube to create a small opening. Apply a steady bead of caulk along the joint.
- Smooth the Bead: Dampen your finger (with a little bit of soap and water can help prevent sticking) or use a caulking tool to smooth the bead into a neat, concave finish.
