
Replace cabinet fast with this simple, step-by-step guide. Learn the easiest methods to swap out your old cabinets quickly and efficiently, making your kitchen or bathroom renovation a breeze with minimal fuss.
Are your cabinets looking a bit tired? Maybe they’re outdated, damaged, or you’re just dreaming of a fresh new look for your kitchen or bathroom. Replacing cabinets used to sound like a huge, messy, time-consuming project. But what if I told you it doesn’t have to be that way? It’s completely possible to replace your cabinets fast, without pulling your hair out. This guide is here to show you exactly how. We’ll break down the process into easy, manageable steps. You’ll gain the confidence to tackle this project and achieve a stunning transformation. Get ready to love your space again!
Why Replace Cabinets? More Than Just a Makeover
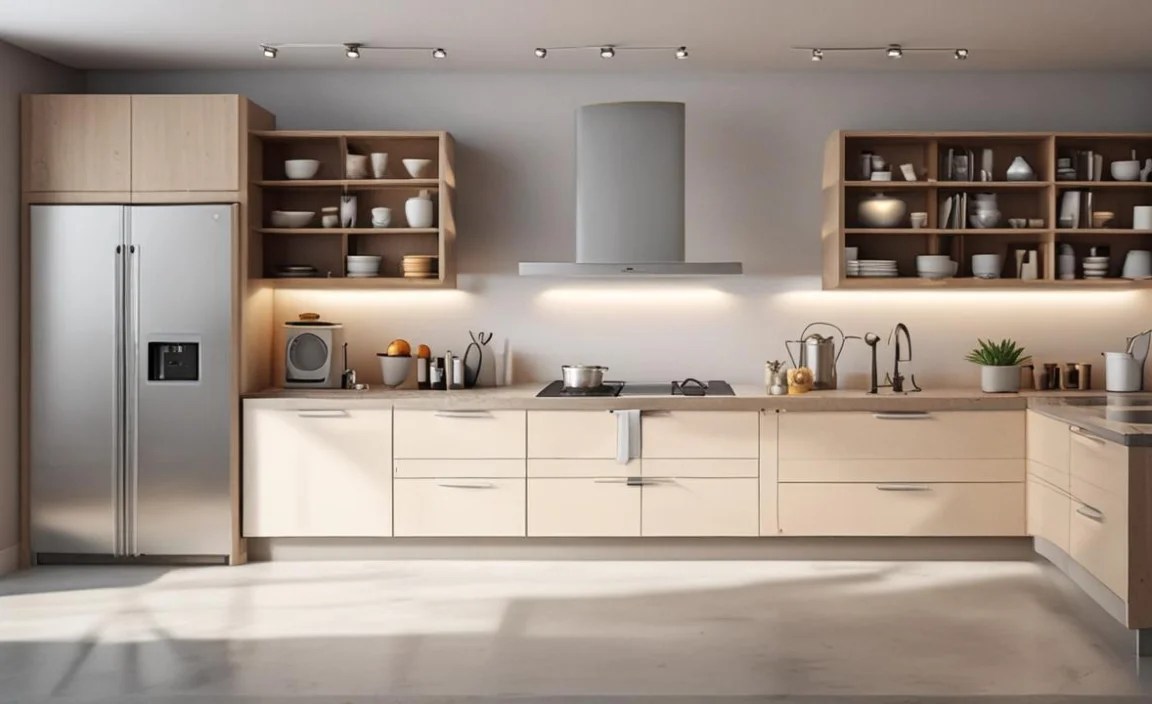
Updating your cabinets is one of the most impactful ways to refresh any room. It’s not just about aesthetics, though that’s a big part of it! Over time, cabinets can become worn, the hardware might loosen, or the style can simply feel dated.
Here are a few common reasons homeowners decide it’s time for a change:
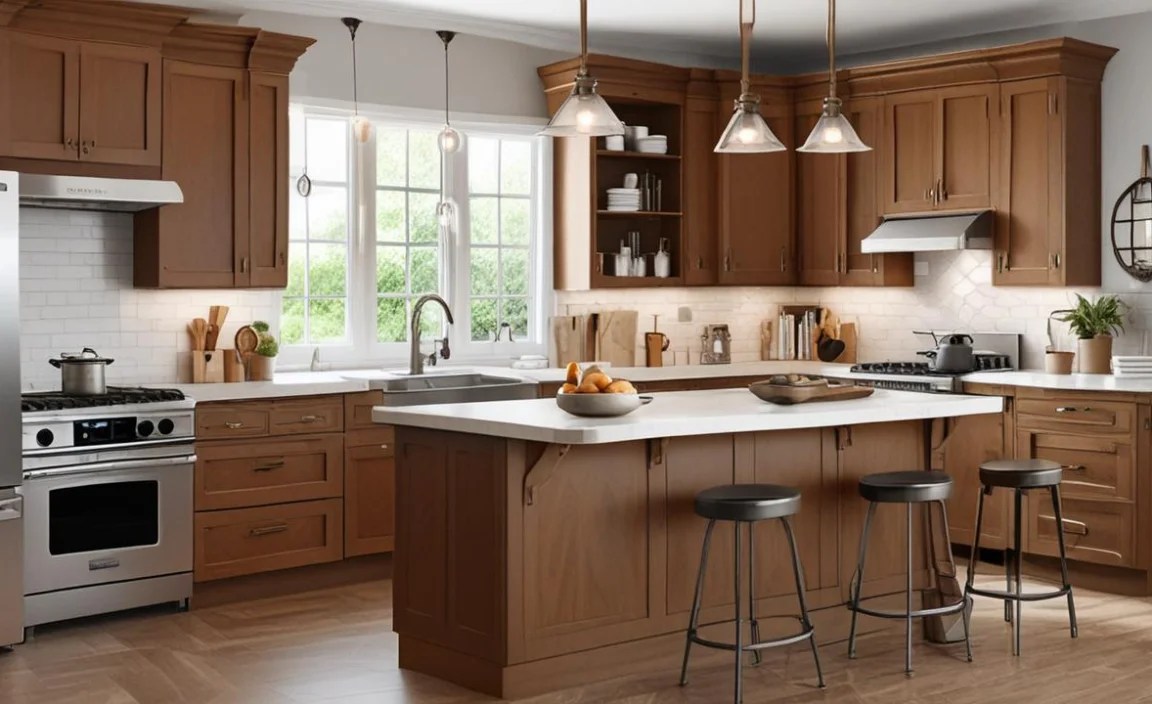
Aesthetic Appeal: Trends change, and your cabinets might be stuck in the past. New cabinets can instantly modernize your kitchen or bathroom.
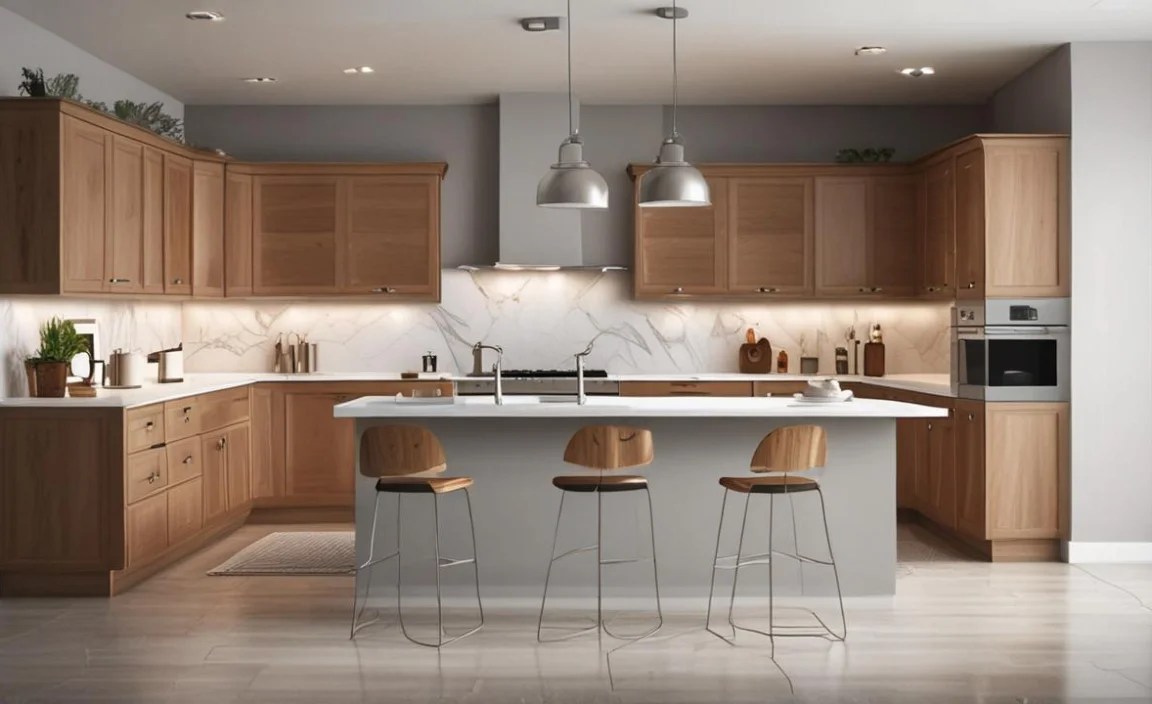
Improved Functionality: Older cabinets might not offer the best storage solutions. Modern options often include better drawer slides, pull-out shelves, and clever organizers.
Damage and Wear: Water damage, warping, or general wear and tear can make cabinets unsightly and even unstable.
Increased Home Value: A kitchen or bathroom renovation, especially updated cabinetry, is a significant selling point and can boost your home’s overall market value.
Getting this done quickly means less disruption to your daily life. We aim to make this process as smooth and speedy as possible.
Essential Tools and Materials: Your Quick-Start Checklist
Before you dive in, having the right tools and materials ready is key to a fast and efficient cabinet replacement. Think of this as your pre-flight checklist!
Here’s what you’ll want to have on hand:
- Safety Gear: Safety glasses, work gloves, and a dust mask are non-negotiable. You’ll be dealing with dust, potential splinters, and tools.
- Measuring Tape: Accuracy is crucial for ordering new cabinets and ensuring a good fit.
- Level: To make sure your new cabinets are perfectly straight.
- Screwdrivers (Phillips and Flathead): For removing old hardware and installing new cabinets. A cordless drill/driver will speed this up significantly.
- Pry Bar: For gently detaching any stubborn old cabinets.
- Stud Finder: Essential for locating wall studs to securely attach your new cabinets.
- Putty Knife/Scraper: To remove any old caulk, paint, or adhesive.
- Caulk and Caulk Gun: For sealing gaps around the new cabinets.
- Wood Shims: For making minor adjustments to ensure cabinets are plumb and level.
- New Cabinets: Of course! Make sure you’ve measured carefully and ordered the correct sizes.
- Cabinet Screws: Typically #8 or #10 screws, 2.5 to 3 inches long, for securing cabinets to studs and to each other.
- Wood Glue (Optional but Recommended): For reinforcing the connection between cabinets.
- Sandpaper (Optional): If you need to smooth any rough edges on the new cabinets or in the installation area.
- Cleaning Supplies: Cloths, mild cleaner, and possibly a shop vac for dust.
Having everything organized beforehand prevents those frustrating stops mid-project to run to the hardware store.
Step-by-Step: Your Fast Track to New Cabinets

Replacing cabinets involves a few key stages, but when broken down, it’s entirely manageable for a beginner. We’ll focus on efficiency and clarity.
Step 1: Planning and Preparation – The Foundation of Speed

This is arguably the most critical step for a fast replacement. Rushing here leads to mistakes later.
Measure Twice, Order Once: Accurately measure the dimensions of all cabinet openings, including height, width, and depth. Note the location of windows, doors, and existing plumbing or electrical outlets. This information is vital for ordering pre-fabricated cabinets or planning custom ones. For guidance on precise measurements, resources like this guide from the National Association of Home Builders can be very helpful.
Choose Your Cabinets: Decide on the style, material, and finish. For a “fast” replacement, consider stock or semi-custom cabinets that are readily available. If ordering custom, factor in lead times.
Clear the Area: Empty the existing cabinets completely. Remove all items from countertops and the floor around the cabinet area.
Protect Your Space: Lay down drop cloths to protect your floors and surrounding surfaces from dust and damage.
Turn Off Utilities: If you’re near any electrical outlets or plumbing, turn off the power and water supply to those areas at your home’s main breaker or shut-off valve. This is a crucial safety step.
Step 2: Removing the Old Cabinets – Gentle Demolition

This part requires patience. You want to remove the old cabinets without damaging the surrounding walls or countertops if you plan to keep them.
Remove Doors and Drawers: Take off all cabinet doors and drawers first. This makes the cabinet boxes lighter and easier to handle. Store them safely out of the way.
Remove Hardware: Unscrew all hinges, drawer slides, and any decorative hardware from the cabinet boxes.
Check for Fasteners: Look for screws or nails holding the cabinet boxes to the wall studs. These are often hidden behind the face frame or under shelves. Use your screwdriver or drill to remove them.
Pry Gently: If cabinets are still stuck, they might be adhered with paint, caulk, or old adhesive. Use a putty knife or scraper to break these seals. Then, use a pry bar gently between the cabinet and the wall to start loosening it. Always pry against a scrap piece of wood to protect the wall.
Support and Lower: Have a helper steady the cabinet as you remove the last fasteners. Carefully lower the cabinet box away from the wall. Work from top to bottom, moving section by section.
Clean Up: Once all cabinets are down, clean the wall area. Scrape off any old adhesive, remove stray nails, and sweep or vacuum up debris.
Step 3: Preparing for the New Installation – A Clean Slate
Before the new cabinets go up, ensuring the wall is ready is vital for a smooth installation.
Inspect Walls: Check the wall for any damage sustained during removal. Repair any holes or gouges.
Locate Studs: Use your stud finder to mark the center of the studs in the wall where cabinets will be attached. Cabinets need to be screwed into studs for stability. If you’re installing uppers, mark the desired height for the bottom of the cabinets (often 54 inches from the floor for uppers, meaning the wall studs need to be marked at 54 inches up from the floor). A fantastic resource for understanding wall framing and stud locations is provided by Fine Homebuilding.
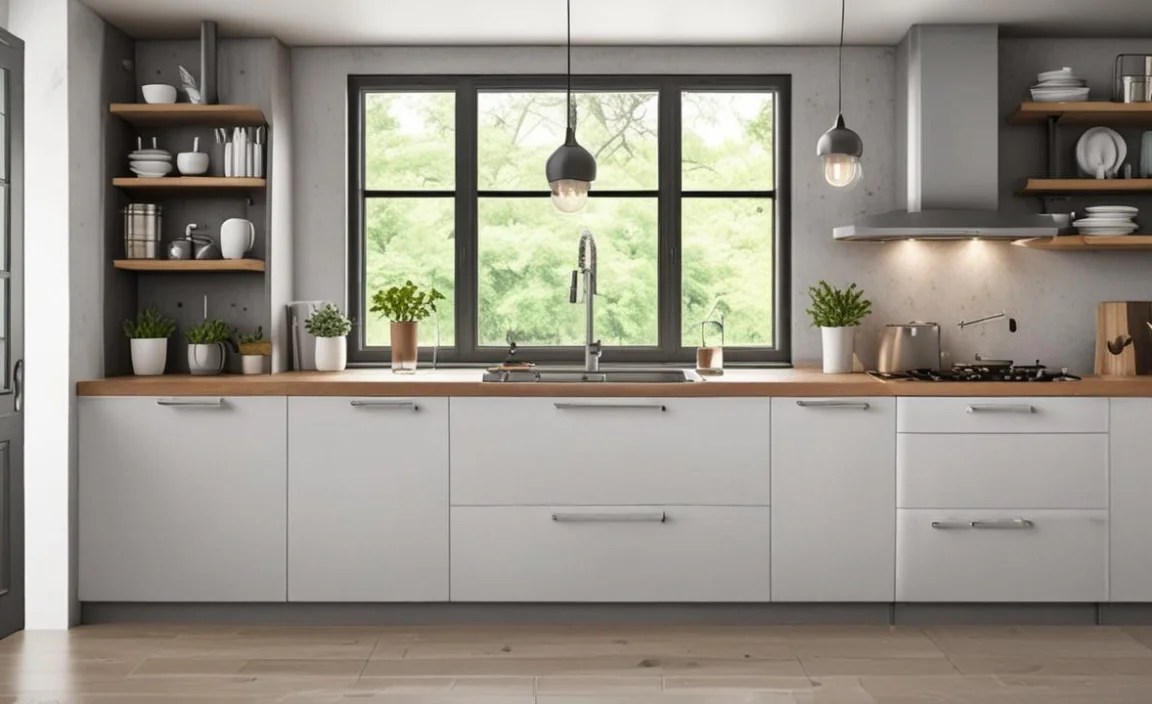
Mark Cabinet Layout: Lightly draw pencil lines on the wall to indicate the exact position of your new cabinets. This helps ensure they are straight and evenly spaced. A common practice is to use a chalk line or a long level to draw a perfectly horizontal line at the bottom of where your upper cabinets will sit, and another at the top of where your base cabinets will sit.
Step 4: Installing the New Cabinets – Precision and Speed
This is where your new kitchen or bathroom starts to take shape! Working methodically here prevents costly errors.
Start with a Corner Cabinet or a Base Cabinet: For base cabinets, start with a corner unit or at one end of a wall. For upper cabinets, it’s often best to start with a corner unit or the highest cabinet on a wall.
Position the First Cabinet: Place the first cabinet in its intended position. Use shims between the cabinet and the wall or floor to ensure it is perfectly plumb (vertically straight) and level (horizontally straight). Check this from all angles.
Secure the Cabinet: Once plumb and level, drill pilot holes through the back of the cabinet box (through the face frame if possible for added strength) into the wall studs. Drive cabinet screws through these holes to securely attach the cabinet to the wall. Use at least two screws per stud, spaced appropriately.
Connect Adjacent Cabinets: If installing multiple cabinets side-by-side, position the next cabinet next to the first. Use shims to ensure it’s plumb and level with the first cabinet. Clamp the two cabinets together, then drill pilot holes and drive screws through the face frames of the cabinets to join them. You can also use wood glue on the joining edges for extra strength.
Continue the Process: Work your way across the wall, shimming, leveling, and securing each cabinet. Always check for plumb and level before driving screws.
Here’s a quick look at the typical screw counts per cabinet:
| Cabinet Type | Number of Screws per Stud (Typical) | Recommended Screw Length |
|---|---|---|
| Base Cabinets | 2-3 | 2.5 – 3 inches |
| Upper Cabinets | 2-3 | 2.5 – 3 inches |
| Cabinet-to-Cabinet Connection | 2-4 (through face frame) | 1.5 – 2 inches |
Important Note: Always screw into the center of the wall studs. If you miss a stud, the cabinet may not be as secure.
Step 5: Installing Doors, Drawers, and Hardware – The Finishing Touches

With the cabinet boxes securely in place, it’s time to bring them to life.
Reattach Doors: Screw the hinges back onto the cabinet doors and then attach them to the cabinet boxes. Most modern hinges are adjustable, allowing you to fine-tune the alignment so doors hang straight and close properly.
Install Drawers: Slide the drawers back into their tracks. Adjust as needed.
Attach Hardware: Screw on your new handles or knobs. This is the easiest part of the finishing but makes a big visual impact!
Final Adjustments: Check all doors and drawers for smooth operation. Make any necessary adjustments to hinges or drawer slides.
Step 6: Sealing and Cleaning Up – The Grand Finale

This is the final stretch to a completed project.
Caulk Gaps: Use a caulk gun to apply a bead of paintable caulk along any gaps between the cabinets and the walls, or where cabinets meet countertops. Smooth the caulk with a damp finger or tool for a clean finish.
Clean Everything: Wipe down the new cabinets, countertops, and surrounding surfaces. Do a thorough sweep and vacuum of the work area.
Reinstall Items: Carefully place your belongings back into the sparkling new cabinets.
Making it Even Faster: Pro Tips for Speed
Want to shave even more time off your cabinet replacement? Here are a few tricks:
Team Up: Having a helper is the single biggest factor in speeding up cabinet installation. One person can hold, shim, and level while the other fastens.
Pre-Assemble: If your new cabinets come flat-packed, assemble them before you start removing the old ones. This way, they’re ready to go as soon as the old set is out.
Use a Power Driver: A cordless drill/driver with an automatic screw feeder can make attaching cabinets significantly faster.
Know Your Layout: Have a clear plan for where each cabinet goes. Don’t wing it!
Keep Tools Accessible: Organize your tools so they are within easy reach. A tool belt or nearby workbench can be a real time-saver.
Consider Pre-Finished Cabinets: If you’re painting or staining, factor that time in. Opting for pre-finished cabinets will save you a substantial amount of time.
Cabinets: Faster Replacements vs. Traditional Methods
| Feature | Fast Replacement Method | Traditional Method |
| Time Commitment | Few days to a weekend | Weeks, potentially months |
| Disruption | Minimal, contained to work area | Significant, kitchen/bathroom unusable for extended periods |
| Cost | Can be higher upfront for pre-fab, but saves labor | Can be lower for DIY materials, but labor intensive |
| Effort | Moderate, focused on efficiency | High, often involves complex structural work |
| Complexity | Lower, primarily focused on installation | Higher, may involve custom building or extensive modifications |
| Best For | Homeowners needing quick updates, renovations moving fast | Custom builds, extensive remodels, budget constraints |
Conclusion: Your New Cabinets Await!
Replacing kitchen or bathroom cabinets doesn’t have to be a project that drags on for weeks. By approaching it with good planning, the right tools, and a step-by-step method, you can achieve a fast and satisfying transformation. We’ve walked through everything from clearing the space and removing old cabinets gently, to precisely installing new ones and adding those final, beautiful touches.
Remember, preparation is your secret weapon for speed. Having everything ready before you start, and ideally working with a helper, will make a huge difference. Don’t be afraid to take your time with the crucial measurements and leveling steps – accuracy here saves much more time in the long run than rushing through it.
You’ve got this! With this guide, you’re well-equipped to “replace cabinet fast” and enjoy a refreshed, functional, and beautiful space that you’ll be proud of. Happy renovating!
Frequently Asked Questions About Replacing Cabinets Fast
Here are some common questions beginners have when looking to speed up their cabinet replacement:
Q1: How long does it really take to replace cabinets quickly?
A: For a standard-sized kitchen or bathroom, if you’re well-prepared and have a helper, you can often remove old cabinets and install new ones within a dedicated weekend (2-3 days of focused work). This assumes you’re installing readily available stock cabinets.
Q2: Do I need a helper to replace cabinets fast?
A: While not strictly impossible to do alone, having at least one helper is highly recommended for speed and safety. Lifting, holding, shimming, and leveling cabinets is much easier and faster with an extra pair of hands.
Q3: What’s the biggest mistake that slows down cabinet replacement?
A: The most common mistake is poor planning and measuring. Not ordering th
