
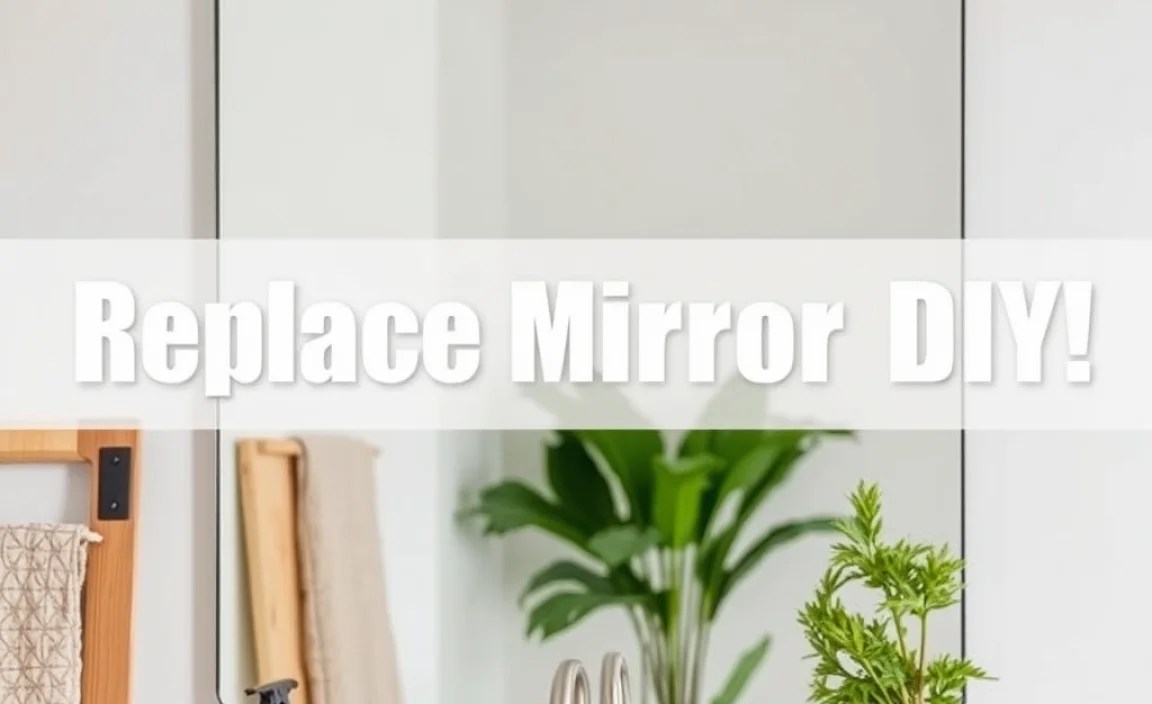
Don’t let a cracked or outdated mirror stress you out! Replacing a mirror yourself is a straightforward DIY project. With the right tools, careful preparation, and these step-by-step instructions, you can safely and successfully swap out that old mirror for a fresh new look, saving time and money. Read on to learn how to get started!
A broken mirror can quickly become a safety hazard and an eyesore in any room. Whether it’s a bathroom vanity mirror that’s seen better days, a decorative wall mirror that’s fallen, or you’re simply looking for an update, the thought of replacing it might seem daunting. But I’m here to tell you that with a few basic tools and some careful guidance, you can confidently tackle this project yourself. We’ll walk through everything you need to know, from gathering your supplies to safely installing your new mirror. Let’s get that reflection looking its best!
Why Replace a Mirror DIY?

Tackling a mirror replacement yourself offers several compelling benefits. It’s not just about saving money, though that’s a significant perk. When you do it yourself, you gain a new skill, a sense of accomplishment, and complete control over the aesthetic of your space.
Here’s a quick look at why a DIY mirror replacement makes sense:
Cost Savings: Professional installation fees can add up. By doing it yourself, you eliminate these labor costs, making the project significantly more affordable.
Customization: You choose the exact size, shape, and style of mirror that perfectly fits your decor. No need to compromise!
Skill Development: It’s a fantastic way for beginners to build confidence with home improvement tasks. You’ll learn practical skills that can be applied to future projects.
Convenience: You can schedule the replacement at your own pace and on your own time. No waiting for an installer’s availability.
Before You Begin: Essential Tools and Materials
Gathering everything you need before you start is key to a smooth and safe DIY project. This ensures you won’t be scrambling for supplies mid-task.
Here’s what you’ll want to have on hand:
Tools:
Safety Glasses: Absolutely crucial for protecting your eyes from glass shards.
Work Gloves: Thick, sturdy gloves will protect your hands from sharp edges.
Measuring Tape: For precise measurements of both the old mirror and the new one.
Putty Knife or Scraper: To gently pry off old adhesive or caulk.
Utility Knife: For scoring caulk or cutting through stubborn adhesive.
Screwdriver Set: If your mirror is held in place with clips or screws.
Stud Finder: To locate wall studs if you need to mount a heavier mirror.
Drill with appropriate bits: For pre-drilling holes, especially if mounting.
Level: To ensure your new mirror is hung straight.
Drop Cloth or Old Sheets: To protect your floors and surrounding furniture from dust and debris.
Bucket and Sponge: For cleaning up any dust or residue.
Dish Soap or Glass Cleaner: For a final clean of the new mirror.
Materials:
New Mirror: Make sure it’s the correct size and style for your space. Consider the weight if you’re mounting it on drywall.
Mirror Adhesive: Specifically designed for mirrors, ensuring a strong bond without damaging the backing. Look for products like construction adhesive or specialized mirror mastic.
Mirror Clips or Brackets (if applicable): These are often used for larger or heavier mirrors and might be necessary if your wall structure requires them.
Caulk (optional): If you want to create a sealed edge around the mirror, especially in a bathroom.
Rubbing Alcohol: For cleaning surfaces before applying adhesive.
Step-by-Step Guide: How to Replace Your Mirror

Let’s break down the process. Remember, patience and safety are your best friends here.
Step 1: Prepare the Area and Gather Your Safety Gear
First things first, make sure the area around the mirror is clear. Move any furniture, toiletries, or decorations away. Lay down your drop cloth to protect the floor.
Donning your safety glasses and work gloves is non-negotiable. Even if the mirror isn’t broken yet, you’ll be working with edges and potentially dislodging it, which can create hazards.
Step 2: Remove the Old Mirror
This is perhaps the most critical and potentially hazardous step. Approach it with caution.
Check the Mounting: How is the current mirror attached?
Adhesive: Most vanity mirrors are attached with a strong adhesive. You might see a slight gap around the edges if it’s not perfectly flush.
Clips or Brackets: Some mirrors, especially larger ones or those in custom frames, are held by metal clips or a bracket system along the top and bottom, or sides.
Screws/Frame: If the mirror is within a frame, you might need to remove the frame first.
For Adhesive-Mount Mirrors:
Gently try to lift the mirror away from the wall, starting from a corner. Use your putty knife or scraper to carefully work behind the mirror, loosening the adhesive.
Pro Tip: If it’s very stubborn, you might need to apply gentle heat with a hairdryer (on a low setting, held at a distance) to soften the adhesive. Be patient and avoid excessive force, which could shatter the glass.
Once loosened, carefully pull the mirror away from the wall. Have a helper if it’s large to prevent dropping it.
For Clip/Bracket-Mounted Mirrors:
Locate the clips (usually small metal pieces holding the mirror edge).
Some clips have screws you can loosen. Others might be spring-loaded and can be gently pried down or out of the way.
Once the clips are released, carefully lift the mirror out of its brackets.
Disposing of the Old Mirror: Broken glass is a serious hazard. If the mirror breaks during removal, collect all pieces carefully. Wrap broken pieces thoroughly in several layers of thick cardboard and sturdy tape, then label it clearly as “BROKEN GLASS” before disposing of it in a safe garbage receptacle. Check your local waste disposal guidelines for specific instructions on glass disposal.
Step 3: Clean the Wall Surface
Once the old mirror is off, you’ll likely find adhesive residue, dust, or scuffs on the wall.
Use your putty knife or scraper to remove any large chunks of old adhesive. For stubborn residue, a bit of Goo Gone or similar adhesive remover can help.
Wipe down the wall with a damp cloth and mild detergent to remove dust and grime.
Ensure the surface is completely dry before proceeding. For a strong bond with new adhesive, a clean, dry surface is essential. You can also wipe the area with rubbing alcohol to ensure it’s perfectly clean and grease-free.
Step 4: Measure and Prepare the New Mirror
Before you even think about applying adhesive, double-check your measurements.
If you’re replacing a mirror with an identical one, measure the empty space on the wall to ensure your new mirror will fit perfectly.
If you’re using a new mirror of a different size, measure the wall space you intend for it.
If your new mirror has a frame, ensure there are no obstructions on the wall that will interfere with the frame’s fit.
For frameless mirrors, mark the top and bottom center points on the wall where you intend to place the mirror. This will help you center it perfectly. Use your level to draw a faint pencil line if needed.
Step 5: Apply Mirror Adhesive
This is where your new mirror gets secured to the wall.
Read the Adhesive Instructions: Each adhesive will have specific recommended application methods and curing times. Follow them precisely.
Application Method: Most mirror adhesives come in a tube for a caulk gun. Apply the adhesive in vertical strips or a serpentine pattern on the back of the mirror. Avoid applying it too close to the edges (about a 1-inch border is usually recommended) to prevent it from squeezing out and being visible.
Important Note on Adhesives: Never use standard construction adhesive or liquid nails unless the product specifically states it is safe for mirrors. Some general-purpose adhesives can corrode the mirror’s silver backing, causing dark spots or streaks over time. Always use an adhesive clearly labeled as suitable for mirror installation. For guidance on adhesive types, resources from manufacturers like Loctite offer detailed product information (see Loctite Adhesives).
Step 6: Mount the New Mirror
With the adhesive applied, it’s time to put the mirror in place.
Have a Helper Ready: For larger or heavier mirrors, this step is much safer and easier with a second person.
Position Carefully: Align the mirror with the marks you made on the wall (or the edges of the wall space). Many adhesives are very strong immediately, so you need to get it right the first time.
Press Firmly: Once aligned, press the mirror firmly against the wall to ensure good contact with the adhesive. You might want to slightly wiggle it to help spread the adhesive evenly.
Step 7: Secure and Support (if necessary)
Depending on the adhesive used and the mirror’s weight and size, you might need to provide temporary support while the adhesive cures.
Adhesive Curing Time: Check the product packaging for the adhesive’s curing time. This can range from 24 hours to several days. During this time, the mirror should not be moved or stressed.
Temporary Supports: For very heavy mirrors, you might need to place blocks of wood or books under the bottom edge to support it while the adhesive cures. Some installers also opt to use mirror clips temporarily for added security during the curing process, even if the mirror will eventually be held solely by adhesive.
If Using Clips: If your mirror is designed to be used with clips (or if you’re adding them for extra security), position them now, ensuring they are firmly attached to the wall and holding the mirror securely. Screw them into wall studs for maximum stability if possible. You can locate studs using a reliable stud finder, like those offered by Zircon Stud Finders (see Zircon Stud Finders).
Step 8: Finishing Touches and Cleanup
Once the mirror is securely in place and the adhesive has cured (check instructions for proper duration), you can finish up.
Caulking (Optional): If you want a clean, sealed edge, you can apply a bead of bathroom-grade caulk around the perimeter where the mirror meets the wall. Smooth it with a damp finger or caulk tool.
Clean the Mirror: Use a good quality glass cleaner and a microfiber cloth to remove any fingerprints or smudges and reveal your sparkling new reflection.
Remove Drop Cloths and Tools: Clean up your work area thoroughly. Dispose of any waste materials safely.
Mirror Mounting Hardware Options
When installing a new mirror, especially one that isn’t adhering directly to the wall with mastic, the right hardware is crucial for safety and stability. The type of hardware you need often depends on the mirror’s construction, weight, and the wall material.
Here’s a look at common mirror mounting hardware:
| Hardware Type | Description | Best For | Considerations |
| Adhesive Backing | Special strong double-sided tape applied to the back of the mirror. | Lightweight decorative mirrors, temporary installations. | Ensure the wall surface is clean and smooth. Not ideal for heavy or frequently moved mirrors. |
| Mirror Clips | Small metal or plastic brackets that grip the edge of the mirror. | Frameless mirrors, vanity mirrors where a clean, minimalist look is desired. | Often used in conjunction with adhesive or screws. Ensure clips are rated for the mirror’s weight. May require drilling into the wall. |
| Z-Clips (French Cleats) | Two interlocking aluminum strips. One attaches to the mirror, the other to the wall. | Heavier mirrors, framed mirrors, or when a very strong, secure, and level mount is needed. | Distributes weight evenly. Requires precise installation. Ensure both strips are securely fastened to studs or using appropriate heavy-duty anchors. |
| D-Rings & Wire | Metal rings attached to the back of a framed mirror, with wire strung between them. | Framed mirrors of various sizes and weights. | Ensure D-rings are securely screwed into a solid part of the frame. The wire should be rated for the mirror’s weight and kept taut. Use sturdy wall hooks or screws. |
| Specialty Mirror Mounts | Various systems designed for specific mirror types or installations. | Large statement mirrors, custom installations, or vanities requiring specific overhang/spacing. | Follow manufacturer instructions precisely. May involve custom brackets or mounting systems. |
Note: For any mirror weighing more than a few pounds, it is highly recommended to screw mounting hardware directly into wall studs whenever possible. If studs are not accessible, use heavy-duty wall anchors designed for the weight of your mirror, following anchor manufacturer instructions carefully. For guidance on finding studs, materials science and building resources often suggest using electronic stud finders that can detect density changes behind the drywall.
Maintaining Your New Mirror
Once your new mirror is installed, a little care will keep it looking its best for years to come.
Cleaning: The best way to clean a mirror is with a microfiber cloth and a good quality glass cleaner. For streak-free results, spray the cleaner onto the cloth, not directly onto the mirror. Wipe in a consistent pattern (e.g., horizontally or vertically).
Avoid Harsh Chemicals: Never use abrasive cleaners, ammonia-based products (unless diluted and specifically for glass), or scouring pads, as they can damage the mirror’s backing or reflective surface.
Check Mountings Periodically: Especially if you used clips or brackets, give them a quick check every few months to ensure they are still tight and secure.
* Moisture Control: In humid environments like bathrooms, ensure good ventilation to prevent condensation from sitting on the mirror’s edges or backing, which can lead to damage over time.
Conclusion
Replacing a mirror yourself is a rewarding DIY project that can dramatically enhance the look and feel of your home, all while keeping more money in your pocket. By following these detailed steps – from preparing your tools and ensuring safety to carefully removing the old mirror and securely installing the new one – you’ll achieve professional-looking results. Remember to always prioritize safety, read product instructions carefully, and don’t hesitate to ask a friend for an extra pair of hands for larger mirrors. With this guide, you’re well-equipped to tackle your next mirror replacement with confidence and skill. Enjoy your refreshed reflection!
Frequently Asked Questions (FAQ)
Here are some common questions beginners have about replacing a mirror.
Q1: How do I know if my mirror is too heavy to hang with just adhesive?
A1: Most adhesives state their weight limits. For vanity mirrors up to 20-30 lbs, strong mirror adhesive is usually sufficient if applied correctly to a clean, dry surface. For anything heavier, or if you’re unsure, always plan to use mechanical fasteners like screws into studs or heavy-duty anchors, potentially in combination with adhesive or mounting hardware like a French cleat.
Q2: Can I reuse the old mirror clips?
A2: It depends on their condition. If the clips are not damaged, bent, or corroded, and they are intended for reuse, then yes, you might be able to use them. However, for safety and a secure mount, it’s often best to use new clips or hardware specifically designed for your new mirror.
Q3: What if I accidentally break the mirror during removal?
A3: Safety first! Stop immediately. Put on thick gloves and eye protection. Carefully collect all visible pieces. For smaller shards, a damp paper towel can help pick them up. For larger pieces, use a broom and dustpan. Wrap all broken glass securely in thick cardboard and clearly label the package “BROKEN GLASS” before disposal. Never sweep up broken glass without extreme caution.
Q4: How long does mirror adhesive take to cure?
A4: Curing times vary by product. Most mirror adhesives need between 24 to 72 hours to fully cure and reach maximum strength. Always check the product packaging for specific instructions. During this time, avoid putting any stress on the mirror.
Q5: What’s the best way to center a mirror on the wall?
A5: Measure the wall space where the mirror will go. Then, measure the mirror. Calculate the remaining space on each side and top/bottom and divide by two to find the center point. Use a level and a pencil to draw faint guide marks on the wall. For a more robust solution, consider using a laser level for precise alignment.
Q6: Can I hang a mirror over a tiled wall?
A6: Yes, but you’ll need specific drill bits for tile and masonry (like carbide-tipped bits) and potentially specialized anchors designed for tile or masonry to ensure a secure fix. Follow the adhesive or mounting hardware instructions very carefully for best results.
Q7: My new mirror has a slightly different shape/size than the old one. How do I make sure it looks good?
A7: Measure the wall space carefully. If the new mirror is significantly smaller, consider using decorative mirror clips or a frame to fill the space and give it a finished look. If it’s larger, ensure it doesn’t overwhelm the area or obstruct necessary functions like opening cabinets or doors. Sometimes, a minor adjustment in placement and ensuring it’s perfectly level can make all the difference.
