
Replacing your shower tools is an essential, effortless upgrade that breathes new life into your daily routine. This guide provides simple, step-by-step instructions for swapping out old fixtures for new, ensuring a leak-free and enhanced shower experience with confidence. Learn to identify common shower components, gather necessary supplies, and complete the upgrade safely and efficiently.
Having a shower that doesn’t quite work right can be a real drag on your morning. Maybe the water pressure is weak, the showerhead dribbles after you turn it off, or the handle is just plain old fashioned. These little annoyances can make your relaxing shower feel more like a chore. But don’t worry! Most of these issues stem from your shower tools – the parts you directly interact with. Luckily, replacing them is a surprisingly simple DIY project that doesn’t require a plumbing degree. We’ll walk you through it, step-by-step, so you can enjoy a perfectly functioning shower again. Get ready to transform your everyday routine!
Why Upgrade Your Shower Tools? The Benefits You Can’t Ignore

Think of your shower tools as the command center for your bathroom oasis. When they’re not up to par, your entire experience suffers. Upgrading these essential components isn’t just about aesthetics; it’s about functionality, water conservation, and even your long-term budget. Let’s dive into why this “effortless upgrade” is so worthwhile.
Enhanced Shower Experience
This is the most immediate and noticeable benefit. A new showerhead can bring back that invigorating rain-like spray, a new valve handle can offer precise temperature and flow control, and updated trim can simply make your shower look and feel more modern and luxurious. Imagine stepping into a shower that feels like a spa – that’s the power of upgraded tools.
Improved Water Efficiency
Many older showerheads are incredibly inefficient, using far more water than necessary. Newer models, especially those with the WaterSense label, are designed to deliver a great shower experience while using significantly less water – often 20% less or more. This not only helps the environment but also lowers your water bills. It’s a win-win!
Better Water Pressure
If your shower has been feeling weak lately, it might not be a major plumbing issue. Clogged showerheads or worn-out internal valve components can severely restrict water flow. Replacing these parts can often restore optimal water pressure, making for a much more satisfying shower. You’ll be surprised at the difference a simple swap can make.
Modern Aesthetics and Comfort
Let’s be honest, dated shower fixtures can make a bathroom feel tired and uninviting. Replacing an old, corroded shower handle or a dull showerhead with a sleek, modern design can dramatically update the look of your entire shower area. Think brushed nickel, polished chrome, or matte black finishes that add a touch of sophistication and make the space feel more comfortable and inviting.
Health and Hygiene
Over time, older shower components can accumulate mineral deposits, soap scum, and even mold, especially if they’re hard to clean. Replacing these parts ensures you’re showering with fresh, clean components. This is particularly important for those with sensitivities or anyone who prioritizes a hygienic environment. It’s a simple way to improve the overall cleanliness of your bathroom.
Understanding Your Shower Tools: A Beginner’s Guide
Before we can replace anything, it’s helpful to know what’s what. Don’t worry, we’ll keep it simple. Your shower is essentially made up of a few key areas where you’ll be working. Understanding these will make the replacement process much smoother. Think of this as getting to know your shower’s main players.
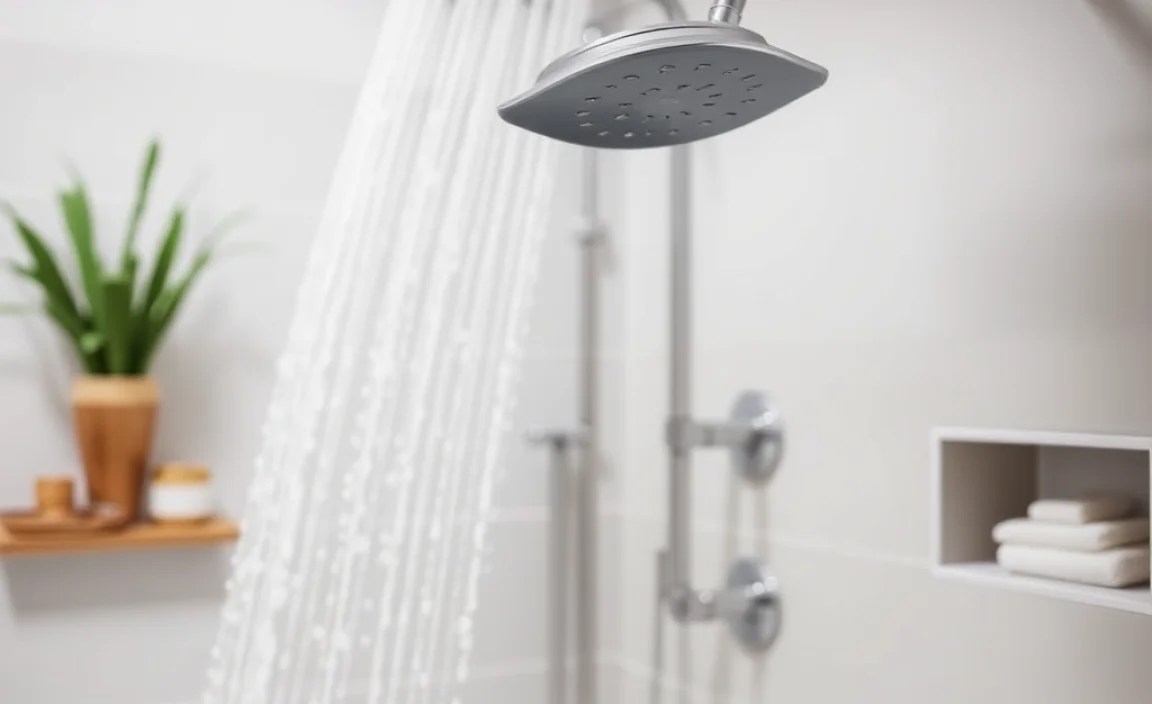
Showerhead
This is the part water comes out of. Simple enough, right? It screws onto the end of the shower arm (the pipe coming out of the wall). They come in many forms: fixed, handheld, rainfall, and even those with multiple spray settings. Replacing this is usually the easiest part of any shower tool upgrade.
Shower Arm
The horizontal pipe that connects the showerhead to the water supply pipe inside the wall. It’s usually made of metal and can also be easily replaced if it’s corroded, bent, or if you want to change its position or style.
Shower Handle
This is what you turn to control the water flow and temperature. It’s connected to the valve stem inside the wall. Handles can be single-knob, cross-handles, or lever-style. When you replace the handle, you’re often also replacing the decorative trim plate around it.
Valve Cartridge (The Heart of the System)
This is the unsung hero behind your shower’s control. The valve cartridge is located inside the shower valve body, behind your handle and trim plate. It’s responsible for mixing hot and cold water and controlling the flow. Replacing this can fix leaks, temperature issues, and stiffness in the handle. While it’s a bit more involved than a showerhead, even beginners can tackle it with the right guidance.
Escutcheon Plate (Trim Plate)
This is the decorative plate that covers the hole where the valve stem comes through the wall. It sits flush against the wall and is held in place by the handle or screws. It adds a finished look and hides the rough work behind it.
Gather Your Tools and Supplies: Preparation is Key

Just like any good project, having the right tools and materials ready before you start will make the entire process much smoother and prevent frustration. Don’t worry if you don’t have everything; most of these are standard, affordable items available at any hardware store. For this “effortless upgrade,” we want to make sure you’re equipped.
Essential Tools for Replacing Shower Tools
- Adjustable Wrench: Your go-to tool for loosening and tightening nuts and fittings. Get one with a good grip.
- Pliers (Channel-lock or Slip-joint): Useful for gripping, holding, and turning various parts.
- Screwdriver Set: You’ll likely need both Phillips head and flathead screwdrivers, usually in a couple of different sizes.
- Teflon Tape (Plumber’s Tape): This wraps around pipe threads to create a watertight seal. It’s crucial for preventing leaks.
- Rag or Towel: For wiping up water and protecting surfaces.
- Small Bucket or Container: To catch any residual water that might come out of pipes.
- Utility Knife or Scraper: For removing old caulk or putty.
- Safety Glasses: Always protect your eyes, especially when working with plumbing.
- Penetrating Oil (e.g., WD-40): For stubborn or corroded parts that might be difficult to remove.
Choosing Your New Shower Tools
- New Showerhead: Consider flow rate (GPM – gallons per minute), spray patterns, and finish to match your bathroom.
- New Shower Handle and Trim Kit: Ensure it’s compatible with your existing valve type (e.g., Moen, Delta, Kohler).
- New Shower Arm (Optional): If you’re changing the arm’s style, length, or finish.
- New Valve Cartridge (If Needed): This is critical if you’re experiencing leaks or difficult temperature control. You must get a cartridge that’s compatible with your specific shower valve brand and model.
Pro Tip: Before heading to the store, take a picture of your current shower handle and trim. This can help a sales associate identify the correct replacement parts for your shower valve, which is often branded. For valve cartridges, you might need to remove the old one first to match it exactly.
Step-by-Step Guide: Replacing Your Shower Tools
Ready to get your hands a little wet? Follow these steps to confidently replace your shower tools. We’ll break it down into manageable sections, starting with the easiest task: the showerhead and arm.
Part 1: Replacing the Showerhead and Shower Arm
This is the most straightforward part of the project and can make a big visual and functional difference.
- Turn Off the Water Supply: This is the MOST IMPORTANT first step for safety. Locate the main water shut-off valve for your house (often in the basement, garage, or near your water meter) and turn it completely off. If you can’t find the main valve, or if you only want to shut off water to the bathroom, look for shut-off valves under the sink or behind the toilet.
- Protect Your Tub/Shower Floor: Place a towel or rag in the bottom of your tub or shower to catch any dropped tools or stray water and prevent scratching.
- Remove the Old Showerhead: Most showerheads simply unscrew from the shower arm counter-clockwise. If it’s stuck, wrap a rag around the connection point and use your adjustable wrench or pliers to loosen it. Be gentle to avoid dañing the shower arm.
- Remove the Old Shower Arm (Optional): If you’re replacing the arm, use your wrench to unscrew it from the fitting inside the wall. Again, turn counter-clockwise. You might need to hold the fitting steady with another tool to prevent it from turning inside the wall.
- Clean the Threads: Wipe away any old Teflon tape, debris, or mineral buildup from the threads of the shower arm fitting inside the wall. A dry cloth is usually sufficient.
- Apply New Teflon Tape: Wrap a few layers (3-5) of Teflon tape clockwise around the threads of the shower arm fitting inside the wall. This ensures it seals properly when you screw the arm in.
- Install the New Shower Arm: Screw the new shower arm into the fitting clockwise by hand until snug. Then, use your wrench to tighten it another quarter to half turn. Don’t overtighten!
- Attach the New Showerhead: Wrap Teflon tape clockwise around the threads of the new shower arm. Screw the new showerhead onto the arm clockwise by hand until snug. Then, use a rag and your wrench to tighten it another quarter turn. Again, avoid overtightening.
- Test for Leaks: Turn the main water supply back on slowly. Turn on the shower and check all connections for drips or leaks. If you see any, try tightening the connection slightly. If the leak persists, you may need to reapply Teflon tape.
Part 2: Replacing the Shower Handle, Trim Plate, and Valve Cartridge
This part requires a bit more care, especially when dealing with the valve cartridge. It’s the most common culprit for leaks and temperature issues. Compatibility is key here!
- Turn Off Water Supply: If you haven’t already, turn off the main water supply to your home. Double-check that no one will turn it back on while you work.
- Remove the Old Handle: Most shower handles are held in place by a set screw. Look for a small hole on the underside or the side of the handle. You might need a small Allen wrench or a flathead screwdriver to loosen and remove this screw (turn counter-clockwise). Once the screw is out, the handle should pull straight off. Some older handles or different brands might have decorative caps covering screws. Pry these off gently with a thin flathead screwdriver or a utility knife.
- Remove the Old Trim Plate (Escutcheon): The trim plate might be held on by screws, or it might simply be a snap-on or friction-fit piece over a metal sleeve. If there are screws, remove them. If not, gently try to pull the plate away from the wall. Use your utility knife to carefully cut away any caulk around the edges if it’s sealed to the wall.
- Expose the Valve Cartridge: With the handle and trim plate removed, you’ll see the valve body and the cartridge inside. There might be a metal sleeve or bonnet nut holding the cartridge in place.Table: Common Shower Valve Cartridge Styles
Brand Cartridge Type Visual Indicator Moen Single post, often with a clip retaining it. Large, round cartridge with a distinct stem shape. Delta Square-ish body, often with a “diamond” seal. Often brass or plastic, with a shape that fits into a square cavity. Kohler Various, but often have a simpler, sometimes plastic body. Can be round or rectangular, often with O-rings visible. *Note: This is a general guide. Always consult your specific faucet manual or remove the cartridge to confirm.
- Remove the Valve Cartridge: This is where things can vary widely by brand.
- For Moen: Use pliers to grip the stem of the cartridge and wiggle it back and forth while pulling outwards. There might be a retaining clip you need to remove first with needle-nose pliers or a small screwdriver.
- For Delta: Similar to Moen, you’ll likely need to pull the cartridge out. Some Delta cartridges have a retaining nut that needs to be unscrewed with a special tool or large pliers.
- For Other Brands: Consult your faucet’s manual or search online for specific instructions for your brand and model number.
If the cartridge is stuck, a little penetrating oil applied to the edges and allowed to soak for a few minutes can help. Be firm but avoid excessive force that could damage the valve body.
- Clean the Valve Body: Once the old cartridge is out, carefully wipe down the inside of the valve body with a rag to remove any debris or mineral deposits.
- Prepare the New Cartridge: Before installing the new cartridge, smear a thin layer of plumber’s grease (silicone grease) around its O-rings. This helps it slide in smoothly and creates a better seal.
- Install the New Valve Cartridge: Align the new cartridge with the valve body. Most cartridges have specific notches or orientations that must align correctly for proper operation (especially for hot and cold water). Refer to the manufacturer’s instructions that came with your new cartridge. Gently push the new cartridge into place. Reinstall any retaining clips or nuts.
- Reinstall the Trim Plate: Slide the new trim plate onto the valve body. If it screws on, secure it with the provided screws. If it’s a snap-on or friction fit, ensure it’s flush and secure against the wall.
- Reinstall the Handle: Slide the new handle onto the cartridge stem. Make sure it’s in the correct “off” position. Reinsert and tighten the set screw (clockwise) to secure it.
- Turn Water On and Test: Slowly turn the main water supply back on. Check for any leaks around the handle and trim plate. Turn the handle to test hot and cold water flow and temperature control.
Troubleshooting Common Issues
Even with the best preparation, sometimes things don’t go perfectly on the first try. Here are a few common issues and how to fix them.
Dripping After Shut-Off
Cause: The valve cartridge might not be fully seated, or the O-rings are damaged. Or, it could be that the shower valve itself is worn out, meaning you might need to replace the entire valve body (a more involved job).
Solution: Ensure the cartridge is correctly installed. If it persists, the cartridge may be faulty or there’s an issue with the valve body itself.
Low Water Pressure
Cause: Mineral buildup in the showerhead or shower arm, or a partially closed shut-off valve. A clogged valve cartridge can also restrict flow.
Solution: Clean the showerhead (soaking in vinegar often works). Ensure the shower arm isn’t blocked. Verify all shut-off valves are fully open. If the cartridge was recently replaced and the issue remains, the original valve body might be the problem.
Handle is Stiff or Loose
Cause: The set screw wasn’t tightened enough, or the cartridge isn’t fully seated. For stiffness, internal cartridge components might be binding.
Solution: Ensure the set screw is tight and the handle is properly affixed to the cartridge stem. If the cartridge feels stiff internally, it might be defective or incompatible.
Leaks Around the Trim Plate
Cause: The trim plate isn’t seated properly, the escutcheon is damaged, or a seal within the valve body has failed.
Solution: Double-check that the trim plate is flush and securely mounted. If it’s a persistent leak from the valve itself, the valve body or the cartridge installation needs further attention.
Maintenance Tips for Longevity
Once you’ve got your shiny new shower tools installed, a little regular care will ensure they keep working beautifully for years to come.
