
A soap holder is a simple yet essential bathroom accessory designed to keep your bar soap elevated, allowing it to dry properly between uses. This prevents it from becoming mushy and prolonging its life, while also keeping your sink or shower tidy. Understanding the different types, installation, and maintenance ensures a functional and attractive addition to your bathroom.
Tired of that slimy, mushy bar of soap sitting in a goo puddle on your sink? It’s a common bathroom annoyance that makes even the nicest soap look unappealing and waste money. But what if I told you the solution is incredibly simple and requires no complex tools? That’s where the humble soap holder comes in.
This guide is your friendly tour through the world of soap holders, breaking down exactly what you need to know to pick the right one, install it with confidence, and keep it looking great. We’ll cover everything from the different styles available to easy care tips, so you can finally say goodbye to soap scum and hello to a neater, more enjoyable bathroom experience.
Why a Soap Holder is Your Bathroom’s Best Friend
Think of your bar soap as a fine artisan cheese – it needs to breathe! When a bar of soap sits in water, it starts to dissolve, creating that gooey mess we all dread. A good soap holder lifts the soap out of this soggy situation, allowing air to circulate around it. This simple act:
- Extends Soap Life: It helps your bar soap last significantly longer by preventing it from turning to mush.
- Keeps Things Clean: No more slippery soap residue on your sink, shower ledge, or vanity.
- Enhances Aesthetics: A well-chosen soap holder can add a touch of style and organization to your bathroom.
- Promotes Hygiene: Keeps soap dry and less prone to bacterial growth.
It’s an easy win for anyone looking to improve their bathroom’s functionality and look without a major renovation.
Decoding Soap Holder Styles: A Beginner’s Look

The world of soap holders might seem small, but there’s a surprising variety designed to fit different needs, bathroom aesthetics, and installation preferences. Here’s a breakdown to help you choose wisely:
Freestanding/Countertop Soap Holders
These are the simplest and most straightforward. They require no installation and can be moved around easily. They typically feature a dish or a raised platform where you place your soap.
- Pros: No installation needed, portable, great for renters, easy to clean.
- Cons: Can take up counter space, might slide around if bumped.
- Best for: Sinks, vanities, or shower shelves where no mounting is desired.
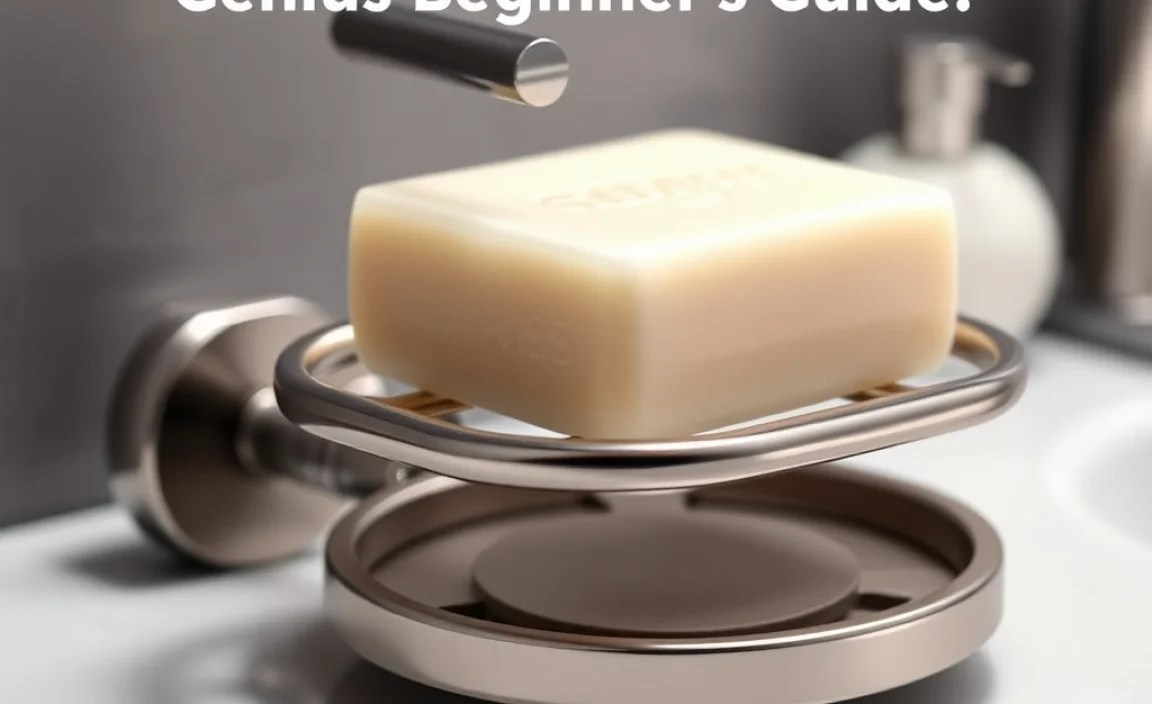
Adhesive Soap Holders
These are incredibly popular for their ease of installation. They attach to your wall or shower tile using strong adhesive strips. Most come with a plate that sticks to the wall and a separate dish or bar that clicks or slots into the plate, often with a mechanism to hold the soap itself.
- Pros: Easy to install, no drilling required, good for renters, many stylish options.
- Cons: Adhesive can damage paint or leave residue when removed, might not stick well to textured or uneven surfaces, weight capacity can be a concern for very heavy soaps.
- Best for: Smooth tile, glass, or finished surfaces.
When choosing an adhesive soap holder, look for reputable brands known for their strong, water-resistant adhesives, such as those from 3M or Command strips. For more information on adhesive technologies, you can check out resources like 3M’s Sticky Science innovations.
Suction Cup Soap Holders
Similar to adhesive holders in that they don’t require drilling, suction cup holders use a vacuum seal to attach to smooth surfaces. They are often adjustable and easy to remove.
- Pros: No permanent fixings, easy to reposition, some offer good adjustability.
- Cons: Suction can weaken over time, especially in humid environments; may not hold on older or slightly textured tiles; can be less secure for heavier items.
- Best for: Very smooth, non-porous surfaces like glass shower doors or new, glossy tiles.
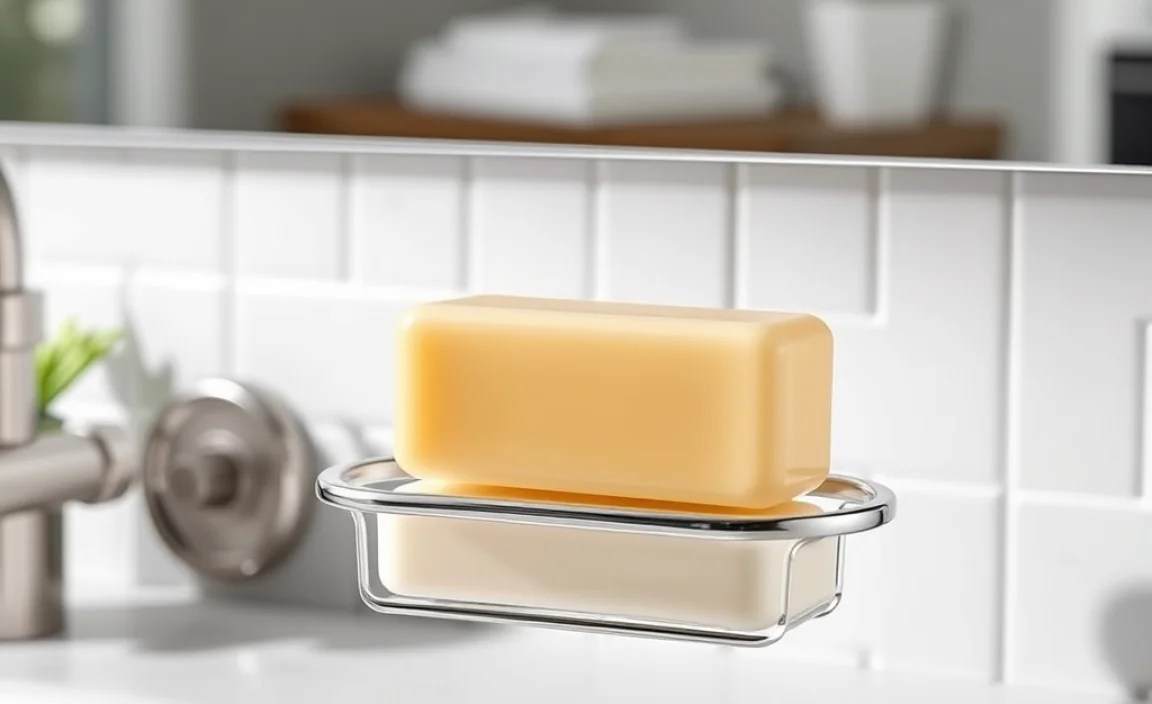
Wall-Mounted (Drilled) Soap Holders
These are the most traditional and often the most durable. They require drilling into your wall or shower surround, then securing the holder with screws. They can include simple bars, cups, or more elaborate dispensers.
- Pros: Very secure and durable, can hold significant weight, a permanent and reliable solution.
- Cons: Requires drilling, which can be intimidating for beginners, permanently alters walls, requires tools and some DIY skill.
- Best for: Homeowners who want a long-term, sturdy solution and are comfortable with basic drilling.
In-Shower Soap Dishes (with Drainage)
These are designed to sit directly in your shower and often have sloped designs with drainage holes or channels. Some are simple dishes, while others are more elaborate cages or baskets.
- Pros: Excellent drainage, keeps soap dry, specifically designed for the shower environment.
- Cons: Can take up space in a small shower, some designs can be tricky to clean.
- Best for: Shower stalls where space allows for a dedicated soap dish.
Soap Savers / Soap Bags
This is a clever, fabric-based solution. You place your bar soap inside a mesh or sisal bag, which then allows you to lather up directly with the bag. The bag also dries the soap between uses.
- Pros: Utilizes every bit of your soap (even small slivers), dries soap effectively, provides gentle exfoliation, very inexpensive.
- Cons: Not a traditional “holder,” can create more foam than desired for some, the bag itself needs to be dried.
- Best for: Maximizing soap use, minimalists, or those who want a natural exfoliation boost.
Installation: Step-by-Step for Common Types
Let’s get practical. Installing a soap holder can be a breeze if you know the steps. We’ll cover the most common types that beginners might tackle.
How to Install an Adhesive Soap Holder
This is often the go-to for its no-drill convenience. Always read the manufacturer’s instructions for your specific product, but here’s a general guide:
- Choose Your Spot: Select a clean, smooth, dry, and easily accessible surface in your shower or near your sink. Ensure there’s enough space for the soap itself and that it won’t be constantly hit by a direct stream of water.
- Clean the Surface: This is CRUCIAL for good adhesion. Use rubbing alcohol or a mild household cleaner to thoroughly clean the area. Make sure it’s completely dry. Any dust, grease, or moisture will prevent the adhesive from sticking properly.
- Apply the Adhesive: Peel off the backing from the adhesive strip. If your holder has a separate mounting plate, apply the adhesive to that plate first. Press it firmly onto the wall for the duration recommended by the manufacturer (often 30 seconds or more).
- Wait Before Attaching: Many manufacturers recommend waiting 24 hours after applying the adhesive strip to the wall before attaching the actual soap holder piece. This allows the adhesive to cure fully to the wall.
- Attach the Holder: Once the waiting period is over, attach the soap dish or holder to the mounted plate. Most click, slide, or hook into place.
- Test Gently: Place an empty soap dish on it, then a bar of soap. Gently tug to ensure it’s secure.
How to Install a Drilled (Wall-Mounted) Soap Holder
This method offers the most security but requires a few more tools and a bit more confidence. Always wear safety glasses when drilling.
- Gather Your Tools: You’ll likely need a drill, appropriate drill bit (often masonry for tile/concrete, wood bit for drywall), a level, a pencil, screws, and anchors (if needed).
- Mark the Position: Hold the soap holder against the wall at your desired location. Use a level to ensure it’s straight. Use your pencil to mark through the screw holes onto the wall.
- Drill Pilot Holes: If you are drilling into tile, use a tile drill bit and start slowly to avoid cracking the tile. Once through the tile, you might switch to a masonry bit for the wall behind it. For drywall, use a regular drill bit. The pilot hole should be slightly smaller than the screw diameter.
- Insert Anchors (if necessary): If you’re drilling into drywall or hollow materials, you’ll need wall anchors. Insert these into the drilled holes according to their instructions. Anchors provide a secure base for the screws.
- Secure the Holder: Position the soap holder over the holes. Insert the screws and tighten them, securing the holder firmly to the wall. If your holder has a separate base plate, you’ll typically screw that on first, then attach the dish.
- Test for Stability: Give the holder a gentle tug to ensure it’s firmly attached.
Tips for Other Types
- Freestanding: Simply place it where you want it. Ensure the surface is flat.
- Suction Cup: Clean the surface thoroughly and press firmly, ensuring the suction seal is complete. Periodically check and reapply suction if it loosens.
- Soap Savers: No installation needed! Just place your soap inside and hang it on a hook or showerhead.
Materials Matter: What Your Soap Holder is Made Of
The material of your soap holder impacts its durability, look, and how well it holds up in a wet environment. Here’s a quick look:
| Material | Pros | Cons | Best For |
|---|---|---|---|
| Plastic/Resin | Lightweight, inexpensive, water-resistant, wide range of colors and styles. | Can look cheap, may stain over time, less durable than metal. | Budget-conscious, frequent style changes, children’s bathrooms. |
| Ceramic | Elegant appearance, easy to clean, doesn’t rust or tarnish. | Can chip or break if dropped, heavier. | Classic or decorative bathrooms, countertop holders. |
| Stainless Steel | Durable, rust-resistant, modern look, easy to clean. | Can be more expensive, some finishes can show water spots. | Modern and minimalist bathrooms, high-moisture areas. |
| Brass/Bronze/Copper | Luxurious appearance, durable, can have beautiful patinas. | Can tarnish (though some are lacquered to prevent this), generally more expensive, can react with certain soaps. | Traditional, farmhouse, or luxury bathrooms. |
| Bamboo/Wood | Natural, eco-friendly aesthetic, can be visually appealing. | Needs to be well-sealed and maintained to prevent rot and mold, less durable in constant wetness. | Guest bathrooms, areas with less direct water exposure, those seeking natural materials. |
When selecting, consider not just the look but also its resilience. Materials like well-finished stainless steel or ceramic are excellent for longevity in damp bathroom environments.
Design Features for Optimal Performance
Beyond just holding soap, good soap holder designs incorporate features that enhance their function:
- Drainage Holes: Essential for allowing water to escape, helping the soap dry faster. Look for dishes with ample holes or sloped designs.
- Raised Edges: These help to contain any excess water or soap residue, preventing it from running down the wall or onto the counter.
- Multi-Level or Angled Designs: Some holders are designed to angle the soap bar, ensuring that water runs off more effectively.
- Non-Slip Bases/Pads: For freestanding models, a non-slip bottom prevents them from sliding around your sink or shower shelf.
- Removable Trays: A removable dish makes cleaning significantly easier. You can simply lift it out, wash it, and put it back.
Think about how your soap is shaped too. Some holders are better suited for thinner, rectangular bars, while others can accommodate thicker, oval soaps.
Cleaning and Maintenance: Keeping Your Holder Ship-Shape
A soap holder’s job is to keep things clean, but it needs a little TLC itself to stay effective and hygienic. Regular cleaning prevents soap scum buildup and keeps your bathroom looking sharp.
Routine Cleaning (Weekly)
This is your basic refresh.
- Remove the Soap: Take the bar of soap out of the holder.
- Rinse: Rinse the soap holder thoroughly with warm water to wash away any loose soap residue.
- Wipe Down: Use a soft cloth or sponge with a little bit of mild soap or a bathroom cleaner to wipe down the holder and its surrounding area.
- Dry: Wipe the holder dry with a clean cloth.
Deep Cleaning (Monthly or as Needed)
For tougher soap scum or mineral deposits.
- Prepare a Solution: Mix equal parts white vinegar and water, or use a dedicated bathroom cleaner. For stubborn stains, a paste of baking soda and water can also be effective.
- Apply and Soak: Apply the solution to the soap holder. For holders that can be removed, soak them in the solution for 15-30 minutes. For those mounted, apply the solution and let it sit, perhaps covering it with a plastic bag to keep it moist.
- Scrub: Use an old toothbrush or a non-abrasive scrubbing pad to gently scrub away any buildup of soap scum or mineral deposits.
- Rinse and Dry: Rinse thoroughly with clean water and dry with a soft cloth.
Special Considerations for Materials
- Plastic: Can sometimes stain. Avoid abrasive cleaners that can scratch the surface.
- Ceramic: Be gentle to avoid chipping. A soft cloth and mild cleaner are usually sufficient.
- Metal (Stainless Steel, Brass): These are generally easy to clean. For brass or copper, you might use a specific metal polish if desired, but ensure it’s safe for bathroom use or lightly lacquered to prevent tarnishing.
- Wood: Less is more. Wipe dry immediately after use. Avoid harsh chemicals or prolonged soaking. Ensure adequate ventilation.
Proper maintenance not only keeps your soap holder looking its best but also ensures it functions correctly in keeping your soap dry and your bathroom tidy.
