
Quick Summary: The essential system of caulking in plumbing involves understanding the right sealants and techniques to prevent leaks, protect surfaces, and ensure a watertight finish around fixtures. Proper caulking not only enhances aesthetics but is crucial for long-term plumbing health and preventing water damage.
Plumbing leaks can be a real headache, causing water spots, mold, and even structural damage. Often, these issues start small, right where pipes meet surfaces or around your sinks and tubs. The good news is, a bit of knowledge about caulking can go a long way in keeping your home dry and sound. Think of caulking as the trusty sealant that guards your plumbing against unwanted moisture. It’s a simple yet powerful tool in your DIY arsenal. In this guide, we’ll demystify the “system of caulking in plumbing,” breaking down what you need to know to get the job done right, so you can tackle those tricky spots with confidence.
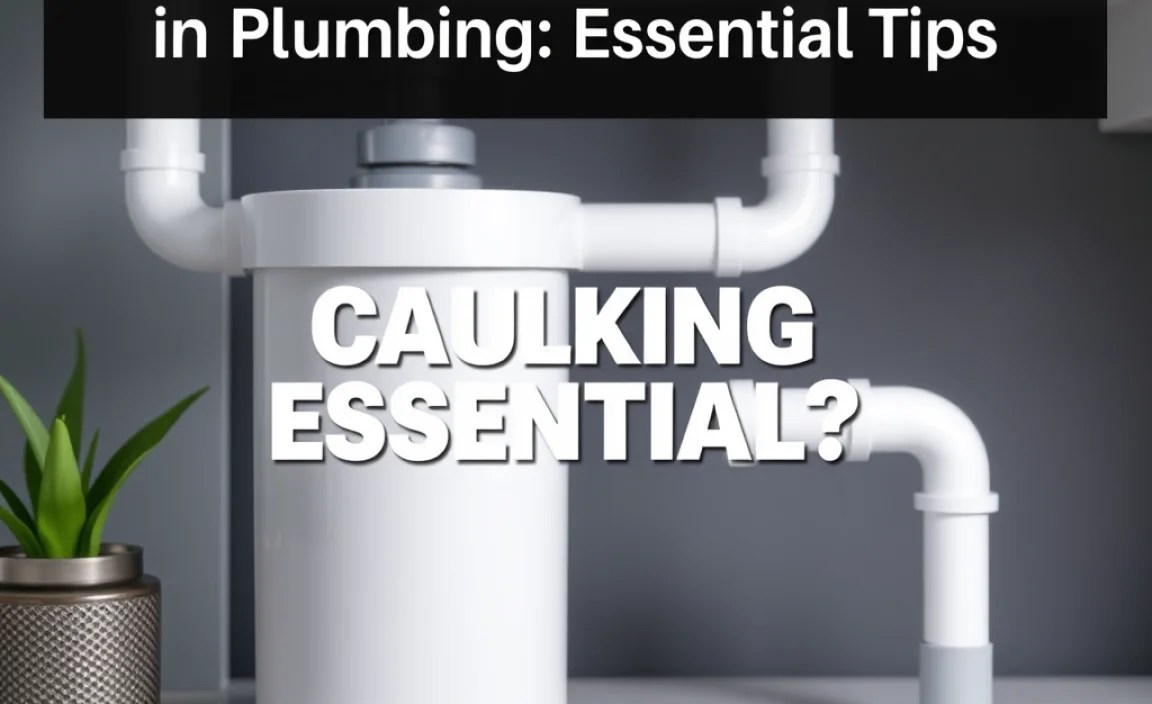
What is the System of Caulking in Plumbing?

The “system of caulking in plumbing” refers to the comprehensive approach involving the selection of appropriate sealing compounds (caulks and sealants) and the correct application techniques to create watertight barriers. It’s about ensuring that every vulnerable joint and seam in your plumbing system, especially those exposed to water, is properly sealed to prevent leaks, protect surrounding materials from moisture damage, and maintain the overall integrity of your plumbing installation. This system isn’t just about slapping some goop into a gap; it’s a skilled craft that combines understanding materials, preparing surfaces, and executing precise application for long-lasting results.
Why is Proper Caulking Essential?
You might wonder why such attention to detail is needed for something as simple as caulking. The answer lies in the substantial benefits it provides:
- Leak Prevention: This is the most obvious benefit. A well-caulked seam prevents water from seeping through gaps, which can save you from costly water damage, rot, and mold growth.
- Surface Protection: Caulking creates a barrier that protects materials like drywall, wood, and countertops from water exposure. This is especially important in areas like bathrooms and kitchens.
- Hygiene: Gaps can become a breeding ground for bacteria and mold. Caulking seals these areas, making them easier to clean and more hygienic.
- Aesthetics: Fresh, neat caulking gives a finished and professional look to your plumbing fixtures, countertops, and tile work. It hides imperfections and creates a clean line.
- Energy Efficiency: While not its primary purpose in plumbing, sealing gaps where pipes enter walls or floors can also help reduce drafts and improve insulation, contributing slightly to energy savings.
Understanding Different Types of Caulks and Sealants

Not all caulks are created equal, and choosing the right one for your plumbing project is key to a durable seal. The system of caulking in plumbing starts with knowing your materials. Here’s a rundown of common types:
1. Silicone Sealants
Silicone sealants are known for their excellent flexibility, durability, and water resistance. They are a top choice for bathrooms and kitchens because they can withstand high humidity and temperature changes without cracking or shrinking. Their primary advantage is their superior waterproof nature.
- Pros: Highly waterproof, flexible, durable, resistant to mold and mildew, adheres well to non-porous surfaces like glass, tile, and metal.
- Cons: Can be difficult to clean up (requires mineral spirits), harder to paint over, can sometimes shrink or pull away over time if not applied correctly, a bit stickier to work with for beginners.
- Best for: Bathtub and shower surrounds, sink edges, areas with constant water exposure, sealing around toilets and bidets.
2. Acrylic Latex Caulks (with or without Silicone)
Often referred to as “painter’s caulk” but enhanced for specific uses. Pure acrylic latex caulks are easy to use and clean up. When they include silicone (often labeled as “siliconized acrylic latex” or “acrylic-silicone”), they gain enhanced flexibility and water resistance, making them a versatile option for plumbing applications. They offer a good balance of performance and ease of use.
- Pros: Easy to apply, easy to clean up with water, paintable, good adhesion to porous surfaces like wood, drywall, and plaster, generally less expensive than pure silicone.
- Cons: Less flexible and durable than pure silicone, may not hold up as well in areas of constant high moisture or extreme temperature swings, can shrink more than silicone.
- Best for: Baseboards around toilets, sealing gaps around vanities, trim work near plumbing fixtures, areas where painting is desired.
3. Polyurethane Sealants
Polyurethane sealants are known for their exceptional strength, flexibility, and adhesion to a wide range of materials, including concrete, metal, wood, and vinyl. They are very durable and can handle significant movement and stress. While often used in construction for larger gaps and joints, they can be effective for plumbing where a robust, long-lasting seal is needed.
- Pros: Extremely strong adhesion, very durable, excellent flexibility, water-resistant, resistant to abrasion and chemicals.
- Cons: Can be more expensive, cleanup can require specific solvents, may have a stronger odor during application, can be trickier to apply smoothly for beginners.
- Best for: Sealing gaps between countertops and backsplashes, areas with potential for significant joint movement, outdoor plumbing fixtures.
4. Kitchen and Bath Specific Sealants
These are often acrylic latex or silicone-based caulks specifically formulated with enhanced mildew and mold inhibitors. They are designed to perform exceptionally well in high-moisture environments like kitchens and bathrooms, offering a good balance of ease of use and resilience.
- Pros: Formulated with mildewcides for extended protection, good adhesion and water resistance, available in various colors to match fixtures.
- Cons: Performance can vary by brand; always check the product specifics.
- Best for: Anywhere water is frequently present in kitchens and bathrooms – sinks, showers, tubs, backsplashes.
When selecting, always check the product’s label for its intended use and suitability for kitchens and bathrooms, especially for water exposure. For most beginner plumbing tasks, a high-quality “Kitchen and Bath” siliconized acrylic latex caulk or a 100% silicone sealant is a great starting point.
Essential Tools for Caulking

Having the right tools makes all the difference between a messy job and a professional finish. Here’s what you’ll need:
- Caulk Gun: This is the device that holds the caulk tube and allows for controlled dispensing. Look for one with a smooth-release trigger and a drip-stop feature.
- Utility Knife or Caulk Removal Tool: Essential for cutting the tip of the caulk tube to the desired size and for removing old caulk.
- Putty Knife or Scraper: Useful for scraping away old caulk residue.
- Rubbing Alcohol or Mineral Spirits: For cleaning surfaces before caulking and for cleaning up excess caulk (depending on the type of caulk).
- Paper Towels or Rags: For wiping up messes and smoothing.
- Gloves: To keep your hands clean and protected from caulk and cleaning solvents.
- Masking Tape (Painter’s Tape): Helps create clean, straight lines, especially for beginners.
- Caulk Finishing Tool or a Damp Finger: For smoothing the bead of caulk.
Step-by-Step Guide: The System of Caulking in Plumbing
Implementing the system of caulking in plumbing involves preparation, application, and finishing. Follow these steps for a watertight, professional-looking result:
Step 1: Preparation is Key – Remove Old Caulk
You can’t effectively caulk over old, cracked, or moldy caulk. It won’t adhere properly and will lead to future issues.
- Scrape Away: Use a utility knife or a dedicated caulk removal tool to cut along the edges of the old caulk. Gently pry it away from the surface. For stubborn bits, a putty knife or scraper can help.
- Clean Thoroughly: After removing the bulk of the old caulk, clean the joint. Use a damp rag with a bit of rubbing alcohol or a mild detergent to remove any residue, soap scum, mold, or grease. For silicone caulk, mineral spirits might be needed.
- Dry the Area: The surface must be completely dry for the new caulk to adhere properly. Let it air dry, or use a clean cloth or a hairdryer on a cool setting.
Step 2: Prepare the Caulk Tube and Gun
Proper preparation of the caulk tube ensures an even bead and controlled application.
- Cut the Tip: Using a sharp utility knife, cut the nozzle tip of the caulk tube at a 45-degree angle. Start with a small opening – you can always make it larger. The size of the opening determines the width of the caulk bead. For most plumbing joints, a ¼-inch to ½-inch opening is usually sufficient.
- Puncture the Seal: Most caulk tubes have an inner seal. Use the long poker on your caulk gun (or a piece of wire, thin nail, or screwdriver) to puncture this seal inside the nozzle.
- Load the Gun: Pull back the plunger rod on the caulk gun, insert the loaded tube nozzle-first, and then push the plunger rod back into the tube until it engages properly.
Step 3: Apply Masking Tape (Optional but Recommended for Beginners)
Masking tape is your best friend for achieving perfectly straight lines and clean edges, especially if you’re new to caulking.
- Apply Tape: Place strips of painter’s tape along both sides of the gap you want to fill. Ensure the tape lines are parallel and spaced correctly to create your desired caulk bead width. Press the tape down firmly to ensure a good seal.
Step 4: Apply the Caulk
This is where the action happens. Steady hands and consistent pressure are key.
- Initial Bead: Place the tip of the caulk tube at the beginning of the seam. Hold it at a 45-degree angle to the joint. Gently squeeze the trigger of the caulk gun, applying steady pressure, and move the gun along the seam at a consistent speed. Aim for a continuous, even bead that fills the gap without being excessive.
- Maintain Pressure: As you move, try to keep the pressure on the trigger consistent. If you release the trigger, remember to press the release lever on the caulk gun to stop the flow of caulk, preventing drips.
- Work in Sections: For longer seams, it might be easier to work in manageable sections (e.g., 2-3 feet at a time) to ensure you can finish a section before the caulk starts to skin over.
Step 5: Smooth the Caulk Bead
This step is crucial for creating a professional look and a watertight seal.
- Remove Excess: Immediately after applying a section of caulk, smooth the bead. You can use a specialized caulk finishing tool, a damp (not wet!) cloth or rag, or even a gloved finger dipped in water or rubbing alcohol (depending on caulk type).
- The Smoothing Technique: Drag the tool, rag, or finger firmly and consistently along the caulk bead, pressing it into the gap and removing the excess. The goal is to create a slightly concave surface that channels water away from the joint.
- Clean Up: As you smooth, you’ll likely squeeze out excess caulk. Wipe this excess onto a damp rag. Dispose of used rags properly, especially if you used mineral spirits, as they can be flammable.
Step 6: Remove the Masking Tape
Timing is everything here. Remove the tape while the caulk is still wet.
- Pull at an Angle: Gently pull the masking tape away from the caulk bead at a 45-degree angle. If you pull straight up, you risk pulling away the fresh caulk.
- Admire Your Work: You should be left with a clean, sharp, and uniform caulk line.
Step 7: Allow to Cure
Patience is a virtue, especially when it comes to caulking.
- Check the Label: Refer to the caulk manufacturer’s instructions for curing times. This can vary significantly based on the type of caulk and environmental conditions (temperature and humidity).
- Avoid Contact: Generally, caulk should not be exposed to water or cleaned for at least 24-48 hours. For maximum durability and water resistance, some sealants require longer curing periods.
Common Caulking Mistakes to Avoid
Even with the best intentions, beginners can fall into some common traps. Understanding these can save you time and frustration:
- Not removing old caulk: This prevents proper adhesion and creates a weak point.
- Cutting the tip too large: Leads to too much caulk, making it messy and difficult to control.
- Not using a steady hand: Results in an uneven, lumpy bead.
- Applying caulk to a dirty or wet surface: Compromises adhesion and can lead to premature failure or mold growth.
- Applying too much caulk: It’s better to apply a consistent, thin bead and add more if needed than to have a huge blob that’s hard to smooth and can crack.
- Not smoothing the bead: A non-smoothed bead looks unprofessional and may not seal as effectively.
- Waiting too long to remove tape: If the caulk has dried, pulling the tape will pull up the caulk, ruining your clean line.
- Using the wrong type of caulk: Using regular interior caulk in a wet environment will lead to mold and breakdown.
When to Call a Professional
While caulking is a great DIY task, there are instances where calling a professional plumber or contractor is the wiser choice:
- Extensive Water Damage: If you discover water damage beyond just a small gap that needs sealing, it’s likely a more significant plumbing issue.
- Recurring Mold Issues: Persistent mold in areas that are regularly caulked might indicate a more serious, hidden moisture problem that needs professional assessment.
- Complex Installations: For new installations or major renovations involving complex pipework or a large number of fixtures, professional sealing ensures everything is done to code and with optimal durability.
- Lack of Confidence or Tools: If you’re uncomfortable with the process or don’t have the necessary tools and prefer a guaranteed perfect result, hiring a pro is a solid option.
A plumber can also advise on any underlying plumbing issues that might be contributing to sealant failure, ensuring a comprehensive repair. Resources like the EPA’s WaterSense program offer guidance on water efficiency and maintenance, implicitly supporting the importance of proper sealing in water conservation and home care.
Table: Caulk Types at a Glance
| Caulk Type | Best For | Pros | Cons | Ease of Use |
|---|---|---|---|---|
| 100% Silicone | Constant water exposure, tubs, showers, sinks, non-porous surfaces. | Highly waterproof, flexible, durable, mold/mildew resistant. | Difficult cleanup, not paintable, can be sticky. | Moderate |
| Siliconized Acrylic Latex | General bathroom/kitchen use, painted surfaces, trim, vanities. | Easy cleanup, paintable, good adhesion, flexible. | Less waterproof than silicone, can shrink. | Easy |
| Polyurethane | High-movement joints, concrete, metal, wood, robust sealing. | Very strong, flexible, durable, wide material adhesion. | More expensive, specific cleanup, stronger odor. | Challenging |
| Kitchen & Bath Specific | All wet areas in kitchens and bathrooms, sinks, tubs, showers. | Excellent mold/mildew resistance, good water resistance, color options. | Performance varies by brand. | Easy |
Frequently Asked Questions About Plumbing Caulking
Q1: How often should I re-caulk plumbing fixtures?
It’s a good idea to inspect your caulking every 6-12 months, especially in high-moisture areas. Re-caulking is typically needed when you notice signs of cracking, peeling, discoloration, or mold growth. This can range from every 2-5 years, depending on the caulk quality, application, and environmental conditions.
