
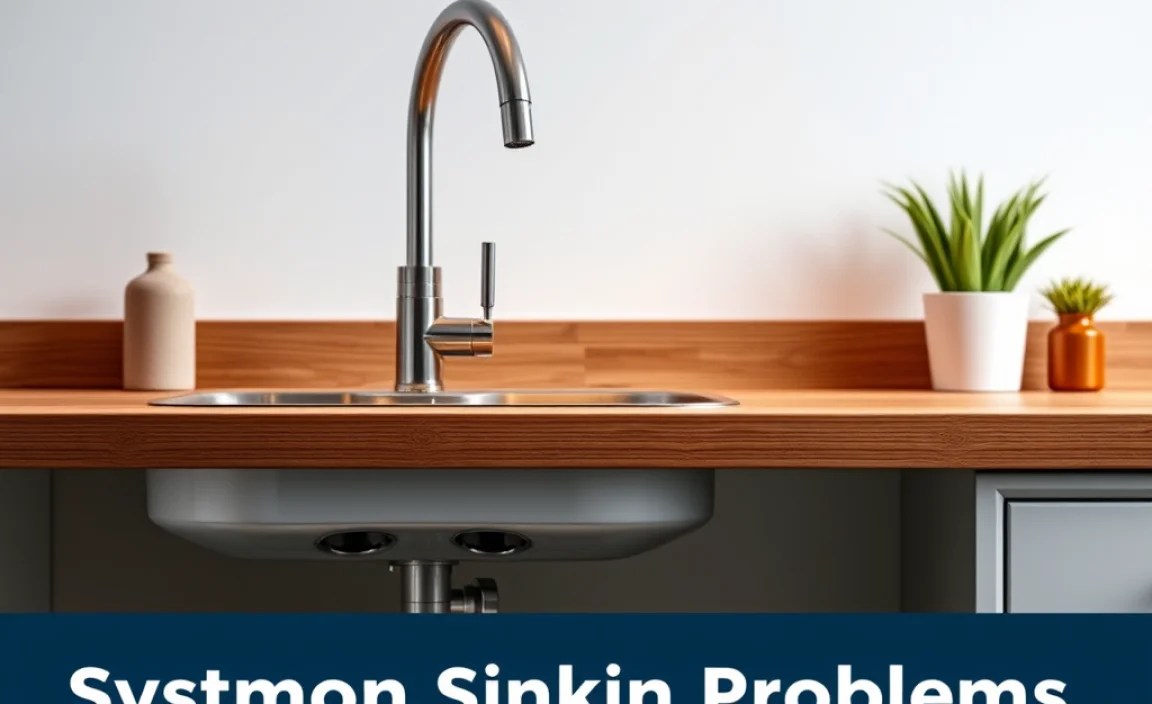
The system of sink in plumbing involves how water gets to your faucet and waste gets away. Genius fixes focus on understanding common issues like clogs or leaks and using simple DIY methods to solve them safely and effectively, saving you time and money.
A sink seems simple, right? Water comes in, dirt goes out. But when something goes wrong, like a stubborn clog or a mysterious drip, it can feel like a plumbing puzzle. Don’t worry! Understanding the basic system of sink in plumbing is easier than you think. We’ll break down how your sink works and, more importantly, how to fix those annoying problems yourself.
This guide is designed for everyone, no matter your DIY experience. We’ll walk through common sink issues and simple solutions. Get ready to tackle those plumbing hiccups with confidence!
Understanding Your Sink’s Plumbing System

Before we dive into fixes, let’s get familiar with the system of sink in plumbing. Think of it as a two-part journey for water: supply and drain. Each part has its own set of components that work together.
The Supply Side: Where Clean Water Comes From
This is the part that brings fresh water to your faucet. It’s a pretty straightforward system:
- Water Supply Lines: These are typically flexible hoses that connect your faucet to the main water pipes in your wall. They come in different lengths and materials, usually braided stainless steel for durability.
- Shut-off Valves: Located just behind the sink, often below the pipes, these are crucial! They allow you to turn off the water supply specifically to your sink without shutting off water to your whole house. This is your best friend when doing repairs. They usually have a small handle, either round or oval, that you turn clockwise to close.
- Faucet: This is where you control the flow of hot and cold water. Inside the faucet are cartridges or washers that mix and regulate the water temperature and pressure.
The Drain Side: Where Dirty Water Goes
This system is all about getting used water away from your sink and into the main sewer line. It’s a bit more complex, designed to prevent sewer gases from coming back up:
- Faucet (again!): The basin of your sink collects the water.
- Strainer/Stopper: This is what you see in the bottom of the sink. It catches large debris and can act as a stopper to fill the sink.
- Tailpiece: This is the vertical pipe directly below the sink drain. It often has a flexible section or a cleanout plug.
- P-Trap: This is perhaps the most important part of the drain visible under the sink. It’s the U-shaped pipe that holds a small amount of water. This water creates a seal, preventing unpleasant sewer gasses from entering your home. It’s also designed to catch heavier debris and ring traps, making them easier to find if they fall down the drain!
- Drain Pipe: After the P-trap, the drain pipe carries wastewater away. It gradually slopes downwards to allow gravity to do its work.
- Vent Pipe: This is often overlooked but vital for proper drainage. Vent pipes are connected to your drain system and extend up through your roof. They allow air into the system, which helps water flow smoothly down the drain and prevents vacuum effects that can cause gurgling or slow draining. You can often hear a “glug glug” sound when a vent is blocked, indicating air is struggling to escape.
Common Sink Problems and Genius Fixes
Now that you know the parts, let’s tackle the most common issues. Most of these fixes are simple DIY tasks that don’t require a professional plumber.
1. The Stubborn Clog
Clogs are the bane of any sink. They happen when hair, grease, food particles, or other gunk build up in the drainpipe. Here’s how to clear them:
DIY Clog Clearing Techniques:
- Boiling Water: For grease-based clogs (common in kitchen sinks), try pouring a pot of boiling water slowly down the drain. Do this in sections, allowing the water to work for a few minutes. This might be enough to melt and flush away minor buildup.
- Baking Soda and Vinegar: This is a classic eco-friendly method. Pour about 1/2 cup of baking soda down the drain, followed by 1/2 cup of white vinegar. It will fizz! Cover the drain tightly with a stopper or cloth for about 15–30 minutes. The reaction helps break down grime. Then, flush with hot or boiling water.
- Plunger Power: A good old-fashioned plunger can be very effective. Fill the sink with a few inches of water (enough to cover the plunger cup). Create a tight seal with the plunger over the drain. Give it several firm plunges, then pull up sharply. Repeat this several times. For a double sink, block the other drain with a wet cloth to ensure the suction works effectively on the clogged side.
- The Drain Snake (Auger): If the above methods don’t work, a drain snake is your next best friend. These flexible metal coils can be fed into the drainpipe to physically break up or pull out the obstruction.
- Start by removing the P-trap (see below) or by feeding the snake directly down the drain opening.
- Slowly feed the snake into the pipe until you feel resistance.
- Once you hit the clog, crank the handle of the snake to either break it up or hook onto it.
- Carefully pull the snake back out, bringing the clog with it.
- Flush the drain with hot water to clear any remaining debris.
When to Call a Pro:
If you’ve tried these methods multiple times and the clog persists, or if multiple drains in your house are backing up, you might have a blockage further down in your main sewer line, which usually requires professional help.
2. The Annoying Drip, Drip, Drip
A leaky faucet isn’t just irritating; it wastes water and can increase your water bill. The most common culprits are worn-out washers or O-rings inside the faucet.
Fixing Minor Faucet Leaks:
- Safety First: Shut off the water! Locate the shut-off valves under the sink and turn them clockwise until tight. Turn on the faucet to drain any remaining water and confirm the water is off.
- Gather Your Tools: You’ll likely need a screwdriver (Phillips and/or flathead), an adjustable wrench, replacement O-rings or cartridge (identify your faucet type to get the right parts), and a rag.
- Disassemble the Faucet: This varies greatly by faucet type (e.g., compression, ball, cartridge, ceramic disk). Generally, you’ll need to remove decorative caps, then unscrew handles and other components to access the inner workings. Look for a cartridge or stem.
- Replace Worn Parts: Carefully remove the old O-ring or cartridge. Take it with you to a hardware store to ensure you get an exact match. Insert the new part.
- Reassemble and Test: Put everything back together in the reverse order of disassembly. Turn the water supply valves back on slowly and check for leaks.
Expert Tip: If you’re unsure about your faucet type or the disassembly process, search online for your faucet’s brand and model number. Many manufacturers have detailed guides and videos.
3. Leaky Pipes Under the Sink
Drips from the pipes under your sink are usually easier to spot and can often be fixed with simple adjustments or tightening.
Identifying and Fixing Pipe Leaks:
- Check Connections: The most common leaks occur at pipe joints and connections to the sink drain and faucet tailpieces. Look for water around nuts, couplings, and seals.
- Tighten Fittings: Often, a leak is just a loose connection. Using an adjustable wrench, gently snug up any loose nuts on the pipes. Be careful not to overtighten, as this can crack plastic pipes or strip threads.
- Inspect the P-Trap: The P-trap has slip nuts on either end. If it’s leaking, try tightening these nuts. If that doesn’t work, you might need to disassemble the P-trap, clean it thoroughly, and replace the rubber slip washers inside if they look worn or damaged.
- Damaged Pipes: If a pipe itself is cracked or corroded, it will need to be replaced. This is a slightly more involved DIY task, but still manageable for many homeowners.
Helpful Resource: For a visual guide on P-trap maintenance and common leak points, resources like The Copper Development Association offer excellent diagrams on plumbing systems. (Note: While this link is about copper, the principles of pipe connections and traps apply broadly.)
4. The Smelly Sink Drain
A persistent bad odor from your sink drain is usually due to stagnant water or trapped debris. The P-trap, while designed to prevent odors, can sometimes contribute if it’s not functioning correctly.
Eliminating Drain Odors:
- Flush with Hot Water: Sometimes, a simple flush with boiling water can dislodge minor gunk and clear out odors.
- Baking Soda and Vinegar: As mentioned for clogs, this can also help clean out the drain and neutralize odors.
- Clean the P-Trap: If the odor is persistent, the P-trap itself might be holding smelly debris.
- Place a bucket or bowl underneath the P-trap to catch water and debris.
- Loosen the slip nuts on both sides of the U-bend.
- Remove the U-bend section.
- Clean it thoroughly with a stiff brush and hot, soapy water. You can also use a mild disinfectant.
- Inspect the rubber washers; replace if they look worn or cracked.
- Reassemble the P-trap, ensuring the washers are in place and tighten the slip nuts.
- Run water to test for leaks and to refill the trap with water.
- Check the Vent Pipe: If you’ve cleaned the trap and drain and still have odors, the problem might be your vent pipe. A blocked vent can cause sewer gases to back up into your home. This is a more advanced fix, often involving checking for blockages (leaves, nests) at the roof opening. If you suspect a vent issue, it’s often best to consult a professional.
5. Water Not Draining Properly (Slow Draining)
Slow draining is a warning sign that a clog is forming or your venting system isn’t working efficiently.
Addressing Slow Drains:
- Repeat Clog Fixes: The methods for stubborn clogs (boiling water, baking soda/vinegar, plunger, drain snake) are your first line of defense.
- Check the Stopper/Strainer: Sometimes, the stopper itself or the mechanism that lifts it can get gummed up with hair and gunk, impeding flow. Remove it, clean it thoroughly, and reinsert.
- Inspect the P-Trap: As with odor issues, a partially blocked P-trap can slow drainage. Cleaning it out often resolves the problem.
- Ventilation Issues: If multiple fixtures are draining slowly, or if you hear gurgling sounds when water drains elsewhere in the house, a blocked vent could be the culprit.
Essential Tools for Your Sink Maintenance Toolkit
Having the right tools makes any DIY job easier and safer. Here are some essentials for your sink system in plumbing tasks:
| Tool | Purpose | Beginner Tip |
|---|---|---|
| Adjustable Wrench | Tightening and loosening nuts on pipes and faucet connections. | Start by gently tightening. Overtightening can cause damage. |
| Plunger (Sink Plunger) | Creating suction to dislodge clogs. | Ensure a good seal around the drain. Use enough water in the sink. |
| Drain Snake (Auger) | Physically breaking up or retrieving clogs deep in pipes. | Feed slowly and gently. Be patient when you feel resistance. |
| Phillips and Flathead Screwdrivers | Disassembling faucet handles and trim. | Have a set with various sizes to fit different screws. |
| Bucket or Bowl | Catching water and debris when working on pipes. | Essential for P-trap removal to avoid a mess. |
| Rags/Towels | Wiping up spills and protecting surfaces. | Keep plenty on hand; plumbing can be messy! |
| P-Trap Wrench (Optional) | Specifically designed for the slip nuts on P-traps, making them easier to loosen without damaging plastic pipes. | A standard adjustable wrench can often do the job, but this offers better grip. |
When to Call a Professional Plumber

While many sink issues are DIY-friendly, some situations are best left to the experts. Knowing your limits is key to safe and effective home maintenance.
Signs You Need a Pro:
- Persistent Leaks: If you’ve tried tightening and replacing parts but still have leaks, especially in hard-to-reach areas or from the pipes themselves, a plumber has specialized tools and knowledge to diagnose and fix it.
- Main Line Clogs: If multiple drains in your home are backing up, or if water backs up into your tub or shower when you flush a toilet, the problem is likely with your main sewer line. Attempting to fix this yourself can cause more damage.
- Water Pressure Issues: Significant drops in water pressure throughout your home, or inconsistent hot/cold water, could indicate larger plumbing system problems.
- Sump Pump or Sewer Ejector Pump Problems: These are complex systems that require professional attention when malfunctioning.
- You’re Uncomfortable or Unsure: If at any point you feel overwhelmed, unsure, or unsafe, don’t hesitate to call a licensed plumber. It’s always better to be safe than sorry, and professionals can save you from costly mistakes.
For more information on plumbing basics and when to seek professional help, resources from the U.S. Environmental Protection Agency (EPA) can provide excellent guidance on water conservation and leak detection.
Conclusion
Mastering the system of sink in plumbing is about understanding its basic parts and knowing how to address common issues. From the clear water flowing in to the wastewater gracefully exiting, each component plays a crucial role. By learning these simple fixes – whether it’s clearing a clog with boiling water and vinegar.
Frequently Asked Questions About Your Sink’s Plumbing System
Q1: What is a P-trap and why is it shaped like that?
A P-trap is the U-shaped pipe under your sink. It holds a small amount of water to create a seal, blocking sewer gases from entering your home. This seal is vital for preventing foul odors and maintaining a healthy indoor environment.
Q2: How often should I deep clean my sink drain?
For kitchen sinks, a monthly flush with boiling water or a baking soda/vinegar treatment is a good preventative measure. For bathroom sinks, every 2-3 months is generally sufficient unless you notice slow draining or odors.
Q3: My faucet is constantly dripping. Is it always the O-ring?
While O-rings are common culprits in older compression faucets, modern faucets use cartridges or ceramic disks. The drip could be a worn cartridge, a damaged valve seat, or a pressure issue. Identifying your faucet type is key to troubleshooting.
Q4: What should I NOT put down my kitchen sink drain?
Avoid pouring grease, oil, coffee grounds, eggshells, pasta, rice, or fibrous vegetables (like celery or potato peels) down the drain. These can easily clump together and cause stubborn clogs. Dispose of them in the trash or compost.
Q5: How do I know if I have a vent pipe problem?
Signs of a ventilation issue include slow draining in multiple fixtures simultaneously, gurgling sounds from drains when water is running or flushing elsewhere, and toilets that don’t fill properly after flushing. Cloudy or foul-smelling water coming up from a drain can also indicate vent problems.
Q6: Can I use chemical drain cleaners?
While chemical drain cleaners can be effective, they are harsh and can damage pipes with frequent use. Always follow product instructions carefully, ensure proper ventilation, and wear protective gear. They are generally a last resort for DIY fixes. Natural methods like baking soda, vinegar, and drain snakes are safer for your plumbing and the environment.
