
Understanding grout parts involves knowing their benefits and drawbacks. Properly choosing and maintaining grout is key to a beautiful, durable tile installation, preventing common issues like cracking and staining. This guide breaks down the pros and cons to help you make the best decisions for your home projects.
Tiling can transform a space, but once the tiles are set, there’s another crucial element to consider: grout. This often-overlooked material fills the gaps between tiles, and its condition significantly impacts both the look and longevity of your tiled surfaces. When grout starts to look tired, cracked, or stained, it’s not just an aesthetic problem; it can lead to bigger issues down the line.
But don’t worry! Understanding the different types of grout and their characteristics can seem a bit technical, but it’s actually quite straightforward. We’ll guide you through the pros and cons of various grout options, making it easy for you to choose the right one and keep your tiles looking fantastic.
Understanding Grout: More Than Just Filler

Grout is more than just a filler for the spaces between tiles. It’s an essential component that adds structural integrity to your tile installation. It helps to lock the tiles in place, preventing them from shifting or loosening over time, especially in areas with a lot of foot traffic or moisture, like kitchens and bathrooms. Beyond its structural role, grout plays a huge part in the overall appearance of your tiled surfaces. The color and finish of your grout can dramatically change the look of your tiles, whether you want a subtle, harmonious blend or a bold, contrasting statement.
Choosing the right grout means considering its durability, ease of maintenance, and suitability for the specific area you’re tiling. Different environments call for different types of grout. For instance, a high-moisture area like a shower will need a grout that is highly resistant to water and mold, while a decorative backsplash might prioritize color and ease of application. This guide will help you navigate these choices so you can achieve a beautiful and long-lasting tile installation.
Types of Grout and Their Pros and Cons

There are several primary types of grout available, each with its own set of advantages and disadvantages. Knowing these will empower you to make an informed decision for your tiling project.
1. Cementitious Grout
Cementitious grout is the most common and traditional type of grout. It’s essentially a mixture of Portland cement, sand, and water. There are two main versions: sanded and unsanded.
a) Sanded Cementitious Grout
Sanded grout contains fine grains of sand mixed into the cement mixture. This sand provides strength and prevents shrinkage and cracking, making it ideal for wider grout lines.
Pros:
- Durability: The sand content makes it very strong and less prone to cracking or shrinking, especially in wider joints (typically 1/8 inch or larger).
- Cost-Effective: It’s generally one of the most affordable grout options.
- Availability: Widely available at most hardware and home improvement stores.
- Good for Wide Joints: Excellent choice for grout lines from 1/8 inch to 1/2 inch.
Cons:
- Porosity: Can be porous if not sealed properly, making it susceptible to staining from oils, grease, and colored liquids.
- Maintenance: Requires regular sealing to maintain its appearance and prevent staining.
- Scratching: The sand particles can potentially scratch delicate tile surfaces if not applied carefully.
- Not for Narrow Joints: The sand particles can make it difficult to fill very narrow grout lines (less than 1/8 inch).
b) Unsanded Cementitious Grout
Unsanded grout, as the name suggests, does not contain sand. It’s made up of Portland cement and pigments. This smoother consistency makes it suitable for very narrow grout lines.
Pros:
- Smooth Finish: Provides a smoother finish, ideal for tight grout lines (typically less than 1/8 inch).
- Scratch-Free: Less likely to scratch delicate surfaces like glass, metal, or polished natural stone.
- Good for Delicate Tiles: Works well with materials that could be damaged by the grit in sanded grout.
Cons:
- Shrinkage and Cracking: More prone to shrinking and cracking in wider grout joints due to the absence of sand.
- Lower Strength: Generally not as strong as sanded grout over time, especially in areas with movement.
- Porosity: Similar to sanded grout, it’s porous and needs to be sealed to prevent staining and moisture absorption.
- More Difficult for Wider Joints: Not recommended for grout lines wider than 1/8 inch.
2. Advanced Grout Options
Beyond traditional cementitious grouts, several advanced options offer enhanced performance characteristics, particularly in terms of stain resistance and durability.
a) Epoxy Grout
Epoxy grout is made from epoxy resins and a hardener, with no cement content. It forms a very hard, non-porous surface that is incredibly durable and resistant to stains, chemicals, and moisture.
Pros:
- Exceptional Durability: Extremely strong and resistant to cracking, shrinking, and wear.
- Stain and Moisture Proof: Its non-porous nature makes it highly resistant to stains, mold, mildew, and water penetration, making it perfect for kitchens, bathrooms, and high-traffic areas.
- Chemical Resistance: Stands up well to harsh cleaning chemicals.
- Low Maintenance: Generally does not require sealing and is very easy to clean.
Cons:
- Cost: Significantly more expensive than cementitious grouts.
- Difficult Application: Can be challenging for DIYers to work with. It has a shorter working time, cures very hard, and can be messy to clean up from tiles if not done quickly.
- Color Limitations: While colors are available, they can sometimes appear slightly different or less varied than cementitious grout.
- Can Discolor: Some epoxy grouts, particularly lighter colors, can yellow over time with prolonged UV exposure.
b) Urethane Grout
Urethane grout is a pre-mixed, single-component product that offers excellent flexibility and stain resistance. It’s less common than cementitious or epoxy grout but provides a good balance of performance and ease of use.
Pros:
- Flexibility: Highly flexible, which helps prevent cracking and delamination in areas prone to movement or vibration.
- Stain Resistance: Offers good stain resistance out of the box, often without the need for sealing.
- Easy to Use: Typically comes pre-mixed and is easier to apply than epoxy grout.
- Color Consistency: Offers good color consistency and a wide range of shades.
Cons:
- Cost: More expensive than cementitious grout, but usually less expensive than epoxy.
- Drying Time: Can have a longer drying/curing time, and some brands require specific conditions for optimal curing.
- Not as Durable as Epoxy: While good, it’s generally not as hard or chemically resistant as epoxy grout.
- Limited Availability: May be harder to find in some local stores compared to cementitious grout.
c) Furan Grout
Furan grout is a two-part system made from furan resins, making it extremely resistant to aggressive chemicals, high temperatures, and heavy traffic. It’s typically used in industrial or commercial settings.
Pros:
- Extreme Chemical Resistance: Unrivaled resistance to acids, alkalis, and solvents.
- High Temperature Resistance: Can withstand very high temperatures.
- Durable: Forms a very hard and durable bond.
Cons:
- Application Difficulty: Extremely difficult to work with, intended for professional use only.
- Fumes: Requires special ventilation due to strong fumes during application.
- Cost: Very expensive.
- Limited Use Cases for DIY: Not practical or suitable for typical residential applications.
Choosing the Right Grout for Your Project

Selecting the appropriate grout is crucial for the success and longevity of your tile installation. Consider these factors:
1. Location and Environment
The area where the tiles will be installed plays a big role. High-moisture areas like bathrooms, showers, and kitchens benefit from stain-resistant, water-repellent grouts. Areas with heavy foot traffic will need a durable grout.
2. Grout Line Width
The width of the space between your tiles dictates whether you should use sanded or unsanded cementitious grout, or if a different type is more suitable. Wider joints (1/8 inch and up) generally require sanded grout for strength, while narrower joints (under 1/8 inch) are better suited for unsanded grout.
3. Tile Material
Some delicate tile materials, like polished natural stone, glass, or certain metallics, can be scratched by the sand in sanded grout. In such cases, unsanded cementitious grout or a more advanced grout like epoxy might be preferable, provided the joint width is appropriate.
4. Desired Maintenance Level
If you prefer low-maintenance options that don’t require frequent sealing and are highly stain-resistant, epoxy or urethane grouts are excellent choices, though they come at a higher cost and potentially a steeper learning curve for application.
5. Budget
Cementitious grouts are the most budget-friendly. Urethane grouts fall in the mid-range, and epoxy grouts are typically the most expensive option.
A helpful comparison table can quickly summarize these differences:
| Grout Type | Best For | Pros | Cons | Typical Cost |
|---|---|---|---|---|
| Sanded Cementitious | Grout lines 1/8″ – 1/2″ wide, general use | Durable, affordable, prevents cracking | Porous, needs sealing, can scratch | $ |
| Unsanded Cementitious | Grout lines < 1/8″ wide, delicate tiles | Smooth finish, won’t scratch delicate surfaces | Cracks in wider joints, porous, needs sealing | $ |
| Epoxy | High-moisture areas, heavy traffic, stain-prone areas | Extremely durable, stain/water/chemical proof, no sealing needed | Expensive, difficult application, can be messy | $$$ |
| Urethane | Areas needing flexibility, good stain resistance | Flexible, good stain resistance, easy to use (pre-mixed) | Mid-range cost, longer cure time, less durable than epoxy | $$ |
Essential Tools and Materials for Grouting

Whether you’re a seasoned DIYer or new to tiling, having the right tools makes the job smoother and more successful. Here’s a list of essentials:
- Grout: The specific type chosen for your project.
- Mixing Container: A clean bucket for mixing cementitious grouts.
- Mixing Paddle or Stick: For thoroughly mixing grout. A drill with a paddle attachment is highly recommended for epoxy and cementitious grouts for consistent mixing.
- Grout Float: A specialized tool with a polyurethane or rubber base for pressing grout into the joints.
- Grout Sponge: Large-celled and dense to remove excess grout without pulling it out of the joints.
- Buckets of Clean Water: You’ll need several – one for initial rinsing of the sponge, and others for rinsing the sponge itself.
- Gloves: To protect your hands from the grout mixture, especially important for epoxy.
- Safety Glasses: To protect your eyes from any splashes.
- Trowel or Putty Knife: For scraping off excess grout that the float misses.
- Clean Cloths or Microfiber Towels: For final buffing and cleaning the tile surface.
- Grout Sealer (if applicable): For cementitious grouts.
- Caulk Gun and Color-Matched Caulk: For sealing expansion joints at corners and transitions.
Step-by-Step Guide to Grouting Tile
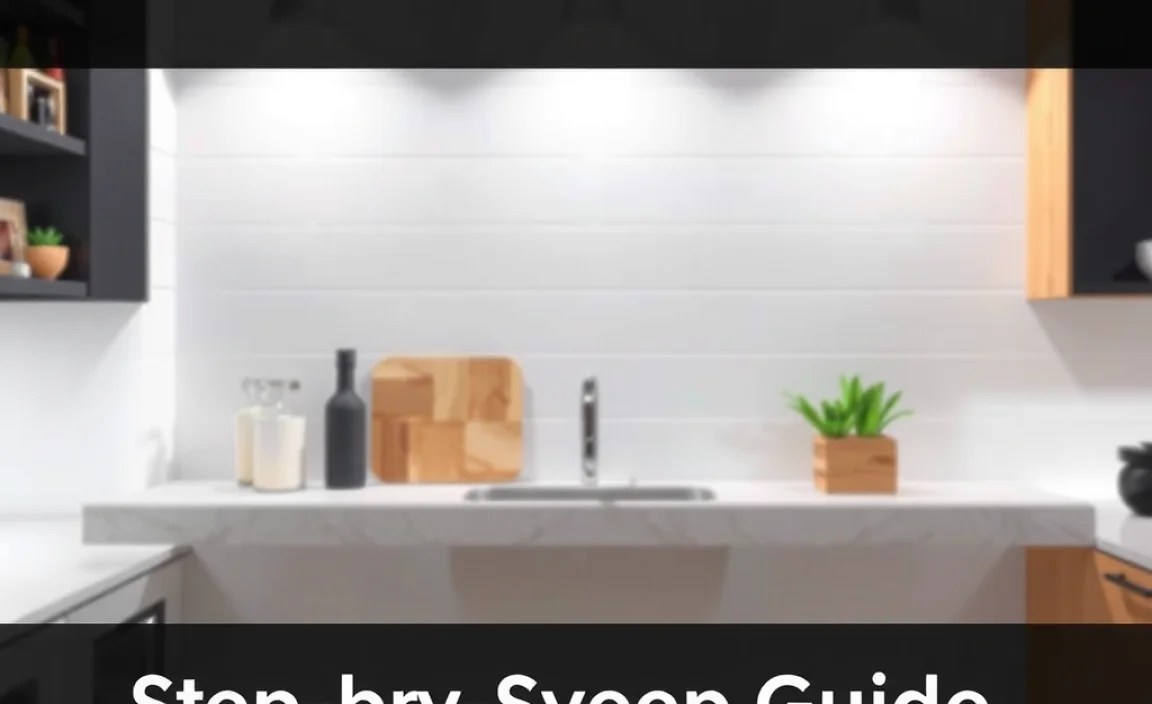
Here’s a general overview of the grouting process. Always refer to the manufacturer’s instructions for your specific grout product.
-
Prepare the Grout and Joints:
Ensure the tile adhesive is fully cured (usually 24-72 hours). Clean out any debris or excess adhesive from the grout lines. If using cementitious grout, mix it according to the manufacturer’s instructions. Aim for a consistent, peanut-butter-like texture. For epoxy, follow its specific mixing instructions very carefully; it has a limited working time.
-
Apply the Grout:
Scoop a generous amount of grout onto your grout float. Hold the float at a 45-degree angle to the tile surface and spread the grout diagonally across the joints. Ensure you press firmly to pack the grout completely into the gaps.
-
Remove Excess Grout:
Work diagonally across the tiles, using the edge of the grout float to scrape off any excess grout from the tile surface. Try to leave the joints as full and smooth as possible.
-
Initial Cleaning (Grout Haze):
Wait for the grout to set slightly, usually 15-30 minutes, depending on humidity and temperature. Dampen your grout sponge (wring it out thoroughly; it should be almost dry) and wipe diagonally across the tiles in a circular motion to remove the grout haze. Rinse the sponge frequently in a clean bucket of water, and change the water when it becomes too cloudy. Be careful not to dig into the fresh grout lines.
-
Final Cleaning and Curing:
After a few hours, you may notice a slight haze remaining. Buff this off with a clean, dry cloth. Allow the grout to cure completely according to the manufacturer’s instructions (this can take anywhere from 24 hours to several days). Avoid heavy traffic and getting the area wet during this curing period.
-
Sealing (if applicable):
For cementitious grouts, once fully cured (usually 72 hours or more), apply a good quality grout sealer. Follow the sealer’s instructions for application. This step is crucial for protecting the grout from stains and moisture.
-
Caulking:
Apply color-matched caulk to expansion joints, such as where the tile meets a countertop, wall, or floor, and in corners. This prevents cracking due to movement and seals against moisture.
Troubleshooting Common Grout Problems
Even with careful planning, some issues can arise. Here’s how to tackle them:
-
Cracked Grout:
This often happens with unsanded grout in wider joints or if the substrate moves. Minor cracks can be repaired by carefully removing the old grout with a utility knife or grout saw and then re-grouting the area.
-
Stained Grout:
If you have stained cementitious grout that doesn’t come clean with basic washing, it might be time for a deep clean or re-grouting if the staining is severe. For preventative measures, proper sealing is key. For areas prone to stains like kitchens, consider epoxy grout.
-
Mold and Mildew:
This is a sign of excess moisture. For minor occurrences, a bleach-based cleaner or a specialized mold remover can help. In bathrooms and showers, ensure good ventilation. If mold is deeply embedded, the grout may need to be removed and re-grouted with a mold-resistant type, or epoxy grout, which is non-porous.
-
Hazy Tiles:
If your tiles are hazy after grouting, and you can’t buff it off, it might be an issue of over-wetting the grout, or not rinsing thoroughly enough. You can try a specialized grout haze remover, but proceed with caution and test in an inconspicuous area first.
Maintaining Your Grout
Regular maintenance is key to keeping your grout looking its best and preventing problems.
