
Unclog pipes and fix minor leaks with these proven, beginner-friendly methods. Tackle common clogs and drips confidently using simple tools and techniques, restoring your plumbing to smooth, leak-free operation efficiently and safely.
A clogged pipe or a tiny, annoying leak can turn a peaceful home into a stressful situation. Water backup or a persistent drip isn’t just inconvenient; it can lead to bigger problems if left unaddressed. But don’t worry! Many common plumbing issues are surprisingly easy to fix yourself. This guide will walk you through simple, effective methods to unclog your pipes and address minor leaks, empowering you to take control of your home’s upkeep and save on professional repair costs.
We’ll cover everything from what causes these pesky problems to straightforward, step-by-step solutions that don’t require a plumbing degree. Get ready to regain your plumbing peace of mind!
Understanding Common Pipe Problems: Clogs and Leaks
Before we dive into the fixes, it’s helpful to understand why pipes get clogged and how small leaks start. Knowing the cause can often help prevent future issues and guide you to the best solution.
Why Do Pipes Get Clogged?
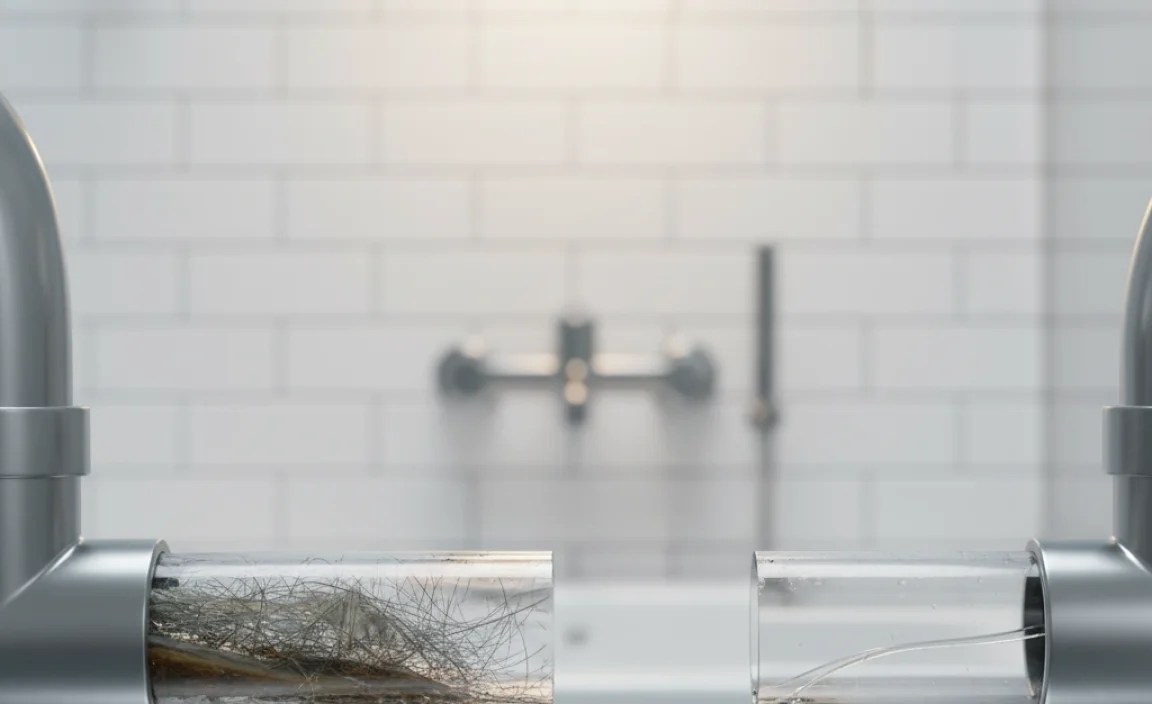
Clogs usually happen when something that shouldn’t go down the drain ends up there. Kitchen sinks often face grease, food scraps, and coffee grounds. Bathroom drains can become clogged with hair, soap scum, and toothpaste. Even toilet clogs can be caused by an excessive amount of toilet paper or non-flushable items like wet wipes.
Common Culprits for Clogs:
- Food Scraps & Grease: Especially in the kitchen.
- Hair & Soap Scum: A frequent visitor in bathroom drains.
- Foreign Objects: Small toys, cotton swabs, or excessive paper.
- Mineral Buildup: Over time, minerals in water can accumulate.
What Causes Minor Leaks?
Tiny leaks often stem from worn-out seals, loose connections, or minor corrosion. A dripping faucet might have a faulty washer, while a leak under a sink could be due to a loose pipe fitting or a damaged P-trap.
Signs of a Minor Leak:
- Drips from faucets or showerheads.
- Moisture or small puddles under sinks.
- A damp spot on your ceiling or wall that doesn’t seem to go away.
- An unusually high water bill.
DIY Solutions for Unclogging Pipes

Don’t reach for the phone just yet! Many clogs can be tackled with basic tools and a little elbow grease. These methods are safe, cost-effective, and usually work wonders for common blockages.
Method 1: The Plunger Power-Up
A good old-fashioned plunger is often the first and best line of defense against a clog. The suction and pressure it creates can dislodge many common blockages.
What You’ll Need:
- A reliable plunger (a flange plunger is best for toilets, while a cup plunger works well for sinks and tubs).
- Water.
- Rags or towels for spills.
Step-by-Step Guide:
- Ensure Enough Water: For sink or tub drains, make sure there’s enough water in the basin to cover the plunger cup. About 2-3 inches is ideal. If it’s a toilet, a few inches of water is usually already there.
- Create a Seal: Place the plunger cup firmly over the drain opening. For sinks with overflow holes, you may need to block them with a wet rag to create a better seal.
- Plunge Vigorously: Push down and pull up sharply with the plunger. You’re aiming to use both suction and pressure to break up the clog. Do this about 10-15 times.
- Check the Drain: Lift the plunger to see if the water drains. If it does, great! Run hot water for a few minutes to flush out any remaining debris.
- Repeat if Necessary: If the water is still draining slowly, repeat the plunging process. Stubborn clogs might require several attempts.
Method 2: Boiling Water Flush
This is a simple and eco-friendly way to break down grease and soap scum, common culprits in kitchen and bathroom drains.
What You’ll Need:
- A kettle or pot.
- Water.
Step-by-Step Guide:
- Boil Water: Heat at least a quart (about 1 liter) of water until it’s boiling.
- Pour Carefully: Slowly and carefully pour the boiling water directly down the drain opening. Be cautious to avoid splashes.
- Wait and Observe: Let the hot water sit for a few minutes to work on the clog.
- Flush with Cold Water: After waiting, run some cold tap water to see if the drain is clearing.
- Repeat if Needed: For tougher grease clogs, you might need to repeat this process a couple of times. Caution: Avoid this method if you have PVC pipes, as extremely hot water can damage them. Check your PVC pipe information to be sure.
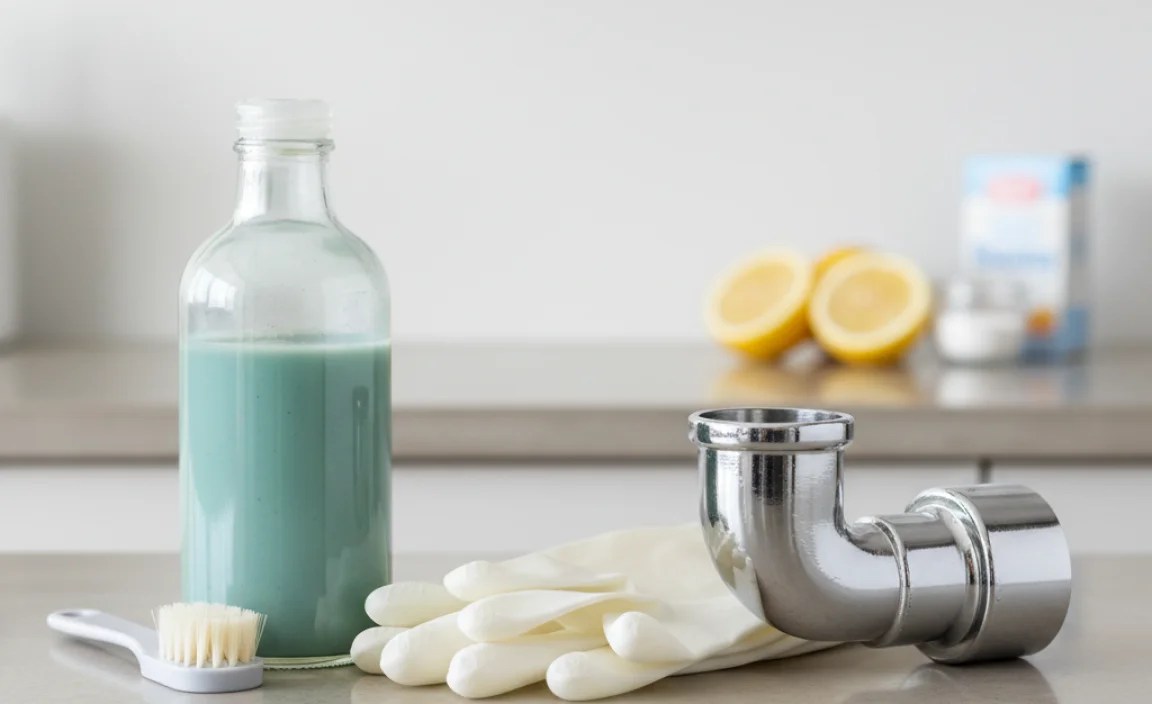
Method 3: The Baking Soda & Vinegar Combo
This fizzy reaction is a classic for a reason! It’s effective at dissolving grime and dislodging minor blockages without harsh chemicals.
What You’ll Need:
- 1 cup baking soda
- 1 cup white vinegar
- Boiling or very hot water
- A drain stopper or rag
Step-by-Step Guide:
- Clear Standing Water: If there’s standing water, try to scoop out as much as possible.
- Pour Baking Soda: Pour the cup of baking soda directly down the drain.
- Add Vinegar: Follow with the cup of white vinegar. It will immediately start to fizz and bubble.
- Cover the Drain: Quickly cover the drain with a stopper or a rag to keep the reaction contained and working downwards.
- Let it Work: Let the mixture sit and work for at least 30 minutes, or even a few hours for tougher clogs.
- Flush with Hot Water: After the waiting period, remove the stopper and pour a kettle of boiling or very hot water down the drain to flush it clean.
Method 4: Using a Drain Snake (Auger)
For clogs that are a bit further down and haven’t responded to simpler methods, a drain snake is your next best friend. This flexible tool can reach deep into pipes to break up or pull out blockages.
What You’ll Need:
- A drain snake (also called a plumber’s snake or auger).
- Gloves (optional, but recommended).
- Rags or towels.
- A bucket to catch debris.
Step-by-Step Guide:
- Insert the Snake: Feed the end of the drain snake into the drain opening. Gently push it into the pipe.
- Feel for the Clog: As you feed the snake, you’ll eventually feel resistance when you reach the blockage.
- Work Through the Clog: Once you feel the clog, rotate the handle of the snake while applying gentle pressure. This helps the snake’s tip break apart or hook onto the obstruction.
- Retrieve the Debris: Once you’ve worked through the clog, slowly pull the snake back out. If you hooked onto something, you might need to pull it out with the snake. A bucket can be handy here.
- Flush the Drain: After removing the snake, run hot water down the drain for several minutes to ensure the pipe is clear.
- Clean Up: Clean the snake thoroughly before storing it.
You can find affordable drain snakes at most hardware stores. For deeper or more complex clogs, you might consider a longer, more robust model. Check out resources from the This Old House website for visual guides on using this tool effectively.
Fixing Minor Pipe Leaks: Simple Solutions
Small leaks can be frustrating and wasteful, but often, they are easy fixes for DIYers. Here are some common leak scenarios and how to tackle them.
Leak Scenario 1: Dripping Faucet
A dripping faucet is usually caused by a worn-out washer or O-ring inside the faucet’s handle mechanism.
What You’ll Need:
- Adjustable wrench
- Screwdriver (Phillips head and/or flathead)
- Replacement faucet washer or O-ring kit (know your faucet brand/type beforehand)
- Plumber’s tape (optional)
- Rags
Step-by-Step Guide:
- Turn Off Water Supply: Locate the shut-off valves under the sink and turn them clockwise until they stop. Turn on the faucet to drain any residual water.
- Disassemble the Faucet Handle: Remove any decorative caps, then unscrew any screws holding the handle in place. Lift the handle off.
- Remove the Valve Stem/Cartridge: You’ll see the valve stem or cartridge. Use a wrench to unscrew and remove it.
- Inspect and Replace Washer/O-ring: At the bottom of the stem, you’ll find a rubber washer. Pry it off and replace it with an identical new one. Check the O-ring around the stem as well and replace it if it looks worn or damaged.
- Reassemble: Put everything back together in reverse order.
- Turn Water Back On: Slowly turn the water supply valves back on and check for leaks.
For a more visual guide, check out tips from the U.S. Environmental Protection Agency on fixing leaks.
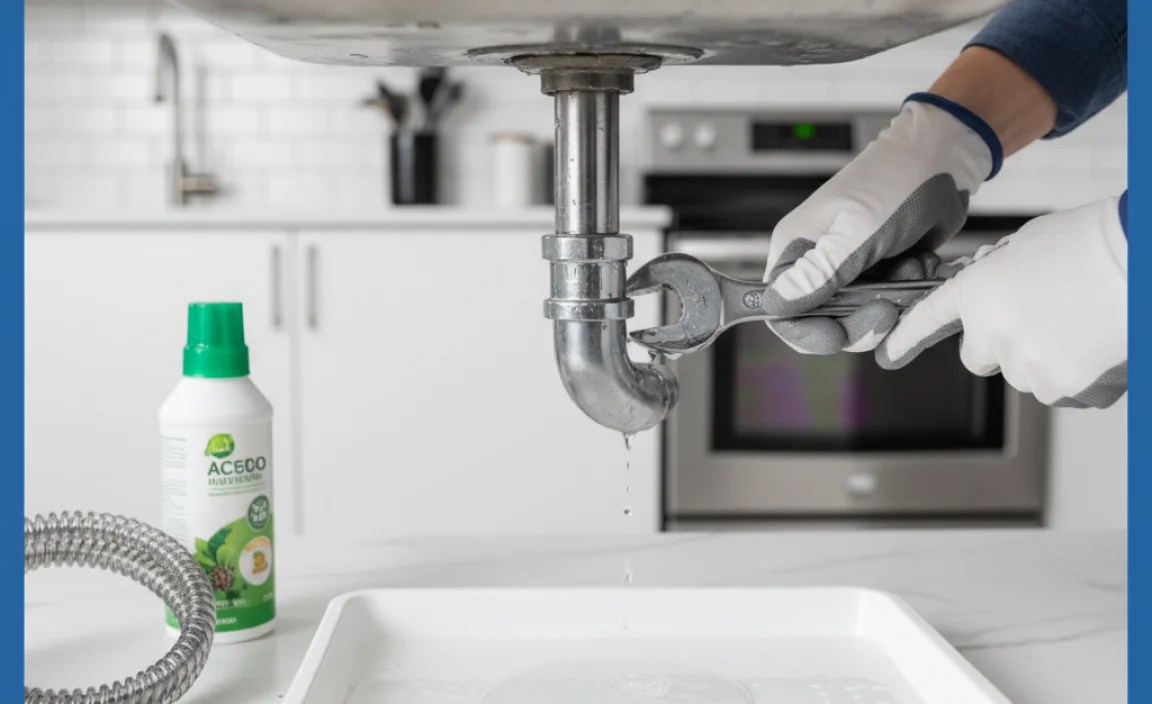
Leak Scenario 2: Leaky P-Trap Under the Sink
The P-trap is the U-shaped pipe under your sink designed to prevent sewer gases from entering your home. Leaks here are often due to loose connections or a damaged pipe.
What You’ll Need:
- Bucket
- Channel-lock pliers or pipe wrench
- Replacement P-trap kit (if needed)
- Plumber’s tape
- Rags
Step-by-Step Guide:
- Place Bucket: Put a bucket directly under the P-trap to catch any water.
- Check Connections: First, try tightening the slip nuts on either side of the P-trap by hand. If that doesn’t work, use channel-lock pliers to carefully tighten them a quarter turn. Don’t overtighten.
- Inspect for Damage: If tightening doesn’t help, the P-trap itself or its seals might be cracked or worn.
- Remove P-Trap: Unscrew the slip nuts on both sides of the P-trap. Be ready for water to drain into the bucket.
- Clean and Inspect: Remove the trap, clean it out, and examine it for cracks. Also, check the seals (washers) where it connects to pipes.
- Replace if Necessary: If damaged, purchase a new P-trap kit. Ensure it’s the correct size and type for your plumbing.
- Reassemble: Fit the new (or cleaned) P-trap in place, tighten the slip nuts firmly (use tape on threads if recommended for your new part, but often not needed for standard slip joints).
- Test for Leaks: Run water into the sink and check all connections for drips.
Leak Scenario 3: Leaky Pipe Fittings
Sometimes, a small leak can appear at a joint where two pipes connect.
What You’ll Need:
- Adjustable wrench
- Plumber’s tape (PTFE tape)
- Rags
Step-by-Step Guide:
- Turn Off Water: It’s safest to turn off the main water supply or the specific valve controlling that pipe before working.
- Clean the Area: Dry the leaking fitting and the pipe around it thoroughly.
- Tighten the Fitting: Use an adjustable wrench to gently tighten the fitting. A half-turn to a full turn is often enough if it’s just loose. Don’t force it.
- Apply Plumber’s Tape: If tightening doesn’t work or you’ve disassembled it, wrap plumber’s tape (PTFE tape) clockwise around the threads of the male pipe (the part that screws into the fitting). About 3-4 wraps are usually sufficient.
- Reassemble/Tighten: If you disassembled, reassemble the fitting. If you only taped, make sure the fitting is snug.
- Turn Water Back On: Slowly restore water pressure and check for leaks.
Preventative Maintenance Tips
The best way to deal with pipe problems is to avoid them altogether! Simple preventative measures can save you a lot of headaches and money down the line.
Kitchen Tips:
- Never pour grease, oil, or fat down the drain. Collect it in a container and dispose of it in the trash once cooled.
- Scrape food scraps into the trash or compost bin before washing dishes.
- Use a drain strainer to catch small particles.
- Run hot water for a minute after using the sink, especially after washing greasy dishes.
Bathroom Tips:
- Use a drain cover or hair catcher in showers and tubs to prevent hair from clogging the drain. Clean it regularly.
- Avoid flushing anything other than toilet paper and human waste down the toilet. This includes cotton balls, sanitary products, and wet wipes, even if they claim to be flushable.
- Periodically pour baking soda and vinegar down bathroom drains, followed by hot water, to keep them clear of soap scum.
General Plumbing Care:
- Be mindful of what goes down any drain in your house.
- Periodically check under sinks and around toilets for any signs of leaks or moisture.
- If you have an older home, consider having your pipes inspected for potential issues like corrosion or damage.
- Consider installing low-flow fixtures to reduce water usage and strain on your plumbing.
When to Call a Professional
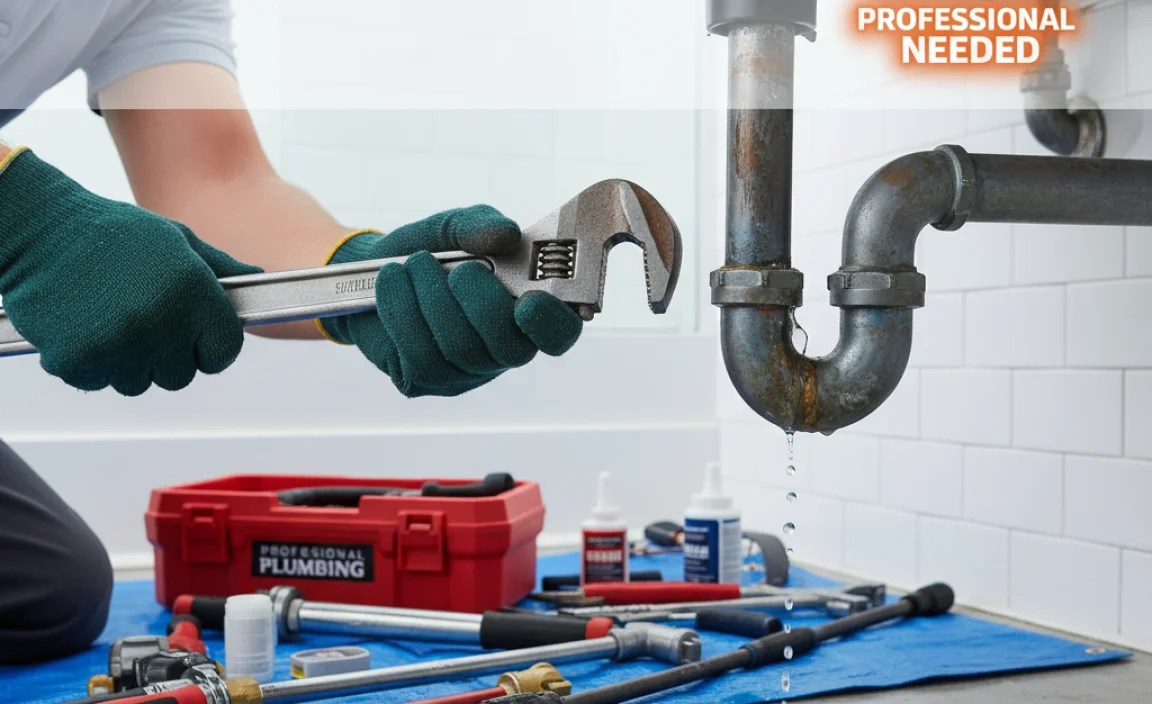
While DIY fixes are great for minor issues, some problems are best left to the experts. Knowing your limits is crucial for safety and preventing further damage.
Signs it’s Time to Call a Plumber:
- Persistent or Severe Clogs: If multiple methods fail and water remains backed up, the clog might be too deep or severe for DIY tools.
- Gushing or Large Leaks: A steady stream of water or a leak that’s quickly causing damage is an emergency.
- Multiple Fixtures Backing Up: If toilets, sinks, and showers are all backing up simultaneously, it could indicate a main sewer line blockage.
- Water Damage: If you see significant water stains, mold growth, or structural damage, it’s time for a professional assessment.
- Unfamiliar Sounds: Gurgling sounds from drains, banging pipes, or constant running water when fixtures are off can signal serious issues.
- Sewer Smells: Persistent sewer odors can indicate a more significant problem with your main sewer line or vent system.
The U.S. Department of Labor’s Occupational Safety and Health Administration (OSHA) provides guidelines on plumbing safety here, highlighting the importance of professional handling for complex tasks.
Troubleshooting Table: Common Pipe Issues & Fixes
Here’s a quick reference guide for common pipe problems:
| Problem | Likely Cause | DIY Solution | When to Call a Pro |
|---|---|---|---|
| Slow Draining Sink | Grease, hair, soap scum | Plunger, hot water, baking soda/vinegar, drain snake | Persistent clogs after multiple attempts |
| Clogged Toilet | Excess |
