
Wondering how much it costs to upgrade your shower? You can significantly cut down on upgrade shower costs with smart planning and DIY effort. This guide breaks down the expenses and reveals budget-friendly strategies to transform your bathroom without breaking the bank. Get ready for a bathroom refresh that’s both beautiful and affordable!
Your shower is more than just a place to get clean; it’s often a sanctuary, a moment of peace in a busy day. Over time, however, even the most cherished shower can start to look a little tired. Stains, worn-out fixtures, or simply outdated designs can make you dream of an upgrade. But the thought of bathroom renovations can quickly bring up concerns about high costs. Many homeowners feel stuck with a shower they’ve outgrown, believing a full remodel is the only option and is prohibitively expensive.
It’s a common frustration, but it doesn’t have to be your reality. This guide is here to show you exactly how you can achieve that dream shower upgrade without a hefty price tag. We’ll walk through understanding the costs involved, identifying where you can save, and provide smart tips to make your budget go further. Get ready to discover how to upgrade your shower for less!
Understanding Upgrade Shower Cost: What You’re Paying For

When you’re looking to upgrade your shower, the total cost can vary wildly. It all depends on what you want to change, the materials you choose, and whether you’re doing the work yourself or hiring professionals. Let’s break down the main components that contribute to the “upgrade shower cost.” Knowing these will help you budget effectively and spot opportunities for savings.
The Big Ticket Items: What Drives Up the Price?
Several factors significantly impact how much you’ll spend on a shower upgrade. Understanding these will help you prioritize and make informed decisions.
- Fixtures: This includes the showerhead, faucet, handles, and diverter. High-end, feature-rich fixtures (like thermostatic shower valves or multi-function showerheads) will cost more than basic, reliable options.
- Tiles and Surround: The material you choose for your shower walls and floor is a major cost. Natural stone, intricate mosaic tiles, or large-format porcelain can be pricier than standard ceramic tiles. The labor to install these also plays a big role.
- Shower Base or Tub: If you’re replacing the shower floor or the entire tub, this is a significant expense. Acrylic, fiberglass, or custom-tiled bases all have different price points.
- Labor: This is often the largest portion of the budget, especially if you’re hiring plumbers, tilers, and general contractors. Simple fixture swaps might only require a plumber, but a full gut and remodel will need a team.
- Sealing and Waterproofing: Proper waterproofing is crucial for preventing water damage. While a necessary expense, the quality of materials and installation here can impact long-term costs.
- Enclosure: A glass shower door or enclosure can range from simple framed designs to frameless custom glass. This is often one of the more expensive components of a shower remodel.
DIY vs. Professional: The Cost Equation
This is one of the biggest decision points that influences your upgrade shower cost. Doing the work yourself can save a substantial amount on labor, but it requires time, skill, and the right tools. Hiring professionals ensures quality work and a faster completion time, but at a higher price.
- DIY Savings: You can save anywhere from 30% to 60% of the total project cost by tackling the labor yourself. This often involves tasks like removing old fixtures, prepping surfaces, painting, and even simple tile installation for those with some experience.
- Professional Benefits: Experts bring speed, precision, and warranties to the job. They handle complex plumbing, ensure proper waterproofing, and deliver a polished finish. This is ideal for major renovations or when time is short.
For many projects, a hybrid approach works best. You might handle the demolition and painting yourself, then hire a plumber for the fixture installation and a tiler for complex tile work. This balances cost savings with professional expertise.
Genius Savings Strategies for Your Shower Upgrade

Ready to make your shower shine without emptying your wallet? Here are some smart tactics to keep your upgrade shower cost in check.
1. Prioritize What Matters Most
Not every element of your shower needs a complete overhaul. Think about what bothers you most and what offers the biggest visual or functional impact. Often, a few key changes can make a world of difference.
- Focus on Fixtures: A new, sleek showerhead and elegant faucet can instantly refresh the look and feel of your shower. This is a relatively low-cost DIY project that delivers a high visual return.
- Update the Sealant: Old, cracked, or moldy caulk and grout? Replacing these can make your shower look brand new for minimal cost and effort, often just requiring basic tools and cleaning supplies.
- Paint Power: A fresh coat of bathroom-specific paint on the surrounding walls can brighten the entire space.
2. Smart Material Choices
The materials you select for tiles, shower bases, and enclosures are huge cost drivers. Opting for budget-friendly alternatives doesn’t mean sacrificing style or durability.
- Tile Alternatives:
- Large Format Porcelain & Ceramic: These tiles have fewer grout lines, making them easier to clean and giving a more modern look. They can also be more affordable than natural stone.
- Peel-and-Stick Tiles: While not suitable for the entire shower surround, these can be a great option for smaller areas or as a decorative accent if properly sealed and maintained.
- Shower Panels: For a more seamless look and quicker installation, consider waterproof wall panels. Materials like acrylic or composite can be a cost-effective alternative to tile.
- Shower Base Options:
- Acrylic or Fiberglass: These are generally the most affordable and easiest to install base options.
- Prefabricated Composite: These offer a good balance of durability and cost, often mimicking the look of stone at a lower price point.
3. Embrace the DIY Spirit
As mentioned, labor is a big chunk of any renovation cost. Identifying tasks you can confidently tackle yourself can yield significant savings. Start with simpler projects and build your confidence.
- Demolition: Removing old tiles, fixtures, and caulk is straightforward work that can save you money. Always ensure the water is shut off before starting any plumbing removal!
- Painting: A fresh coat of humidity-resistant paint can completely transform the look of your bathroom.
- Fixture Installation (Simple Swaps): Replacing a showerhead or faucet handle is often a manageable DIY task with the right tools and clear instructions. Check out resources like This Old House for great tutorials.
- Grout and Caulk Refresh: Renewing grout lines and applying fresh caulk around your tub and shower edges is a low-cost way to dramatically improve the appearance and prevent water damage.
4. Shop Smart for Materials
Don’t just walk into the first home improvement store and grab whatever looks good. Smart shopping can uncover hidden savings.
- Compare Prices: Check prices at different retailers, including online stores and discount suppliers.
- Look for Sales and Clearance: Many stores have seasonal sales or clearance sections where you can find discounted tiles, fixtures, and other materials.
- Buy in Bulk (Strategically): If you need a lot of a specific tile, buying a larger quantity might come with a discount.
- Consider Refurbished or Open-Box Items: Sometimes you can find great deals on gently used or returned items. Inspect them carefully before purchasing.
5. Consider Refacing or Refinishing
Instead of outright replacement, sometimes a good refinish is all that’s needed. This is particularly true for older, dated bathtubs or tilework.
- Tub Refinishing: A professional tub refinishing can make an old, chipped, or stained bathtub look brand new. This is far cheaper than replacing the entire tub.
- Tile Refinishing/Regrouting: For tile that’s still structurally sound but looks dingy, professional regrouting and sealing can restore its fresh appearance.
6. Look for Package Deals or Kits
Some manufacturers offer shower kits that include multiple components like a shower base, wall panels, and even a door. These can sometimes be more cost-effective than purchasing each item separately.
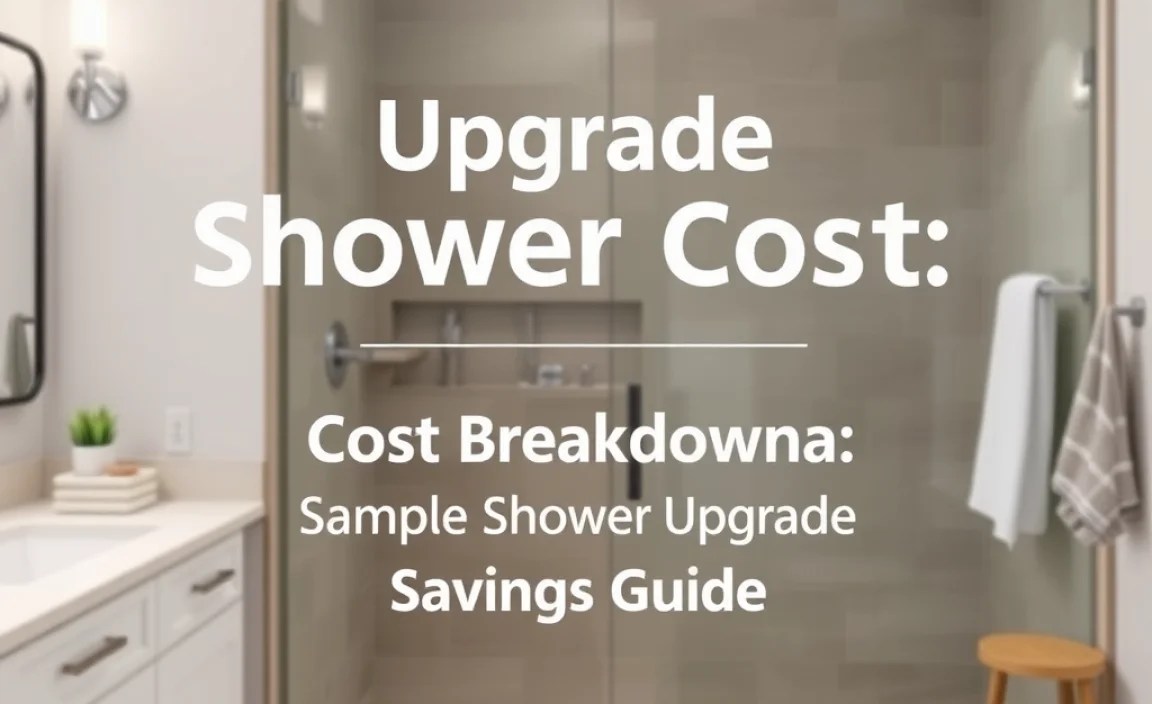
Cost Breakdown: A Sample Shower Upgrade
To give you a clearer picture, let’s look at a hypothetical shower upgrade project and its potential costs. This is a simplified example and actual costs will vary based on your location, material choices, and labor rates.
Scenario: Mid-Range Shower Refresh (DIY Focus)
This scenario assumes you plan to do most of the work yourself, focusing on upgrading fixtures, refreshing the tile surround, and replacing the shower base.
| Item | Estimated Cost Range (Low – High) | Notes |
|---|---|---|
| New Showerhead & Faucet Set | $150 – $400 | Mid-range quality, easy-to-install model. |
| Shower Base (Acrylic/Fiberglass) | $200 – $500 | Standard size, good quality. |
| Tiles for Walls (Ceramic/Porcelain) | $300 – $800 | Covers ~100 sq ft, mid-range pricing. |
| Grout & Thin-set Mortar | $50 – $100 | Materials for tiling. |
| Waterproofing Membrane | $50 – $150 | Essential for longevity. |
| Caulk & Sealant | $30 – $60 | For edges and seams. |
| New Shower Door (Sliding or Framed) | $300 – $700 | A moderate upgrade over a shower curtain. |
| Paint & Primer | $40 – $80 | For non-tiled areas. |
| Tools & Supplies (Rental/Purchase) | $100 – $300 | Tile saw rental, trowels, nippers, safety gear, etc. |
| Contingency (10-15%) | $200 – $500 | Unexpected issues or mistakes. |
| Total Estimated Cost (DIY) | $1,420 – $3,590 | This excludes professional plumbing or tiling labor. |
Scenario: Upscale Shower Remodel (Professional Installation)
This contrasts with the DIY approach, showing costs when hiring professionals for a more extensive upgrade, possibly including moving plumbing or installing high-end materials.
| Item | Estimated Cost Range (Low – High) | Notes |
|---|---|---|
| Full Tile Replacement (Natural Stone/High-End Porcelain) | $1,000 – $3,000+ | Material cost for premium tile and intricate patterns. |
| Custom Glass Shower Enclosure | $1,000 – $3,000+ | Frameless, custom-cut glass doors add significant cost. |
| High-End Fixtures (Thermostatic Valve, Body Jets) | $500 – $1,500+ | Luxury shower systems. |
| Custom Shower Pan or Tile Base | $500 – $1,500+ | Custom-built shower bases can be expensive. |
| Professional Labor (Plumbing, Tiling, Installation) | $2,000 – $6,000+ | This is highly variable by region and scope. |
| Waterproofing System | $100 – $300 | Professional-grade materials. |
| Permits (if required) | $100 – $500 | Varies by municipality. |
| Contingency (15-20%) | $1,000 – $3,000+ | Higher for more complex projects. |
| Total Estimated Cost (Professional) | $6,200 – $18,800+ | This represents a significant renovation. |
As you can see, the difference between a DIY-focused refresh and a professional remodel is substantial. Understanding these potential costs helps you tailor your upgrade shower cost to your budget and desired outcome.
Step-by-Step: A Simple Shower Upgrade (DIY Focus)

Let’s walk through a common DIY shower upgrade: replacing older wall tiles with new ones and updating the fixtures. This is a project that beginners can tackle with patience and the right approach.
Phase 1: Planning and Preparation
- Assess Your Project: What exactly are you changing? Are you simply replacing tiles, or also the shower pan and fixtures?
- Gather Tools and Materials:
- New tiles, thin-set mortar, grout, caulk
- Waterproofing membrane (if removing old tile down to the studs)
- New showerhead, faucet trim, and handles
- Tile spacers, trowel, grout float
- Utility knife, pry bar, hammer
- Safety glasses, gloves, dust mask
- Bucket, sponges, rags
- Tile saw (rent or buy inexpensive model)
- Screwdrivers, adjustable wrench
- Drop cloths or plastic sheeting
- Turn Off Water: Locate your main water shut-off valve and turn it off, or shut off valves specifically for the bathroom if available. Test by turning on a faucet to ensure water is off.
- Protect the Area: Lay down drop cloths to protect your bathroom floor and vanity.
Phase 2: Removal of Old Materials
- Remove Fixtures: Carefully unscrew and remove your old showerhead, faucet handles, and trim plates. Store screws and small parts in a labeled bag.
- Score Caulk: Use a utility knife to cut through all caulk lines around the tub/shower base, walls, and enclosure.
- Remove Wall Tiles:
- Start in a corner or along an edge.
- Use a pry bar and hammer to gently break up and remove tiles. Work carefully to avoid damaging underlying drywall or cement board unnecessarily.
- If tiles are very stubborn, a hammer can be used with more force, always protecting your eyes.
- Remove Old Grout and Mortar: Use a grout saw or small chisel to remove as much of the old grout and mortar as possible.
- Clean the Surface: Once all tiles are removed, clear away debris. If the substrate (like drywall or cement board) is damaged, it will need to be repaired or replaced. For best results and longevity, consider applying a proper waterproofing membrane over the exposed substrate, especially if it’s new drywall. Resources like the Building Science Corporation offer in-depth knowledge on building envelope best practices.
Phase 3: Installing New Tiles and Fixtures
- Prepare the Substrate: Ensure the walls are clean, dry, and solid. Apply your chosen waterproofing membrane according to the manufacturer’s instructions.
- Mix Thin-set Mortar: Follow the instructions on the mortar bag for mixing. It should have a peanut butter-like consistency.
