
Have you ever looked at your bathroom floor and noticed the grout looking a bit worse for wear? Grout often gets dirty and cracked over time, making your bathroom look uninviting. But don’t worry, bathroom floor grout repair isn’t as hard as it seems. With just a few simple steps, you can bring back that fresh look.
Did you know that grout protects your tiles and helps keep moisture out? When it’s damaged, water can seep in and cause bigger problems like mold. Imagine stepping into a clean bathroom where everything shines. That’s what good grout can do!
If you’re ready to tackle this small but important project, you’re not alone. Many homeowners have faced the same issue. In this article, we’ll guide you through the exciting world of bathroom floor grout repair. By the end, you’ll feel confident in your ability to fix your grout. Let’s jump in!
Essential Bathroom Floor Grout Repair Tips For Homeowners

Bathroom Floor Grout Repair
Repairing bathroom floor grout can save your tiles from damage. Grout fills the gaps between tiles but can crack or stain over time. Did you know that dirty grout can make your whole bathroom look old? You can fix it easily! Start by cleaning the old grout and applying new grout to restore its look. A little effort can make your bathroom feel fresh again. Want a tidy, new-looking space? Repairing your grout may be the answer!
Understanding Grout and Its Importance

Explanation of grout composition and types.. Importance of grout in bathroom flooring..
Grout is the material that fills gaps between tiles. It is usually made from a mix of water, cement, and sand. There are two main types of grout:
- Cement-based grout – Strong and widely used.
- Epoxy grout – More durable and water-resistant.
Grout is important in bathroom flooring for a few reasons:
- It helps keep water from leaking.
- It gives the floor a finished look.
- It prevents dirt and mold buildup.
In short, grout plays a big role in keeping your bathroom safe and beautiful.
Why is grout important in bathrooms?
Grout is vital in bathrooms because it protects against water damage. This helps prevent mold and keeps your floor looking nice. Strong grout can make your bathroom safer and cleaner!
Signs You Need Grout Repair

Identifying visual signs of grout damage.. Functional indicators that suggest grout repair is necessary..
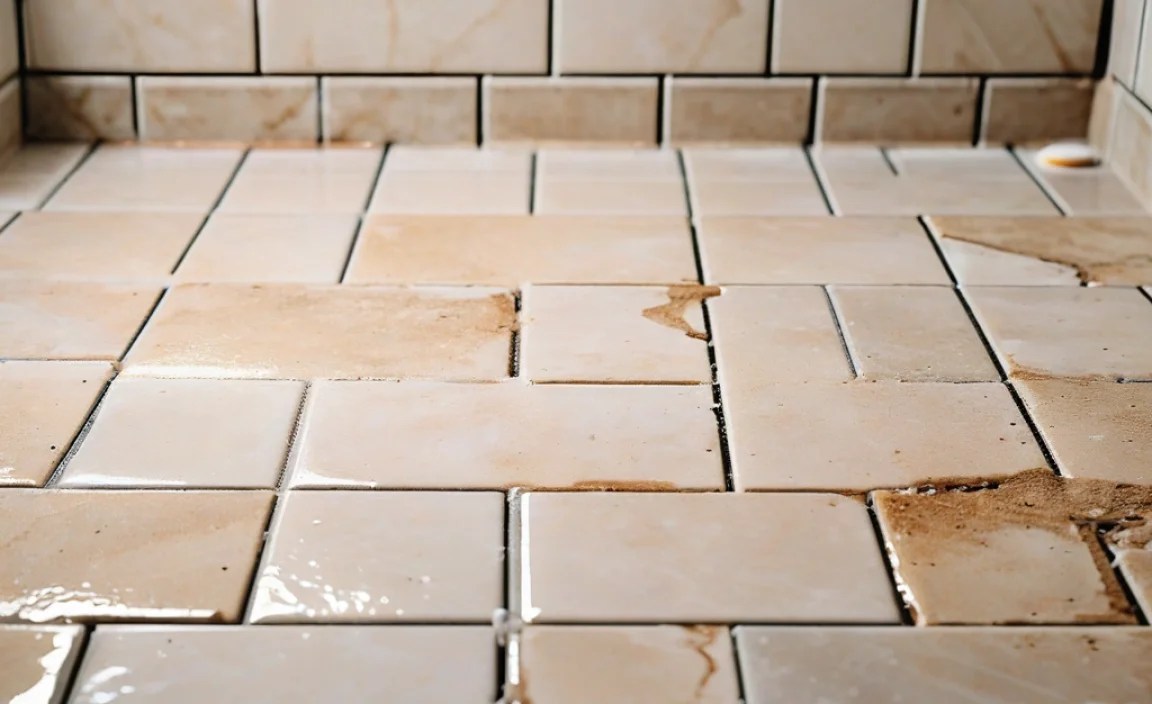
Looking at your bathroom floor can tell you a lot. Do you see cracks or missing pieces in the grout? These are clear signs you need grout repair. Discolored or dark grout stains are also a big red flag. Water stains around the edges mean moisture may be sneaking in too. Don’t forget about how the floor feels under your feet. If it feels soft or bouncy, it’s time to take action.
- Cracks or gaps in grout.
- Stains or discoloration.
- Soft or bouncy tiles.
- Leaks or water stains.
What are the signs of damaged grout?
Signs of damaged grout include cracks, discoloration, or soft tiles. Always check for water stains as they can mean leaks.
Tools and Materials Needed for Grout Repair
List of essential tools (grout float, mixer, etc.).. Recommended grout types and color options..
To fix your bathroom grout, you need some handy tools and materials. Here’s a quick list to get you started:
- Grout float
- Drill mixer
- Sponge
- Bucket
- Grout sealer
For grout types, pick either sanded or unsanded grout, depending on the space. Color options are fun too! You can match the grout to your tiles, or choose a bold color for added style. Always remember, the right tools make the job easier!
What grout should I use for my bathroom?
The best options are sanded grout for larger gaps and unsanded grout for smaller spaces. Choose colors that fit your style!
Step-by-Step Guide to Repairing Grout
Detailed instructions for preparing the area for repair.. Techniques for applying and finishing new grout..
Start by clearing the area around the grout you want to fix. Sweep away dirt and debris like a ninja. Use a damp cloth to catch any stray dust bunnies. Next, apply a grout saw to remove the old, cracked grout. Careful, it’s not a race! Once the area is clean, mix your new grout according to the package directions. Then, apply it with a grout float, pressing it firmly into the gaps. Ensure it’s filled evenly, no one wants a lopsided bathroom! Finally, wipe away excess grout with a damp sponge and let it dry. Voila! A fresh batch of grout is ready to shine!
| Step | Action |
|---|---|
| 1 | Clear the area |
| 2 | Remove old grout |
| 3 | Mix new grout |
| 4 | Apply grout |
| 5 | Clean excess grout |
DIY vs. Professional Grout Repair
Pros and cons of DIY grout repair.. When to consider hiring a professional..
Choosing between DIY and professional grout repair has its ups and downs. Here’s a quick look:
- Pros of DIY: You save money and can do it at your own pace.
- Cons of DIY: It might take longer and could be more difficult than expected.
- Professionals: They work fast and do a great job.
- When to Hire: If the damage is huge or you lack time or skills.
Remember, if you’re unsure, it might be best to ask an expert. They can help make your bathroom look new again!
What are the signs that you should hire a professional for grout repair?
If you see deep cracks, mold, or cracks spreading quickly, it’s time to call a pro. They have the tools and know-how to fix things right. Don’t wait and make it worse!
Preventative Measures to Maintain Grout Quality
Tips for cleaning and sealing grout.. Recommendations for regular maintenance practices..
Taking care of your grout can keep it looking clean and fresh. Here are some easy tips to help:
- Clean regularly with warm water and a soft brush.
- Seal your grout every 6 to 12 months for protection.
- Use gentle cleaning solutions to avoid damage.
By following these steps, your grout will remain in great shape for years to come!
How often should grout be sealed?
Seal your grout every 6 to 12 months to ensure it stays protected from stains and moisture.
Cost of Bathroom Floor Grout Repair
Breakdown of costs associated with DIY vs. professional repair.. Factors that influence the overall cost of grout repair..
Repairing grout in your bathroom can vary in cost, depending on whether you take the DIY route or hire a professional. DIY costs might be low—around $20 to $50 for supplies. But be careful; if you mess up, you could end up spending more later! Professionals usually charge between $100 and $300. Factors like the size of the area and your location can also make a big difference. So, choose wisely!
| Repair Method | Estimated Cost |
|---|---|
| DIY | $20 – $50 |
| Professional | $100 – $300 |
Remember, while fixing grout yourself can save money, it might lead to costly mistakes! So weigh your options carefully. It’s like trying to bake a cake: cheaper to do at home, but you might end up with a burnt mess (or just crumbs) if you’re not careful.
Frequently Asked Questions about Grout Repair
Common questions and concerns clients may have.. Expert answers addressing myths and facts about grout repair..
Many people have questions about grout repair. Here are some common concerns and expert answers:
How long does grout repair take?
It usually takes a few hours. However, drying time can vary. You may need to wait up to 24 hours before using the area again.
Can I do it myself?
Yes, you can! With the right tools and materials, many homeowners successfully complete grout repair.
What if my grout is cracking?
Cracked grout is a sign of wear. It’s best to repair it before water seeps in and causes bigger problems.
Conclusion
In summary, bathroom floor grout repair is important for keeping your bathroom looking good and protecting it from water damage. You can fix small cracks and stains yourself with the right tools and materials. Remember to clean the area first and choose the right color grout. For best results, always follow instructions. Explore more tips online to help you!
FAQs
What Are The Common Signs That Bathroom Floor Grout Needs Repair Or Replacement?
You might need to repair or replace bathroom floor grout if you see cracks or gaps. If the grout feels soft or falls apart, that’s a sign too. You may notice mold or stains that don’t clean away. Also, if water seeps through and makes the floor feel squishy, it’s time to fix it.
How Can I Effectively Clean And Prep The Area Before Repairing Bathroom Floor Grout?
First, you need to clear the bathroom floor. Remove all rugs, mats, and decorations. Then, sweep or vacuum up any dust and dirt. After that, use a wet cloth to wipe the floor. Make sure it dries before you start working on the grout.
What Materials And Tools Do I Need For A Successful Grout Repair In The Bathroom?
To fix grout in the bathroom, you need a few things. First, get some grout that matches what you already have. You’ll also need a grout float, which helps spread the grout evenly. A trowel is useful for cleaning up the edges. Don’t forget a sponge and water to smooth everything after you apply the grout.
Is It Possible To Change The Color Of My Bathroom Floor Grout During The Repair Process?
Yes, you can change the color of your bathroom floor grout while fixing it. You just need to use special grout paint or stain. First, clean the old grout well. Then, apply the new color. It’s a fun way to change your bathroom!
How Do I Properly Apply And Finish New Grout To Ensure A Long-Lasting Seal In My Bathroom?
First, make sure the tile surface is clean and dry before you start. Then, mix the grout according to the package instructions. Use a rubber float to spread the grout into the spaces between the tiles. After letting it sit for a bit, wipe off the extra grout with a damp sponge. Finally, let it dry completely, and apply a sealant to protect it.
