
Have you ever noticed the cracks in a wall or gaps around windows? These small problems can lead to big issues. This is where caulking comes into play. Caulking is a simple yet powerful tool in construction. It helps seal spaces, keeping out air and moisture.
But did you know that caulking can do much more than just fill gaps? It plays a vital role in every building project. Imagine a house that is cozy and energy-efficient. Proper caulking helps create that comfort. Homeowners find caulking useful for improving insulation and preventing mold.
It’s surprising how a small bead of caulk can make such a difference. Think about your own home. Could that kitchen sink use a touch-up? Or what about the bathtub? A little caulk can enhance both appearance and functionality.
In this article, we will explore the various uses of caulking in construction. From protecting your home to improving its look, caulking is an essential part of building and repair. Let’s dive in and discover how this handy tool can make your living space better!
Caulking Uses In Construction: Essential Applications Explained
Caulking Uses in Construction
Caulking plays a vital role in construction. It helps seal gaps, preventing water leaks and air drafts. Imagine a rainy day where your roof leaks! Caulking can stop that from happening. It’s used in windows, doors, and even bathrooms to keep moisture out. Did you know it can also help save energy by improving insulation? Whether it’s a new build or renovation, caulking ensures a strong and lasting structure.
Understanding Caulking

Definition and purpose of caulking in construction. Types of caulk and their specific applications.
Caulking is like a superhero for buildings. It fills gaps and cracks to stop water and air leaks, keeping homes cozy and energy bills low. Think of caulk as glue, but for sealing instead of sticking. There are different types too! For example, silicone caulk works great for bathrooms since it resists moisture. Latex caulk is paintable, making it perfect for indoor jobs. Each type has its own strengths, just like how every superhero has unique powers!
| Type of Caulk | Best Use |
|---|---|
| Silicone | Avoids water damage in wet areas. |
| Latex | Ideal for painting indoors. |
| Polyurethane | Great for outdoor projects. |
Choosing the right caulk is key. Remember, if you can see light through a crack, it’s time to seal it up and let your caulk save the day!
Importance of Caulking in Construction

Role of caulking in energy efficiency and insulation. Preventing water damage and mold growth. “`html
Caulking plays a big role in keeping homes snug and warm. It helps seal drafts, making your house more energy-efficient. This means you spend less on heating! Did you know that proper caulking can save homeowners up to 20% on energy bills? Also, it keeps water from sneaking in, which happens more often than you think. This prevents water damage and pesky mold growth that can turn your home into a science experiment. So, next time you see gaps, remember: caulking isn’t just a fun word; it’s a superhero for your home!
| Benefits of Caulking | Impact |
|---|---|
| Energy Efficiency | Reduces bills by up to 20% |
| Water Damage Prevention | Saves from costly repairs |
| Mold Growth Stopping | Keeps your air clean |
“`
Common Uses of Caulking in Various Construction Projects
Caulking for windows and doors installation. Usage in bathrooms and kitchens for sealing gaps.
Caulking helps make buildings strong and safe. It seals windows and doors to keep out air and water. This helps save energy and protect against leaks. In bathrooms and kitchens, caulking fills gaps around sinks and tubs. This prevents water damage and mold. Here are some common uses:
- Sealing windows and doors
- Filling gaps in bathrooms
- Protecting kitchens from spills
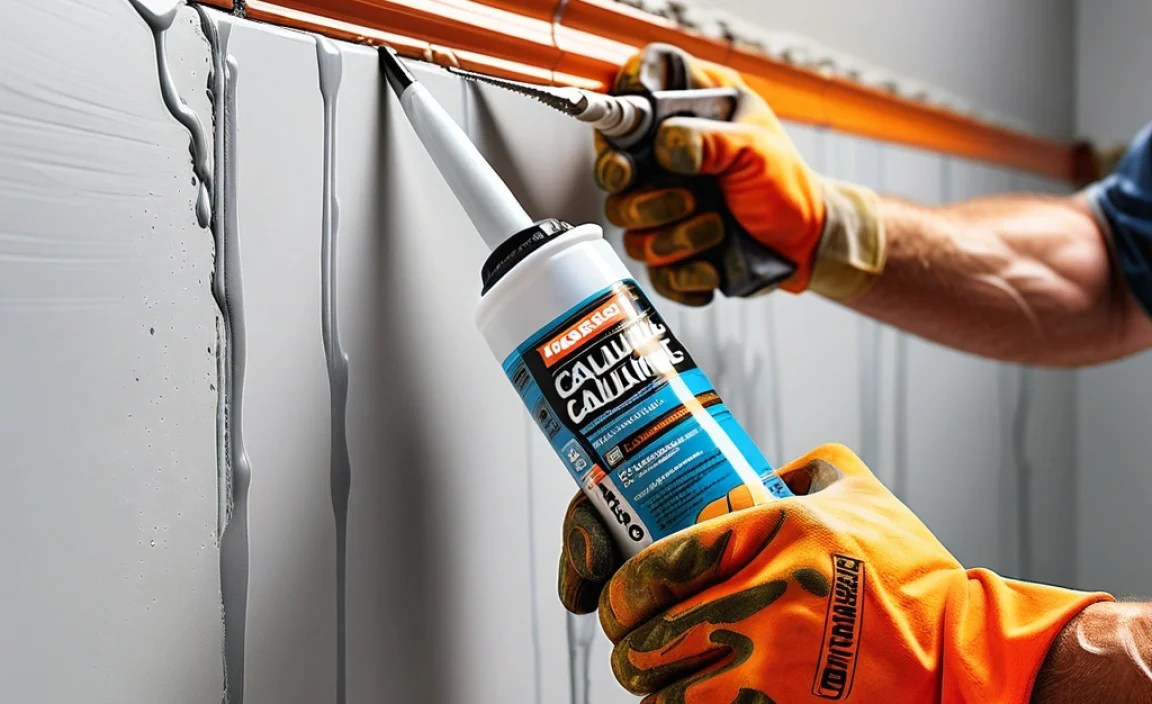
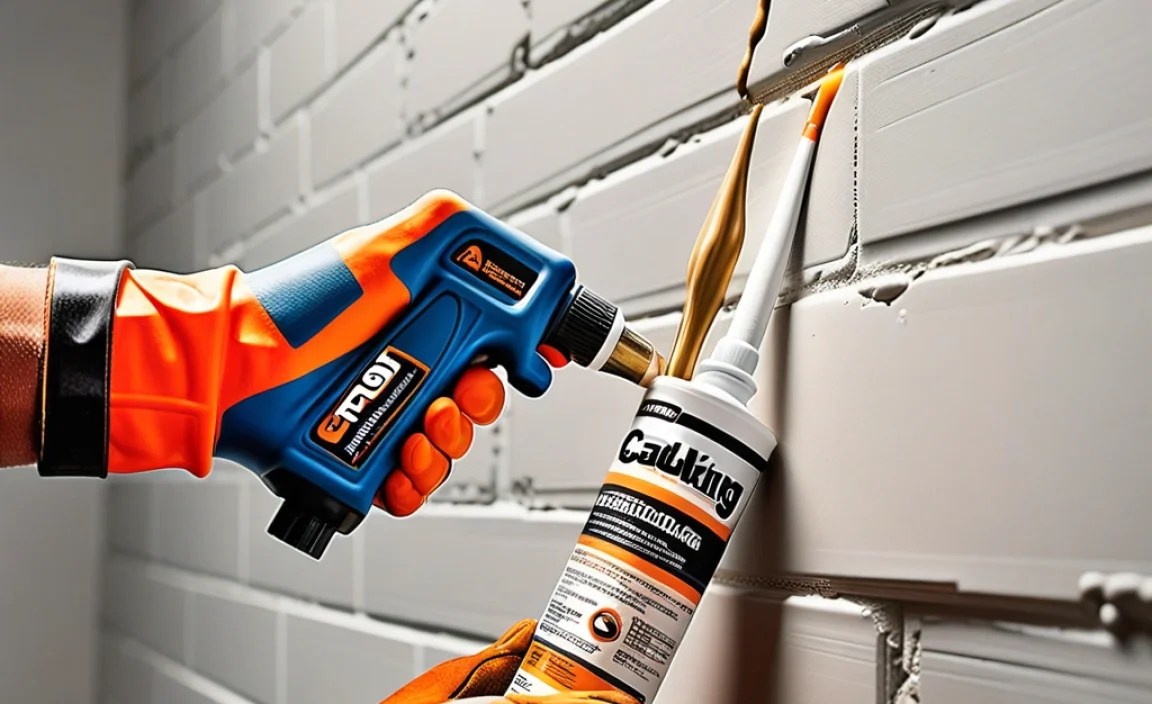
Application Techniques for Effective Caulking
Preparing surfaces and selecting the right caulk. Stepbystep guide to applying caulk.
To get started with caulking, first clean the area where you’ll apply it. Remove dirt and old caulk so it’s nice and smooth. Next, choose the right caulk for your job. Not all caulk are created equal—some love water, while others prefer to stay dry! Use this handy guide:
| Surface Type | Best Caulk |
|---|---|
| Bathroom | Silicon Caulk |
| Windows | Acrylic Latex Caulk |
| Outdoors | Polyurethane Caulk |
Now, here’s how to apply it like a pro. Cut the tip of the caulk tube at an angle, about 1/4 inch. Squeeze it gently while moving along the gap. Keep your hand steady—no one likes a wobbly line! Smooth with a wet finger for a cleaner finish. And remember, caulking is like icing a cake; practice makes perfect!
Choosing the Right Type of Caulk
Breakdown of different caulk materials (silicone, latex, polyurethane). Factors to consider when selecting caulk for specific projects.
Caulk comes in different flavors, much like ice cream! The main types are silicone, latex, and polyurethane. Each has its special powers. Silicone is great for wet areas like bathrooms, while latex is easy to clean up. Polyurethane is tough for outdoor projects but takes longer to dry. Factors like location, surface type, and project length help you decide which caulk is best. Remember, picking the right caulk is like getting the right shoes for a race—choose wisely!
| Caulk Type | Best For | Drying Time | Cleanup |
|---|---|---|---|
| Silicone | Wet areas | 24 hours | Hard to clean |
| Latex | Indoor projects | 30 minutes | Easy with water |
| Polyurethane | Outdoor projects | 8-24 hours | Requires solvents |
Maintenance and Repair of Caulked Joints
Identifying signs of caulk failure. How to remove and replace old caulk effectively.
Spotting caulk issues is as easy as finding a cat in a room full of rocking chairs! Look for cracks, gaps, or peeling – these are signs it’s time for some TLC. When replacing old caulk, a handy tool like a razor blade works wonders. Slice carefully, like you’re unwrapping a birthday gift. After removal, clean the area well and apply fresh caulk smoothly. It’s like giving your home a comfy new sweater!
| Signs of Caulk Failure | Action to Take |
|---|---|
| Cracks | Replace the caulk |
| Peeling | Remove it completely |
| Moisture | Inspect for mold and reapply |
Caulking for Exterior vs. Interior Construction
Differences in caulking techniques and materials for exterior applications. Interior caulking best practices for durability.
Caulking can be a bit like dressing your house; it needs different outfits for inside and outside! For exterior jobs, using materials like silicone is key because they can handle rain and sunshine. On the other hand, interior caulking often prefers latex, which is durable and easy to paint over. Below is a table to compare the two:
| Application | Best Materials | Durability |
|---|---|---|
| Exterior | Silicone | High moisture resistance |
| Interior | Latex | Good for painting |
So, next time you grab that caulk tube, remember: it’s all about the right match for the right job. Don’t want your house looking like it’s wearing socks with sandals!
Frequently Asked Questions (FAQs) about Caulking
Common queries related to caulking practices. Expert tips for DIY caulking projects.
Many people have questions about caulking. It can be confusing, but it’s important for building projects. Here are some common questions and expert tips to help you.
What is caulking used for?
Caulking fills gaps in walls, windows, and doors. It keeps air and water out.
How do I apply caulk correctly?
- Start with a clean surface.
- Cut the tip of the caulk tube at an angle.
- Press and smooth it into the gap.
Can I caulk myself?
Yes, you can! With practice, DIY caulking is easy and saves money.
Remember, proper caulking helps your home stay energy-efficient. Try it, and you might enjoy the process!
Conclusion
In conclusion, caulking is essential in construction. It helps seal gaps, prevents water damage, and improves energy efficiency. You can use it around windows, doors, and plumbing fixtures. By caulking properly, you protect your home and save money. We encourage you to try caulking in your next project and explore more tips online for best practices!
FAQs
What Are The Primary Types Of Caulk Used In Construction, And What Specific Applications Are They Best Suited For?
The main types of caulk are silicone, acrylic, and polyurethane. Silicone caulk is great for bathrooms and kitchens because it can handle water. Acrylic caulk is best for painting and filling gaps in walls. Polyurethane caulk is strong and works well outside, like for sealing windows. Each type helps keep things safe and tidy!
How Does The Choice Of Caulk Material (Such As Silicone, Acrylic, Or Polyurethane) Affect The Durability And Performance Of A Seal In Various Environmental Conditions?
Choosing the right caulk material is important for how well it lasts. Silicone caulk is very strong and can resist water well. Acrylic caulk is easier to paint over but may wear out faster in wet places. Polyurethane caulk is tough and stick strongly, making it great for outdoor use. Each type works better in different conditions, so pick wisely!
What Are The Proper Techniques For Applying Caulk To Ensure A Watertight Seal In Construction Projects?
To apply caulk properly, first, clean the area where you will work. Make sure it is dry and free of dust. Then, cut the tip of the caulk tube at an angle for a good flow. Squeeze the caulk out slowly, making sure to fill any gaps. Finally, smooth it with your finger or a tool to make it even.
How Can Caulking Help Improve Energy Efficiency In Buildings, Particularly In Terms Of Insulation And Air Sealing?
Caulking is like a magic glue that fills gaps and cracks in buildings. When we use caulking, it stops warm air from escaping in winter and cool air from slipping out in summer. This helps keep our homes comfy and saves energy. With less energy needed, we can save money on heating and cooling. Caulking makes our buildings better at keeping the temperature just right!
What Are The Common Mistakes To Avoid When Caulking In Construction, And How Can They Be Rectified?
When caulking, we often make mistakes like using too much or too little caulk. If you use too much, it can look messy. If you don’t use enough, gaps can stay. To fix this, squeeze just the right amount out and smooth it with a tool. Always clean the area before starting, so the caulk sticks well.
