
Have you ever stood in front of a sink, only to notice a small puddle forming beneath it? A clean sink leak can be more than just a minor annoyance. It can lead to bigger problems if not fixed right away. Imagine the surprise when you discover that what seemed like a small drip might turn into a costly repair.
Many people think leaks are only for old pipes or rusty fixtures, but that’s not true. Even a brand-new sink can spring a leak! Did you know that a single drip can waste gallons of water over time? It’s like letting money slip right down the drain.
In this article, we’ll explore why clean sink leaks happen and how to fix them. By understanding the cause, you can take quick action and keep your home safe. So, let’s dive in and learn more about those sneaky leaks that might be hiding in your kitchen or bathroom!
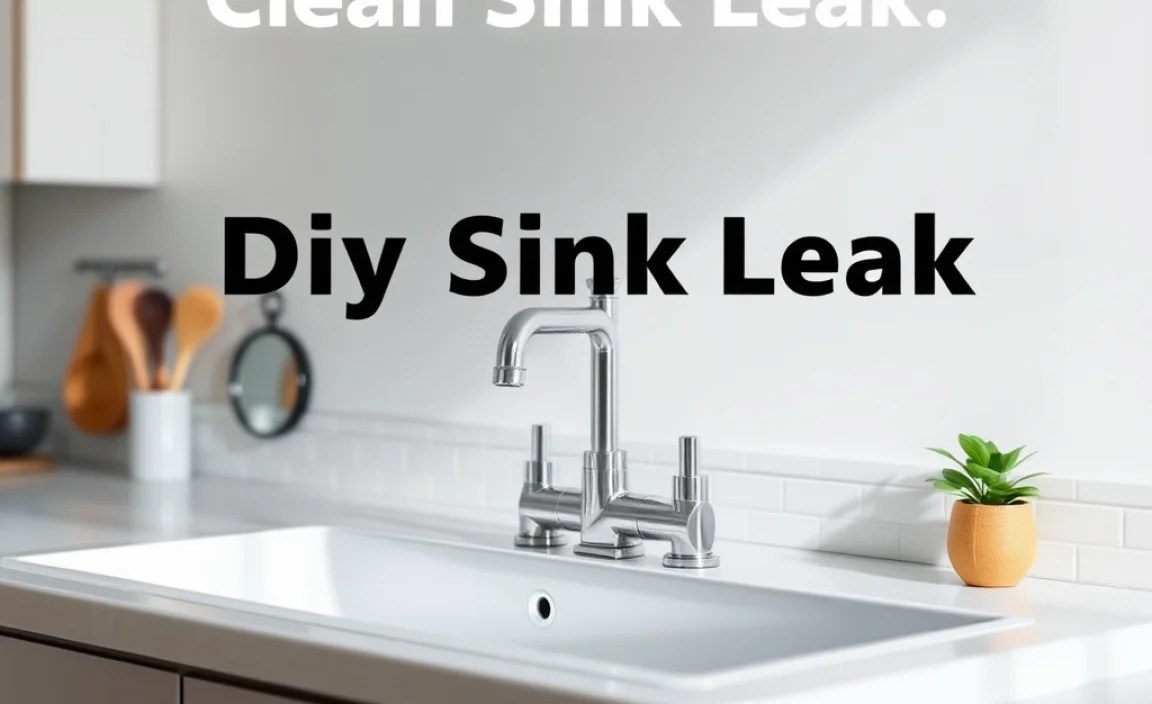
How To Clean Sink Leak: Effective Solutions And Tips

Understanding Clean Sink Leaks

Have you ever noticed water pooling under your sink? A clean sink leak can be frustrating and costly. These leaks often come from loose pipes or worn-out washers. They can spoil your kitchen or bathroom, leading to mold and damage. Fixing them quickly can save you money. For instance, simply tightening connections might do the trick! Regular checks can prevent future leaks. So, keeping a clean sink isn’t just about looks—it’s also about ensuring a healthy home!
Identify the Source of the Leak

Common locations for sink leaks: faucet, drain, and water supply lines. Tools and methods for detecting leaks effectively.
Finding the spot of a leak can be tricky. Common leak places include the faucet, drain, and water supply lines. Look for dripping water or wet spots. Patience and some tools can help. Try using:
- A flashlight to spot dark areas.
- A bucket to catch drips and find the source.
- Paper towels to dry surfaces and identify moisture.
Sometimes, you might even hear a hissing sound where water escapes. Check around and above your sink carefully for leaks.
What are the common locations for sink leaks?
Common places for leaks are the faucet, drain, and water supply lines. These areas often wear out or get damaged.
How can I detect leaks effectively?
Use tools like a flashlight and buckets. Look for wet spots and listen for dripping sounds.
Gather Necessary Tools and Materials
List of essential tools for sink repair: wrench, pliers, silicone sealant, etc.. Recommended materials for different types of leaks.
Before diving into a sink repair, a well-stocked toolbox is your best friend. You’d want a wrench for tight spots, strong pliers to give a good grip, and trusty silicone sealant to seal those pesky leaks. Don’t forget a bucket to catch any sneaky drips! Your tools are heroes in this plumbing adventure. Here’s a quick list to make sure you’re ready:
| Tool/Material | Purpose |
|---|---|
| Wrench | Loosens and tightens pipes |
| Pliers | Holds small parts firmly |
| Silicone Sealant | Seals leaks effectively |
| Bucket | Catches water from leaks |
With these tools in hand, you’ll be ready to tackle any clean sink leak like a pro. Happy fixing!
Step-by-Step Repair Process for Faucet Leaks

Detailed instructions for fixing compression, cartridge, and ball faucets. Tips for reassembling after repair.
Fixing faucet leaks is easy with clear steps. First, turn off the water. Next, identify your faucet type: compression, cartridge, or ball. Here’s how to fix each:
- Compression Faucets: Remove the handle and unscrew the packing nut. Replace the washer and reassemble.
- Cartridge Faucets: Pull the handle off, twist out the cartridge, then swap with a new one.
- Ball Faucets: Take off the handle, remove the cap, and replace the cam assembly.
After repairs, put everything back in the opposite order. Make sure all screws are tight but don’t overdo it, or you might break something. Now your sink should be leak-free!
How do I know what type of faucet I have?
Your faucet can be identified by its handle type. Compression faucets have separate hot and cold handles. Cartridge faucets usually have a single lever. Ball faucets have a rounded top with a jointed handle.
Repairing Drain Leaks: A How-To Guide
Instructions for tightening or replacing drain fittings. Importance of using plumber’s tape and gaskets.
Fixing a leak in your sink drain can seem tricky, but it’s easier than finding a matching sock! First, check the drain fittings. If they’re loose, a quick turn with a wrench might do the trick. If not, it’s time to replace them. Remember to use plumber’s tape and gaskets for a tight seal—like a hug for your pipes! The tape prevents leaks while gaskets fill any gaps. With these simple steps, you’ll be a plumbing hero in no time!
| Step | Action |
|---|---|
| 1 | Check drain fittings for tightness. |
| 2 | Tighten with a wrench if needed. |
| 3 | Replace fittings if they’re worn. |
| 4 | Apply plumber’s tape before sealing. |
| 5 | Insert gaskets for extra protection. |
Preventative Measures to Avoid Future Leaks
Regular maintenance routines for sinks and plumbing. Signs to watch out for before leaks occur.
Keeping your sink happy is like feeding a pet—regular care makes a world of difference! Check your sink’s plumbing often. Look for cracks or any strange noises that whisper “I might leak!” Signs like water stains, damp spots, and rust can all mean trouble is brewing. A quick routine of tightening loose fittings helps too! Let’s keep your sink smiling and avoid messy surprises!
| Signs to Watch | What They Might Mean |
|---|---|
| Water Stains | Possible leaks hiding underneath |
| Odd Noises | Loose pipes ready to party! |
| Damp Spots | Moisture that’s up to no good |
When to Call a Professional Plumber
Indicators that suggest professional help is needed. How to choose the right plumber for your needs.
Seeing water pooling around your sink can be quite a scene—like a mini swimming pool for ants! You’ll know it’s time to call a pro when you see signs like a constant drip, an unexpected wet spot, or a faucet that just won’t stop leaking. And let’s face it, nobody wants a DIY water disaster that ends up looking like a scene from a slapstick comedy.
Choosing the right plumber might feel like picking a favorite ice cream flavor. Start by checking reviews and asking friends for recommendations. Also, don’t forget to ask about their licenses and insurance. A professional plumber should have both. Remember, a leak now can lead to a much larger mess later. And you’ll want someone who can fix that sink leak before your kitchen turns into a water park!
| Signs You Need a Professional | How to Choose |
|---|---|
| Constant dripping | Check reviews |
| Wet spots on the floor | Ask friends for referrals |
| Low water pressure | Verify licenses and insurance |
Cost Considerations for Sink Leak Repairs
Breakdown of potential costs for DIY vs. hiring a professional. Factors influencing repair costs and budgeting tips.
Repairing a leaky sink can cost you some coins, whether you roll up your sleeves or call in the pros. If you decide to DIY, you might spend between $20 to $100 on supplies. However, hiring a plumber can set you back $150 to $500. Consider factors like the leak’s severity and your plumbing skills. For budgeting, it’s wise to save about 10% more than you expect. After all, unexpected issues can pop up—like a sneaky squirrel trying to take a dip!
| Repair Option | Average Cost |
|---|---|
| DIY Repair | $20 – $100 |
| Professional Plumber | $150 – $500 |
Conclusion
In conclusion, a clean sink leak needs quick attention. Fixing it prevents water damage and saves you money. We should regularly check for leaks and keep our sinks clean. If you notice a leak, don’t wait—try repairing it or call a plumber. For more tips on sink maintenance, check out helpful articles that guide you step by step!
FAQs
What Are The Common Causes Of Leaks Under A Sink, And How Can They Be Identified?
Leaks under a sink often happen for a few reasons. First, pipes can get loose and let water escape. Second, old or worn-out rubber parts can break down. You can spot leaks by looking for water puddles, damp spots, or dripping sounds. Checking the connections and surfaces helps us find the problem.
What Steps Can I Take To Temporarily Stop A Leak From My Sink While Waiting For Repairs?
To stop a sink leak, first turn off the water under the sink. Next, use a towel or cloth to catch the water. You can also wrap tape or a rubber band around the leaking part to help seal it. If you have a bucket, place it under the leak to catch drips. These steps will help until a plumber can fix it.
How Can I Determine If The Leak Is Coming From The Faucet, Drain, Or Supply Lines?
To find out where the leak is coming from, first look closely at the faucet. Turn it on and see if water drips from it. Next, check the drain by looking for water around it. Finally, inspect the supply lines, which are the pipes that bring water to the faucet. If you see water near any of these places, that’s where the leak might be.
What Tools And Materials Do I Need To Fix A Leaking Sink, And Are There Any Diy Solutions?
To fix a leaking sink, you will need a few tools and materials. Get a wrench, a screwdriver, and some plumber’s tape. You might also need a bucket to catch any water. For a simple DIY solution, you can use the tape on the leaky pipe. Just wrap it around the spot where the water comes out.
When Should I Consider Calling A Professional Plumber To Address A Sink Leak Instead Of Attempting To Fix It Myself?
You should call a professional plumber if the leak is very bad and water is everywhere. If you can’t find where the leak comes from, that’s another good reason to call for help. If you try to fix it but make it worse, it’s better to get a professional. Plumbers have special tools and skills to solve problems safely.
