
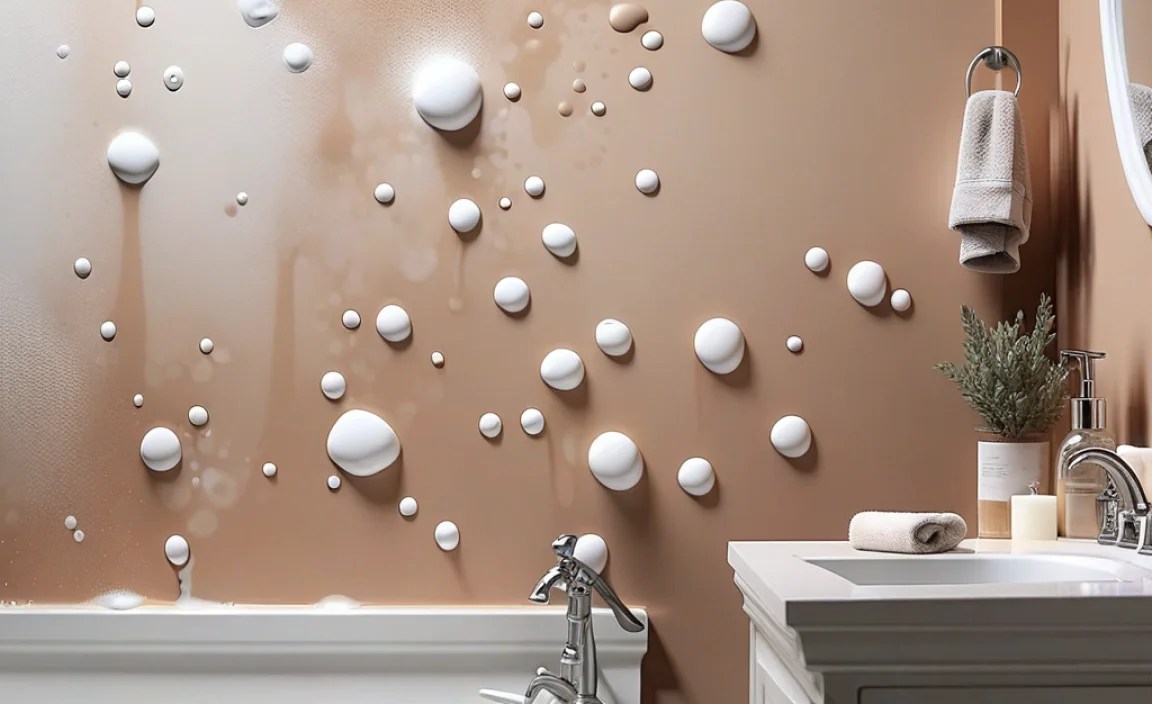
Have you ever noticed bubbles forming on your bathroom wall paint? It can be quite surprising, right? One moment, your wall looks fresh and beautiful, and the next, you see unsightly bubbles. It makes you wonder, what went wrong?
Bubbling paint on bathroom walls doesn’t just look bad; it can cause bigger problems. Water might be trapped beneath the surface, causing mold and peeling. Fixing bubbling paint in your bathroom is not just about making it pretty again. It’s also about keeping your home safe.
Did you know that humidity can be the main reason for this bubbling? Bathrooms are often wet. If the room isn’t well-ventilated, moisture can cause paint to bubble. Luckily, with a little work, you can fix this issue and restore your walls.
Ready to learn how to fix bubbling paint on your bathroom walls? Let’s dive into some simple steps that will help you solve this problem quickly and easily!
How To Fix Bubbling Paint On Bathroom Wall Effectively

Fix Bubbling Paint on Bathroom Walls

Bubbling paint on bathroom walls can be frustrating. It often happens due to moisture trapped beneath the paint. To fix it, first, identify the cause of the moisture. Repair any leaks or improve ventilation. Once the area is dry, scrape off the bubbles and sand the surface. Apply a primer designed for damp areas, then repaint with moisture-resistant paint. It’s that simple! Don’t let bubbling paint ruin your bathroom’s look—fix it today!
Understanding the Causes of Bubbling Paint

Common reasons for bubbling paint in bathrooms. The impact of moisture and humidity on paint integrity.
Bubbling paint can drive anyone crazy, especially in a bathroom! So what causes this annoying problem? One major reason is *moisture*. Bathrooms are wet places, and too much moisture can make paint bubble like a fizzy soda. Another culprit is *humidity*. High humidity levels can ruin paint’s stickiness, leading to bubbles. It’s crucial to keep baths well-ventilated! Here’s a simple table to break it down:
| Cause | Impact |
|---|---|
| Moisture | Weakens paint bond |
| Humidity | Creates bubbles |
Remember, your bathroom is not a swimming pool. Keep it dry and your paint will thank you!
Tools and Materials Needed for Repair
Essential tools for fixing bubbling paint. Recommended types of paint and primer for bathroom walls.
To tackle bubbling paint on your bathroom walls, grab some key tools and materials. You’ll need a putty knife to smooth out the rough spots and sandpaper to make everything nice and flat. A paint roller will help give that fresh coat smoothly, while brushes reach tricky corners. High-humidity areas need special paint, so choose a mold-resistant type. Don’t forget a good primer to help the paint stick better. Let’s look at the essentials:
| Tools/Materials | Purpose |
|---|---|
| Putty Knife | To smooth out peeling paint |
| Sandpaper | To level the surface |
| Paint Roller | For a smooth finish |
| Brushes | For hard-to-reach places |
| Mold-Resistant Paint | To prevent future bubbling |
| Primer | To help paint adhere well |
With these tools, your bathroom walls will look fresh and bubbly-free! Well, at least not in the paint sense, right?
Step-by-Step Guide to Fix Bubbling Paint
Preparing the area for repair. Removing the bubbling paint and assessing the damage.
First, clear the area and protect your floors with a drop cloth. It’s like laying out a picnic blanket, but for repairs! Next, grab a putty knife and gently scrape off the bubbling paint. Think of it as helping a balloon deflate. Once the paint is removed, check for any damage on the wall, like water stains or holes. This step is crucial, as spotting issues early saves you from surprises.
| Step | Action |
|---|---|
| 1 | Clear the area and protect surfaces. |
| 2 | Scrape off bubbling paint with a putty knife. |
| 3 | Assess the wall for damage. |
Remember, fixing bubbling paint can keep your bathroom looking fresh and fun!
Repair Techniques for Different Types of Damage
How to address minor bubbling vs. severe peeling. When to consider replacing drywall vs. simply repainting.
Minor bubbling on your bathroom wall is like a small pimple; it can be fixed easily! Start by scraping off the bubbles and smoothing the area with sandpaper. For serious peeling, it’s time for a tougher approach. This may involve cutting out the bad section of drywall or using a strong primer. Is it time to replace the drywall? If you see mold or water damage, then yes, it’s time to swap it out. Otherwise, a fresh coat of paint may do the trick!
| Damage Type | Repair Technique |
|---|---|
| Minor Bubbling | Scrape, sand, and repaint |
| Severe Peeling | Replace drywall or use a heavy primer |
Preventing Future Bubbling Paint Issues
Tips for adequate ventilation and moisture control. Choosing the right paint and application methods.
Keep your bathroom paint bubble-free by ensuring good ventilation. Open windows and use fans to let fresh air in. Less moisture means fewer problems! Next, pick the right paint. Look for moisture-resistant options. It’s like dressing your walls in raincoats! Apply a primer before painting; it helps seal the surface. A little prep can save big headaches later.
| Tip | Description |
|---|---|
| Ventilation | Use fans and open windows to reduce moisture. |
| Paint Choice | Choose moisture-resistant paint. |
| Preparation | Always apply a primer for a smooth base. |
Follow these tips, and your paint will stay smooth. Happy painting, and may your walls remain bubble-free!
When to Call a Professional
Signs that indicate the need for expert help. Cost considerations for hiring a professional painter.
Noticing bubbling paint on your bathroom wall? It might be time to call a professional! If you see big blisters or the paint peeling like a banana, your wall may have moisture problems. Moisture issues can lead to mold, which is not only annoying but also a health risk!
Cost can be another sign. Hiring a pro can range from $300 to $800, depending on the size of the area. Think of it as an investment in peace of mind (and a paint job that won’t bubble back up after a shower!). If you’re scratching your head about how to proceed, remember: better safe than sorry!
| Signs You Need Help | Cost Range |
|---|---|
| Bubbling or peeling paint | $300 – $800 |
| Mold growth | $300 – $800 |
| Constant moisture problems | $300 – $800 |
Conclusion
In summary, fixing bubbling paint on your bathroom wall is essential for a nice look and protection. Start by removing the old paint and cleaning the area. Use a quality primer and paint for the best results. Remember to keep the bathroom well-ventilated. For more tips, check out DIY guides online. You can easily make your bathroom beautiful again!
FAQs
What Are The Common Causes Of Bubbling Paint On Bathroom Walls?
Bubbling paint on bathroom walls can happen for a few reasons. Usually, it’s because of moisture or water getting under the paint. Bathrooms are often humid, which adds extra water to the air. If the paint isn’t applied correctly or if the wall wasn’t dry before painting, that can cause bubbles too. It’s important to keep your bathroom well-ventilated to prevent this!
How Can I Effectively Prepare The Surface Before Repainting To Prevent Future Bubbling?
To prepare the surface before repainting, you should start by cleaning it well. Use soap and water to remove dirt and old paint. Next, sand the surface lightly to make it smooth. After that, make sure it’s completely dry before you paint. This helps stop bubbles from forming later on.
What Type Of Paint Is Recommended For Bathroom Walls To Minimize Moisture-Related Issues?
For bathroom walls, you should use special paint called “moisture-resistant paint.” This type of paint helps keep water from damaging the walls. You can also use paint with a satin or semi-gloss finish because it dries quickly and is easier to clean. Always check the paint label to make sure it is good for bathrooms!
How Do I Properly Remove The Bubbled Paint And Repair The Underlying Wall Before Repainting?
To fix bubbled paint, start by using a putty knife to gently peel away the bubbled part. Make sure to remove any loose paint around it. After that, you should clean the area with soap and water. Let it dry completely. You can then fill any holes or cracks with wall filler, smooth it out, and let it dry again before repainting.
Are There Any Specific Techniques To Ensure Proper Ventilation In A Bathroom To Reduce Paint Bubbling?
To avoid paint bubbling in your bathroom, good ventilation is important. You can open a window to let fresh air in. Using an exhaust fan helps to pull out the humid air. Let the room air out for a while after showering. This way, the paint stays smooth and dry!
