
Quick Summary: Installing basic household pipes yourself is achievable with the right preparation and tools. This guide breaks down the process into simple steps, focusing on safety and ease for beginners, so you can confidently tackle minor pipe installations like a pro.
Let’s face it, a leaky faucet or a new water line can sound daunting. The immediate thought often goes to calling a plumber, and while they’re essential for complex jobs, some pipe installations are surprisingly within reach for the home DIYer. Many homeowners worry about costly mistakes or water damage. But what if you could learn to handle those smaller pipe jobs yourself? This guide is here to demystify the process, offering straightforward, actionable steps that build your confidence. We’ll walk you through everything you need to know to install pipes safely and effectively, proving that a plumber isn’t always necessary for basic pipework.
Why You Might Install Pipes Yourself (and When to Call a Pro)

Tackling a pipe installation yourself can be incredibly rewarding. It saves money, boosts your DIY skills, and gives you a deep sense of accomplishment. Imagine the satisfaction of fixing a minor plumbing issue or adding a simple water line for a new appliance without waiting for an appointment or paying a premium fee. For many basic tasks, like extending a water supply line for a refrigerator or connecting a new garden hose spigot, the process is manageable for beginners.
However, it’s crucial to know your limits. Major plumbing overhauls, dealing with sewage lines, or complex systems that require permits are best left to licensed professionals. Safety is paramount, and understanding when a job is too big or requires specialized knowledge is part of being a smart DIYer. Always check local building codes to ensure your work meets regulations.
Essential Tools and Materials for Pipe Installation
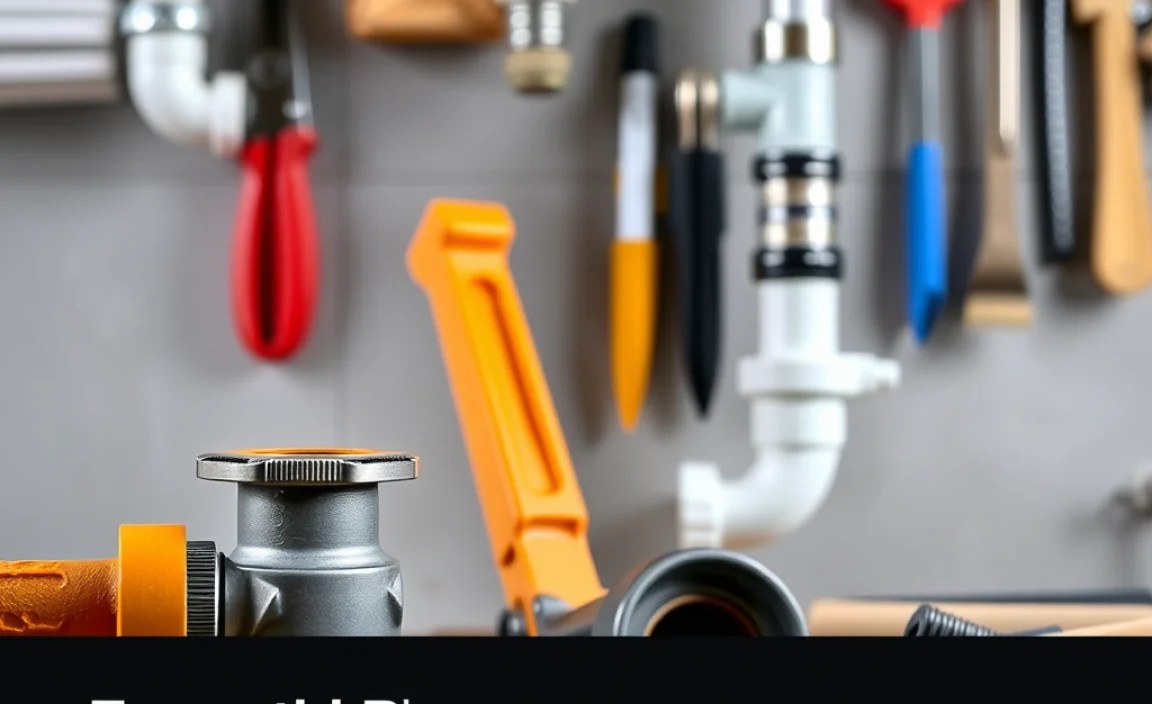
Before you start, gathering the right tools and materials is key to a smooth process. Having everything on hand prevents frustrating interruptions and ensures you can complete the job efficiently and correctly. Here’s a breakdown of what you’ll likely need:
Tools You’ll Need
- Pipe Cutter: For making clean, straight cuts on pipes. The type depends on the pipe material (e.g., copper, PVC, PEX).
- Deburring Tool: To smooth the edges of cut pipes, ensuring a proper seal.
- Measuring Tape: For accurate pipe length measurements.
- Pliers/Wrenches: Adjustable wrenches, pipe wrenches, and channel-lock pliers are useful for gripping and tightening fittings.
- Level: To ensure pipes are installed at the correct angle, especially for drainage.
- Safety Gear: Gloves and safety glasses are a must to protect yourself from sharp edges and debris.
- Bucket and Rags: For catching any residual water and cleaning up spills.
- Work Light: Good lighting is essential, especially in tight or dark spaces.
Common Materials
- Pipes: The type of pipe you’ll use (PEX, copper, PVC, CPVC) depends on the application (hot/cold water, drainage, etc.) and local codes. PEX (cross-linked polyethylene) is often favored by DIYers for its flexibility and ease of use.
- Fittings: These are connectors that join pipes together or change direction (e.g., elbows, couplings, tees). Ensure they match your pipe type and size.
- Pipe Sealant/Tape: Thread sealant (pipe dope) or PTFE (Teflon) tape is used on threaded connections to prevent leaks.
- Primer and Cement (for PVC/CPVC): If you’re working with plastic pipes like PVC or CPVC, you’ll need specific primer and solvent cement for a strong bond.
- Clamps/Hangers: To secure pipes in place, preventing movement and stress.
Understanding Different Pipe Types
The world of plumbing pipes can seem complex, but understanding the basics of common materials will guide your project. Each type has its pros and cons, making it suitable for different applications.
PEX (Cross-linked Polyethylene)
PEX is a flexible plastic tubing that has become a favorite for DIYers. It’s resistant to corrosion and freezing, and its flexibility means fewer fittings are needed for runs, reducing potential leak points. Connecting PEX typically involves crimping, clamping, or push-to-connect fittings, which are relatively easy for beginners.
- Pros: Flexible, easy to cut and install, freeze-resistant, corrosion-resistant, often more affordable.
- Cons: Not suitable for outdoor use or exposed areas due to UV sensitivity and potential damage from rodents. It cannot be easily repaired by patching; a section usually needs replacement.
Copper
A long-standing standard in plumbing, copper is durable, resistant to high temperatures, and doesn’t degrade over time. However, it’s more rigid than PEX, requires precise measurements, and connections are typically made using soldering (sweating) or compression fittings. Soldering requires practice and the right tools, while compression fittings are easier for beginners but can be bulkier.
- Pros: Durable, long-lasting, handles high temperatures well, aesthetically pleasing.
- Cons: More expensive than PEX or PVC, rigid (requiring more fittings for turns), can corrode in acidic water, soldering requires skill.
PVC (Polyvinyl Chloride)
Primarily used for drain, waste, and vent (DWV) lines, PVC is a rigid plastic pipe. It’s inexpensive and straightforward to install using primer and solvent cement. It’s not suitable for hot water or pressurized potable water lines.
- Pros: Inexpensive, easy to cut and glue, excellent for drainage systems.
- Cons: Brittle, can crack in cold temperatures, unsuitable for hot water or pressurized lines, can degrade in sunlight.
CPVC (Chlorinated Polyvinyl Chloride)
Similar to PVC but enhanced to handle higher temperatures, CPVC is often used for hot and cold potable water lines in residential applications. It’s also installed with primer and solvent cement.
- Pros: Good for hot and cold water, relatively inexpensive, easy to connect with solvent cement.
- Cons: Can become brittle over time, not as flexible as PEX, requires specific primer and cement.
For most beginner DIY pipe installations involving water supply, PEX is generally the easiest and most forgiving option. For drainage, PVC is the standard choice.
Step-by-Step Guide: Installing a Simple Water Supply Line (PEX Example)
Let’s walk through a common DIY project: extending a PEX water supply line for something like an ice maker or a small sink. This guide assumes you have a suitable water source with an existing fitting you can tap into.
Step 1: Shut Off Water and Drain the Line
This is the MOST important step for safety and preventing a mess. Locate the main water shut-off valve for your home and turn it completely off. Then, open the faucet closest to your work area to drain any remaining water from the pipes. Place a bucket and rags beneath your work area to catch drips.
Step 2: Plan Your Layout and Measure
Determine the path your new pipe will take. Measure the distance from your water source (e.g., a valve already installed on your existing line) to the appliance or fixture you’re connecting. Remember to account for any turns or bends. It’s often better to buy slightly more PEX than you think you’ll need to avoid running short.
Step 3: Cut the PEX Pipe
Using your PEX pipe cutter, make a clean, perpendicular cut on the PEX tubing. Ensure the cut is square, as this is crucial for a good seal with the fitting. A jagged or angled cut can lead to leaks.
Step 4: Deburr the Pipe End
After cutting, the inside edge of the pipe might be rough. Use a deburring tool to smooth this edge. This ensures the O-ring inside the fitting can create a watertight seal without being sliced or damaged. If you don’t have a deburring tool, the outside of the pipe should also be smoothed.
Step 5: Install Fittings and Connect Pipes
For PEX, you have a few common fitting types:
- Push-to-Connect Fittings (e.g., SharkBite): These are incredibly user-friendly. Simply push the pipe firmly into the fitting until it seats properly. They have a gripping ring inside that holds the pipe and an O-ring for the seal. No special tools are needed, and they can often be removed with a special tool if needed.
- Crimp/Clamp Fittings: These require a PEX crimping or clamping tool. You slide a metal ring (crimp ring or clamp ring) over the PEX pipe, insert the fitting into the pipe, and then use the tool to compress the ring around the fitting and pipe. Ensure the ring is positioned correctly according to the fitting manufacturer’s instructions.
For this simple guide, we’ll focus on push-to-connect fittings due to their beginner-friendliness. Push the deburred end of your PEX pipe firmly into the push-to-connect fitting until you feel it click or seat securely. You can check for a good connection by gently trying to pull the pipe out.
Step 6: Secure the Pipe
Use pipe clamps or hangers to secure the PEX tubing to studs, joists, or walls. This prevents the pipe from sagging, vibrating, or being stressed. Space hangers according to PEX manufacturer recommendations (typically every 3-4 feet for horizontal runs and every 4-6 feet for vertical runs, but check the specific product’s guidelines).
Step 7: Make the Final Connection
Connect the other end of your new PEX line to your appliance or fixture. Again, follow the manufacturer’s instructions for the appliance. If it has a threaded connection, you might need a transition fitting (like a PEX-to-threaded adapter) and some thread sealant or PTFE tape.
Step 8: Turn Water Back On and Check for Leaks
Slowly turn the main water supply valve back on. Once the system is repressurized, meticulously inspect every connection you made – at the source, at any fittings, and at the appliance. Look and feel for any signs of moisture. If you see a leak at a push-to-connect fitting, ensure the pipe was fully inserted and the end was square and deburred. If it’s a connection issue, you may need to disconnect and re-seat it, or replace the fitting if it appears damaged.
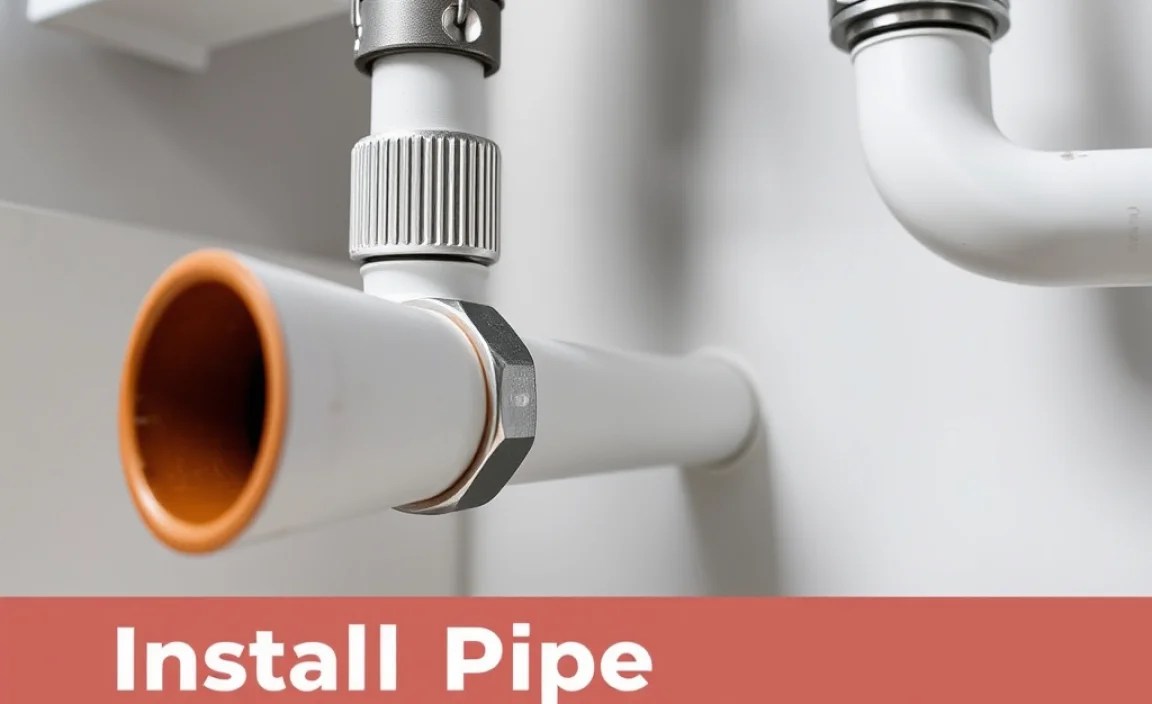
Installing a Simple PVC Drain Line
For drainage, PVC is very common and straightforward. Here’s a look at installing a basic PVC drain continuation, like for a new laundry hookup or extending a sink drain.
Step 1: Plan and Gather Materials
Map out the route for your drain line and determine the type of fittings you’ll need (e.g., elbows for turns, couplings for joining pipes, tees for branches). You’ll need Schedule 40 PVC pipes and fittings, PVC primer, and PVC solvent cement. Ensure all parts are clean and dry before you begin.
Step 2: Cut PVC Pipe
Use a hacksaw or a PVC cutter to cut the pipe to length. Ensure the cuts are square and clean. Ream or deburr the inside and outside edges of the cut pipe to create a smooth surface for the cement to bond.
Step 3: Dry-Fit Everything
Before applying any glue, assemble the entire drain line without cement. This allows you to check that all the pieces fit together correctly and that your measurements are accurate. Mark the pipes and fittings to ensure you reassemble them in the same orientation after gluing.
Step 4: Apply Primer and Cement
Work in a well-ventilated area. Apply the PVC primer to Fboth the outside of the pipe end and the inside of the fitting socket. The primer cleans and softens the plastic, preparing it for the cement. Immediately after applying the primer (while it’s still wet), apply a liberal, even coat of PVC solvent cement to the same areas.
Step 5: Join the Pipes
Twist the pipe and fitting together with a quarter-turn as you push them firmly together. Hold them in place for about 30 seconds to prevent them from pushing apart as the cement sets. Wipe away any excess cement with a rag.
Step 6: Allow Proper Cure Time
This is critical! The cement needs time to cure properly. The time varies depending on temperature and humidity, but it’s usually recommended to let connections cure for several hours before testing. The Engineering Toolbox provides useful cure time charts for PVC and CPVC. For DWV (drain, waste, vent) lines, wait at least 24 hours before running water through the system, just to be safe.
Step 7: Test the Drainage
After the cement has fully cured, cautiously run water through the new drain line to ensure there are no leaks. If you encounter issues, you may need to cut out the faulty section and replace it.
Tables to Aid Your Installation
Here are some handy tables that can assist you during your pipe installation project.
Table 1: Common Pipe Connection Methods Simplified
| Pipe Type | Common Connection Method | Beginner Friendliness | Tools Needed | Notes |
|---|---|---|---|---|
| PEX | Push-to-Connect Fittings | Very High | None (special removal tool optional) | Easy, reliable, no special tools. Ensure pipe is fully seated. |
| PEX | Crimp Fittings | Medium | PEX Crimp Tool | Requires tool. Ensure correct ring placement. |
| PEX | Clamp Fittings | Medium | PEX Clamp Tool | Similar to crimp, uses a clamp instead of a ring. |
| Copper | Compression Fittings | Medium-High | Two Wrenches | No torch needed. Ensure nuts are tightened correctly. |
| Copper | Soldering (Sweating) | Low | Torch, flux, solder, pipe cleaner, pipe cutter | Requires practice and skill due to heat and fire risk. |
| PVC/CPVC | Solvent Cement | High | Primer, Cement, Cutter, Deburring Tool | Requires proper ventilation, cure time is critical. |
Table 2: Pipe Sizing and Common Applications
| Pipe Diameter (Common) | Typical Application | Pressure Rating (Potable Water) |
|---|---|---|
| 1/2 inch | Fixture supply lines (sinks, toilets, showers), appliance hookups (ice makers, dishwashers) | Suitable for most residential pressures |
| 3/4 inch | Main hot and cold water lines to bathrooms/kitchens, smaller whole-house systems | Handles higher flow and pressure |
| 1 inch | Main water service line, larger whole-house systems | Designed for highest residential flow and pressure |
| 1 1/4 inch | Larger homes, systems with high demand | High flow capacity |
| 1 1/2 inch (Drainage) | Sink drains, laundry drains | N/A (Drainage, not pressurized) |
| 2 inch (Drainage) | Toilet drain lines, multiple fixture drains | N/A (Drainage, not pressurized) |
| 3 inch (Drainage) | Main building drain lines | N/A (Drainage, not pressurized) |
| 4 inch (Drainage) | Main sewer line exiting the building | N/A (Drainage, not pressurized) |
Safety First: Crucial Tips for DIY Pipe Installation
Working with water and tools requires a commitment to safety. Even a simple pipe installation can lead to unexpected issues if not approached carefully. Here are some fundamental safety tips:
- Always Shut Off Water: Before you touch any existing pipes, turn off the main water supply to your home. Confirm it’s off by opening a faucet.
- Depressurize Lines: After shutting off the main valve, open a faucet to relieve any remaining pressure and drain the water.
- Wear Protective Gear: Always wear safety glasses to protect your eyes from flying debris.
