
Quick Summary
Installing a mirror yourself as a beginner is easy with this step-by-step guide. We’ll cover choosing the right mirror, gathering tools, simple wall mounting techniques, and ensuring a secure, stylish finish for any room. You’ll gain the confidence to hang that mirror perfectly in no time.
Installation Of Mirror For Beginners: Effortless Guide
Hanging a mirror can feel a bit daunting, especially if you’re new to DIY. You want it to look great, be perfectly straight, and, most importantly, stay safely on the wall. Many people put off this simple task, worrying about tools, wall damage, or the mirror falling. But fear not! With a few basic steps and the right approach, installing a mirror becomes a straightforward and even satisfying project. This guide will walk you through every step, so you can confidently transform your space with a beautiful new reflection.
We’ll break down everything from selecting hardware that suits your mirror and wall type, to ensuring it’s level and securely fastened. Get ready to add a touch of elegance and light to your home without any stress.
Why Hang Your Own Mirror?

Hanging your own mirror offers a fantastic sense of accomplishment and can save you money. Many professional installation services charge a fee, and for a task as manageable as mirror mounting, why pay when you can do it yourself? Beyond the cost savings, there’s a unique pride in knowing you handled the project from start to finish. It’s also an excellent way to learn basic DIY skills that will serve you well for countless other home improvement tasks.
Plus, it gives you complete control over placement. You can position the mirror exactly where you envision it, optimizing light, opening up a space, or creating a focal point, all without compromising. This guide is designed to equip you with the knowledge and confidence to tackle this project like a pro, even if you’ve never hung anything heavier than a picture frame before.
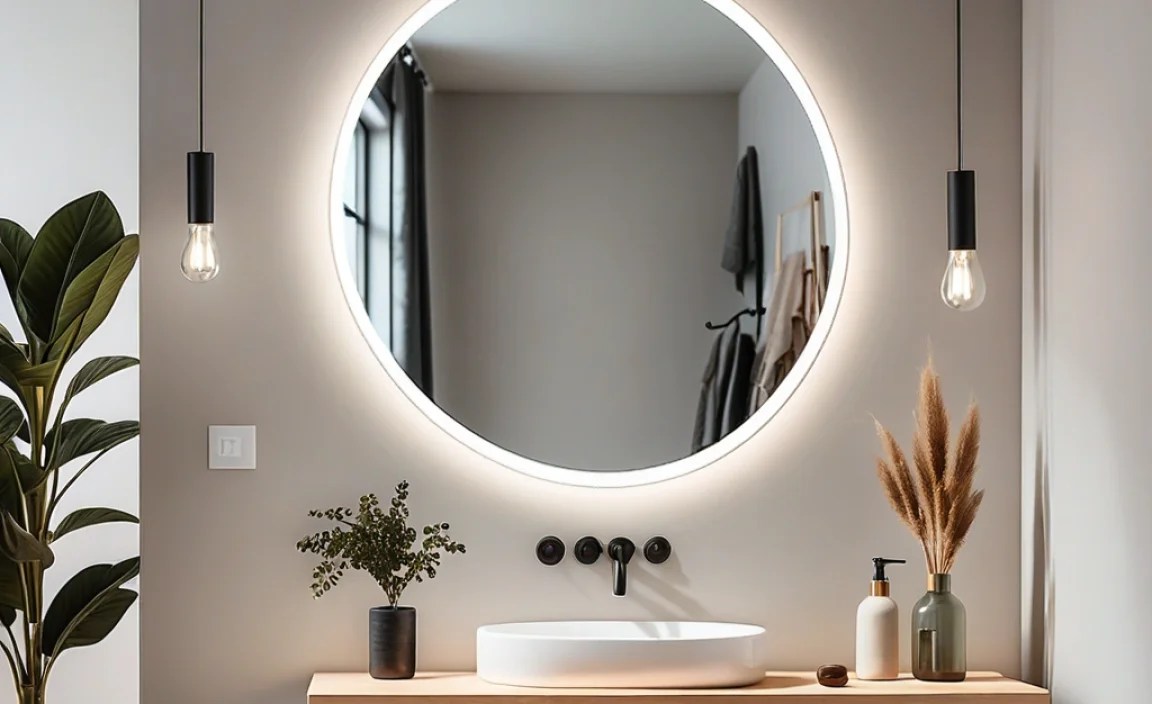
Choosing the Right Mirror for Your Space

Before you even think about tools, let’s talk about the star of the show: the mirror itself. The type of mirror you choose will influence the installation method. Mirrors come in various shapes, sizes, and weights, and some have pre-installed hanging hardware, while others don’t.
Types of Mirrors and Their Hanging Needs
- Framed Mirrors: These are often the easiest to hang for beginners. The frame adds structure and usually comes with D-rings or wire already attached. The weight will be distributed across the frame.
- Frameless Mirrors: These can be sleek and modern but are often heavier and may require specific mounting clips or adhesive. Always check the manufacturer’s instructions for these.
- Wall Mirrors with Built-in Hardware: Many decorative mirrors come with built-in keyhole slots or mounting points. Identify these early on.
- Large or Heavy Mirrors: These require more robust hardware and careful planning to ensure they are safely supported. You might need heavier duty anchors or even mounting directly into wall studs.
- Mirror Sets/Collages: Hanging multiple smaller mirrors requires planning the arrangement and ensuring each is level and secure.
Consider the intended location. A bathroom mirror might need to withstand humidity, while a decorative mirror in a living room might prioritize style. Always factor in the mirror’s weight. This information is usually found on the packaging or the manufacturer’s website. For example, a small vanity mirror will have vastly different hanging requirements than a full-length floor mirror you intend to lean or secure to the wall.
Essential Tools and Materials

Gathering the right tools before you start makes the entire process smoother and safer. Don’t worry if you don’t have everything; many can be borrowed or are standard in a basic toolkit.
Your Mirror Hanging Toolkit
- Measuring Tape: For precise placement.
- Pencil: To mark wall positions lightly.
- Level (Spirit Level): Crucial for ensuring your mirror hangs straight. A longer level is often better for larger mirrors.
- Stud Finder: Essential for locating wall studs, which provide the strongest support.
- Drill and Drill Bits: For creating pilot holes and driving screws or anchors.
- Screwdriver: To match the screws you’ll be using (Phillips head or flathead).
- Wall Anchors (if not mounting into studs): These are crucial for drywall to provide secure support. Types vary based on mirror weight and wall material.
- Mounting Hardware: This could include picture hooks, D-rings, mirror clips, or specialized mirror mounting kits. Always use hardware rated for the weight of your mirror.
- Hammer: For gently tapping in some types of anchors.
- Safety Glasses: Protect your eyes from dust and debris.
- Gloves: For a better grip and to keep the mirror clean.
- Painter’s Tape: Useful for marking or holding things in place temporarily.
If your mirror came with specific mounting hardware, use that unless it seems inadequate for the weight. Otherwise, consult hardware store staff or online guides for the best anchors and hooks for your wall type and mirror weight. For example, the Family Handyman offers a great guide on different types of wall anchors.
Step-by-Step Mirror Installation (Wall Mounting)
This is where the magic happens! We’ll cover the most common method: mounting a framed mirror directly to drywall using appropriate anchors or into wall studs. Always double-check the weight capacity of your hardware.
Pre-Installation Checks
| Task | Why it’s Important |
|---|---|
| Mirror Weight: | Determines the strength of hardware needed. |
| Wall Type: | Dictates the type of anchors required (drywall, plaster, etc.). |
| Manufacturer’s Instructions: | Always follow specific advice for your mirror and hardware. |
| Clearance: | Ensure no pipes or wires are in the wall where you plan to drill. |
Step 1: Decide on Placement
Hold the mirror up to the wall (or have a helper do so) at your desired location. Step back and assess its position. Use your measuring tape to ensure it’s centered or spaced as you like. Consider the height – a common guideline is to have the center of the mirror at eye level (around 57-60 inches from the floor), but this can vary based on the furniture below it.
Step 2: Mark the Hanging Points
This is where precision is key. If your mirror has D-rings or wire, measure the distance from the top of the mirror frame to the top of the D-ring or the point where a wire will rest. Then, measure the wire’s sag if you’re using wire. You can also use a piece of painter’s tape across the back of the mirror, marking the exact position of the hanging hardware, then transfer that measurement to the wall.
- For D-rings/Hooks: Measure the distance from the top of the mirror frame to the hook/D-ring. Then, measure the distance between the two D-rings or hooks if using two points.
- For Wire: Let the wire hang naturally. Measure the distance from the top of the frame to the highest point the wire will reach.
Once you have this measurement, hold your level against the wall at the desired height for the top of the mirror. Use your pencil to make a light mark. From that mark, measure down according to your mirror’s hardware to find where your screws or anchors will go. For two-point hanging, use your level to ensure your second mark is perfectly horizontal to the first. A laser level can be a great tool here for larger mirrors.
Step 3: Locate Wall Studs (Highly Recommended)
For heavier mirrors, always try to fix your mounting hardware into wall studs. Use your stud finder to locate them. Mark the center of any studs that align with your desired hanging points. If a stud is perfectly placed, you might be able to screw directly into it without anchors for very heavy items.
If studs aren’t conveniently located, you’ll need to use appropriate wall anchors. The type of anchor depends on your wall material (drywall, plaster) and the mirror’s weight. For lightweight mirrors, simple screw-in plastic anchors might suffice. For heavier items, toggle bolts or molly bolts offer much stronger support in drywall. Always check the weight rating of the anchor!
Step 4: Install Anchors or Drill Pilot Holes
If mounting into studs: Drill a pilot hole slightly smaller than your screw for each marked stud location. This makes driving the screw easier and prevents the stud from splitting.
If NOT mounting into studs: Follow the instructions for your chosen wall anchors. This usually involves drilling a hole of a specific size, inserting the anchor, and then preparing to drive your screw through it. For example, toggle bolts require a larger hole, while screw-in anchors’ requirements vary.
Step 5: Install Hanging Hardware
If you’re screwing directly into studs, drive your screws into the pilot holes. Leave them sticking out enough to catch the D-ring or wire of your mirror, but not so much that the mirror sits too far off the wall. Ensure they are level.
If using anchors, drive your screws through the anchors according to their specific instructions. Again, leave them at the correct depth to support the mirror. For hooks, hammer them in gently at the marked spots.
Step 6: Hang the Mirror
Carefully lift the mirror and align its hanging hardware (D-rings, wire, or keyhole slots) with the screws or hooks you’ve installed. Gently lower the mirror into place. For wire-hung mirrors, ensure the wire is securely seated on the screws. For D-rings, make sure they are both engaged on their respective screws.
Step 7: Check for Levelness and Security
Place your spirit level on the top edge of the mirror. Adjust the mirror slightly until the bubble is perfectly centered, indicating it’s level. Once level, gently test its stability. Give it a light tug downwards and sideways to ensure it feels secure. If there’s any wobble or looseness, take the mirror down and re-evaluate your mounting hardware and installation.
Alternative Hanging Methods
Not all mirrors are framed and hung with hooks. Here are a couple of other common scenarios:
Adhesive-Backed Mirrors
Many smaller decorative mirrors or mirror tiles use strong adhesive. These are often found in bathrooms or as accents.
- Clean the Wall: Ensure the wall surface is perfectly clean, dry, and free of dust or grease.
- Peel and Stick: Carefully peel off the backing from the adhesive.
- Position and Press: Align the mirror on the wall and press firmly for the manufacturer-recommended time (often 30 seconds to a minute) to ensure good adhesion.
- Allow to Cure: Wait the recommended time (usually 24-72 hours) before cleaning or touching the mirror, as the adhesive fully cures during this period.
Important Note: These are generally not recommended for large or heavy mirrors as adhesive can fail over time, especially in humid environments like bathrooms. Always test a small, inconspicuous area first if you’re concerned about wall surface damage.
Mirrors with Mirror Clips
These are often used for frameless mirrors or glass shelves and create a very clean, minimalist look.
- Mark Placement: Determine the exact position of your mirror.
- Position Clips: Place the bottom clips along the bottom edge of where the mirror will go, ensuring they are level. Screw them into the wall (use anchors if needed).
- Hang Mirror: Carefully slot the bottom edge of the mirror into the bottom clips.
- Secure Top Clips: Once the mirror is in place, position the top clips to hold the upper edge. These often hook over the mirror or snap into place. Screw these top clips into the wall, ensuring they are aligned with the bottom clips.
For detailed instructions on different clip types, resources like This Old House provide solid DIY advice.
Weight Considerations and Hardware Ratings
Understanding weight is paramount to a safe mirror installation. Hardware is rated for a specific weight capacity. Exceeding this limit is a common cause of accidents.
Weight Load Ratings Explained
- Light Duty: Up to 5 lbs. Suitable for very small, lightweight decorative mirrors. Small picture hooks or basic screw anchors might work.
- Medium Duty: 5-20 lbs. Many regular framed mirrors fall into this category. Robust picture hooks, medium-duty anchors (like plastic expansion anchors or self-drilling anchors), or screws into studs are appropriate.
- Heavy Duty: 20-50 lbs. Larger framed mirrors, or unframed mirrors of significant size, require heavy-duty hardware. This includes toggle bolts, molly bolts, French cleats, or direct mounting into multiple studs.
- Extra Heavy Duty: 50+ lbs. For very large, heavy mirrors, consider professional installation or specialized heavy-duty mounting systems. Always consult hardware store professionals or a structural engineer if unsure.
Key Takeaway: When in doubt, always choose hardware with a higher weight rating than you think you’ll need. It’s better to be over-engineered than under-prepared. The U.S. Consumer Product Safety Commission (CPSC) also offers general safety tips for furniture and fixture anchoring, which are relevant for heavy items like mirrors. You can find their advisories on topics like furniture tip-overs on their official website.
Troubleshooting Common Mirror Installation Issues
Even with the best preparation, you might run into small hitches. Here are a few common problems and their solutions:
Scenario 1: Mirror Isn’t Level
- Problem: The mirror looks tilted.
- Solution: Gently remove the mirror from its hooks/screws. Adjust the position of ONE of the screws or anchors slightly up or down until the mirror is level when re-hung. Use your spirit level religiously!
Scenario 2: Screws Won’t Go In (into Stud)
- Problem: You’re trying to screw into a stud, but it’s too hard or hitting something unexpected.
- Solution: You might be hitting a knot in the wood or a metal brace. Try repositioning your screw slightly within the stud width. If it’s still impossible, you may need a more powerful drill or to use anchors in the drywall next to the stud.
Scenario 3: Mirror Feels Loose After Hanging
- Problem: The mirror wobbles or feels like it’s not securely attached.
- Solution: Re-hang the mirror and re-check the tightness of all screws and anchors. If using anchors, ensure they are properly seated and haven’t pulled out of the wall. For heavier mirrors, you may need stronger anchors or to find a better stud location.
Scenario 4: Damaged Drywall During Anchor Insertion
- Problem: The hole for the anchor became too large, or the drywall crumbled.
- Solution: For small damage, you might try using a slightly larger anchor. For significant crumbling, you’ll need to repair patching the drywall. This involves filling the hole with joint compound, letting it dry, sanding it smooth, and then painting or priming. Then, re-drill carefully for your anchor.
Maintaining Your Newly Hung Mirror
Once your mirror is beautifully installed, a little care will keep it looking its best. For most mirrors, cleaning is straightforward.
- Cleaning the Glass: Use a good quality glass cleaner and a lint-free cloth (microfiber cloths work wonders). Spray the cleaner onto the cloth, not directly onto the mirror, to prevent drips from seeping behind the frame where they can cause damage or mildew.
- Cleaning the Frame: The cleaning method for the frame depends on its material. Wood frames might need a furniture polish, while metal or plastic frames can usually be wiped with a damp cloth.
- Checking Connections: Periodically (perhaps every 6 months to a year), gently check that the mirror is still securely hanging and that the hardware hasn’t become loose. This is especially important for heavier mirrors or in high-traffic areas.
Frequently Asked Questions (FAQ)
Q1: How high should I hang my mirror?
A1: A good general rule is to hang the center of the mirror at eye level, typically 57 to 60 inches from the floor. However, consider the furniture below it. If it’s above a sofa or console table,
